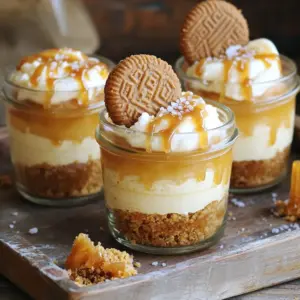
Salted Caramel Biscoff Cheesecake Cups
Indulge in these delicious Salted Caramel Biscoff Cheesecake Cups! Layered with a crunchy Biscoff crust, creamy cheesecake, and rich salted caramel, these treats are perfect for any occasion. Easy to prepare and delightful to serve, they are sure to impress your friends and family. Click to explore this simple recipe and bring a sweet twist to your dessert table today!