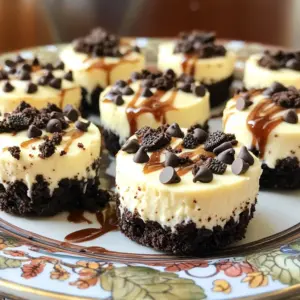
No-Bake Oreo Cheesecake Bites
Indulge in these delicious No-Bake Oreo Cheesecake Bites that are perfect for any occasion! Made with creamy cheesecake filling and a crunchy Oreo crust, these bites are a dreamy treat that's easy to make. With just a few ingredients and simple steps, you can whip up 12 delightful desserts in no time. Click through to explore this fun recipe and impress your friends and family with your baking skills!