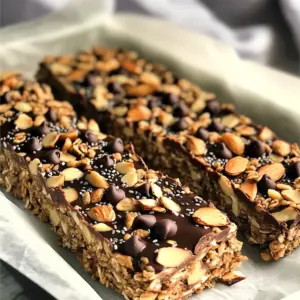
No Bake Chocolate Almond Butter Granola Bars
Indulge in the deliciousness of No Bake Chocolate Almond Butter Granola Bars! These easy-to-make snacks combine rolled oats, almond butter, dark chocolate, and crunchy almonds for a tasty treat that's perfect for any time of day. With just 15 minutes of prep, you can create 10 delightful bars that are healthy and satisfy your sweet cravings. Click to explore the full recipe and start making your own batch today!