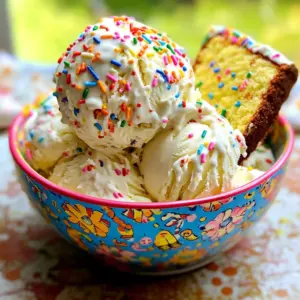
Are you ready to whip up a sweet treat without an ice cream maker? I’m excited to share my No-Churn Birthday Cake Ice Cream Delight recipe! This easy, fun dessert brings the joy of birthday cake to any day of the year. With just a few ingredients and simple steps, you can create this creamy delight. Let’s dive in and turn your kitchen into a celebration zone!
Ingredients
Full List of Ingredients
– 2 cups heavy whipping cream
– 1 can (14 oz) sweetened condensed milk
– 1 teaspoon vanilla extract
– 1 cup crumbled birthday cake (store-bought or homemade)
– 1/2 cup rainbow sprinkles
– Pinch of salt
Alternative Ingredient Suggestions
You can swap heavy cream with coconut cream for a lighter version. Try using flavored cake for a fun twist. Swap rainbow sprinkles with chocolate chips or nuts if you prefer.
Ingredient Notes
Using fresh heavy cream gives the best volume. Sweetened condensed milk adds sweetness and creaminess. Ensure your cake is moist for the best texture. A pinch of salt enhances all the flavors.
Step-by-Step Instructions
Preparation Process
1. Start with a large bowl.
2. Pour in 2 cups of heavy whipping cream.
3. Use an electric mixer to beat the cream.
4. Beat it for 3-5 minutes until stiff peaks form.
5. In another bowl, add one can of sweetened condensed milk.
6. Add 1 teaspoon of vanilla extract and a pinch of salt.
7. Mix these ingredients well until smooth.
8. Gently fold the whipped cream into the milk mixture.
9. Do this in batches to keep it fluffy.
10. Once combined, add 1 cup of crumbled birthday cake.
11. Fold in 1/2 cup of rainbow sprinkles.
12. Make sure to mix gently.
13. Transfer the mixture to an 8×8 inch dish or loaf pan.
14. Smooth the top with a spatula.
15. Cover with plastic wrap.
16. Freeze for at least 6 hours until fully frozen.
Tips for Best Results
– Use cold heavy cream for better whipping.
– Avoid overmixing to keep the ice cream light.
– Make sure the dish is airtight to prevent ice crystals.
– For a creamier texture, let it sit at room temp for 5-10 minutes before serving.
Serving Suggestions
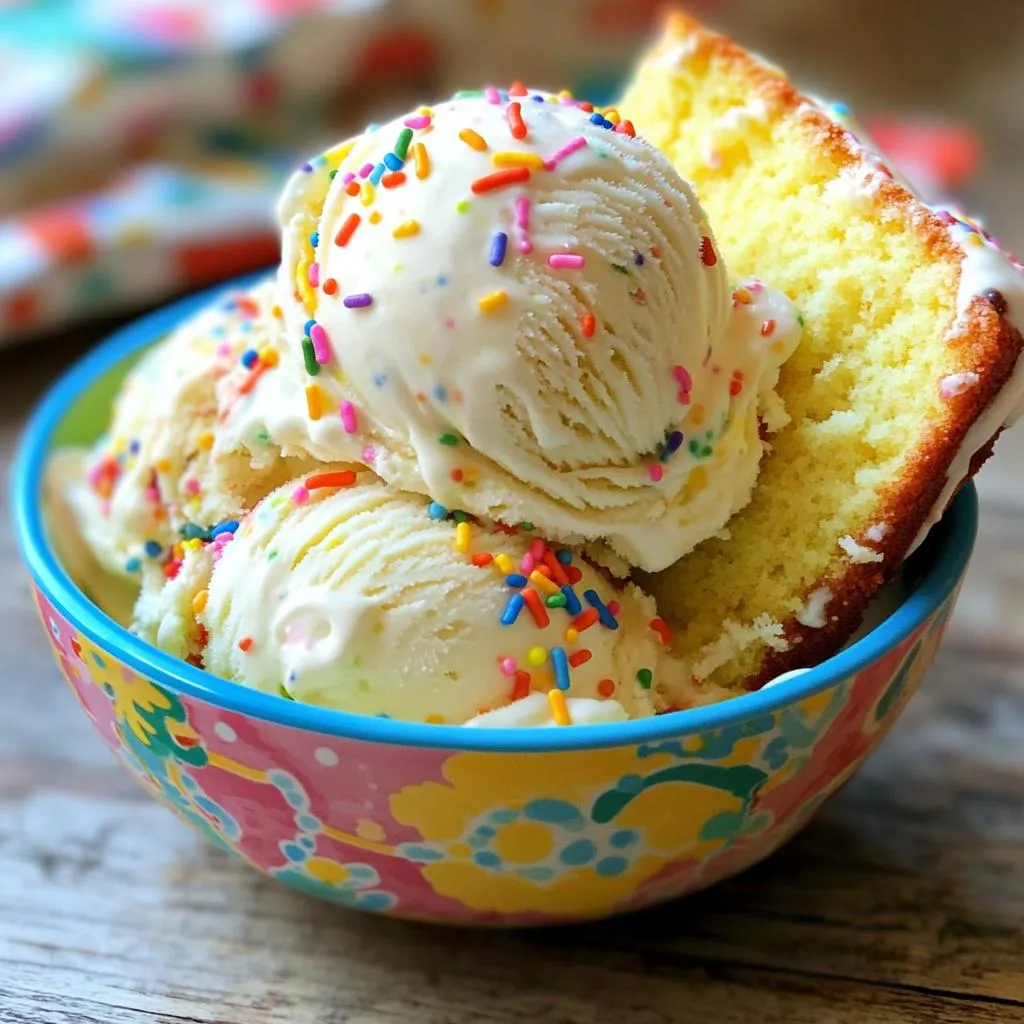
– Scoop the ice cream into colorful bowls or cones.
– Add extra rainbow sprinkles on top for fun.
– Serve with a slice of cake on the side for a festive touch.
– Enjoy this treat at birthday parties or just for fun!
Tips & Tricks
How to Achieve the Perfect Texture
To get the best texture, start with cold heavy cream. Chill your mixing bowl too. This helps the cream whip better. When you whip the cream, beat it until you see stiff peaks. This takes about 3-5 minutes. Stiff peaks mean the cream holds its shape well.
When you mix in the condensed milk, do this slowly. Gently fold the whipped cream into the milk mix. Use a spatula and a light hand. This keeps air in the cream, making the ice cream light and fluffy.
Common Mistakes to Avoid
One big mistake is overmixing. If you mix too hard, the whipped cream will lose air. This makes the ice cream dense and heavy. Another mistake is not chilling the bowl or cream. Warm cream won’t whip well.
Make sure to fold in the cake and sprinkles gently. If you mix too much, the cake can break apart. You want nice chunks of cake in your ice cream.
Using an Electric Mixer Effectively
When using an electric mixer, start on low speed. This prevents splatters. Gradually increase the speed once the cream starts to thicken. Keep an eye on it. You want to stop when the cream looks fluffy and holds peaks.
If your mixer has different speed settings, use medium for the best results. It gives you control without overmixing. Clean your mixer right after use. This makes it easy to handle later and keeps it ready for your next treat!
Variations
Flavor Enhancements
You can change the flavor of your ice cream easily. Add 1/2 cup of cocoa powder for chocolate lovers. You can also mix in 1/2 cup of crushed cookies for a cookies and cream treat. If you love fruity flavors, use lemon or orange zest for a fresh twist. These small changes make a big difference in taste.
Different Sprinkle Options
Sprinkles add a fun touch to your ice cream. You can use themed sprinkles for special occasions. Try chocolate sprinkles for a rich flavor. Or use star-shaped sprinkles for a festive look. You can even swap rainbow sprinkles for crushed nuts for a crunchy texture. The choice is yours!
Custom Cake Mixes to Use
Using different cake mixes can change your ice cream’s taste. Try a chocolate cake mix for a chocolate ice cream base. A red velvet cake mix gives a unique color and flavor. You can even use a spice cake mix for a warm taste. Each cake mix brings new flavors to your ice cream!
Storage Info
How to Store No-Churn Ice Cream
To keep your no-churn birthday cake ice cream fresh, use an airtight container. A good option is a freezer-safe glass or plastic container. Make sure to cover the top with plastic wrap before sealing it. This keeps ice crystals from forming and helps maintain the creamy texture.
Freezing Tips for Maintaining Texture
When you freeze your ice cream, avoid opening the freezer too often. Each time you open it, warm air enters. This can cause ice crystals to form, which makes the ice cream grainy. For the best texture, let the ice cream freeze for at least 6 hours.
If you have leftovers, scoop out portions quickly. This helps keep the rest of the ice cream cold. You can also place parchment paper directly on the ice cream before sealing to reduce air exposure.
Shelf Life and Expiration
No-churn ice cream stays good in the freezer for about 2 to 3 weeks. After that, the flavor may fade. If you notice freezer burn, it’s best to toss it out. Always check for off smells or strange textures before serving. If it looks or smells odd, don’t eat it. Enjoy your delicious treat while it’s at its best!
FAQs
Can I use other types of cake?
Yes, you can use other cakes! Vanilla, chocolate, or even red velvet cake work well. Just crumble them into small pieces. Each cake gives a unique taste. Feel free to mix and match flavors to find your favorite.
How long does it take to freeze?
It takes about 6 hours to freeze this ice cream. For best results, freeze it overnight. This way, it becomes nice and firm. A longer freeze time helps the flavors blend better.
Is it possible to make this dairy-free?
Yes, you can make dairy-free ice cream! Use coconut cream in place of heavy cream. Substitute the sweetened condensed milk with a dairy-free version. Check labels to ensure they are vegan-friendly. The taste may change a bit, but it will still be delicious!
We covered the key ingredients and how to choose the best options. You learned step-by-step how to prepare and serve your no-churn ice cream effectively. I shared tips to avoid common mistakes and gave ideas for flavor and texture variations. Proper storage keeps your ice cream fresh. If you have questions about cake types or dietary needs, the FAQs can help. Enjoy your delicious creation and share it with others. Making no-churn ice cream can be fun and rewarding!