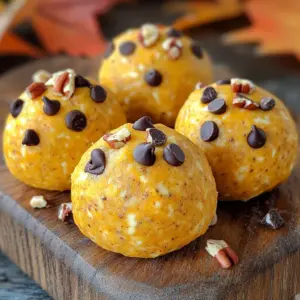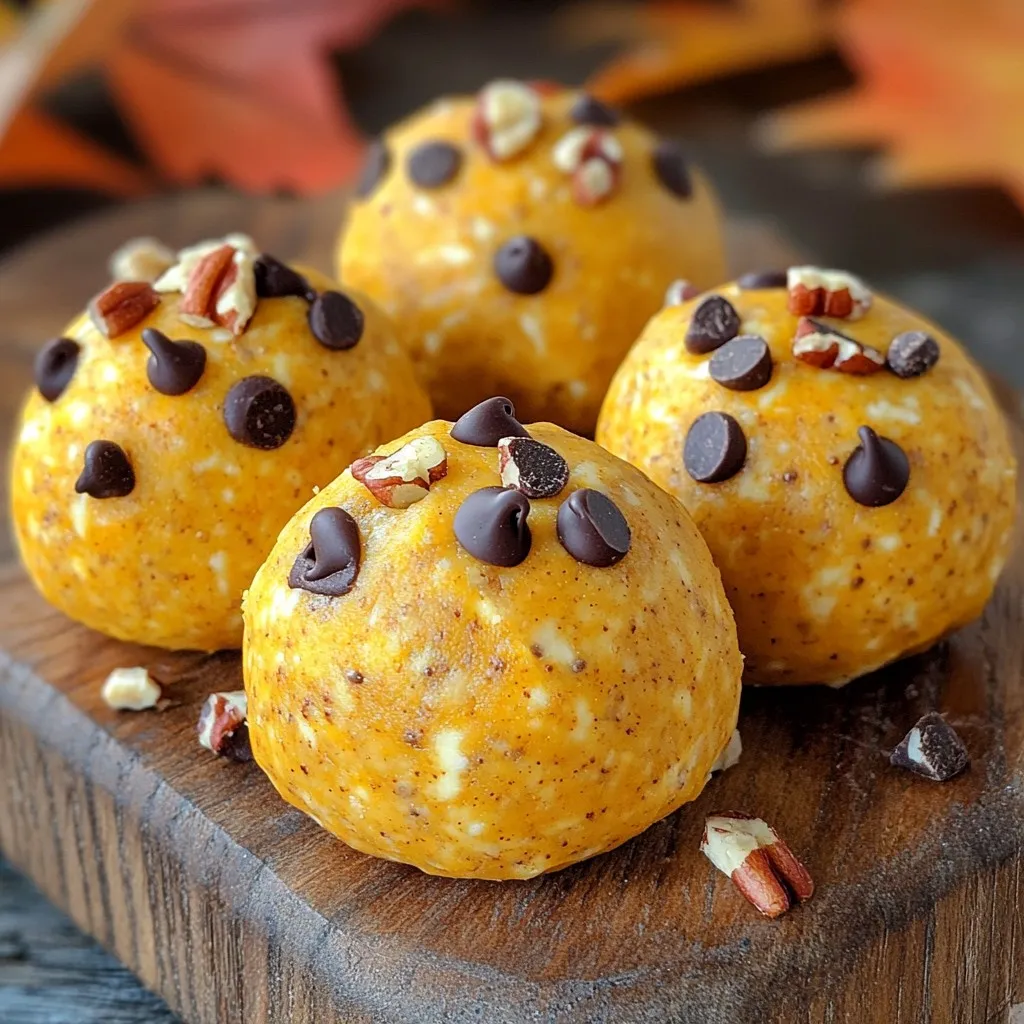
If you crave a sweet treat that’s easy to make, you’ll love these No-Bake Pumpkin Cheesecake Energy Balls. With simple ingredients like pumpkin puree, oats, and cream cheese, you can whip them up in no time. Perfect for snacking or sharing, these no-bake bites are packed with flavor and nutrients. Get ready to satisfy your sweet tooth with a fun and healthy twist! Let’s dive into how to make them.
Ingredients
To make No-Bake Pumpkin Cheesecake Energy Balls, you need simple ingredients. Here’s what to gather:
– 1 cup rolled oats
– 1/2 cup pumpkin puree
– 1/4 cup cream cheese, softened
– 1/4 cup maple syrup
– 1/2 teaspoon vanilla extract
– 1/2 teaspoon ground cinnamon
– 1/4 teaspoon ground nutmeg
– 1/4 cup chopped pecans (optional)
– 1/4 cup chocolate chips (optional)
Each ingredient plays a key role. Rolled oats give a nice base. The pumpkin puree adds moisture and flavor. Cream cheese brings a creamy texture, while maple syrup sweetens without being too heavy. Vanilla extract gives a warm scent. Ground cinnamon and nutmeg enhance the spice profile.
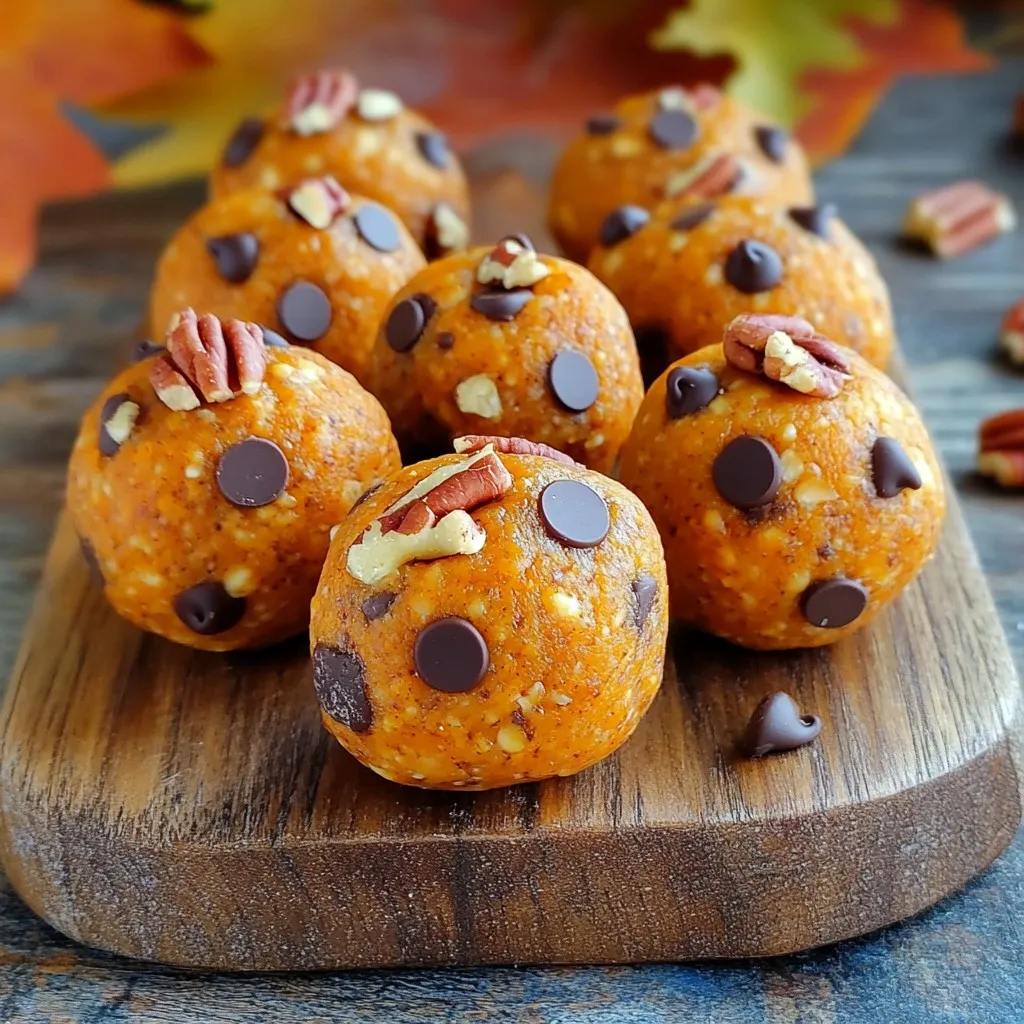
You can also add chopped pecans or chocolate chips for extra fun. These optional add-ins add crunch or sweetness. Feel free to mix and match based on your taste. The beauty of these energy balls is their flexibility. Enjoy making your own version!
Step-by-Step Instructions
Preparing the Mixture
Mixing Dry Ingredients
Start by mixing the dry ingredients. In a large bowl, add 1 cup of rolled oats. This will give your energy balls a hearty base. Then, sprinkle in 1/2 teaspoon of ground cinnamon and 1/4 teaspoon of ground nutmeg. These spices add warmth and flavor.
Adding Wet Ingredients
Next, add the wet ingredients to the bowl. Pour in 1/2 cup of pumpkin puree. This gives the balls a nice fall flavor. Add 1/4 cup of softened cream cheese for creaminess. Then, drizzle in 1/4 cup of maple syrup and 1/2 teaspoon of vanilla extract. Mix everything well until the ingredients combine smoothly.
Incorporating Optional Ingredients
If you want extra crunch, fold in 1/4 cup of chopped pecans. You can also add 1/4 cup of chocolate chips for a sweet touch. These are optional, but they make the energy balls even more delicious.
Forming the Energy Balls
Rolling the Mixture
Now it’s time to shape the mixture. Take about 1 tablespoon of the mixture and roll it into a ball using your hands. This step is fun and gives each ball a nice shape. Keep rolling until you form all the mixture into balls.
Placing on Baking Sheet
Once rolled, place each ball on a baking sheet lined with parchment paper. This helps prevent sticking. Make sure to leave some space between the balls, so they don’t touch each other.
Chilling the Energy Balls
Refrigeration Time
After placing the balls on the baking sheet, it’s important to chill them. Put the baking sheet in the fridge for at least 30 minutes. This cooling time helps them firm up.
Importance of Firming Up
Chilling the energy balls makes them easier to eat. It also helps the flavors blend together. Once they are set, you can enjoy them right away or store them for later.
Tips & Tricks
Best Practices for Consistency
Achieving the Right Texture
To get the right texture for your energy balls, use the right mix of wet and dry ingredients. The oats should soak up moisture from the pumpkin and cream cheese. If the mix is too dry, add a splash of maple syrup. If it’s too wet, add more oats. You want a dough that sticks together but isn’t too sticky.
Tips for Easier Rolling
Rolling the mixture into balls can be tricky. To make it easier, wet your hands with water. This helps keep the mixture from sticking. You can also chill the mixture for about 10 minutes before rolling. This makes it firmer and easier to shape.
Enhancing Flavor
Suggestions for Additional Spices
You can spice up your energy balls with more than just cinnamon and nutmeg. Try adding a pinch of ginger or allspice for warmth. A dash of clove can also add a nice touch. Experiment with what you have on hand to make them uniquely yours.
Using Different Sweeteners
Maple syrup is a great choice, but you can switch it up. Honey or agave syrup works well too. If you want less sugar, use mashed bananas or applesauce. Adjust the amount based on your taste.
Presentation Ideas
Creative Serving Suggestions
Serve these energy balls in a fun way. Arrange them on a colorful plate for a party. You can also stack them in a jar for a rustic look. They make great snacks for kids and adults alike.
Packaging for Gifts
These energy balls make lovely gifts! Use small boxes or cellophane bags to package them. Add a ribbon for a special touch. Gift them to friends or family during the holidays, and they will surely appreciate the thought.
Variations
Flavor Modifications
You can mix up the flavors of these energy balls easily. Try adding different spices. Swap ground nutmeg for a hint of ginger. This change adds warmth and zest. You can also experiment with extracts. Almond extract gives a great twist instead of vanilla.
For seasonal add-ins, consider cranberries or dried apples. These fruits add a sweet, chewy texture. You can even use pumpkin spice mix for extra flavor. This keeps the energy balls festive and fun.
Dietary Alternatives
If you need gluten-free options, use certified gluten-free oats. Many brands offer this choice. Make sure to check the labels.
For a vegan version, swap cream cheese with a plant-based cream cheese. Agave syrup or maple syrup works well instead of honey. These changes keep the flavor rich and creamy while meeting dietary needs.
Serving Suggestions
Pair these energy balls with dips like yogurt or nut butter. This adds a creamy touch and extra protein. You can also serve them with a smoothie or a cup of tea.
For a fun twist, serve them at parties with a fruit platter. They look great and taste amazing alongside fresh fruits!
Storage Info
Proper Storage Techniques
Store your No-Bake Pumpkin Cheesecake Energy Balls in an airtight container. This keeps them fresh and tasty. Place the container in the fridge. It helps to keep the energy balls cool and firm.
Duration of Freshness
These energy balls stay fresh for up to one week in the fridge. To make them last longer, always check for any signs of spoilage. If they smell off or look strange, it’s best to throw them away.
Freezing Instructions
You can freeze the energy balls if you want to keep them longer. Just place them in an airtight container or freezer bag. Make sure to label the bag with the date. When you want to eat them, thaw them in the fridge overnight. They’ll taste just as good as fresh!
FAQs
What is the prep time for No-Bake Pumpkin Cheesecake Energy Balls?
The prep time for these energy balls is just 15 minutes. You can mix the ingredients quickly. After that, chill them for 30 minutes. This makes a total time of 45 minutes for the whole recipe.
Can I make these energy balls in advance?
Yes, you can make these energy balls ahead of time. They last up to one week in the fridge. Store them in an airtight container to keep them fresh. This makes them perfect for snacks or quick treats.
What can I substitute for cream cheese?
If you need a substitute for cream cheese, try using Greek yogurt. It has a similar texture and adds protein. You can also use vegan cream cheese if you want a dairy-free option.
How can I customize the toppings?
You can have fun with toppings! Roll the energy balls in crushed nuts, shredded coconut, or cocoa powder. You can also drizzle melted chocolate or add a sprinkle of sea salt for extra flavor. Mix and match to find your favorite!
These No-Bake Pumpkin Cheesecake Energy Balls are simple and tasty. We covered ingredients, step-by-step prep, and helpful tips. You can easily customize flavors and adapt for various diets.
Make these energy balls ahead of time and store them right. They are perfect for snacks or gifts. With a few modifications, you can enjoy these no-bake treats anytime. Enjoy making and eating these delicious energy balls!