Are you ready to take snack time up a notch? Grandma’s Crispy Garlic Dilly Beans are not just tasty; they are a crunchy delight packed with flavor. In this article, I’ll share the simple steps to make these perfect little snacks. You’ll learn how to pickle fresh green beans in a zesty brine. Get ready for some fun tips and tasty variations that will make every bite memorable!
Ingredients
Fresh Green Beans
Fresh green beans are key to making Grandma’s crispy garlic dilly beans. Choose bright green beans that snap easily. Look for beans with no bruises or soft spots. You want about one pound for this recipe. They should be firm and fresh. Trim both ends of each bean before using. This step helps them fit nicely in jars.
Garlic and Spices
Garlic brings a strong flavor to the beans. Use four cloves of garlic for this recipe. Peel and smash them to release their oils. Garlic adds a rich taste and aroma. The spices also play a big role. Dill seeds give a fresh and tangy flavor. Red pepper flakes add a little heat, but this is optional. Black peppercorns round out the taste. These spices make every bite exciting.
Pickling Brine Components
The pickling brine is simple but essential. For this recipe, mix one cup of distilled white vinegar with one cup of water. This vinegar gives the beans a sharp taste. Add two tablespoons of sugar and one tablespoon of salt. The sugar balances the vinegar’s tartness. The salt helps preserve the beans and adds flavor. Combine all these ingredients in a pot and heat until they dissolve. This brine keeps the beans crisp and flavorful.
You can find the complete details in the Full Recipe.
Step-by-Step Instructions
Preparing the Green Beans
First, gather your fresh green beans. Rinse them under cool water to remove any dirt. Trim the ends of each bean. This small step helps keep them crisp and tasty. Set the beans aside on a clean towel to dry. This keeps extra moisture out of the jars.
Making the Brine
Next, grab a medium saucepan. Pour in one cup of distilled white vinegar and one cup of water. Add in two tablespoons of sugar and one tablespoon of salt. Place the saucepan over medium heat. Stir the mixture as it heats up. Bring it to a boil. Make sure the sugar and salt dissolve completely. Once this happens, take it off the heat and let it cool a little. This brine gives the beans that tangy flavor we all love.
Packing the Jars
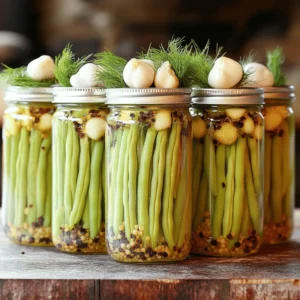
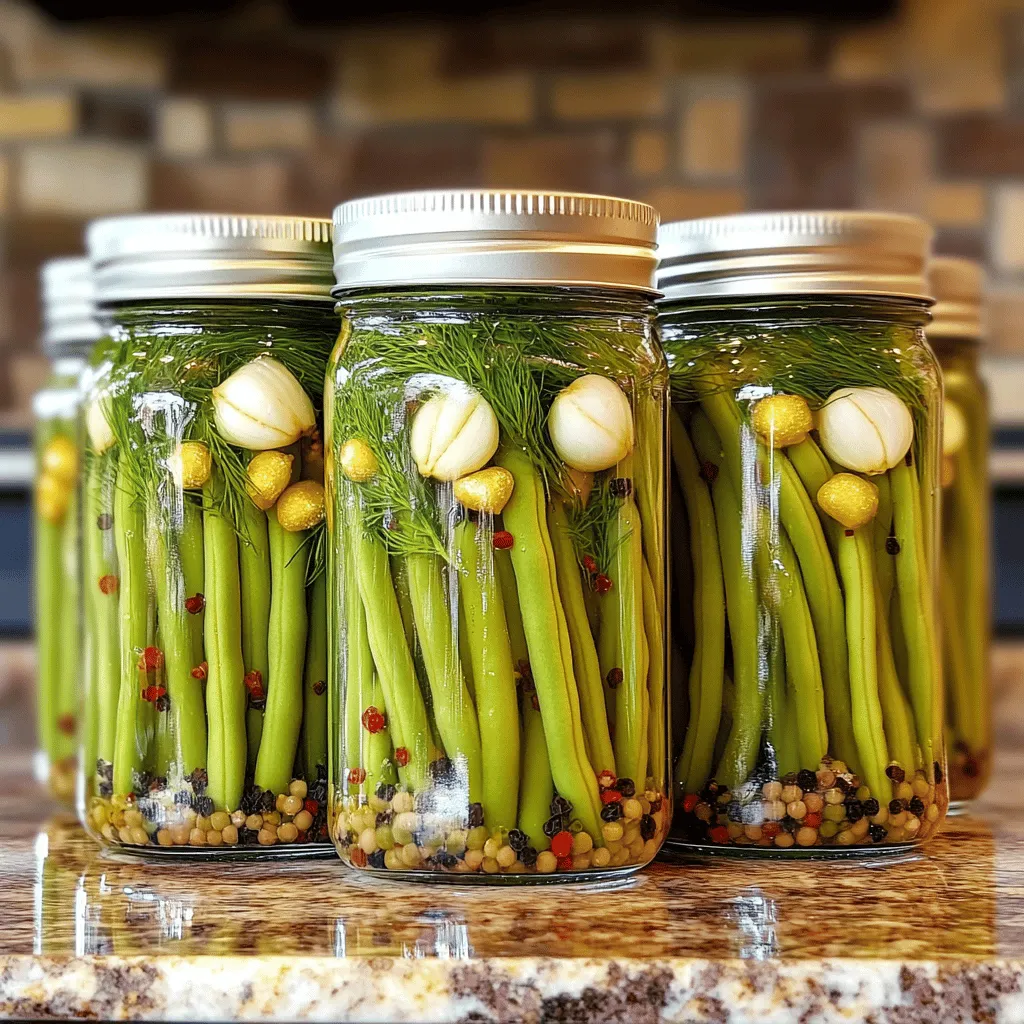
Now it’s time to pack the jars. Start with four sterilized pint jars. In each jar, place one smashed garlic clove and one tablespoon of dill seeds. If you like heat, add 1/8 teaspoon of red pepper flakes. Next, add 1/8 teaspoon of black peppercorns. After that, pack the green beans upright in the jars. Leave about an inch of space at the top. This helps with sealing the jars later. Pour the warm brine into each jar, covering the beans completely. Make sure the garlic and spices mix in well.
Lastly, wipe the jar rims with a clean cloth to remove any spills. Tightly screw the lids on each jar. Let them cool to room temperature. Then, place the jars in the fridge. You can enjoy these crispy garlic dilly beans after just 24 hours, but they taste even better after a week. For the full recipe, check out the details above.
Tips & Tricks
Ensuring Crispy Texture
To keep your beans crispy, start with fresh green beans. Look for beans that are bright green and firm. Trim the ends before you pack them in jars. Also, use the right brine temperature. Pour the hot brine over the beans as soon as it’s ready. This helps the beans stay crunchy and absorb the flavors well.
Flavor Enhancement Suggestions
Want to boost the taste? Try adding more garlic cloves or using fresh dill. You can also play with spices. Adding mustard seeds or coriander seeds can create a unique flavor. For some heat, increase the red pepper flakes. Just a little can make a big difference. Don’t forget to let them pickle longer for richer taste. A week in the fridge works wonders.
Proper Pickling Techniques
For best results, use sterilized jars. Clean jars prevent unwanted bacteria. Fill your jars tightly with beans, but leave some space at the top. This allows the brine to cover the beans fully. Always wipe the jar rims before sealing. This keeps the lids secure. Lastly, remember to chill the jars after sealing. Cold storage helps with the pickling process. For more detailed steps, check out the Full Recipe.
Variations
Spicy Dilly Beans Option
If you like heat, try adding more red pepper flakes. Use one teaspoon instead of a half. This change will give your beans a nice kick. You can also add sliced jalapeños for extra spice. Just remember, more heat means less balance in flavor. Taste as you go to get it just right!
Herb-Infused Alternatives
You can mix in fresh or dried herbs for a new taste. Try adding thyme or rosemary. These herbs will give your beans a fresh aroma and taste. Just a sprig or a teaspoon of dried herbs will do. This adds a nice twist to your crispy garlic dilly beans.
Unique Add-ins for Flavor
Want to get creative? Add a few slices of lemon or lime. This will brighten the flavor. You can also toss in slices of onion or a few mustard seeds. These add a bold taste and visual appeal in the jar. Think of your favorite flavors and mix them in!
For the full recipe, see Grandma’s Crispy Garlic Dilly Beans.
Storage Info
Best Practices for Storing
To keep Grandma’s crispy garlic dilly beans fresh, store them in the fridge. Make sure the jars are tightly sealed to keep out air. Always use clean utensils when serving to avoid contamination. This method helps maintain their crunch and flavor.
Shelf Life of Pickled Beans
If stored properly, these pickled beans can last for about two months in the fridge. The flavors get better over time. However, for the best taste, try to eat them within a month. If you notice any changes in color or smell, it’s best to throw them away.
Reusing Jars for Future Recipes
You can reuse the jars for other pickling or storage needs. Just make sure to wash them well and check for any cracks. Using clean, sterilized jars helps keep your food safe. It’s a great way to reduce waste and save money while cooking!
FAQs
How long do Grandma’s Crispy Garlic Dilly Beans last?
Grandma’s crispy garlic dilly beans last about two months in the fridge. The cool temperatures help keep them crunchy and tasty. After opening a jar, eat them within two weeks for the best flavor. Always check for signs of spoilage, like off smells or changes in color.
Can I use other vegetables for pickling?
Yes, you can use many other vegetables for pickling! Carrots, cucumbers, and radishes work well. You can even try cauliflower or asparagus for a fun twist. Just cut them to fit in your jars. Keep the same brine recipe for great taste.
What can I pair with Dilly Beans in meals?
Dilly beans are very versatile! They make a great snack on their own. You can also add them to salads for a crunchy kick. They work well as a garnish in drinks, too, like a non-alcoholic Bloody Mary. For meals, pair them with sandwiches or grilled meats for a burst of flavor. They add a nice crunch and a tangy taste that complements many dishes.
For the full recipe, check out Grandma’s Crispy Garlic Dilly Beans!
You learned how to make delicious pickled green beans. We covered fresh ingredients, brining, and packing. You can add unique flavors with herbs and spices. Remember, crispy texture matters for the best taste. Store your beans properly for a long shelf life. Pickled beans make great snacks and side dishes. This simple method will help you impress friends and family. Enjoy this fun way to preserve fresh flavors from your garden or market!