
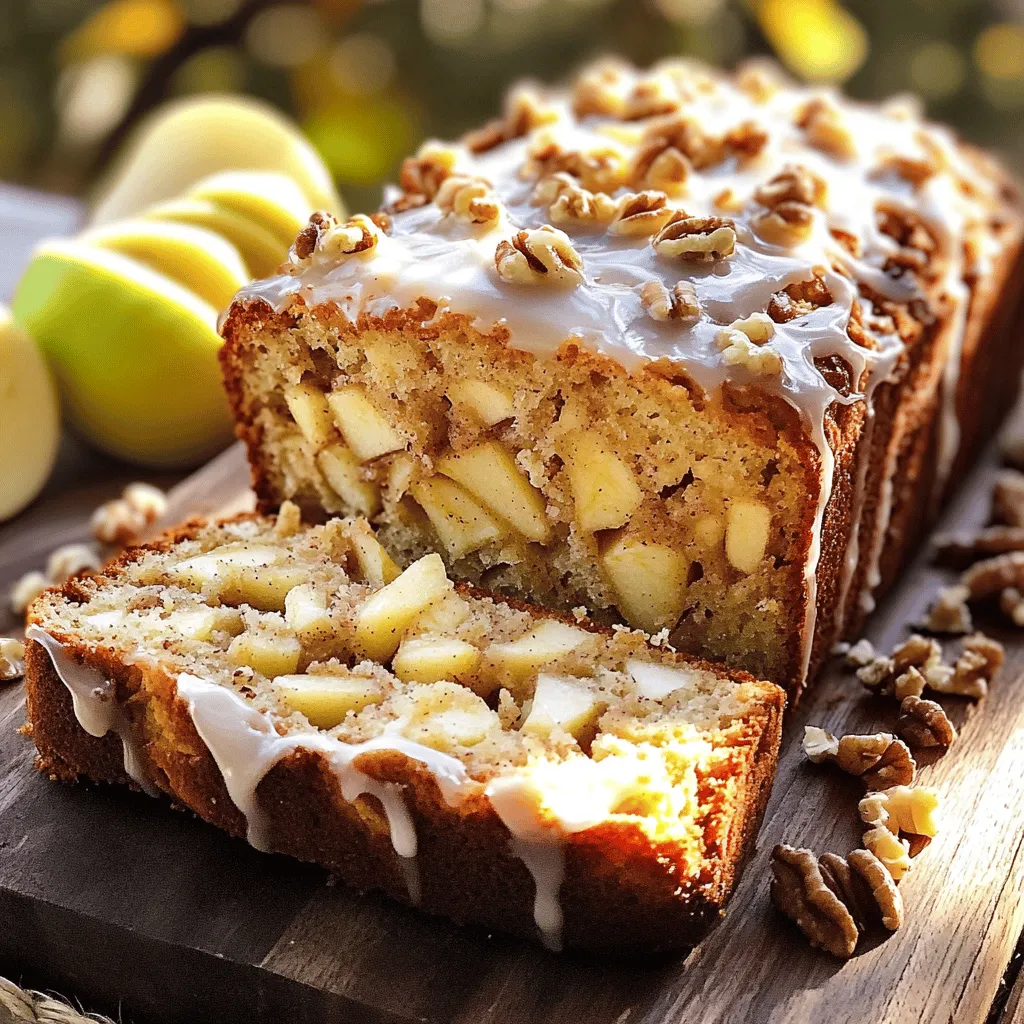
Are you ready to try something delicious? Today, we’re diving into a simple and tasty treat: Glazed Apple Fritter Bread! This warm bread mixes sweet apples with a soft, fluffy texture, topped with a rich glaze that’ll make your mouth water. Whether you’re a beginner or an expert in the kitchen, this recipe makes baking fun and easy. Let’s get started and create a delightful dish that will impress everyone!
Ingredients
Essential Ingredients for Glazed Apple Fritter Bread
To make this tasty bread, you need a few key items:
– 2 cups all-purpose flour
– 1 tablespoon baking powder
– 1/2 teaspoon salt
– 1 teaspoon ground cinnamon
– 1/4 teaspoon nutmeg
– 1/2 cup granulated sugar
– 1/2 cup unsalted butter, melted
– 2 large eggs
– 1 teaspoon vanilla extract
– 1 cup diced apples (peeled and cored)
These ingredients come together to create a soft, flavorful bread with a sweet glaze.
Optional Ingredients for Enhanced Flavor
You can add a few optional items for extra taste:
– 1/2 cup chopped walnuts
These walnuts add a nice crunch and a nutty flavor. You can skip them if you prefer a smoother texture.
Ingredient Substitutions and Recommendations
If you want to make some swaps, here are my top tips:
– Use whole wheat flour for a healthier option.
– Substitute apples with pears or peaches for a fun twist.
– Swap walnuts with pecans or leave them out if you have nut allergies.
These changes can help you personalize the recipe to your liking. Enjoy making your own version of glazed apple fritter bread!
Step-by-Step Instructions
Preparation: Prepping Your Ingredients
First, gather all your ingredients. You’ll need:
– 2 cups all-purpose flour
– 1 tablespoon baking powder
– 1/2 teaspoon salt
– 1 teaspoon ground cinnamon
– 1/4 teaspoon nutmeg
– 1/2 cup granulated sugar
– 1/2 cup unsalted butter, melted
– 2 large eggs
– 1 teaspoon vanilla extract
– 1 cup diced apples (peeled and cored)
– 1/2 cup chopped walnuts (optional)
– 1/2 cup powdered sugar (for glaze)
– 2 tablespoons milk (for glaze)
Make sure your apples are diced small. This helps them blend well in the bread. Preheat your oven to 350°F (175°C). Grease a 9×5 inch loaf pan so your bread won’t stick.
Mixing: Combining Wet and Dry Ingredients
In a medium bowl, mix the dry ingredients. Combine the flour, baking powder, salt, cinnamon, and nutmeg. Whisk them together well.
In a large bowl, mix the sugar and melted butter until smooth. Add the eggs, one at a time. Mix after each egg. Then, stir in the vanilla extract.
Now, add the dry mix to the wet mix. Stir gently until just combined. Don’t overmix! This keeps your bread light and fluffy. Fold in the diced apples and walnuts if you’re using them. Make sure they are evenly spread in the batter.
Baking: Perfecting the Baking Process
Pour your batter into the prepared loaf pan. Smooth the top with a spatula. Place it in the oven and bake for 50-60 minutes.
To check if it’s done, insert a toothpick into the center. It should come out clean when the bread is ready. Let the bread cool in the pan for 10 minutes. Then, transfer it to a wire rack to cool completely.
Glazing: Creating the Sweet Topping
While the bread cools, you can make the glaze. In a small bowl, whisk the powdered sugar and milk together until smooth.
Once the bread has cooled, drizzle the glaze over the top. Let it soak in for extra flavor. This sweet topping really makes your apple fritter bread shine!
Tips & Tricks
Achieving the Perfect Bread Texture
For a soft and fluffy bread, use room temperature eggs. This helps the batter mix well. Don’t over-mix after adding the dry ingredients. Mix just until combined. Over-mixing can lead to a dense loaf. Also, ensure your butter is melted but not too hot. Hot butter can cook the eggs.
Common Baking Mistakes to Avoid
One common mistake is not preheating the oven. Always preheat to the right temperature. Another error is using old baking powder. Check the expiration date to ensure it’s fresh. If the batter seems too thick, add a tablespoon of milk. This helps the bread rise better. Lastly, don’t skip the glaze—it adds a pleasant sweetness.
Enhancements for Additional Flavor
To boost the flavor, try adding a teaspoon of lemon zest. It brightens the bread and pairs well with apples. You can also swap walnuts for pecans or almonds. These nuts give a different crunch. For a spicier twist, add a pinch of ginger or cardamom. These spices add warmth and depth.
Variations
Gluten-Free Glazed Apple Fritter Bread
You can make this bread gluten-free. Use 2 cups of gluten-free flour instead of all-purpose flour. This swap works well in most recipes. Check if the flour blend contains xanthan gum. If not, add 1 teaspoon to help bind the bread. Follow the same steps as in the original recipe. You’ll still enjoy those tasty apple bites.
Vegan Adaptations and Substitutions
For a vegan version, replace the eggs with flax eggs. To make one flax egg, mix 1 tablespoon of flaxseed meal with 2.5 tablespoons of water. Let it sit for 5 minutes until it thickens. Use plant-based butter instead of regular butter. Choose a non-dairy milk like almond or oat milk for the glaze. These changes keep the flavor rich while making it vegan-friendly.
Seasonal Variations: Adding Spices or Fruits
You can switch up the spices or fruits to match the season. In fall, add a pinch of allspice or cardamom for warmth. In summer, try mixing in fresh berries like blueberries or raspberries. They add a fresh twist to the classic taste. Feel free to experiment with flavors that you love. The key is to enjoy the process and create something special.
Storage Info
Best Practices for Storing Leftover Bread
To keep your glazed apple fritter bread fresh, follow these simple steps:
– Cool completely: First, let the bread cool on a wire rack. This step prevents moisture build-up.
– Wrap securely: Use plastic wrap or aluminum foil to wrap the bread tightly. This keeps air out and moisture in.
– Store in a cool place: Place the wrapped bread in a cool, dry spot. A kitchen counter is perfect for short-term storage.
This method helps maintain the bread’s flavor and texture for up to three days.
How to Freeze Glazed Apple Fritter Bread
Freezing is a great way to save extra slices for later. Here’s how to do it:
– Slice before freezing: Cut the bread into slices. This makes it easy to thaw only what you need.
– Wrap each slice: Wrap each slice in plastic wrap. You can also use freezer bags for extra protection.
– Use airtight containers: Place the wrapped slices in an airtight container or a freezer bag. This keeps them fresh and prevents freezer burn.
When stored this way, the bread can last up to three months in the freezer.
Reheating Tips for Optimal Freshness
When you’re ready to enjoy your glazed apple fritter bread, reheating it properly is key. Here are my tips:
– Oven method: Preheat your oven to 350°F (175°C). Place the slices on a baking sheet and warm them for about 10 minutes. This helps restore the bread’s soft texture.
– Microwave method: For a quick option, use the microwave. Heat each slice for about 15 seconds. Keep an eye on it to avoid making it too hot.
These methods will help you enjoy your bread just like the day you made it!
FAQs
How long does Glazed Apple Fritter Bread last?
Glazed Apple Fritter Bread can last for about five days when stored properly. Keep it in an airtight container at room temperature. If you want it to last longer, you can freeze it. Wrap the bread tightly in plastic wrap and then in foil. It will stay fresh for up to three months in the freezer.
Can I use other fruits instead of apples?
Yes, you can use other fruits! Pears, peaches, or even berries work well. Just remember to chop them into small pieces. Adjust the spices slightly for different flavors. Make sure the fruit is ripe to get the best taste.
What can I serve with Glazed Apple Fritter Bread?
You can serve this bread with maple syrup for dipping. A dollop of whipped cream or a scoop of vanilla ice cream also pairs nicely. For added crunch, sprinkle some chopped nuts on top. Fresh fruit on the side can brighten up your plate too.
In this post, we explored how to make delicious glazed apple fritter bread. We covered essential and optional ingredients, along with substitutions. The step-by-step guide helped you mix, bake, and glaze for the perfect treat. Remember tips to achieve great texture and avoid common mistakes. We even shared variations for gluten-free, vegan, and seasonal options. Proper storage and reheating methods keep your bread fresh. Embrace this recipe to enjoy a delightful treat any time.
