Are you craving a sweet and crunchy snack that’s easy to make? Look no further! My Easy No-Bake Cheerio and Peanut Butter Bars bring together simple ingredients for a tasty treat. No baking is needed, so you can whip them up in no time. Plus, these bars are flexible—you can add nuts, chocolate, or even swap out flavors. Let’s get started on this delicious journey together!
Ingredients
Required Ingredients
– 3 cups Cheerios
– 1 cup creamy peanut butter
– 1/2 cup honey or maple syrup
– 1/4 cup chocolate chips (optional)
– 1/4 cup chopped nuts (like almonds or pecans, optional)
– A pinch of salt
The ingredients for Easy No-Bake Cheerio and Peanut Butter Bars are simple and easy to find. I love using Cheerios because they add a nice crunch. You can use any brand of cereal, but I find Cheerios work best.
The creamy peanut butter is key for binding the bars together. You can also use crunchy peanut butter if you like some texture. Honey or maple syrup gives a natural sweetness. If you want a little extra fun, add chocolate chips for a sweet touch.
Chopped nuts add a great crunch and flavor. I usually go for almonds or pecans, but you can choose your favorite. A pinch of salt balances the sweetness and enhances all the flavors.
This recipe is flexible, so feel free to tweak the ingredients. Check out the Full Recipe for more details on how to make these delicious bars.
Step-by-Step Instructions
Mixing the Base
Start by taking a large mixing bowl. In it, combine 1 cup of creamy peanut butter and 1/2 cup of honey or maple syrup. If you use honey, warm it lightly in the microwave for about 10 seconds. This helps it mix better. Stir the two together until they are smooth. Next, add a pinch of salt to enhance the flavor. Mix thoroughly to ensure the salt is evenly distributed.
Preparing the Cheerio Mixture
Now it’s time to add the fun part! Fold in 3 cups of Cheerios into your peanut butter mixture. Be gentle while mixing. You want to coat each Cheerio without crushing them. If you’d like, you can add 1/4 cup of chocolate chips and 1/4 cup of chopped nuts, like almonds or pecans. These extras add a great crunch and flavor. Gently fold them in to keep the mixture light.
Setting the Bars
Grab an 8×8 inch baking pan. Line it with parchment paper, leaving some paper hanging over the edges. This will help you lift the bars out later. Now, press the mixture firmly and evenly into the lined pan. Use a spatula or your hands to pack it down tightly. This step is key to making sure the bars hold together. Finally, place the pan in the refrigerator. Let it chill for at least 1 hour. This allows the bars to set and firm up nicely.
Tips & Tricks
Ensuring Texture
To keep Cheerios crisp, handle them with care. When you fold them into the peanut butter mix, use a gentle touch. This way, you won’t crush them. If you do crush some, don’t worry too much; they will still taste great.
To firm up the bars, press the mixture tightly into the pan. I like to use a spatula or my hands to pack it down well. The tighter it is, the better it holds together. After pressing, place the pan in the fridge for at least an hour. This will help them set perfectly, so they don’t fall apart when you slice them.
Serving Suggestions
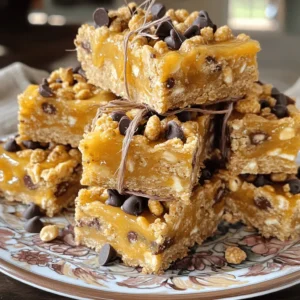
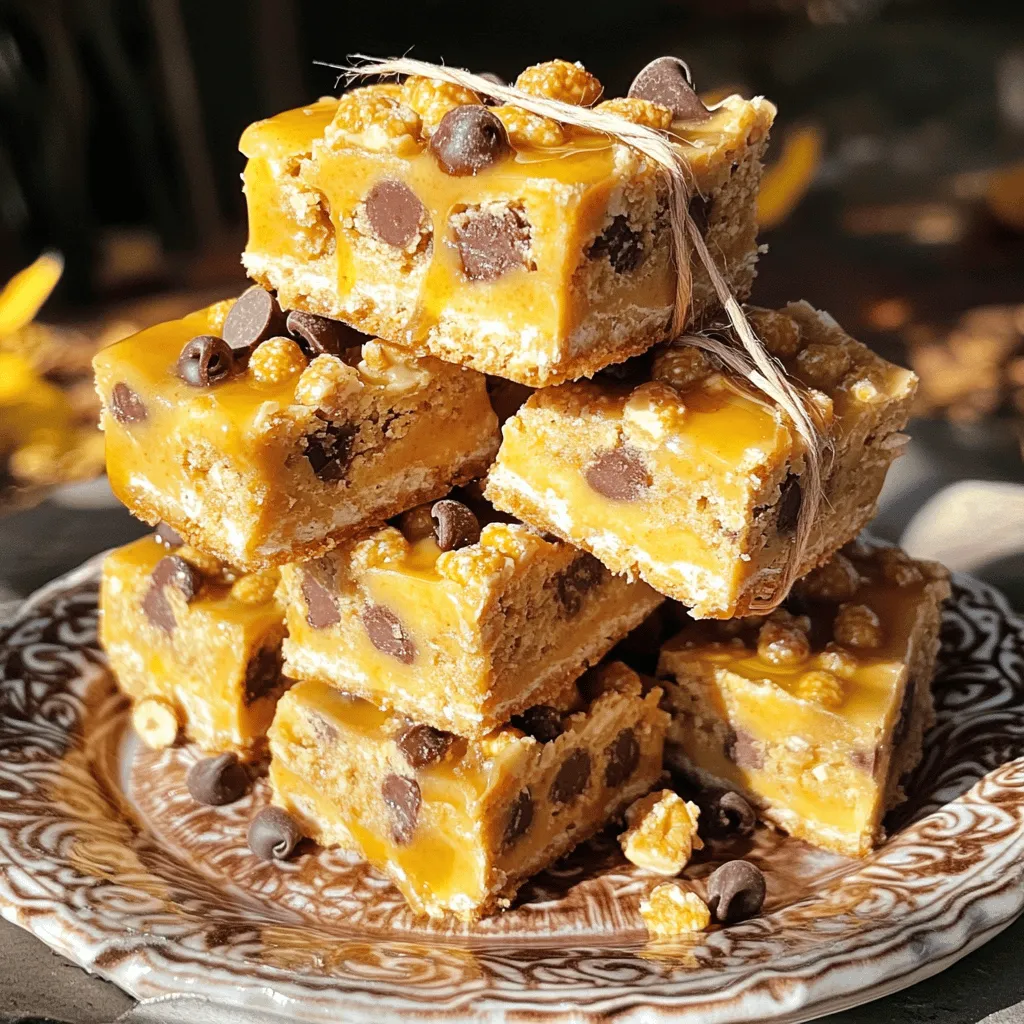
For a fun way to present the bars, stack them on a colorful plate. You can also wrap each bar in parchment paper and tie them with twine. This makes a lovely gift or snack.
Pair these bars with a glass of milk or a cup of tea. They also go well with fresh fruit, like apple slices or bananas. You can explore different flavors by adding some chocolate chips or nuts into the mix.
For the full recipe, check out the main section. Happy cooking!
Variations
Flavor Variations
You can make these bars even better! Try using different nut butters like almond or cashew. Each nut butter adds a unique taste. You can also mix in dried fruit or seeds. Dried cranberries, raisins, or sunflower seeds give the bars extra flavor and crunch. Experiment with what you like best!
Dietary Substitutions
Want to make it vegan? Use agave syrup instead of honey. It works just as well and keeps it sweet. If you follow a gluten-free diet, look for gluten-free Cheerios. This way, everyone can enjoy these tasty bars without worry!
Storage Info
Best Storage Practices
To keep your Cheerio and peanut butter bars fresh, store them in an airtight container. Make sure to place a layer of parchment paper between layers if stacking them. This helps prevent sticking and keeps them intact. I recommend using a glass or plastic container with a secure lid. Avoid containers that may not seal well, as air can make the bars stale.
Shelf Life
These bars can last about a week when stored in the pantry. If you want them to last longer, keep them in the refrigerator. In the fridge, they can stay fresh for up to two weeks. Just remember, the colder they are, the firmer they become. So, if you prefer a softer bite, let them sit at room temperature for a few minutes before enjoying.
FAQs
How do I make the bars stick together?
To make the bars stick well, press the mixture firmly. After mixing, take your spatula or hands and push down hard. This helps the bars stay together. If the mixture is loose, they might fall apart later. Use a flat surface to press evenly. The more you press, the better they hold.
Can I freeze these bars?
Yes, you can freeze these bars! To freeze, cut them into squares. Wrap each piece in plastic wrap or foil. Place them in a freezer-safe bag. They can stay in the freezer for up to three months. When you want to eat them, take them out and let them thaw in the fridge for a few hours. They taste fresh and yummy!
What can I substitute for Cheerios?
If you don’t have Cheerios, you can use other cereals. Rice cereal or corn flakes work well. Granola can also be a tasty choice. Just make sure the cereal is not too sweet. This keeps the balance of flavors right. Choose a cereal that you enjoy!
In this post, we covered how to make easy, tasty bars with Cheerios. You learned the key ingredients and step-by-step instructions to mix and set your bars. We shared tips for texture, serving ideas, and tasty variations to try. Lastly, we discussed how to store your bars for the best freshness.
Make these bars your own and enjoy them anytime. They are simple, fun, and delicious!