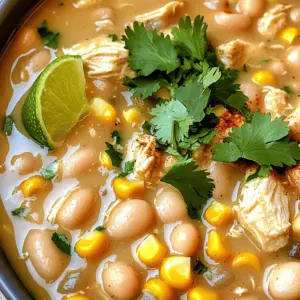
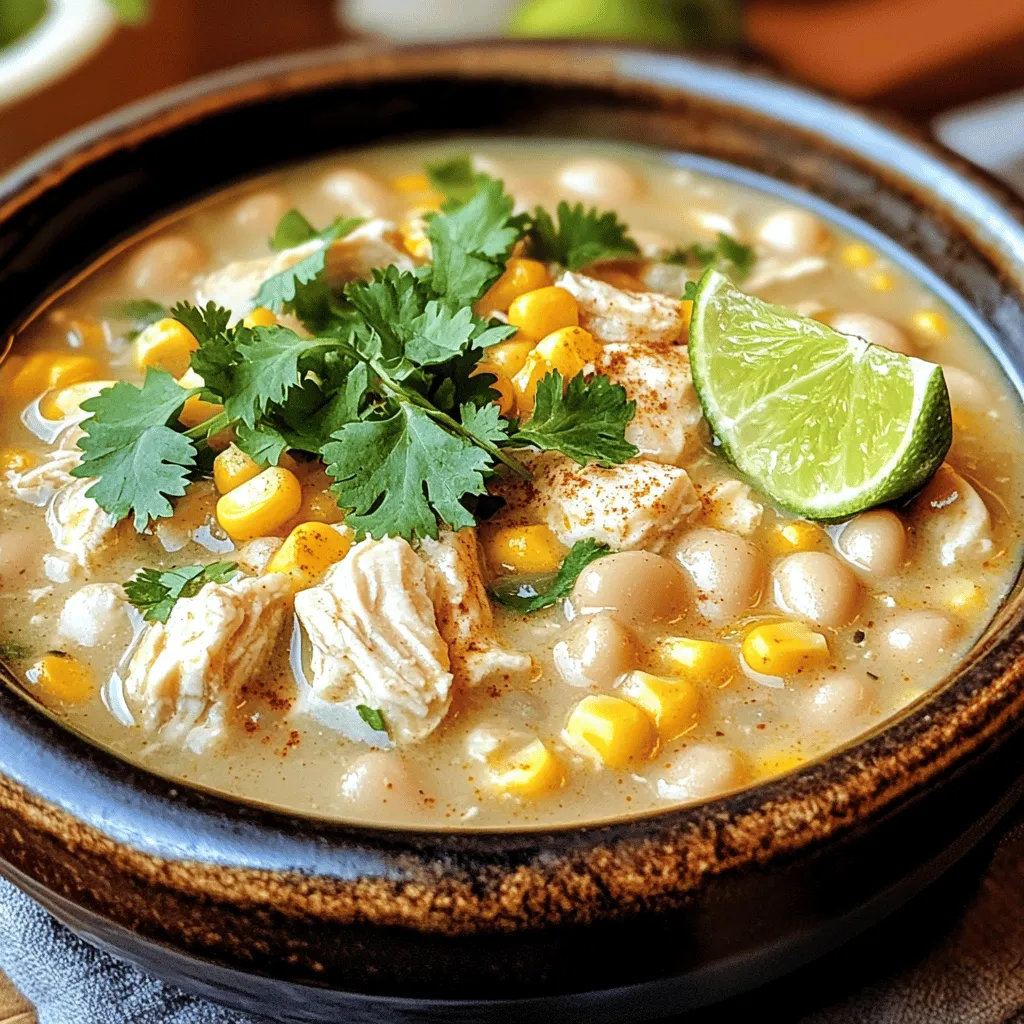
Looking for a warm and cozy meal? My Creamy White Chicken Chili is your answer! This easy and flavorful recipe combines tender chicken, hearty beans, and sweet corn in a rich, creamy broth. Plus, it’s flexible, allowing for spice adjustments and ingredient swaps. Whether you want comfort food for a chilly night or an easy dish for guests, let’s dive into this delightful recipe that will impress everyone at your table!
Ingredients
Main Ingredients
– 1 pound boneless, skinless chicken breasts, diced
– 2 tablespoons olive oil
– 2 cans (15 oz each) white beans, drained and rinsed
– 1 cup heavy cream
– 1 cup corn kernels
Seasonings and Garnishes
– 1 teaspoon ground cumin
– 1 teaspoon chili powder
– ½ teaspoon paprika
– 1 teaspoon dried oregano
– Fresh cilantro and lime wedges
Kitchen Tools Required
– Large pot
– Cutting board and knife
– Measuring spoons and cups
When making creamy white chicken chili, gather your main ingredients first. The chicken is the star of this dish. Use one pound of boneless, skinless chicken breasts. Dice them into small pieces. This size helps them cook evenly and mix well with other ingredients.
Next, you’ll need olive oil. Two tablespoons will help brown the chicken and add flavor. For the creamy base, grab two cans of white beans. Great Northern beans work well here. They add a nice texture and some protein.
Don’t forget one cup of heavy cream. This makes the chili rich and creamy. You’ll also need one cup of corn kernels, which adds a sweet burst to each bite.
Now, let’s talk about seasonings. Ground cumin adds a warm flavor. Use one teaspoon of this spice. Chili powder brings a nice kick, so add one teaspoon there as well. A half teaspoon of paprika adds color and a mild taste. Finally, one teaspoon of dried oregano rounds out the flavor profile.
For garnishes, fresh cilantro brightens up the dish. A lime wedge adds a zesty finish.
Lastly, keep your kitchen tools handy. A large pot is essential for cooking everything together. A cutting board and knife will help with prep work. Measuring spoons and cups will ensure you get the right amounts of each ingredient.
Now that you have all your ingredients and tools ready, you’re set to create a delicious creamy white chicken chili!
Step-by-Step Instructions
Cooking the Chicken
First, grab a large pot and heat 2 tablespoons of olive oil over medium heat. Once the oil is hot, add 1 pound of diced boneless, skinless chicken. Cook for about 6 to 8 minutes until the chicken is browned and fully cooked. Make sure to stir often to avoid sticking. When the chicken is ready, remove it from the pot and set it aside on a plate.
Sautéing the Aromatics
In the same pot, add the finely chopped onion. Cook the onion for 4 to 5 minutes. You want it to turn a nice translucent color. After that, add 3 cloves of minced garlic. Cook the garlic for about 1 minute until it smells great. This step builds a strong flavor base for your chili.
Combining Ingredients
Now, it’s time to bring everything together. Add 2 cans of white beans, 2 cups of low-sodium chicken broth, and 1 cup of heavy cream to the pot. Then, sprinkle in 1 teaspoon of ground cumin, 1 teaspoon of chili powder, ½ teaspoon of paprika, 1 teaspoon of dried oregano, and salt and pepper to taste. Stir everything well to combine.
Bring the mixture to a gentle simmer. After it simmers, stir in the cooked chicken and 1 cup of corn kernels. Let the chili cook for another 10 to 15 minutes. Stir occasionally and watch it thicken to your liking. Taste and adjust the seasoning if needed. Add some diced jalapeños or a sprinkle of cayenne if you want more heat. Enjoy your creamy white chicken chili!
Tips & Tricks
Achieving the Perfect Consistency
To get your chili just right, you can adjust the thickness. If it’s too thick, add more broth or cream. This will help make it creamy and smooth. If it’s too thin, let it simmer longer to thicken up. Taste it as you go. Adjust the salt and pepper to match your palate.
Enhancing Flavor
Want to amp up the flavor? Try adding spices like cayenne for heat or coriander for a fresh taste. You can also mix in fresh veggies, like bell peppers or zucchini. They add color and extra nutrients. Don’t forget toppings! A sprinkle of fresh cilantro or a squeeze of lime can elevate your dish.
Cooking Methods
If you want to use a slow cooker, brown the chicken, and then place everything in the pot. Cook on low for 6-8 hours. For an Instant Pot, simply add all ingredients and cook on high pressure for 10 minutes. Use a quick release for best results. Both methods will give you a tasty chili with minimal effort.
Variations
Spice Level Adjustments
You can easily change the spice level of your creamy white chicken chili. If you like heat, try adding jalapeños. Dice them up and stir them in while cooking. You can also sprinkle in cayenne pepper for extra kick. Start small and taste as you go. If you want it milder, swap those out for sweet bell peppers. This way, you keep the flavor without the heat.
Dietary Modifications
Are you looking for gluten-free options? Good news! The ingredients in this recipe are naturally gluten-free. Just make sure your chicken broth is also gluten-free. For a dairy-free version, you can use coconut milk instead of heavy cream. It gives a nice creaminess with a hint of sweetness.
Ingredient Swaps
You don’t have to stick with chicken. Ground turkey or shredded turkey work well too. They give a lighter taste but still pack a punch. If you want to skip meat altogether, plant-based proteins like tofu or lentils are great choices. For beans, Great Northern beans are common, but you can also use cannellini beans or even chickpeas. Mixing different beans adds depth of flavor and texture.
Storage Info
Refrigeration Guidelines
To store your leftover Creamy White Chicken Chili, place it in an airtight container. Make sure to let it cool before sealing. Keep it in the fridge for up to three days. For the best taste, eat it within this time frame. To retain flavor, avoid adding garnishes like cilantro or lime until serving. This keeps the taste fresh and vibrant.
Freezing Instructions
You can freeze Creamy White Chicken Chili for later use. Start by letting it cool completely. Then, transfer it to a freezer-safe container or bag. Remove as much air as possible, then seal tightly. You can freeze it for up to three months. When you’re ready to enjoy it, thaw the chili in the fridge overnight. Reheat it on the stove over low heat, stirring often. If it seems thick, add a splash of chicken broth to reach your desired consistency.
Shelf Life
In the fridge, Creamy White Chicken Chili lasts for about three days. In the freezer, it stays safe for up to three months. Always check for off smells or changes in color before eating. If it looks or smells unusual, it’s best to throw it out.
FAQs
Can I use canned chicken instead of fresh?
Yes, you can use canned chicken in this recipe. Canned chicken saves time and effort. It is already cooked, so you can add it directly to your chili. However, the texture may differ from fresh chicken. Fresh chicken offers a firmer bite and richer flavor. When using canned chicken, check for added salt. This can affect the taste of your chili. Always drain and rinse the chicken to lessen the sodium content.
How do I make this chili spicier?
To give your chili more heat, you can add diced jalapeños or a sprinkle of cayenne pepper. Start with a small amount and taste as you go. You can also try adding crushed red pepper flakes. Another option is to use spicy chicken broth. This will deepen the flavor and kick up the spice level. Always balance the heat with cream or lime to keep it flavorful.
Can I make this chili in advance?
Yes, you can make this chili ahead of time. It tastes even better after sitting for a while. To prepare in advance, cook the chili and let it cool. Store it in an airtight container in the fridge. It will last for about 3-4 days. When ready to eat, reheat on the stove over low heat. You can also freeze it for up to 3 months. To thaw, put it in the fridge overnight before reheating.
In this blog post, I shared a simple recipe for Creamy White Chicken Chili. You learned about the main ingredients, cooking steps, and kitchen tools you’ll need. I also covered tips for adjusting flavor and texture and offered variations for different diets. Remember, make it your own by tweaking the spices or changing the protein. Enjoy your cooking, and don’t hesitate to experiment. Each batch is a chance to learn and taste something new. Happy cooking!