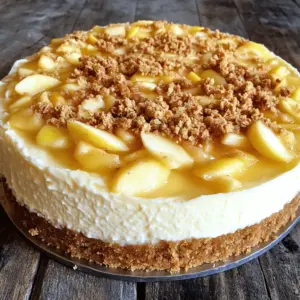
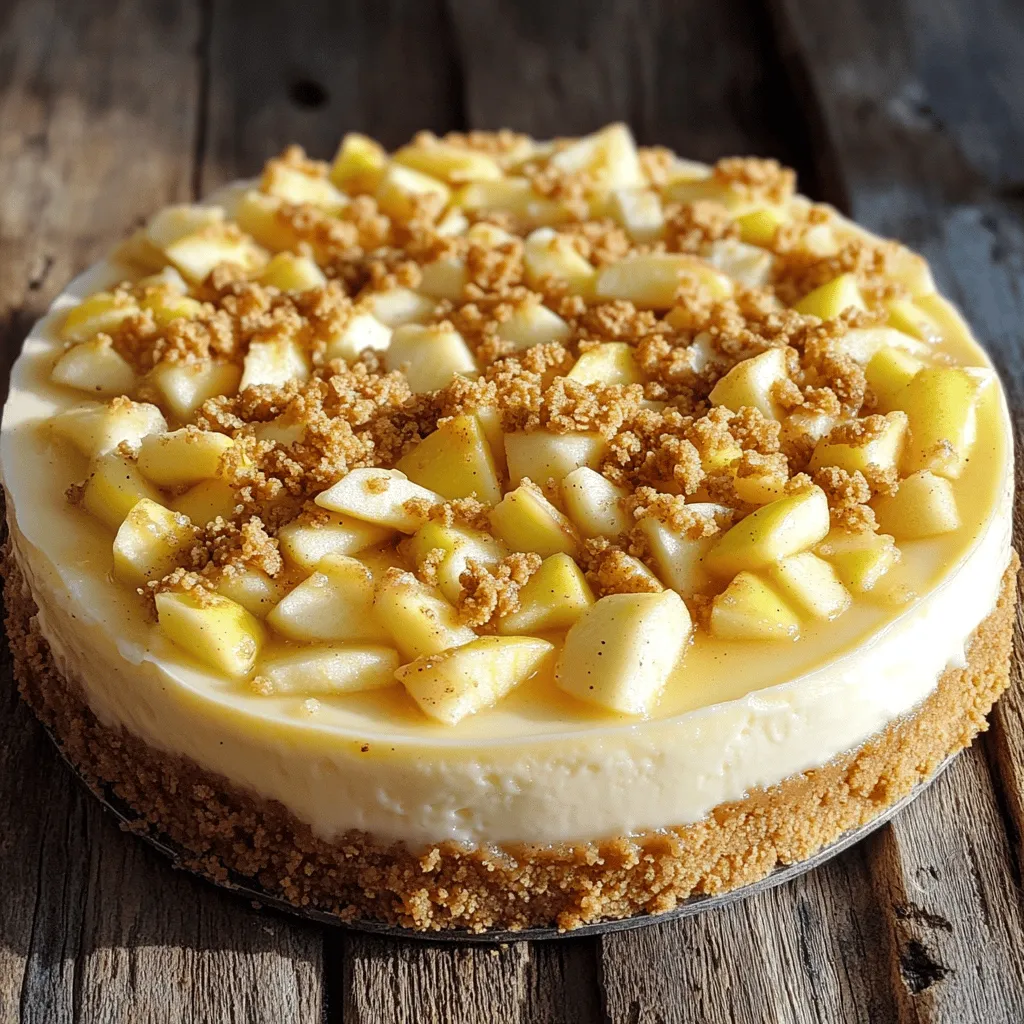
If you’re craving something unique and delicious, look no further! My Creamy Apple Crumble Cheesecake combines smooth cream cheese with fresh apples and a crunchy crumble. This dessert is a perfect treat for any occasion, whether it’s a family dinner or a festive holiday gathering. Stick around as I guide you through the simple steps to create this irresistible delight. You won’t want to miss it!
Ingredients
List of Ingredients
– 1 ½ cups graham cracker crumbs
– ½ cup unsalted butter, melted
– 1 tablespoon sugar
– 2 cups cream cheese, softened
– 1 cup granulated sugar
– 3 large eggs
– 1 teaspoon vanilla extract
– ½ cup sour cream
– 2 cups apples, peeled and diced
– 1 teaspoon cinnamon
– ½ teaspoon nutmeg
– ½ cup rolled oats
– ¼ cup brown sugar
– ¼ cup all-purpose flour
– Pinch of salt
To make this creamy apple crumble cheesecake, you need specific ingredients. The base forms with graham cracker crumbs, adding flavor and crunch. Melted unsalted butter binds the crumbs, giving a rich taste. We mix a tablespoon of sugar into the crust for a touch of sweetness.
The filling requires two cups of softened cream cheese. This makes the cheesecake creamy and rich. A cup of granulated sugar balances the cream cheese’s tartness. You will add three large eggs for structure, plus a teaspoon of vanilla extract for flavor. Sour cream, at half a cup, adds tang and creaminess.
Now for the stars of the show: apples! You need two cups of peeled and diced apples. I love using tart varieties like Granny Smith. They add a fresh taste. Spice it up with a teaspoon of cinnamon and half a teaspoon of nutmeg.
For the crumble topping, combine half a cup of rolled oats, a quarter cup of brown sugar, and a quarter cup of all-purpose flour. A pinch of salt rounds out the flavors. Together, these ingredients make the cheesecake irresistible. Each bite is a mix of creamy cheese, sweet apples, and crunchy topping.
Step-by-Step Instructions
Preparation Steps
1. Preheat your oven to 325°F (163°C).
2. Grease a 9-inch springform pan with cooking spray.
3. In a medium bowl, mix together the graham cracker crumbs, melted butter, and sugar.
4. Press the crumb mixture firmly into the bottom of the pan.
5. Bake the crust for 10 minutes, then let it cool.
Making the Cheesecake Filling
1. In a large bowl, beat the softened cream cheese with an electric mixer until smooth.
2. Gradually add the granulated sugar, mixing well.
3. Add the eggs one at a time, mixing on low after each addition.
4. Stir in the vanilla extract and sour cream until smooth.
Combine Apples and Topping
1. In a separate bowl, toss the diced apples with cinnamon and nutmeg.
2. Gently fold the spiced apples into the cheesecake batter until evenly mixed.
Final Assembly and Baking
1. Pour the cheesecake mixture over the cooled graham cracker crust.
2. Spread it evenly with a spatula.
3. In another bowl, mix rolled oats, brown sugar, flour, and a pinch of salt for the crumble topping.
4. Sprinkle the crumble mixture evenly over the cheesecake.
5. Bake in the oven for 55-65 minutes until the center is set but slightly jiggly.
Cooling and Chilling
1. Remove the cheesecake from the oven and let it cool on a wire rack for at least 1 hour.
2. Refrigerate the cheesecake for at least 4 hours, or overnight for best results.
Enjoy each step as you create this creamy apple crumble cheesecake!
Tips & Tricks
Achieving the perfect texture
To get a creamy cheesecake, beat your cream cheese well. Start with softened cream cheese. This helps mix it smoothly with the sugar. Use an electric mixer on medium speed. Mix until there are no lumps.
To stop cracks from forming, bake slowly. A water bath helps too. Wrap the springform pan with foil. This keeps moisture in and helps it bake evenly. Let the cheesecake cool slowly. This also helps avoid cracks.
Serving Suggestions
This cheesecake pairs well with whipped cream and caramel sauce. A scoop of vanilla ice cream makes it extra special. Fresh apple slices on the side add a nice touch.
For presentation, use a cake stand. This showcases the layers. You can sprinkle extra cinnamon on top for color. Slices look pretty when plated with a drizzle of caramel.
Troubleshooting Common Issues
If your cheesecake is too runny, it may not have baked long enough. Bake it a little longer and check for firmness. The center should be set but still jiggle slightly.
For the right baking time, check at 55 minutes. If it’s jiggly but not liquid, it’s done. The edges should look firm, while the center is soft. This means your cheesecake will set up nicely in the fridge.
Variations
Flavor Enhancements
To make this cheesecake even better, you can change up the fruit. Try using pears or berries for a new taste. Each fruit brings its unique flavor. They can add sweetness or tartness to the dish. You can also mix in spices. Consider adding ginger or cardamom to give your cheesecake warmth.
Dietary Modifications
If you’re looking for gluten-free options, use almond flour or gluten-free cookies for the crust. These options work well and keep the cheesecake tasty. For those who want a vegan cheesecake, swap cream cheese for vegan cream cheese. Use flax eggs instead of regular eggs. This will keep the cheesecake creamy while staying plant-based.
Mini Cheesecake Versions
Making mini cheesecakes is fun! You can use cupcake liners or small jars for easy serving. Just adjust the bake time. Smaller sizes need less time in the oven, around 20-25 minutes. This way, everyone can enjoy their own little cheesecake.
Storage Info
Best Practices for Storage
To keep your creamy apple crumble cheesecake fresh, refrigerate it correctly. First, allow the cheesecake to cool completely on a wire rack. Once cool, cover it with plastic wrap or aluminum foil. Make sure to seal it tightly to prevent air from getting in. This keeps the cheesecake moist and tasty.
If you want to save it for later, you can freeze it. Slice the cheesecake into pieces and wrap each slice in plastic wrap. Then, place the wrapped slices in a freezer bag. This method helps keep the cheesecake fresh for up to three months. When you are ready to eat, thaw the slices in the fridge overnight.
Shelf Life
In the fridge, the cheesecake lasts for about five to seven days. Always check for signs that it has gone bad. If you see any mold or a change in color, it’s time to toss it. Another sign is an off smell. If it smells sour or strange, don’t eat it. It’s better to be safe than sorry when it comes to food!
FAQs
What are the best apples to use for cheesecake?
The best apples for cheesecake are tart varieties. I recommend Granny Smith or Honeycrisp apples. They add a nice balance of sweetness and tartness. Using apples that hold their shape when cooked is ideal. Avoid soft apples, as they can turn mushy.
Can I make this cheesecake ahead of time?
Yes, you can make this cheesecake ahead of time. It tastes even better after chilling overnight. Just keep it covered in the fridge until you are ready to serve. This way, the flavors meld nicely, and the texture sets perfectly.
How do I know when the cheesecake is done baking?
To check if your cheesecake is done, look for a slight jiggle in the center. The edges should be firm, while the center should be soft but not liquid. A toothpick inserted should come out clean or with just a few crumbs.
Can I substitute cream cheese with Greek yogurt?
You can substitute cream cheese with Greek yogurt, but the texture will change. Greek yogurt creates a lighter cheesecake. If you want a creamier texture, mix Greek yogurt with some cream cheese. This gives you a nice balance of flavors.
What is the difference between a cheesecake and a New York-style cheesecake?
A regular cheesecake is lighter and fluffier, often made with ricotta or mascarpone. New York-style cheesecake is denser and creamier, using cream cheese as the main ingredient. New York-style also often has sour cream, which adds richness.
This cheesecake recipe combines sweet apples, spices, and creamy cheese. You learned how to make the crust, filling, and topping to create a perfect dessert. Remember to chill it well for the best flavor. Experiment with toppings or try different fruits to make it your own. This dessert not only tastes great but also offers room for your creativity. Enjoy crafting this delicious treat and sharing it with friends and family. Fresh flavors and simple steps make every bite special. Happy baking!