Salads
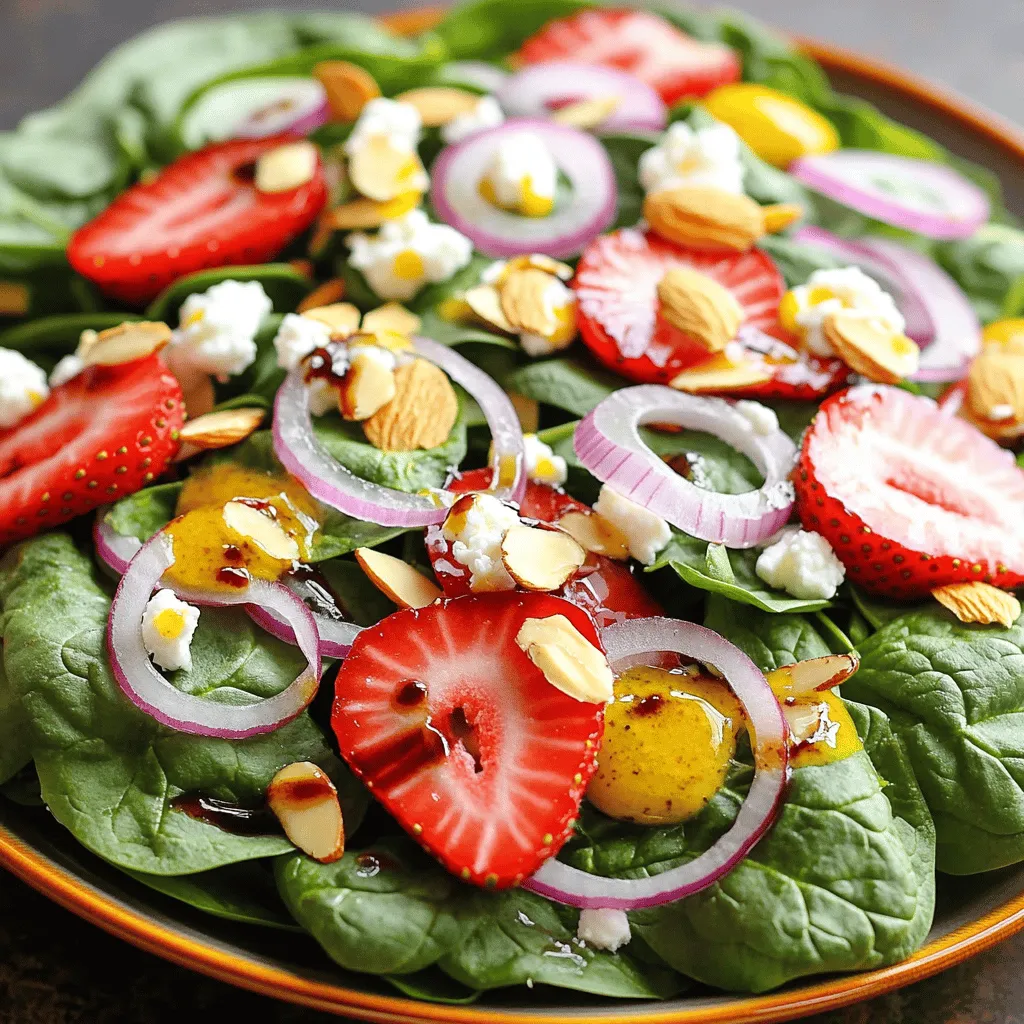
Spinach Strawberry Salad Fresh and Flavorful Delight
Looking for a bright and tasty dish? The Spinach Strawberry Salad is both fresh and flavorful! This delightful mix of baby spinach, juicy strawberries, and
. {{image_2}} You can add your own twist to the BLT Chicken Salad. Try adding diced cucumbers or bell peppers for a crunch. These veggies not only boost flavor but also add color. You can also use different greens like spinach or arugula. These greens bring a fresh taste and vibrant look. The dressing is key to making this salad yummy. You can experiment with different types of mustard. Honey mustard adds sweetness, while spicy mustard gives a kick. You can also try yogurt flavors like garlic or herb for a creamy base. Adding fresh herbs like dill or cilantro can brighten the dish. These herbs add depth and fresh taste. If you need to cater to dietary needs, it’s easy to adapt. To make it gluten-free, just check your ingredient choices. Most items, like chicken and veggies, are naturally gluten-free. If you want a vegan version, use plant-based substitutes. Swap the chicken for chickpeas and the yogurt for a dairy-free option. These changes keep the salad hearty and filling. For the full recipe, check out the details above! To store your leftovers, keep them in an airtight container in the refrigerator. This helps keep the salad fresh. It’s best to eat the salad within 2-3 days. After that, the ingredients may lose their taste and texture. Freezing the salad is not a good idea. The ingredients can change texture when thawed. If you plan to freeze it, store the dressing separately. This will help maintain the salad’s taste when you serve it later. I recommend serving the BLT chicken salad cold. This keeps the flavors bright and fresh. If you must reheat it, do so gently on low heat. This method helps avoid altering the texture of the ingredients. Enjoy the crispness and taste just as they are! You can use avocado or a yogurt-based dressing as alternatives. These options keep the salad creamy and tasty. Avocado adds a rich flavor, while yogurt gives a nice tang. Both choices make the salad lighter and healthier. Plus, they keep the dish fresh and vibrant. Yes, you can prepare the salad in advance. Just remember to add delicate ingredients like lettuce and avocado just before serving. This way, they stay crisp and fresh. Preparing the chicken and bacon ahead of time saves you effort on busy days. This salad pairs well with vegetable sticks, potato chips, or a light soup. The crunch of the chips or the fresh veggies adds great texture. A bowl of soup can balance out the flavors nicely. Enjoy your meal with these simple sides! This BLT Chicken Salad recipe is a tasty and simple dish. You mix fresh ingredients and create a flavorful dressing. Remember to chill the salad for better taste. You can also switch ingredients to fit your diet. Store your leftovers well for days of enjoyment. With some tips and variations, you can keep this meal fresh and exciting. Enjoy making it your own!](https://therecipehatch.com/wp-content/uploads/2025/05/be5971cc-85e2-4ca7-9605-6932b8f45a1d.webp)
BLT Chicken Salad Healthy and Tasty Meal Option
Looking for a fresh twist on a classic meal? My BLT Chicken Salad packs all the flavor you love while being healthy! With just a
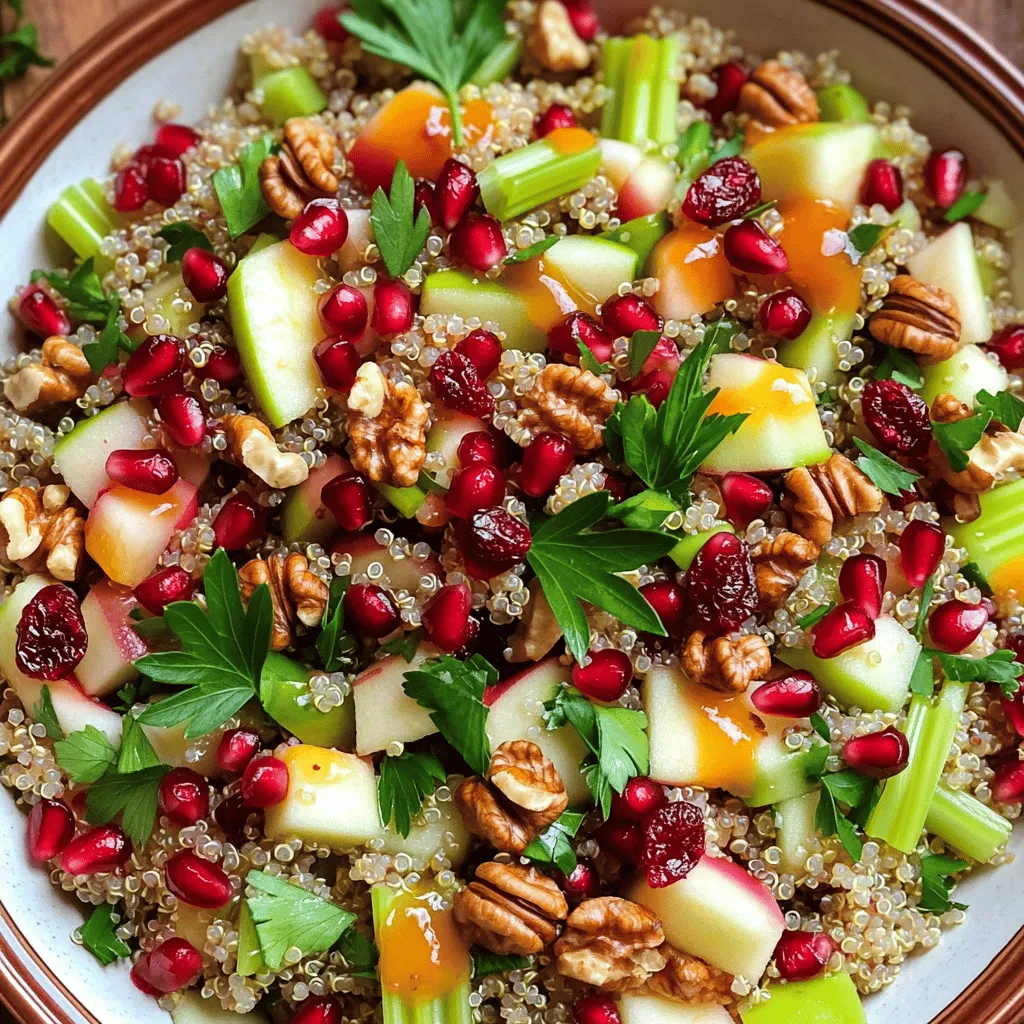
Ensalada Navideña Delicious and Festive Recipe Guide
Are you ready to dive into a festive dish that brings joy and flavor to your holiday table? Ensalada Navideña is not just any salad;
![To make a fresh and tasty watermelon pineapple salad, you need: - 2 cups seedless watermelon, cubed - 2 cups pineapple, cubed - 1 cup cucumber, diced - 1/4 cup fresh mint leaves, chopped - 1/4 cup feta cheese, crumbled (optional) - 2 tablespoons lime juice - 1 tablespoon honey - Pinch of salt and pepper to taste Choosing ripe fruits is key to a great salad. For watermelon, look for a firm, heavy fruit with a smooth rind. The spot where it rested on the ground should be yellow, indicating ripeness. For pineapple, choose one that smells sweet at the base. The leaves should be green and fresh, not brown. Press the fruit gently; it should yield slightly but not feel mushy. This salad is not just delicious; it’s healthy too. Watermelon is high in vitamins A and C. It keeps you hydrated and supports skin health. Pineapple has bromelain, which aids digestion. Cucumber adds crunch and hydration. Mint is refreshing, and feta cheese adds protein and calcium. This mix makes for a nutritious dish that’s perfect for summer. Feel free to check the Full Recipe for more details on how to prepare this delightful dish! First, gather all your ingredients. You need: - 2 cups seedless watermelon, cubed - 2 cups pineapple, cubed - 1 cup cucumber, diced - 1/4 cup fresh mint leaves, chopped - 1/4 cup feta cheese, crumbled (optional) - 2 tablespoons lime juice - 1 tablespoon honey - Pinch of salt and pepper to taste Next, peel the pineapple and cube it. Cut the watermelon into bite-sized pieces. If there are seeds, make sure to remove them. Dice the cucumber into small chunks. Then, chop the fresh mint leaves finely. In a large mixing bowl, combine the cubed watermelon, pineapple, and diced cucumber. In a smaller bowl, whisk together the lime juice, honey, and a pinch of salt and pepper. Make sure everything blends well. Once the dressing is ready, pour it over the fruit mixture. Gently toss everything together. You want all the ingredients to be coated without crushing them. After that, sprinkle the chopped mint and optional feta cheese on top. For a fun presentation, serve the salad in a large, shallow bowl. You can also use individual cups for each guest. This makes it easy to grab a serving. For an extra special touch, consider using a watermelon shell as your bowl. It adds a pop of color and fun to the table! To boost the taste of your Watermelon Pineapple Salad, add fresh herbs. Mint works great with the fruity flavors. You can also try basil or cilantro for a twist. For a spicy kick, sprinkle in some chili flakes. These herbs and spices add depth and make each bite exciting. Making your salad look great is easy. Serve it in a large, shallow bowl. Add extra mint leaves on top for color. You can also use a watermelon shell as a bowl. This fun touch will wow your guests. Consider layering the fruits for a colorful display. Bright colors make your dish more inviting. Balance your salad's sweetness and acidity to fit your taste. If you like it sweeter, add more honey. For a tangy flavor, increase the lime juice. Taste as you mix to find your perfect balance. A pinch of salt can also enhance the overall flavor. Adjusting these elements lets you create a salad that matches your cravings. {{image_2}} You can make this salad even better by adding more fruits. Try berries like strawberries or blueberries for a sweet touch. Citrus fruits like oranges or mandarins add a fresh zing. Each fruit adds its own color and flavor. Mix and match until you find your favorite combo. Want a different taste? Change the dressing! A honey-lime mix makes it sweeter and tangy. For a bolder flavor, try balsamic vinaigrette. Both dressings bring new life to the salad. You can even experiment with yogurt or a spicy vinaigrette. If you want a fuller meal, add proteins. Grilled chicken makes the salad hearty and tasty. Shrimp is another great option that pairs well with the fruits. You can also use chickpeas for a plant-based twist. Adding protein makes it more filling and nutritious. This refreshing watermelon pineapple salad is versatile and fun to customize. For the full recipe, check out the [Full Recipe]. To keep your watermelon pineapple salad fresh, store it in an airtight container. This will help prevent air from getting in and drying it out. If you use a bowl, cover it tightly with plastic wrap. Always place the salad in the fridge right after serving. The cooler temperature helps keep the fruit crisp and tasty. Your salad will stay fresh for about 2 to 3 days in the fridge. After that, the fruits may start to release moisture and lose their crunch. If you notice any off smells or slimy textures, it's best to throw it away. Use your senses to check for freshness before eating. While you can freeze some fruits, I do not recommend freezing this salad. Watermelon and pineapple have high water content. When frozen, they become mushy after thawing. If you want to freeze components, consider freezing just the pineapple. Cut it into pieces and freeze them on a baking sheet before placing them in a bag. This way, you can add frozen pineapple to smoothies later. Enjoy the full recipe for more details! Yes, you can make this salad ahead of time. To prepare in advance, chop the fruits and mix them in a bowl. Keep the dressing separate until you are ready to serve. This keeps the salad fresh and prevents sogginess. If you need to store it, use an airtight container in the fridge. Serve it within a day or two for the best taste. Watermelon is hydrating and low in calories. It contains vitamins A and C, which support skin health. Pineapple is rich in bromelain, an enzyme that aids digestion. It also has vitamin C and manganese, which help with immune function. Together, they boost hydration and provide essential nutrients. Yes, you can easily make this salad vegan. Simply swap the feta cheese for a plant-based option. You can use vegan feta or even some avocado for creaminess. This keeps the salad full of flavor while catering to plant-based diets. Enjoy a tasty and vibrant dish! This blog post covered how to make a tasty Watermelon Pineapple Salad. You learned about the key ingredients, tips for picking ripe fruits, and health benefits. We also shared detailed prep steps and fun serving ideas. Remember to add herbs for flavor and adjust sweetness to your liking. You can even change up the fruits or dressings. This salad stores well, making it easy to enjoy later. Try these tips to make your salad fun and fresh!](https://therecipehatch.com/wp-content/uploads/2025/05/4aeb76ff-4caa-4561-82cf-90b443911e56.webp)
Watermelon Pineapple Salad Refreshing Summer Delight
Looking to brighten your summer meals? My Watermelon Pineapple Salad is the perfect refreshment! Bursting with juicy fruits, crisp cucumber, and a hint of mint,
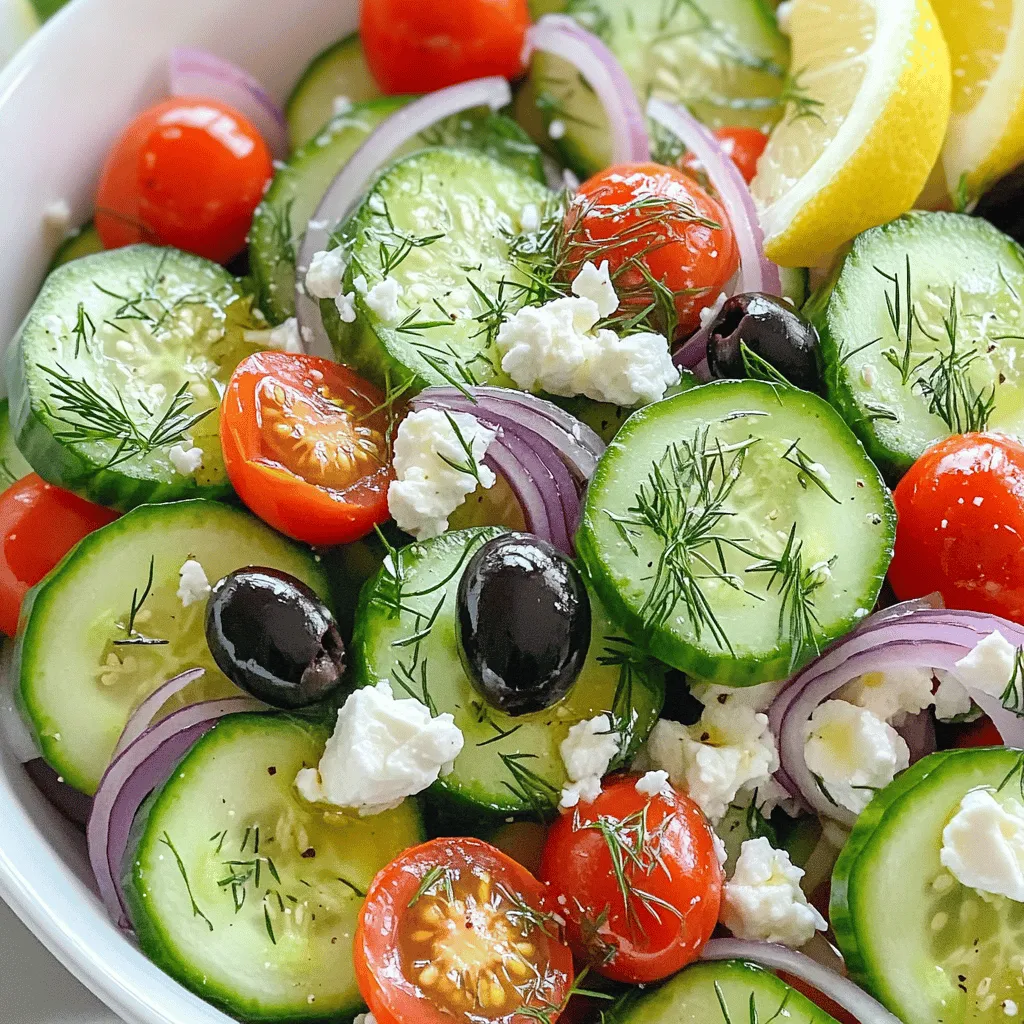
Cucumber Snack Bowl Fresh and Wholesome Treat
Are you looking for a fresh, healthy snack? The Cucumber Snack Bowl is your answer! This vibrant dish is packed with crisp cucumbers, juicy tomatoes,
![- 2 cups cooked chicken breast, shredded - 1 cup corn (canned or fresh) - 1 cup black beans, rinsed and drained - 1 red bell pepper, diced - 1 avocado, diced - 1/2 cup cherry tomatoes, halved - 1/4 cup red onion, finely chopped - 1/2 cup cilantro, chopped - Tortilla strips or crushed tortilla chips for garnish - 1 lime, juiced - 3 tablespoons olive oil - 1 teaspoon cumin - 1 teaspoon chili powder - Salt and pepper to taste For this zesty Southwest chicken salad, you need fresh and simple ingredients. The chicken gives a great base. The corn and black beans add good texture and flavor. The colorful veggies make it pop. I love how the red bell pepper and cherry tomatoes look. The creamy avocado balances the crunch. You can use either fresh or canned corn. The beans should be rinsed to remove extra salt. For the dressing, lime juice and olive oil bring a bright taste. Cumin and chili powder add warmth. Adjust salt and pepper based on your taste. I like to use fresh cilantro for a burst of flavor. This mix of ingredients creates a tasty salad, perfect for lunch or dinner. Check the Full Recipe for complete details on how to make it. Combining Ingredients First, grab a large bowl. In it, mix 2 cups of shredded chicken, 1 cup of corn, and 1 cup of black beans. Add 1 diced red bell pepper, 1 diced avocado, and 1/2 cup of halved cherry tomatoes. Toss in 1/4 cup of finely chopped red onion and 1/2 cup of chopped cilantro. This mix gives the salad a fresh and colorful look. Whisking the Dressing In a small bowl, squeeze the juice from 1 lime. Add 3 tablespoons of olive oil, 1 teaspoon of cumin, and 1 teaspoon of chili powder. Season with a pinch of salt and pepper. Whisk these ingredients together until they blend well. This dressing adds zesty flavor to the salad. Tossing and Serving the Salad Pour the dressing over the chicken and veggie mix. Gently toss everything to coat it well with the dressing. Taste the salad and adjust with more salt, pepper, or lime juice if needed. Let the salad sit for about 10 minutes so the flavors blend. Serve it topped with crunchy tortilla strips or crushed tortilla chips for extra texture. For the full recipe, check out the Zesty Southwest Chicken Salad. Choosing the Right Chicken Use chicken breast for a lean option. Cook your chicken simply with salt and pepper. Shred it once it cools. You can also use rotisserie chicken for speed. Just remove the skin and bones before shredding. Enhancing Flavor with Seasonings Use cumin and chili powder for a warm kick. These spices boost the salad's zestiness. Don’t forget to season with salt and pepper. Fresh lime juice adds a tangy touch. Mix well to ensure all flavors combine. Serving Suggestions for Best Presentation Serve on a large platter for a colorful display. Add tortilla strips on top for crunch. Use a clear bowl to show off the vibrant colors. Garnish with extra cilantro for a fresh look. This salad looks great and tastes even better. For the complete recipe and more details, check the Full Recipe. {{image_2}} Adding Different Proteins You can switch up the protein in this salad. Try using grilled shrimp or spicy turkey. These options bring new flavors to the dish. If you want a richer taste, add some pulled pork. Each choice adds a fun twist to the classic recipe. Vegetarian Alternatives For a vegetarian option, skip the chicken. Instead, use chickpeas or quinoa. Both add protein and texture. You can also mix in roasted sweet potatoes for a sweet touch. This keeps the salad tasty and filling without meat. Unique Dressing Ideas While lime and olive oil work well, feel free to get creative. Try a creamy avocado dressing for smoothness. A cilantro-lime vinaigrette adds a fresh kick. For a zesty touch, mix in some salsa or yogurt. These dressings can change the whole vibe of your salad. You can find the full recipe for Zesty Southwest Chicken Salad [Full Recipe]. When you have leftover Zesty Southwest Chicken Salad, store it right. Here are some tips to keep it fresh. - Refrigeration Best Practices Place the salad in an airtight container. It will stay fresh for up to three days. Keep it in the fridge, away from strong-smelling foods. The cool temperature helps keep the flavors vibrant. - Freezing Recommendations You can freeze this salad, but some ingredients may change. The avocado and tomatoes might get mushy. If you want to freeze it, leave out these ingredients. Store the rest in a freezer-safe container. It should last for about three months. - How to Revive Leftovers After storing, the salad may lose some crunch. To revive it, add fresh lime juice and a little olive oil. Toss in some fresh herbs or diced veggies for extra flavor. This will bring it back to life and make it delicious again. You can find the full recipe for Zesty Southwest Chicken Salad above. Enjoy your meal! Can I use pre-cooked chicken? Yes, you can use pre-cooked chicken. It saves time and works great. Just shred it into bite-sized pieces. This makes it easy for you to mix with other ingredients. What can I substitute for black beans? If you don’t have black beans, use pinto beans or kidney beans. They add a nice texture and flavor, too. You can even try corn or chickpeas for a twist. How long does the salad last in the fridge? The salad lasts about 3 days in the fridge. Keep it in a sealed container to keep it fresh. However, the avocado may brown over time. You can add the avocado just before serving for best results. For the full recipe, please refer to the earlier section. This blog post covered every step to make a Zesty Southwest Chicken Salad. We went through key ingredients, preparation steps, and expert tips. I shared fun variations to make the recipe your own. Finally, we discussed how to store leftovers safely and addressed common questions. With simple methods, you can enjoy a fresh and tasty salad anytime. Use these ideas to create your perfect dish. Happy cooking!](https://therecipehatch.com/wp-content/uploads/2025/05/77f567ca-2796-4ec9-804c-efcd7cb77129.webp)
Zesty Southwest Chicken Salad Fresh and Flavorful Dish
Looking for a fresh and flavorful meal? This Zesty Southwest Chicken Salad is your answer! Packed with bright veggies, tender chicken, and a tangy dressing,
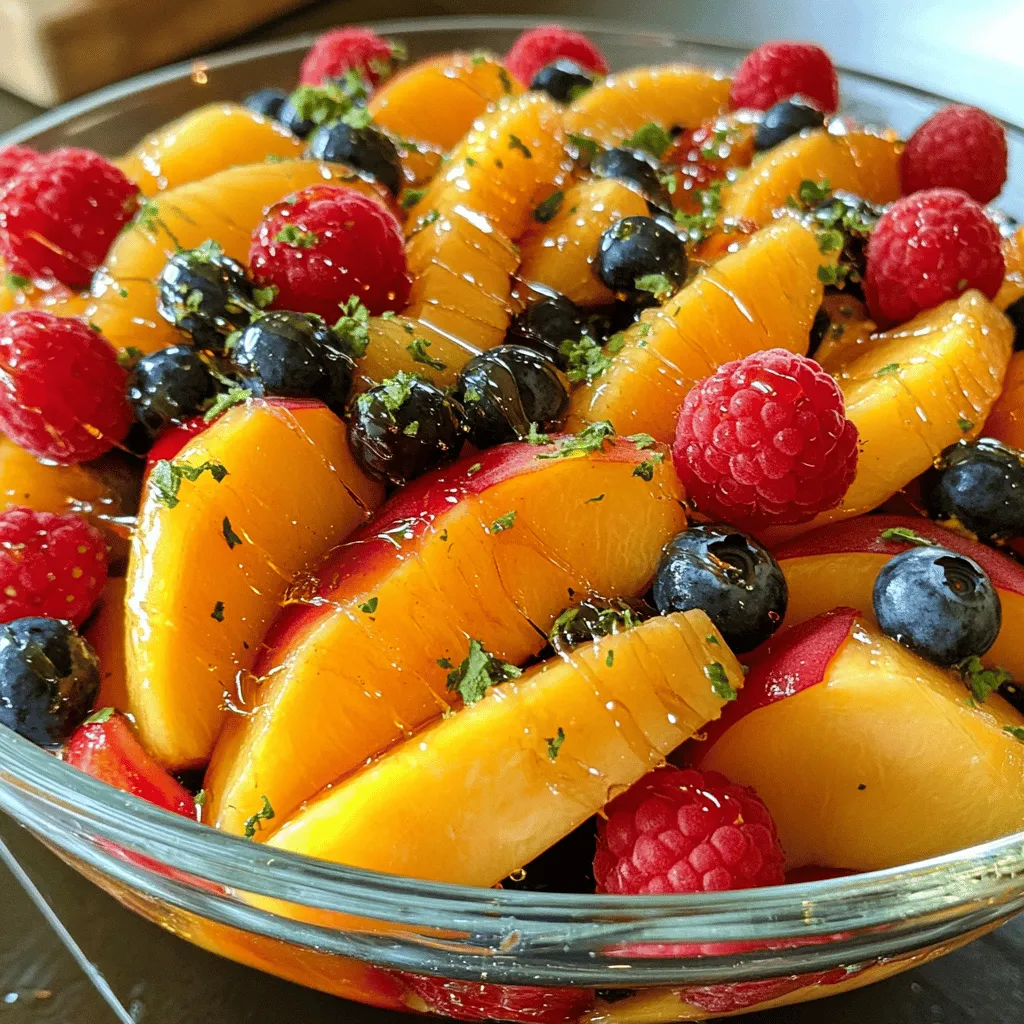
Peach Berry Fruit Salad Refreshing and Healthy Delight
If you’re craving a sweet and healthy treat, you need to try this Peach Berry Fruit Salad! Packed with fresh peaches, juicy berries, and a
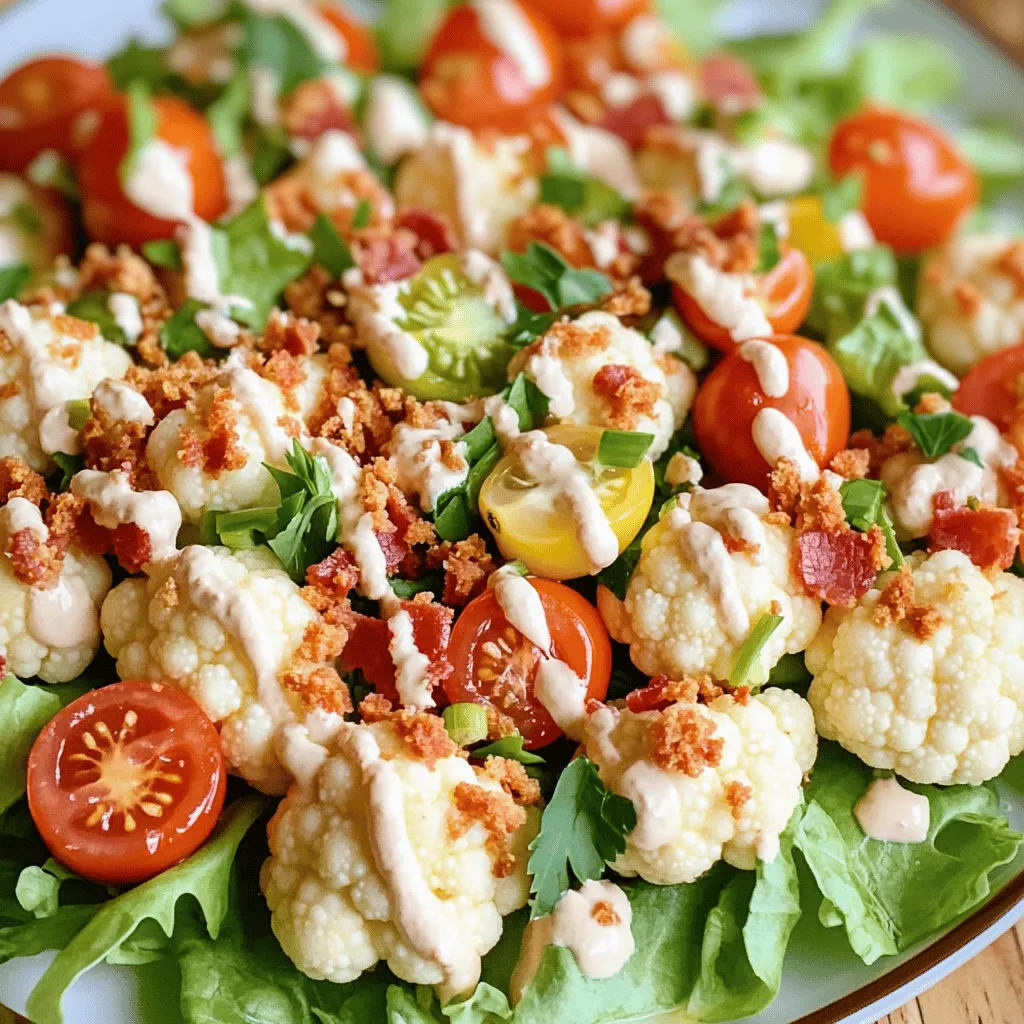
BLT Cauliflower Salad Crunchy and Flavorful Dish
Looking for a fresh and tasty twist on a classic? This BLT Cauliflower Salad is here to impress! Packed with crunchy cauliflower, turkey bacon, and

Honeycrisp Apple and Feta Salad Fresh and Crisp Dish
Are you ready to taste something fresh and crisp? This Honeycrisp Apple and Feta Salad is a perfect mix of sweet and savory. Packed with
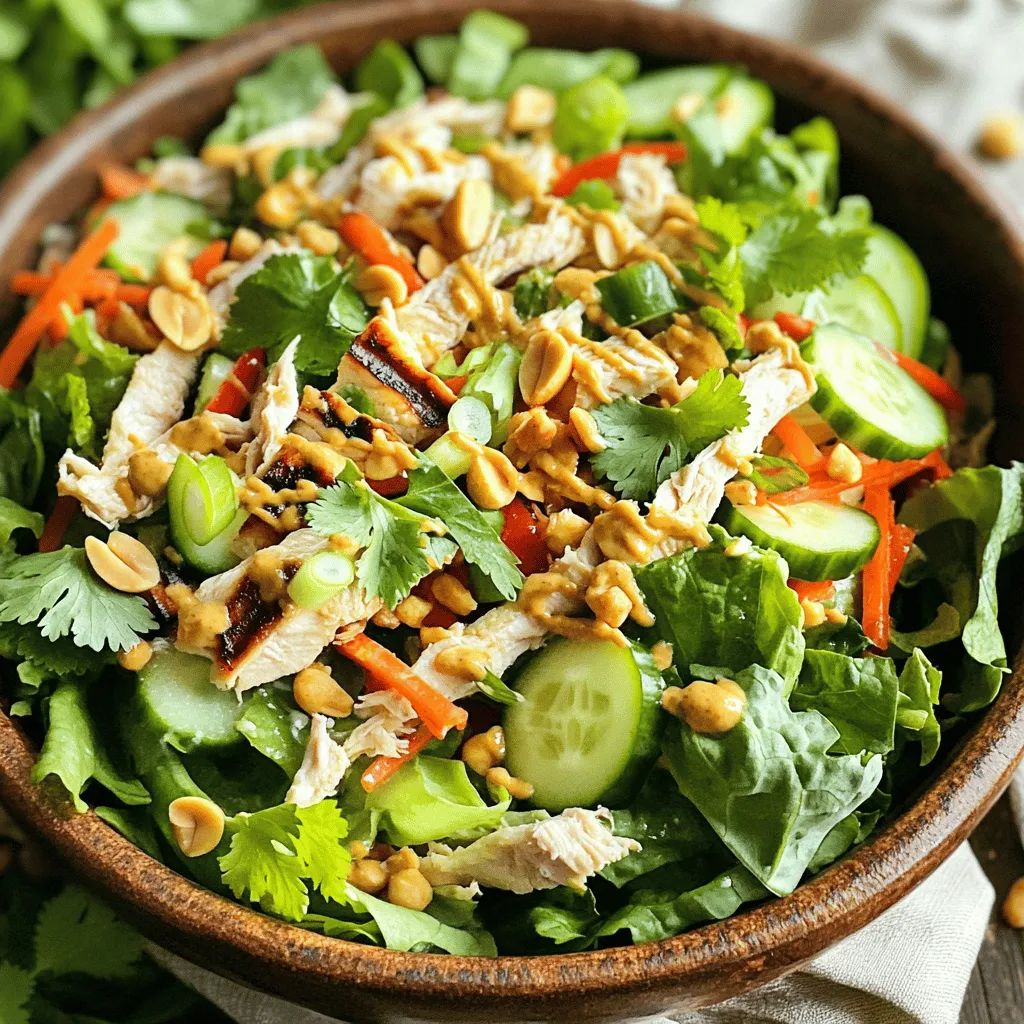
Thai Chicken Salad Fresh and Flavorful Meal
Are you ready to enjoy a burst of flavor with a healthy twist? My Thai Chicken Salad is fresh, tasty, and easy to make! In