Salads
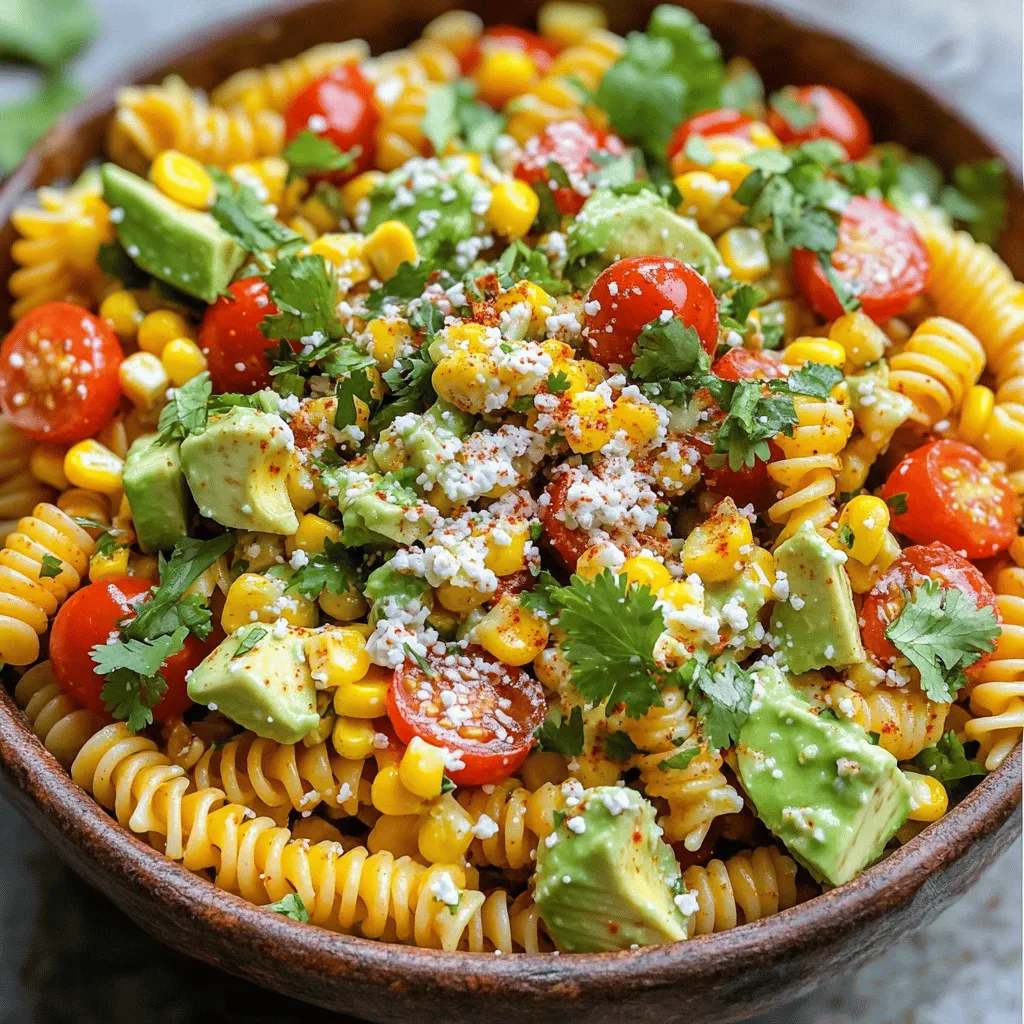
Mexican Street Corn Pasta Salad Flavorful and Fresh
Are you ready to try a dish that bursts with flavor? Mexican Street Corn Pasta Salad combines creamy, tangy, and sweet notes in one vibrant
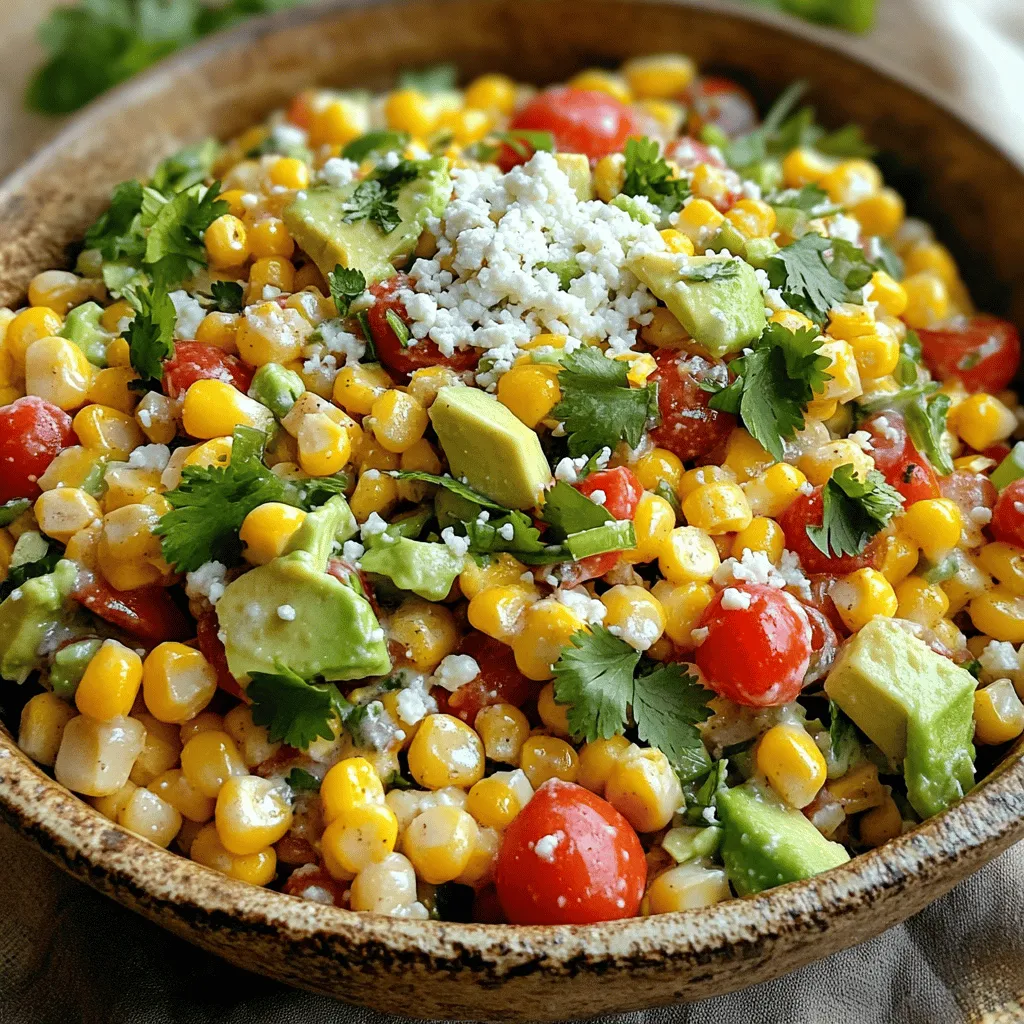
Mexican Corn Salad Easy and Flavorful Recipe
Looking for a fresh and tasty side dish? You’ve found it! This Mexican Corn Salad is easy to whip up and packs a punch with
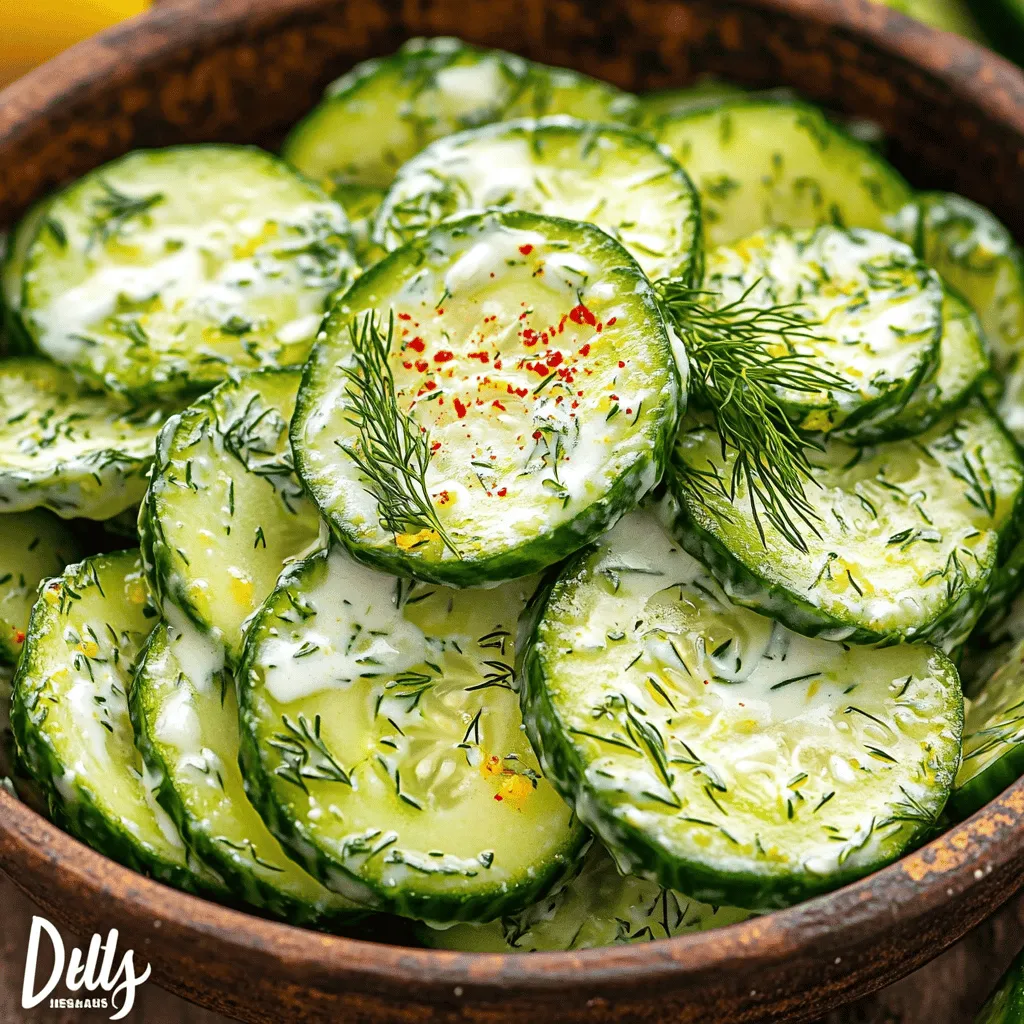
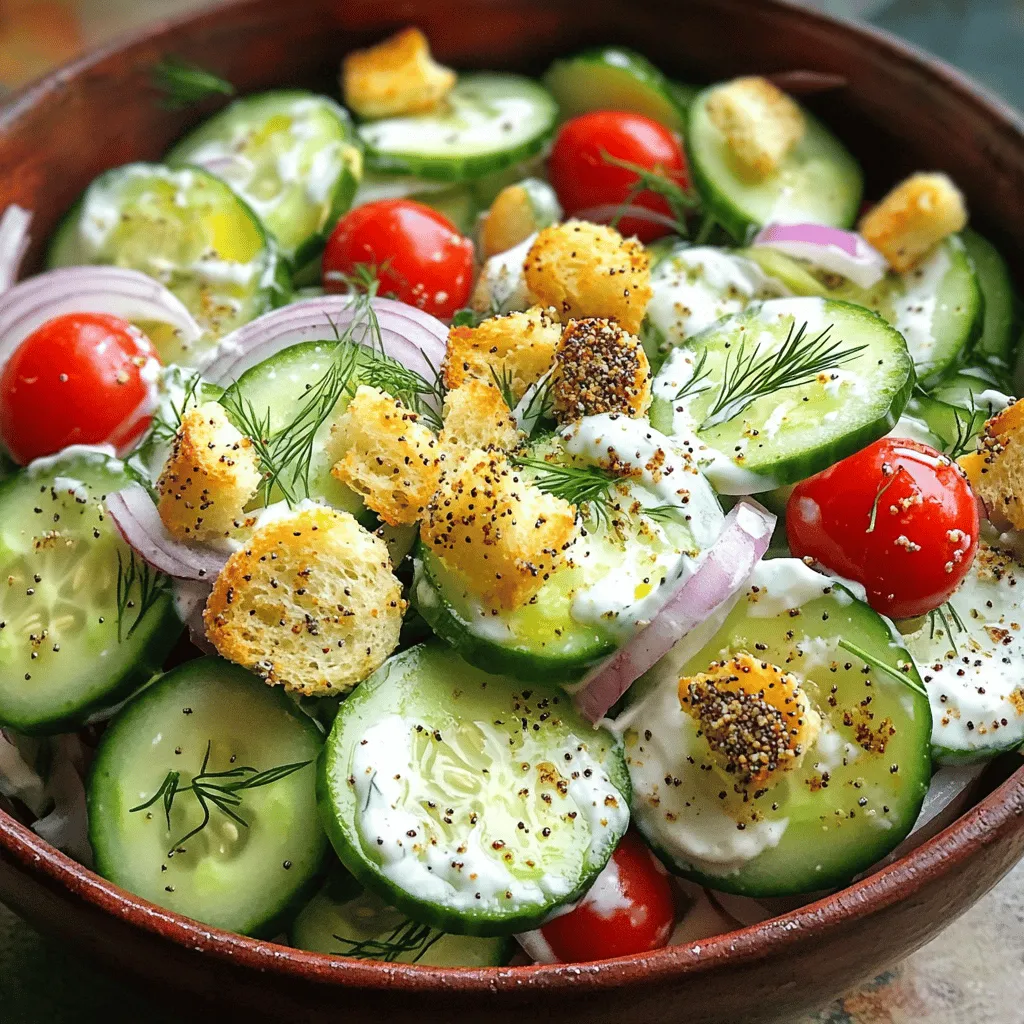
![Tik Tok Korean Cucumber Salad is a fresh and crunchy dish. It is perfect for a light meal or side. This salad uses simple ingredients. They come together to create bold flavors. Let’s dive into what you will need. - 2 medium cucumbers, thinly sliced - 1 teaspoon salt - 2 tablespoons sesame oil - 1 tablespoon soy sauce - 1 tablespoon rice vinegar - 2 teaspoons gochugaru (Korean red pepper flakes) - 1 tablespoon sugar - 1 garlic clove, minced - 2 green onions, chopped - 1 tablespoon sesame seeds These ingredients make the salad bright and tasty. The cucumbers provide crunch, while the dressing adds flavor. I love how easy it is to make this salad. You can enjoy it right away or let it chill for a bit. For the full recipe, check out the detailed instructions. To start, you need to prepare the cucumbers. Take two medium cucumbers and wash them well. Slice them thinly, about a quarter-inch thick. This helps the cucumbers soak up the flavors. Place the cucumber slices in a mixing bowl. Sprinkle one teaspoon of salt over them. Toss well to coat each slice. Let the cucumbers sit for about 30 minutes. This draws out excess moisture and makes them crunchy. After 30 minutes, rinse the cucumbers under cold water. This removes the extra salt. Drain them in a colander and pat them dry with paper towels. Dry cucumbers mix better with the dressing. Now, they are ready for the next steps. Next, let’s make the dressing. In a separate bowl, combine the ingredients. You will need two tablespoons of sesame oil, one tablespoon of soy sauce, and one tablespoon of rice vinegar. Add two teaspoons of gochugaru, one tablespoon of sugar, and one minced garlic clove. Whisk these ingredients together until they blend well. The dressing should smell amazing and have a nice balance of flavors. Now, it’s time to mix everything together. Add the drained cucumbers to the bowl with the dressing. Toss them gently so each slice gets coated. This is where the magic happens! Then add in two chopped green onions and one tablespoon of sesame seeds. Mix gently again to combine. Let the salad sit for at least 10 minutes. This allows the flavors to meld. You can serve it chilled or at room temperature. If you want, garnish with extra sesame seeds for a nice touch. Enjoy your fresh and crunchy Tik Tok Korean Cucumber Salad! For all the steps, check out the [Full Recipe]. To make the Tik Tok Korean cucumber salad just right, adjust the seasoning to fit your taste. If you like it sweeter, add more sugar. Want more heat? Add extra gochugaru. Always taste as you mix. This way, you can find your perfect blend of flavors. Keeping cucumbers crunchy is key. After cutting them, sprinkle salt and let them sit. This draws out water, making them crisp. Rinse them well to remove the salt, then dry them with paper towels. This step ensures a satisfying crunch in every bite. Serving your salad well makes it look tasty. Use a nice bowl for the salad. Add a sprinkle of sesame seeds on top for flair. You might also place sliced green onions around the edge. This adds color and makes the dish pop. For a final touch, a few cucumber ribbons on top can impress your guests. {{image_2}} You can change the flavor of the Tik Tok Korean Cucumber Salad. Try adding different spices. For a zing, use a splash of lime juice. If you want more heat, add more gochugaru. You can also mix in some diced bell pepper for added crunch. Each tweak makes it special. This salad can fit many diets. For a gluten-free option, use tamari instead of soy sauce. To make it vegan, skip the sugar or use agave syrup. You can also replace sesame oil with olive oil for a lighter taste. These changes keep it fresh and tasty for everyone. Add a twist with other Asian flavors. Try adding sliced radish for a crunchy bite. You can also mix in some chopped cilantro for a fresh touch. If you love sesame, add toasted nori strips on top. These additions give your salad a unique flair and show off your creativity. For the full recipe, check out the crispy kickin' Korean cucumber salad. To keep your Tik Tok Korean cucumber salad fresh, store it in an airtight container. Make sure to place it in the fridge right after serving. This helps the salad stay crunchy and tasty. If you have leftovers, use them within a few days for the best taste. The salad stays fresh for about 3 days when stored properly. After this time, cucumbers may become soft and lose their crispness. Always check for any signs of spoilage before eating. This salad is best served cold or at room temperature. If you want to enjoy it warm, you can lightly sauté the cucumbers for a minute. However, this may change the salad's texture. Enjoying it fresh is the way to go. For the full recipe, check out the Crispy Kickin' Korean Cucumber Salad section. Tik Tok Korean Cucumber Salad is a fresh, crunchy side dish. It comes from Korean cuisine and is known for its bright flavors. This salad has become popular on Tik Tok for its quick prep and vibrant taste. The dish showcases cucumbers seasoned with sesame oil, soy sauce, and spices. It’s often enjoyed as a side to many Korean meals. The salad reflects the balance of flavors found in Korean dishes, making it a favorite among food lovers. Yes, you can use different vegetables in this salad. While cucumbers are traditional, you can try radishes or carrots. These veggies can add a nice crunch and a different taste. Just remember, if you use softer vegetables, like tomatoes, the texture may change. Make sure to adjust the salt and dressing to suit your new veggies. This way, you keep the salad's fresh and tasty character. To make your Tik Tok Korean Cucumber Salad spicier, add more gochugaru! This Korean red pepper flakes bring heat and flavor. You can start with an extra teaspoon and taste as you go. If you love heat, try adding sliced fresh chili peppers too. Sriracha is another option for a spicy kick. Just mix it into the dressing. Adjust to your liking and enjoy that perfect spicy crunch! This blog post covered all you need to make delicious Tik Tok Korean Cucumber Salad. You learned about key ingredients and followed easy steps for preparation. I shared tips to enhance flavor and maintain texture. You can even try different variations or make it fit special diets. Lastly, we covered how to store your salad for later. Enjoy creating this tasty dish that’s simple and fun to make!](https://therecipehatch.com/wp-content/uploads/2025/08/82ea7a65-18eb-4680-9f82-4cad52d4e6dc.webp)
Tik Tok Korean Cucumber Salad Crunchy and Fresh Dish
Want to make a refreshing dish that bursts with flavor? Let me introduce you to Tik Tok Korean Cucumber Salad! This easy recipe is crunchy,
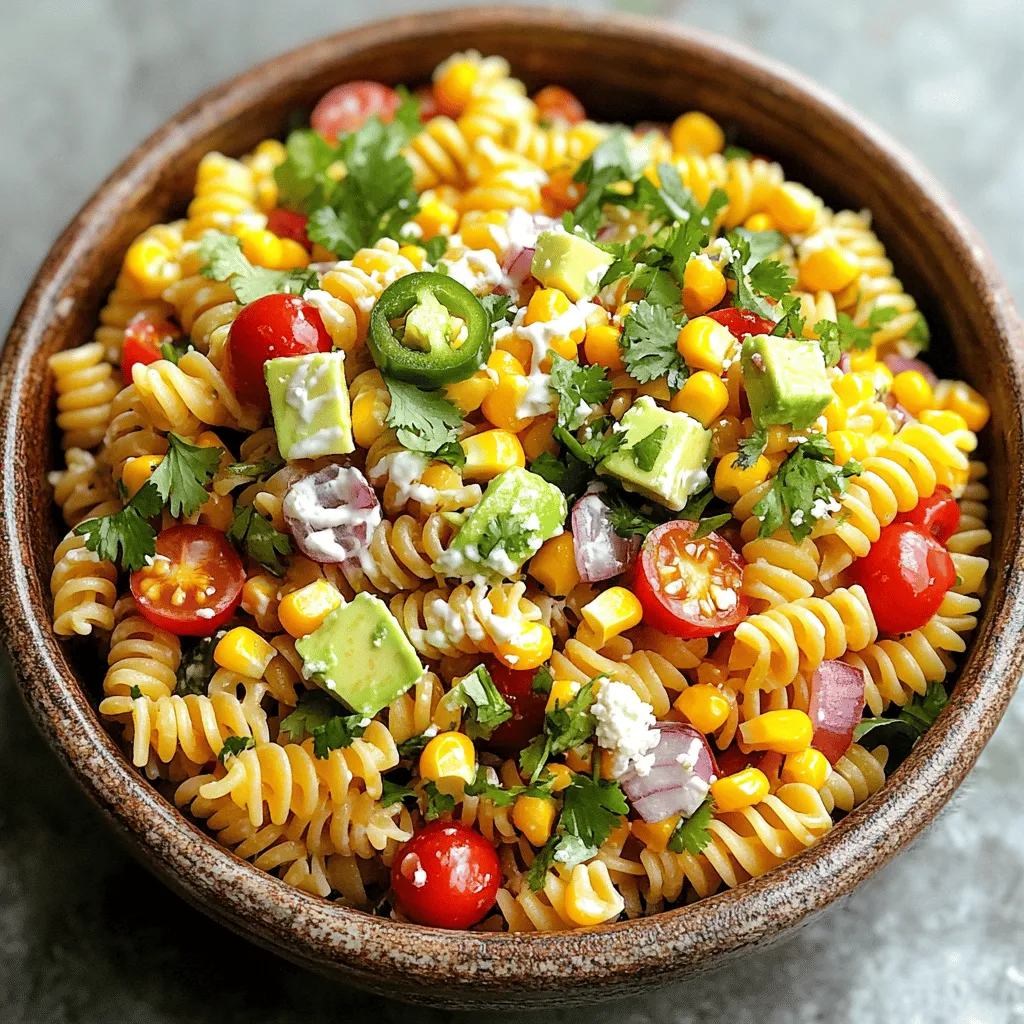
Mexican Street Corn Pasta Salad Flavorful and Fresh Dish
Looking for a fresh and tasty dish that packs a punch? Try my Mexican Street Corn Pasta Salad! This vibrant salad combines sweet corn, colorful
5-Minute Cucumber Snack Quick and Refreshing Treat
Looking for a quick and refreshing snack? This 5-Minute Cucumber Snack is the answer! Packed with flavor and crunch, this treat is perfect for any
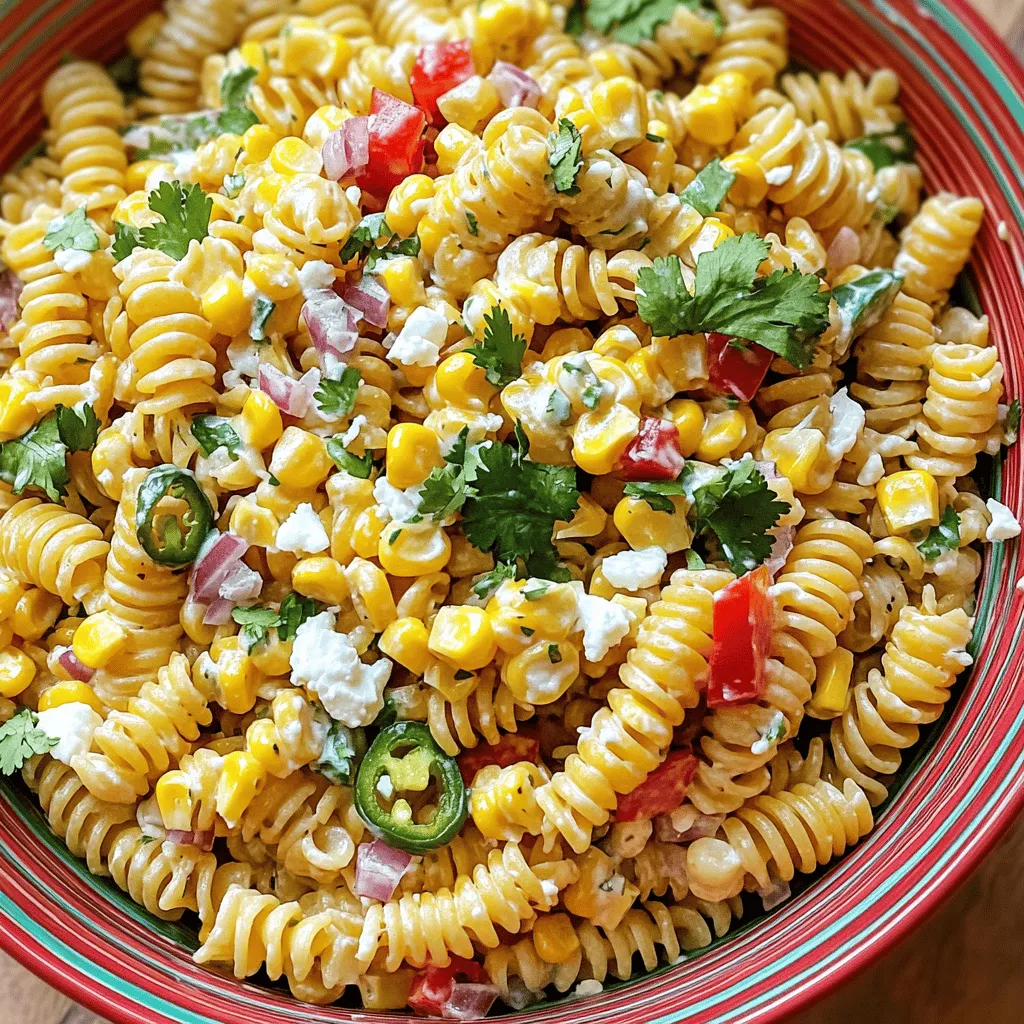
Healthy Street Corn Pasta Salad Fresh Flavorful Dish
Looking for a refreshing dish that packs a punch? My Healthy Street Corn Pasta Salad is just what you need! With its vibrant flavors and
Cucumber Everything Bagel Salad Fresh and Flavorful
Looking for a fresh twist on your salad game? My Cucumber Everything Bagel Salad is just what you need! It bursts with flavor and uses
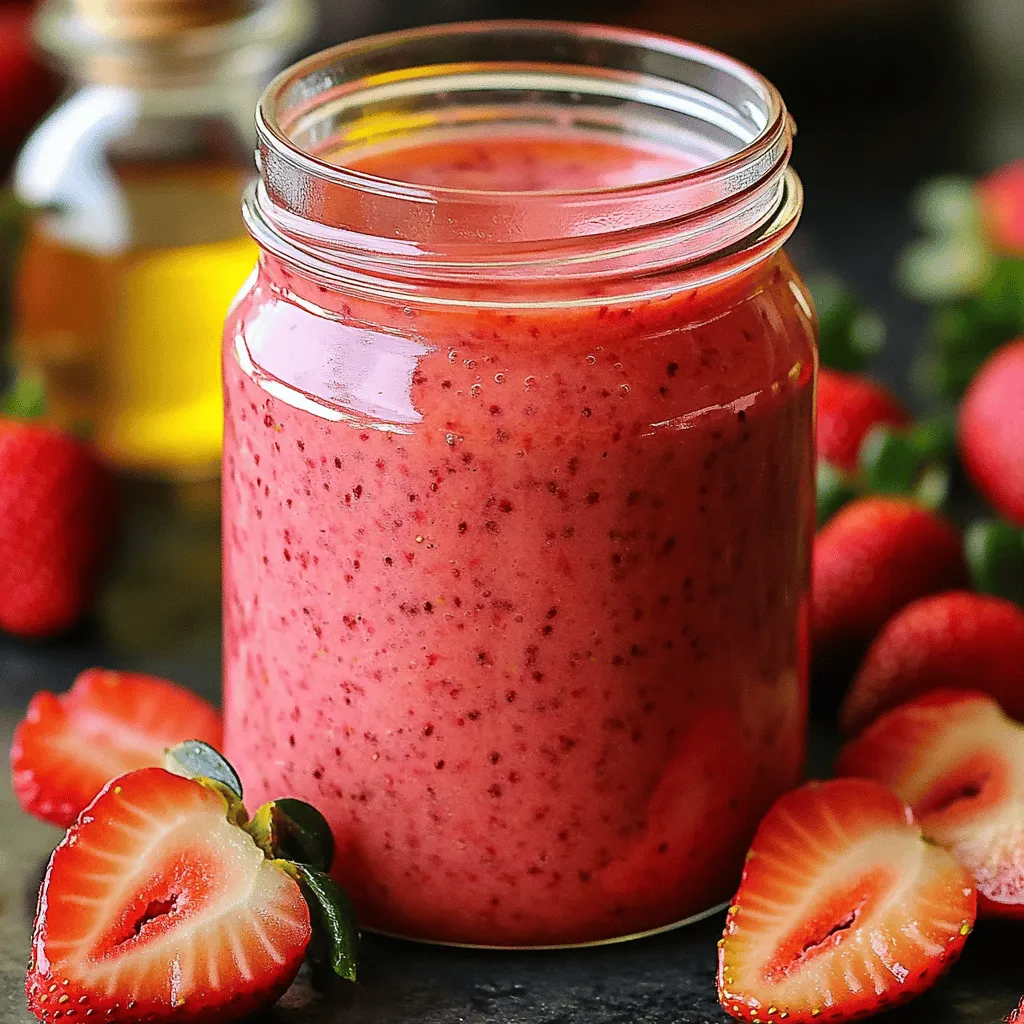
Strawberry Vinaigrette Fresh and Flavorful Dressing
Looking for a fresh and flavorful dressing that brightens up your meals? Strawberry vinaigrette is your answer! This easy recipe uses simple, wholesome ingredients to
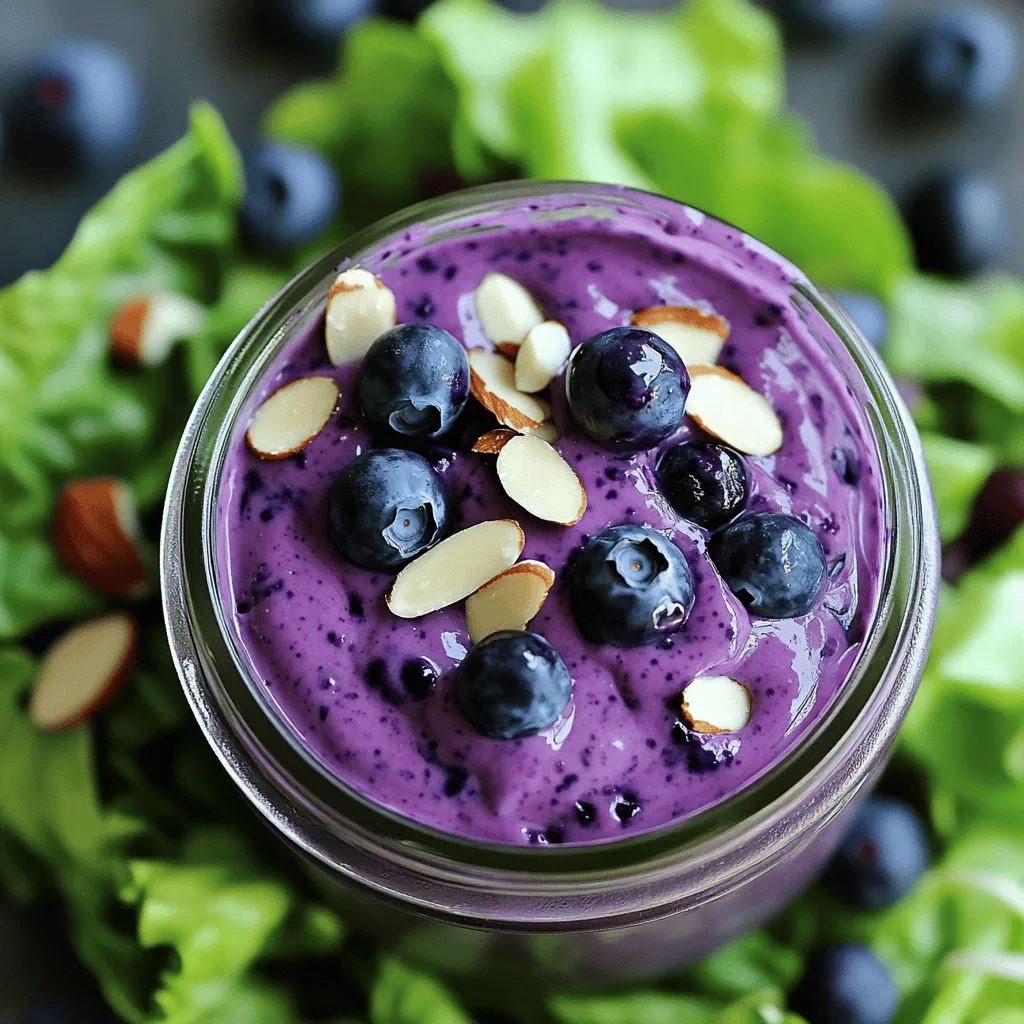
Creamy Blueberry Salad Dressing Simple and Tasty Mix
Are you ready to elevate your salads from ordinary to extraordinary? In this blog, I’ll share my simple and tasty recipe for a creamy blueberry
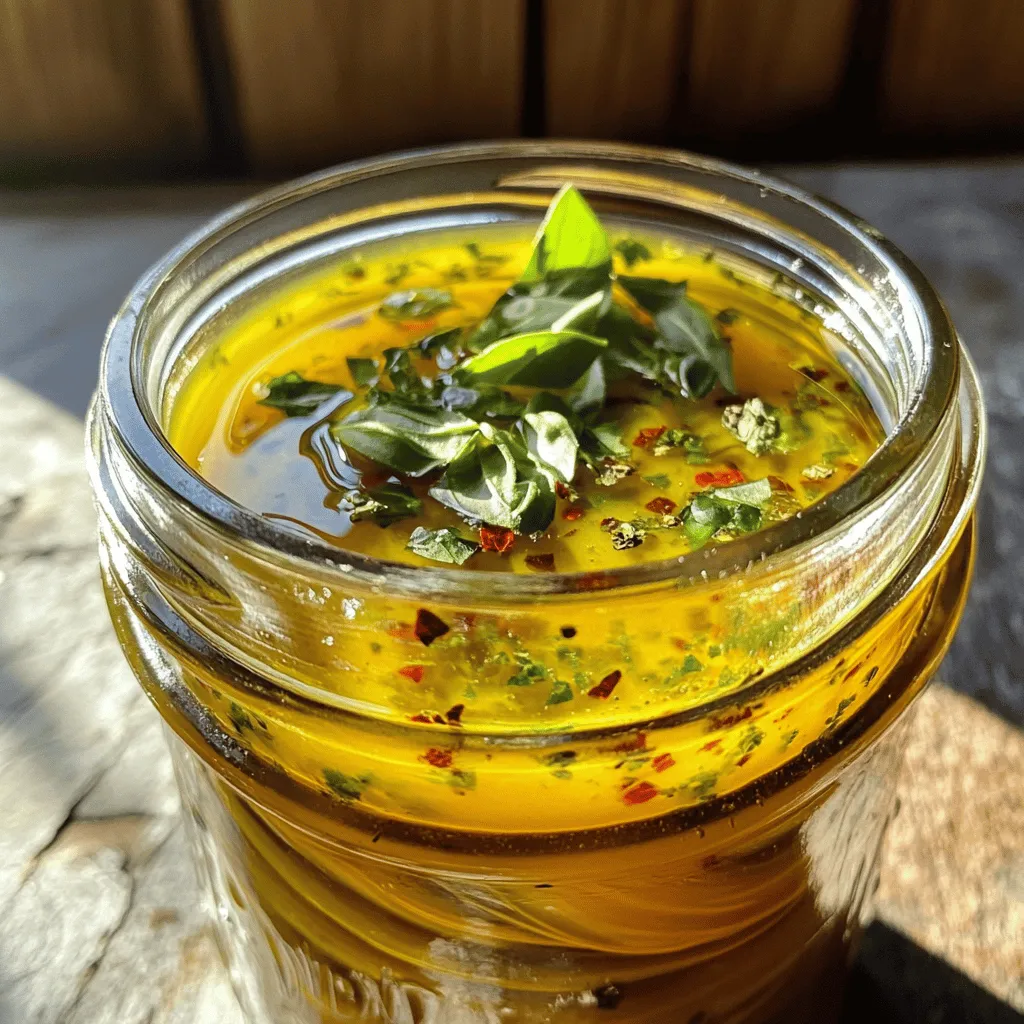
Homemade Italian Salad Dressing Fresh and Flavorful Mix
Are you ready to elevate your salads with a burst of flavor? Homemade Italian salad dressing is your answer! This creamy, tangy mix is easy