Salads
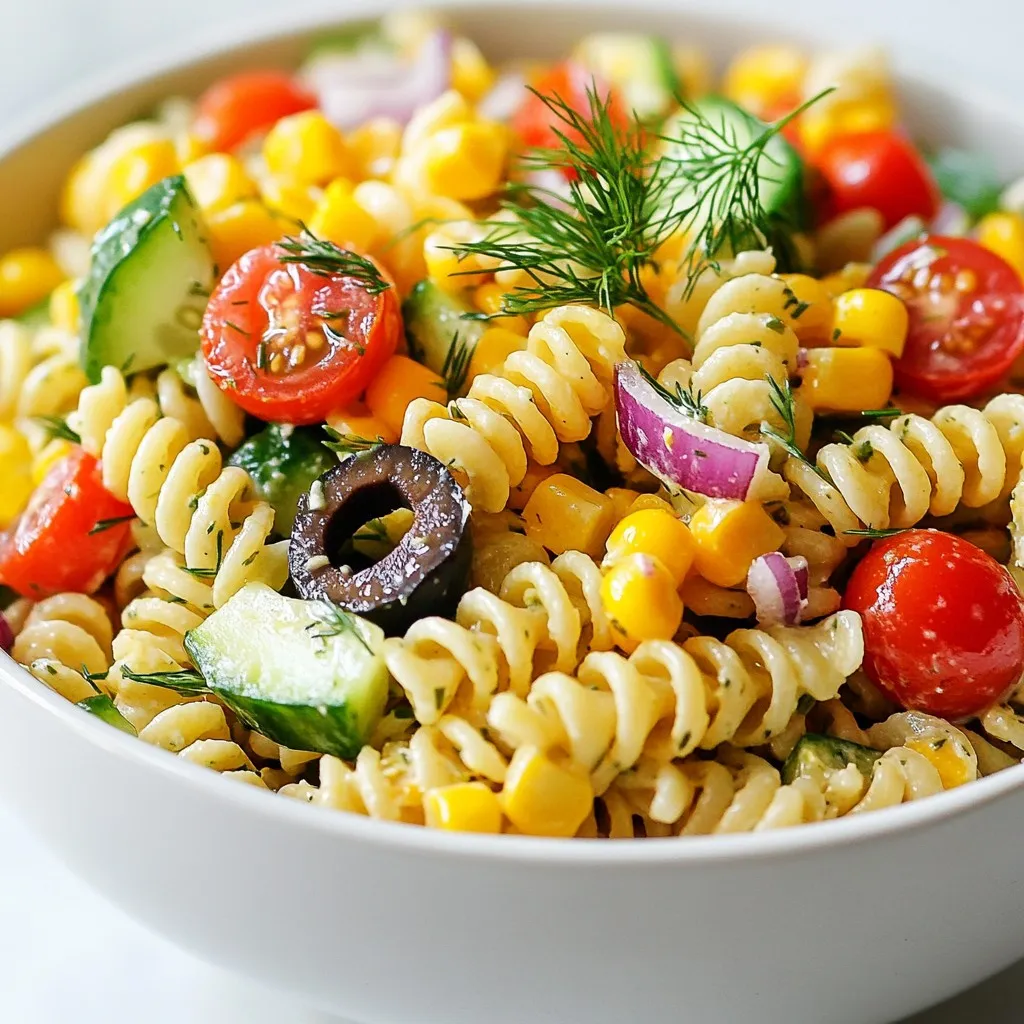
Vegan Cucumber Pasta Salad Fresh and Flavorful Dish
Are you looking for a refreshing dish that’s both light and satisfying? Try my Vegan Cucumber Pasta Salad! Packed with whole wheat pasta and crisp
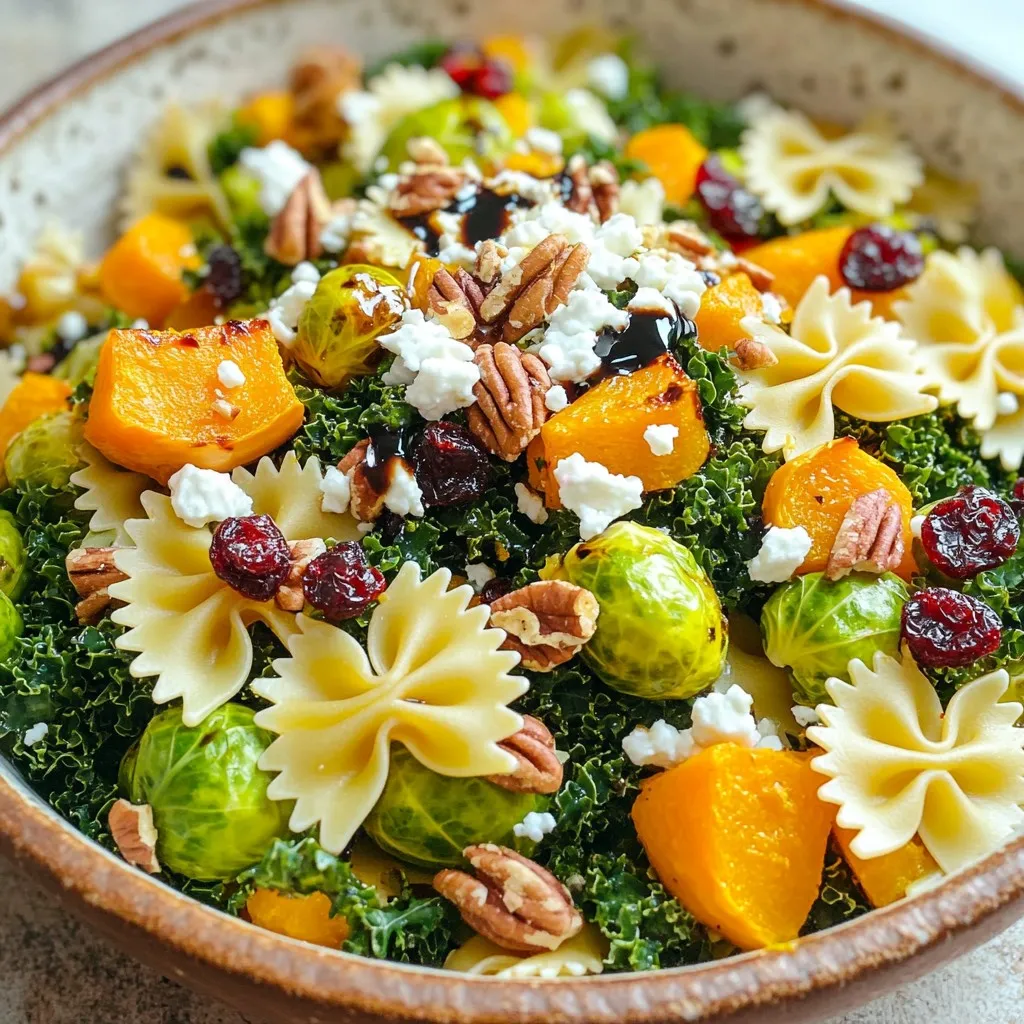
Fall Harvest Pasta Salad Flavorful Seasonal Dish
Fall is here, and it’s the perfect time to enjoy a tasty Fall Harvest Pasta Salad! This dish blends vibrant autumn flavors, from roasted veggies
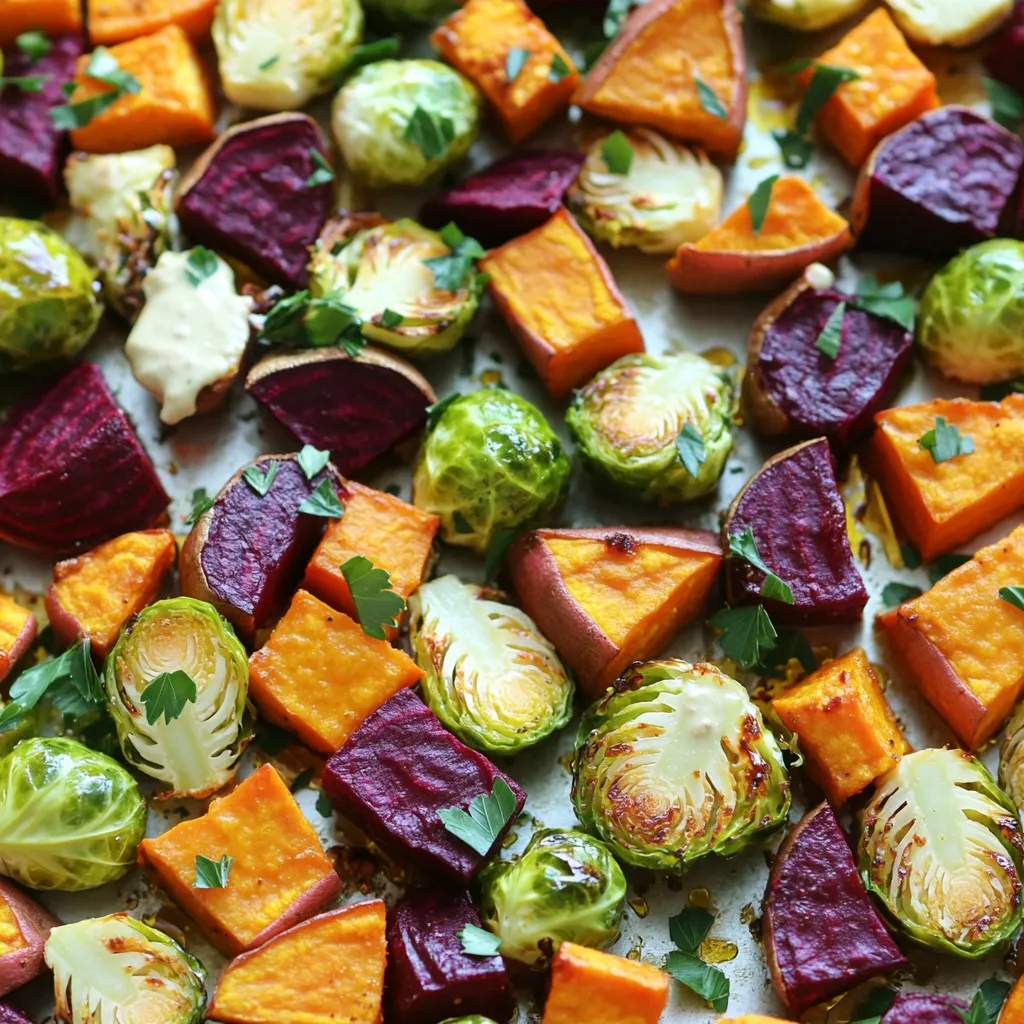
Sheet-Pan Fall Veggies with Tahini Drizzle Recipe
Get ready to embrace the fall season with my delicious Sheet-Pan Fall Veggies with Tahini Drizzle recipe! This easy dish features vibrant vegetables, roasted to
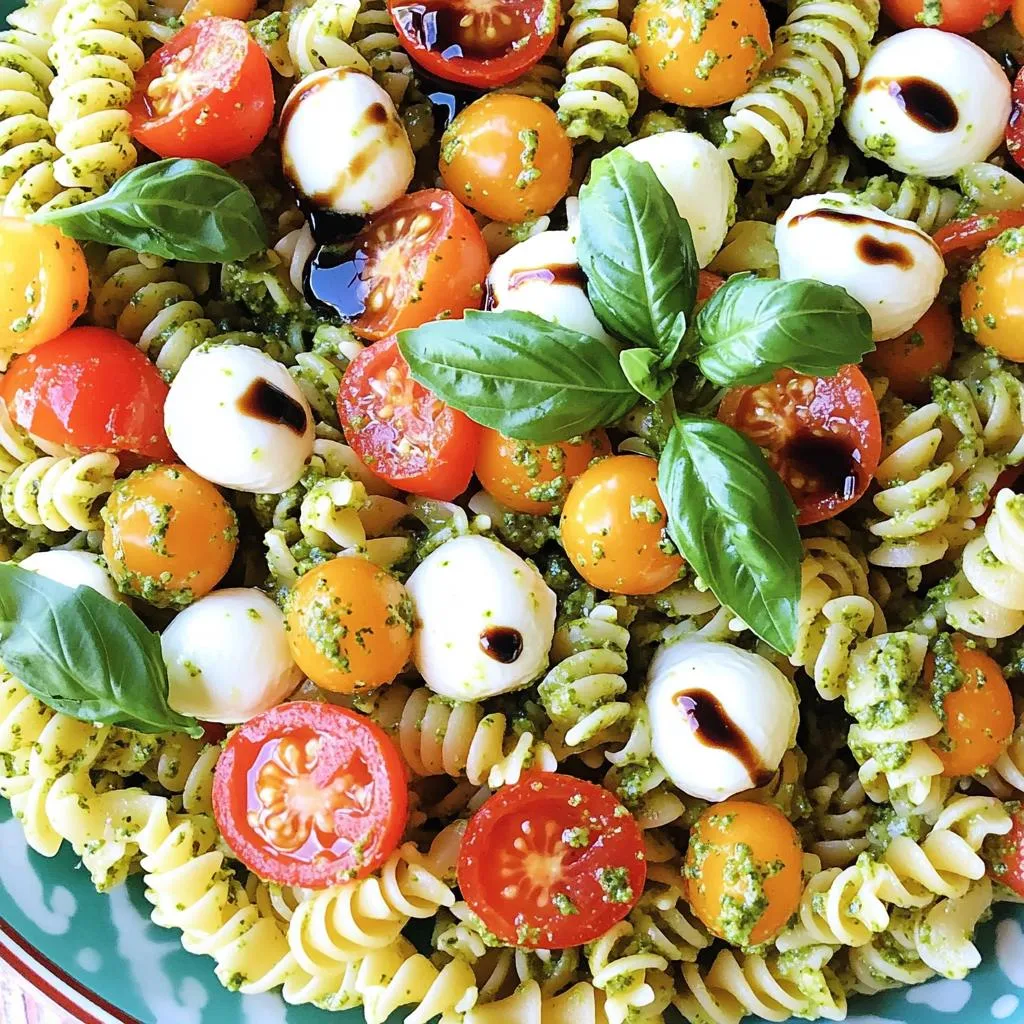
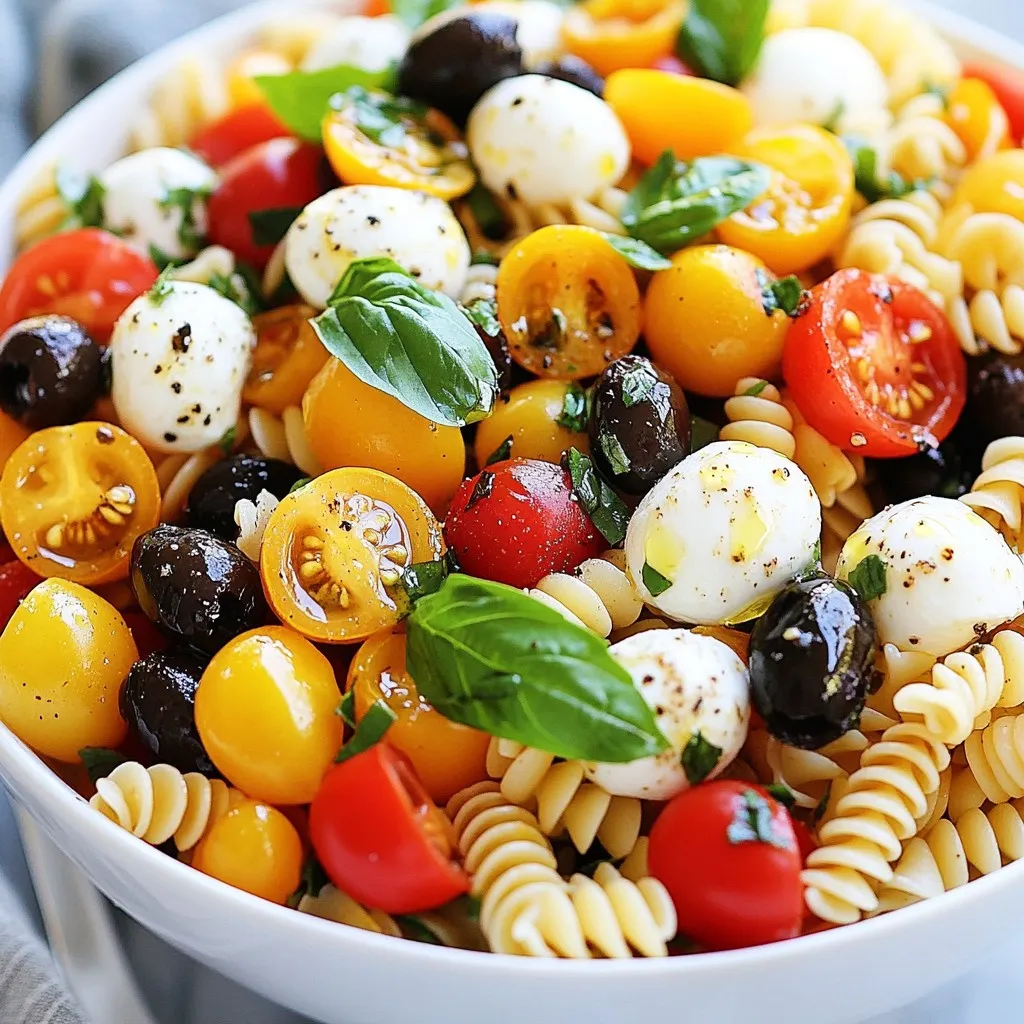
Minute Caprese Pesto Pasta Salad Flavorful Fresh Dish
Looking for a quick, tasty dish? This Minute Caprese Pesto Pasta Salad packs brilliant flavors in just a few steps! With rotini pasta, fresh mozzarella,
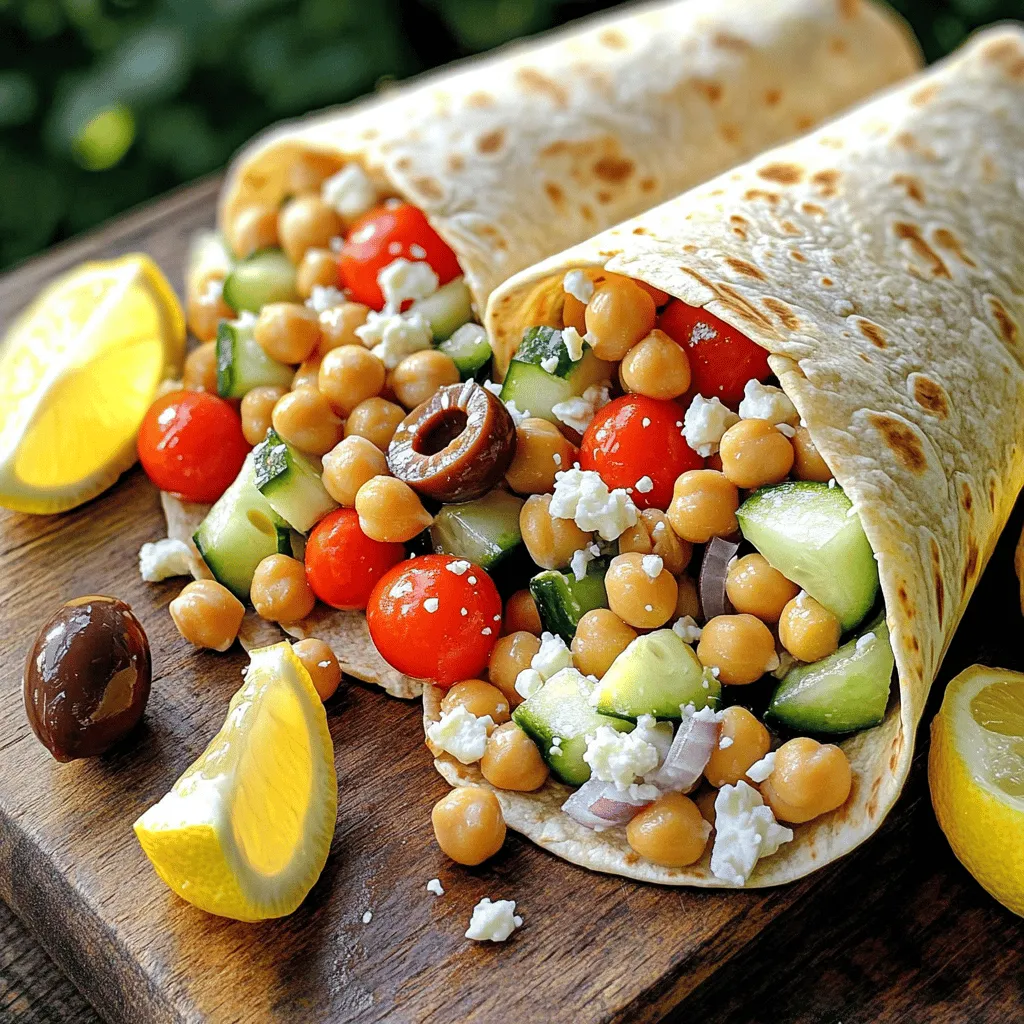
Mediterranean Chickpea Salad Wraps Fresh and Tasty Meal
Are you ready to spice up your meal routine? These Mediterranean Chickpea Salad Wraps are fresh, tasty, and easy to make. Packed with flavor and
Italian Protein Pasta Salad Energizing and Tasty Dish
Looking for a tasty way to boost your protein intake? The Italian Protein Pasta Salad is your answer! This dish combines flavors and nutrition into
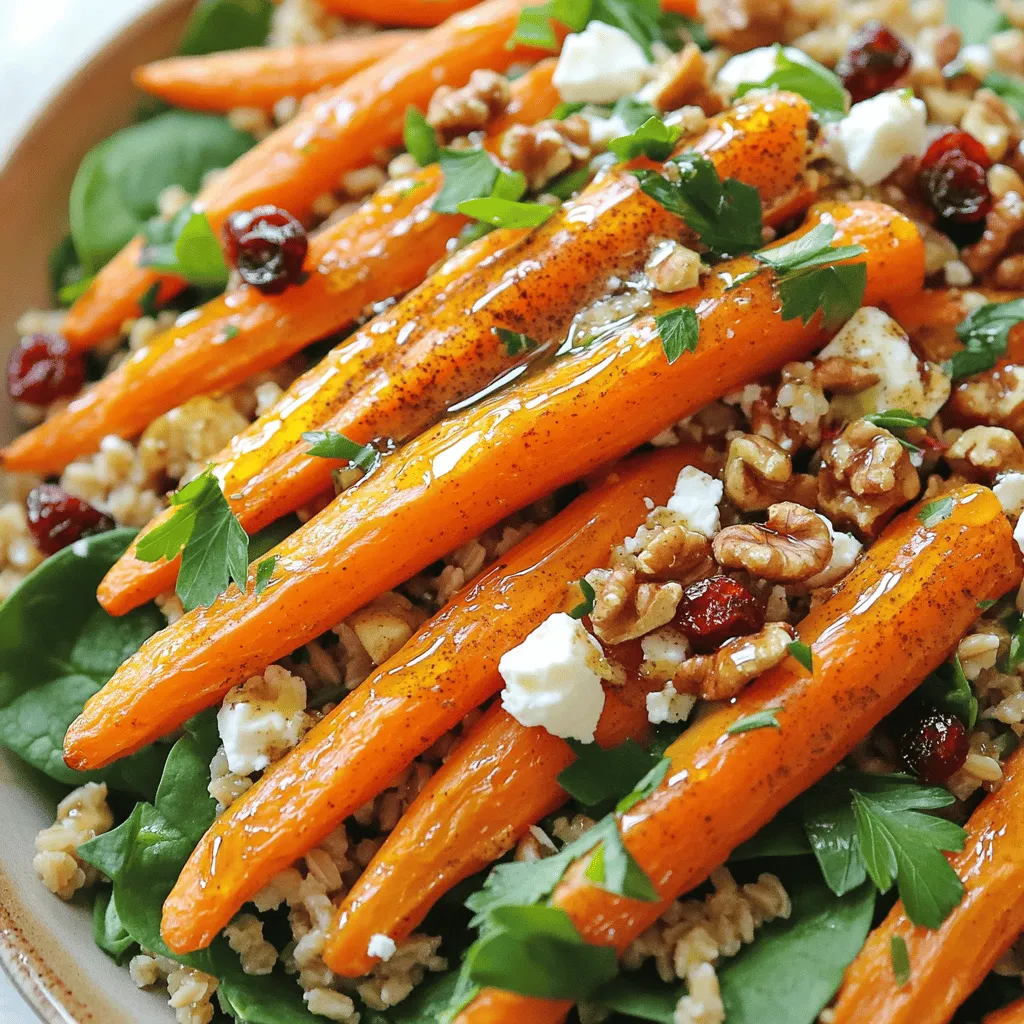
Maple Roasted Carrot & Farro Salad Fresh and Flavorful
Looking for a fresh and flavorful dish that bursts with taste? You’re in the right place! This Maple Roasted Carrot & Farro Salad combines sweet
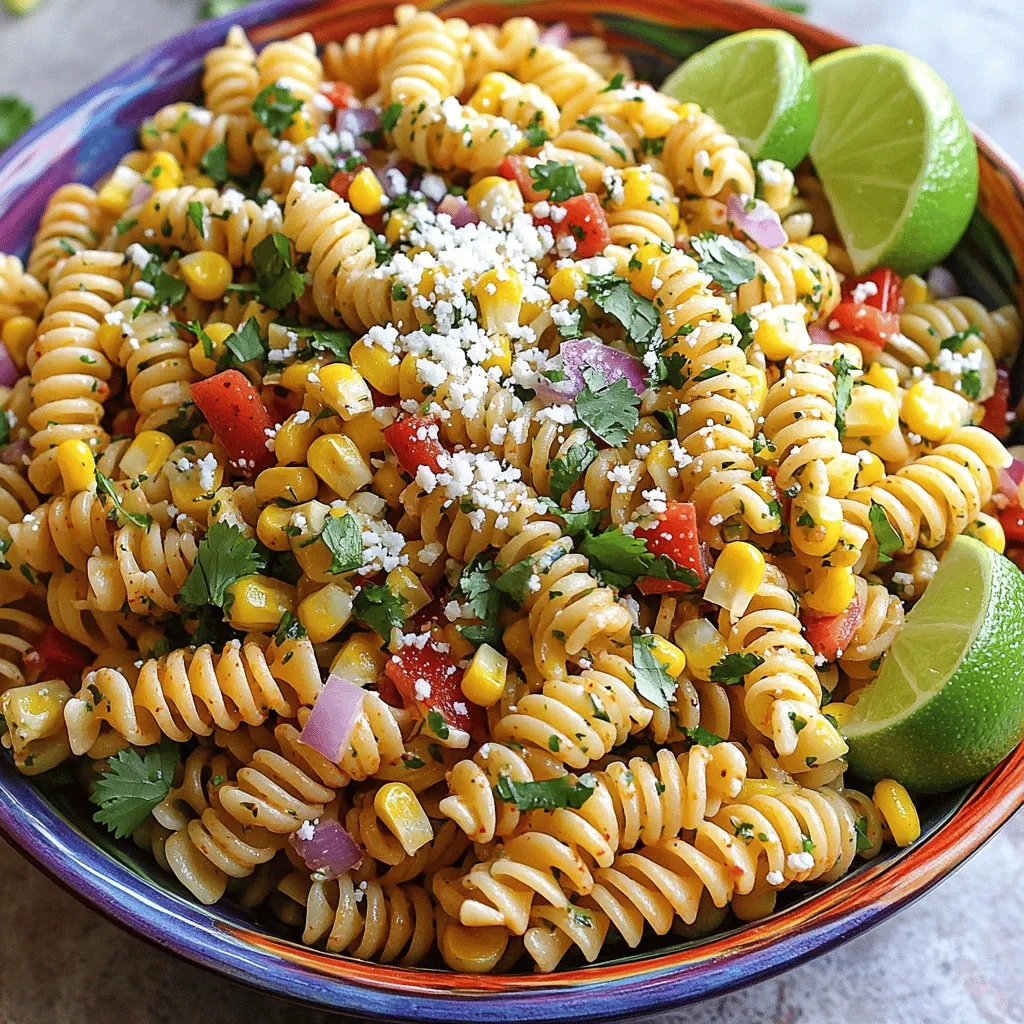
Mexican Street Corn Pasta Salad Flavorful Side Dish
Looking for a fresh side dish that packs a punch? Mexican Street Corn Pasta Salad combines vibrant flavors with easy-to-find ingredients. This dish features sweet
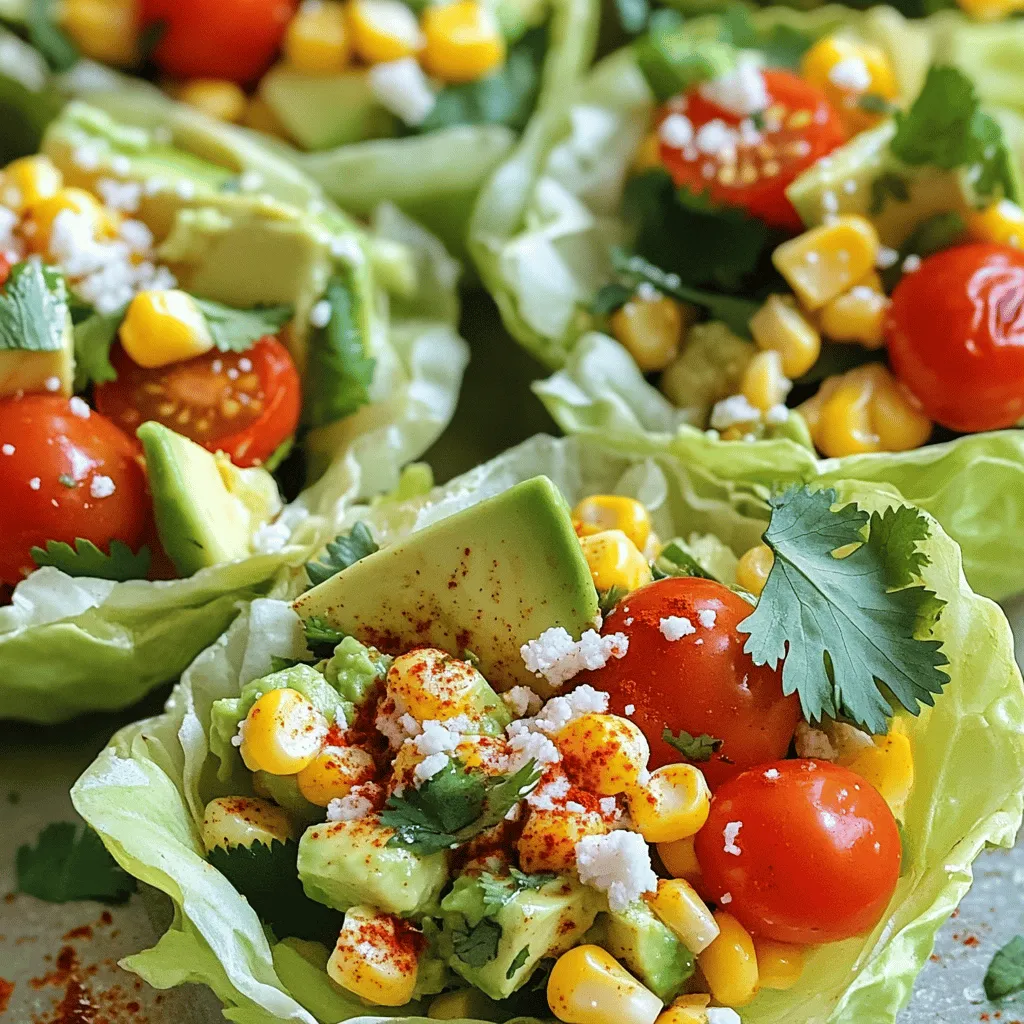
Street Corn Salad Cups Flavorful and Fun Appetizer
Looking for a crowd-pleasing appetizer? Street Corn Salad Cups are your answer! They pack vibrant flavors and are fun to eat. In this article, I’ll
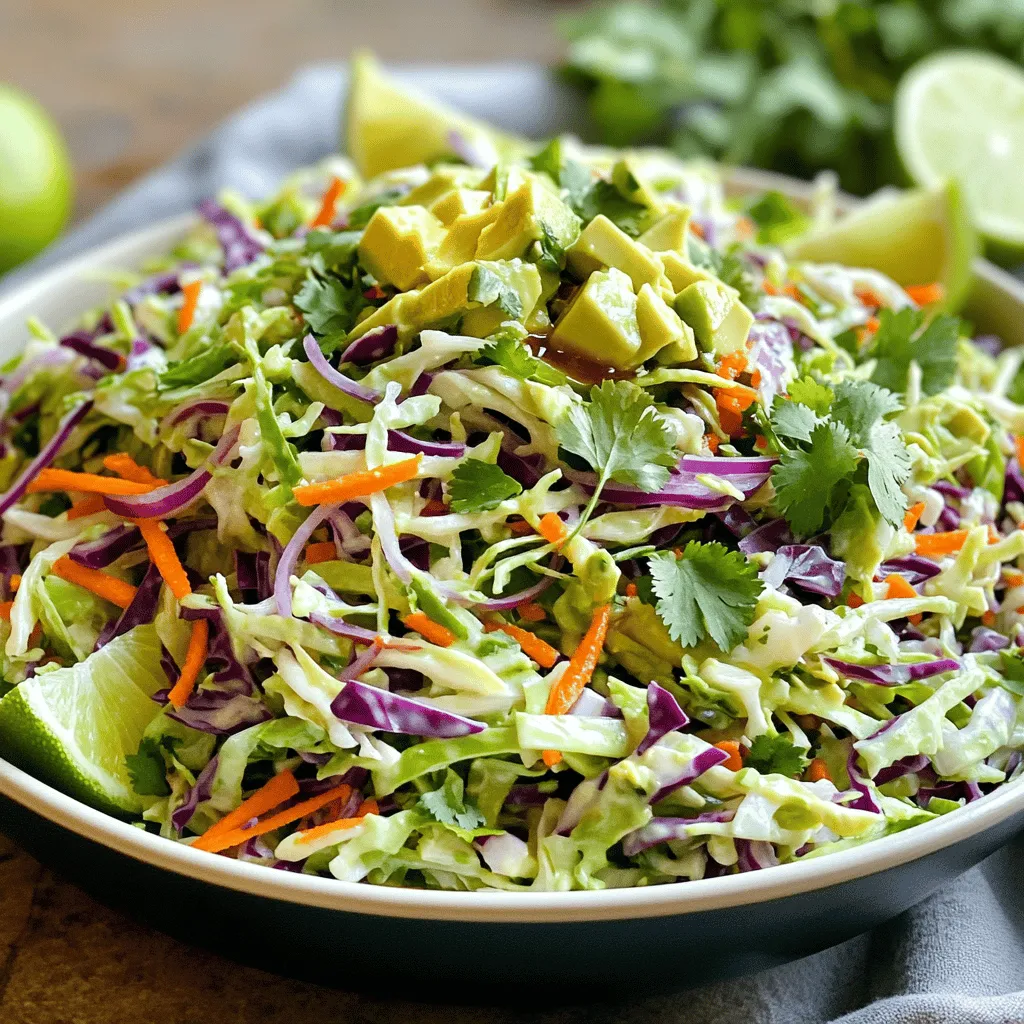
Cilantro Lime Slaw Fresh and Flavorful Side Dish
Cilantro Lime Slaw is a vibrant and zesty side dish that brightens up any meal. Packed with fresh veggies and a tangy dressing, this slaw