Dinner
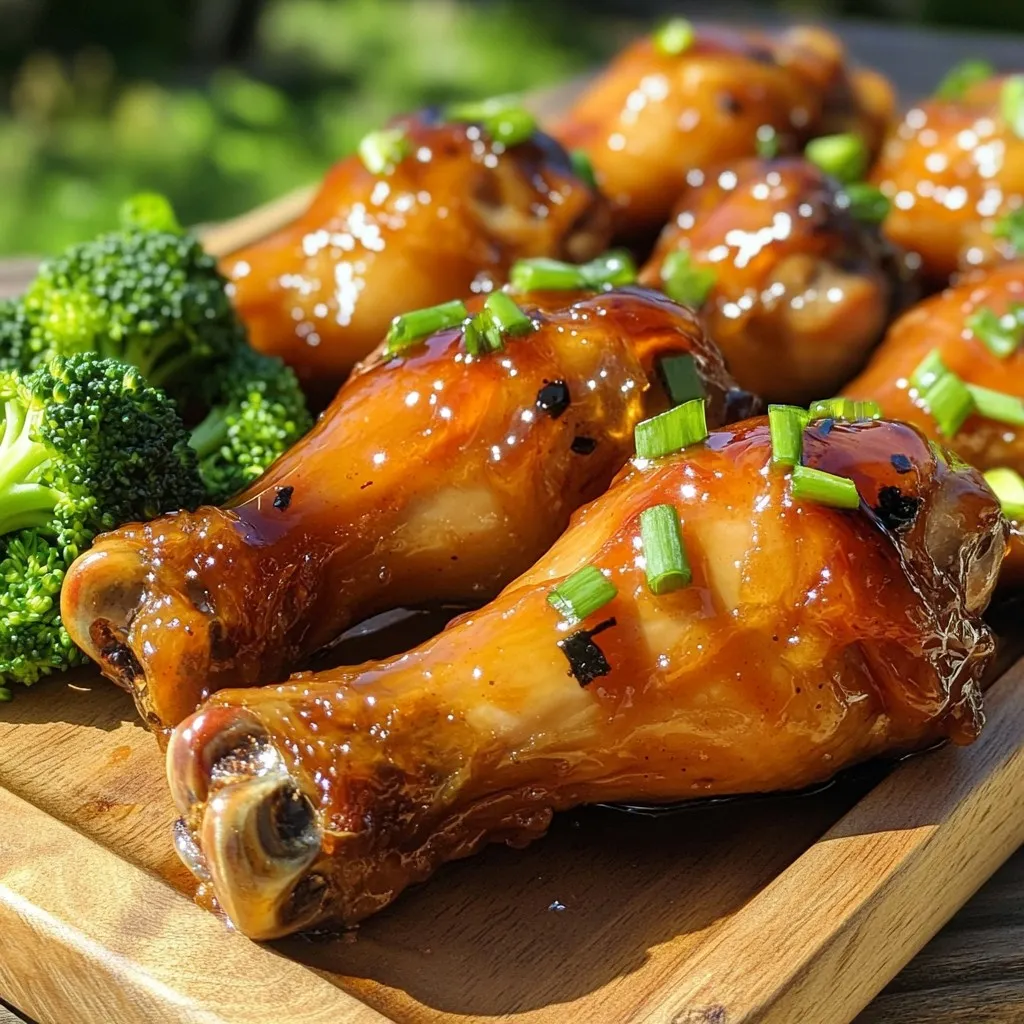
Maple Glazed Chicken Drumsticks Slow Cooker Delight
Are you ready to savor the sweet and savory taste of Maple Glazed Chicken Drumsticks? This slow cooker recipe will have your taste buds dancing
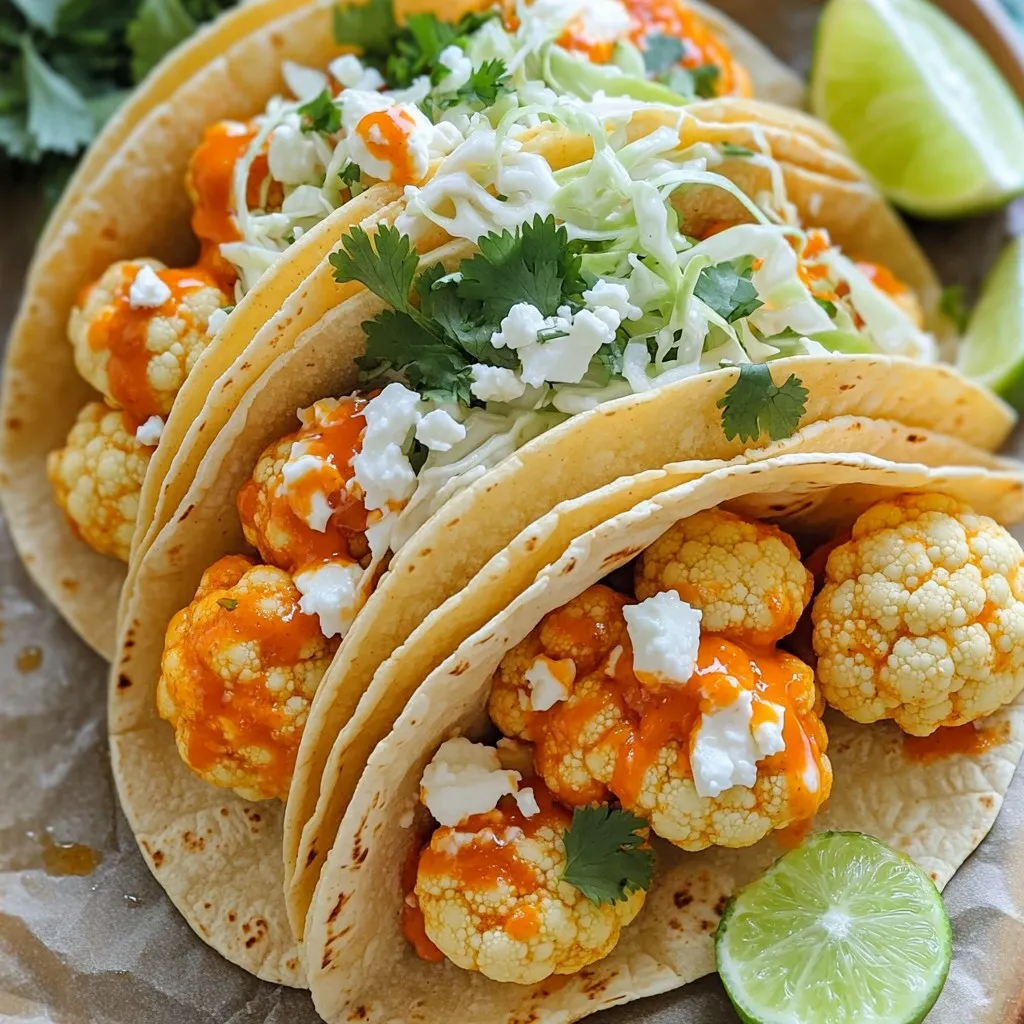
Buffalo Cauliflower Tacos Flavorful Air Fryer Recipe
Get ready to spice up your taco night with my flavorful Buffalo Cauliflower Tacos! Using an air fryer, this recipe combines crispy cauliflower florets with
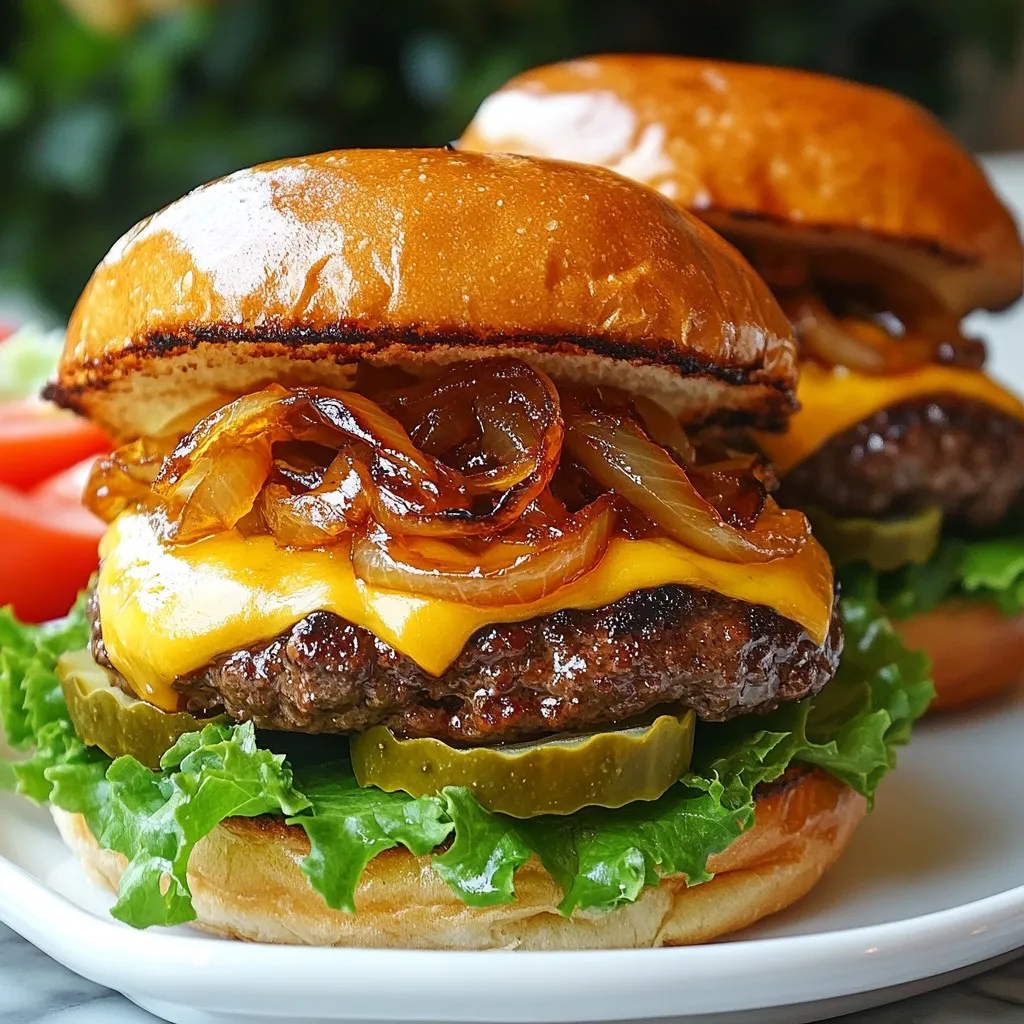
Ultimate Smash Burgers Flavorful and Juicy Delight
If you’re ready to elevate your burger game, you’ve come to the right place! In this guide, I’ll show you how to create Ultimate Smash
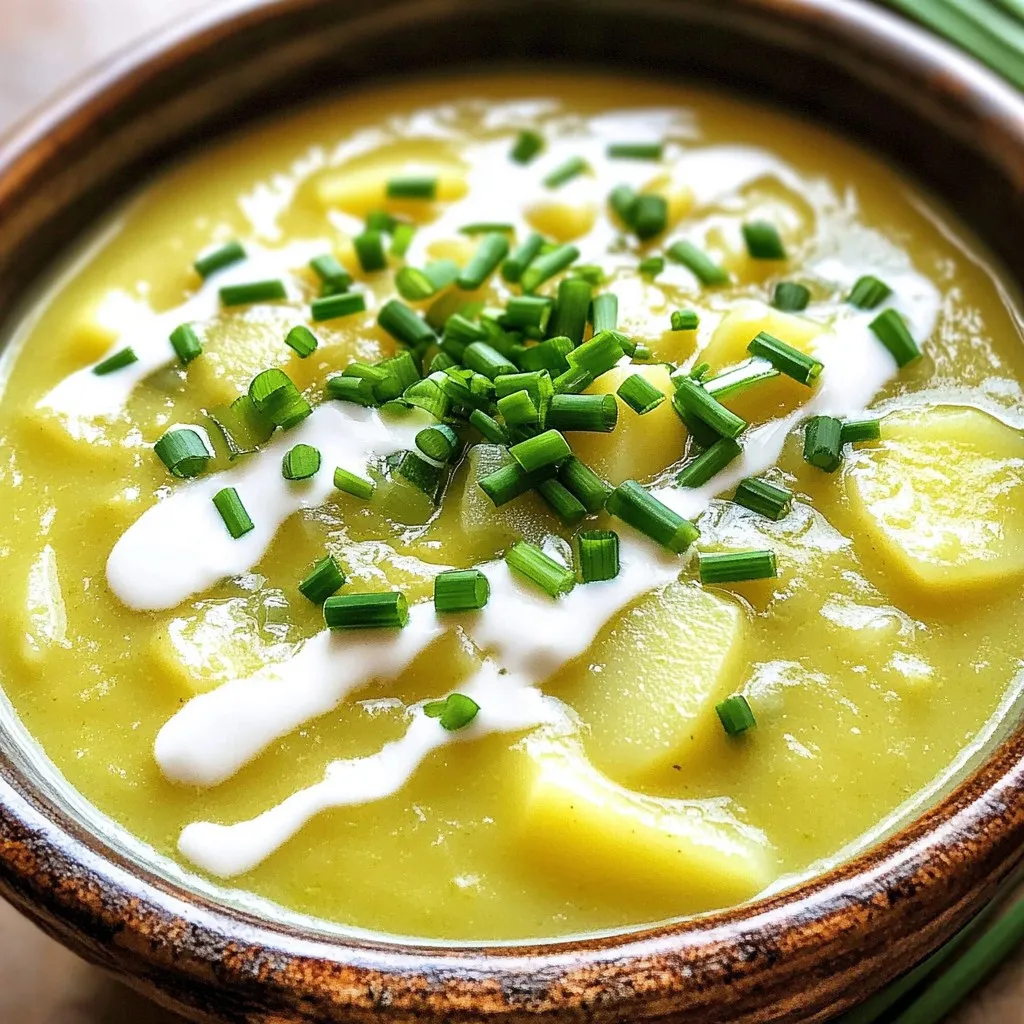
Savory Slow Cooker Potato Leek Soup Recipe Delight
Craving a warm bowl of comfort? This Savory Slow Cooker Potato Leek Soup Recipe will delight your taste buds while keeping your cooking simple. With
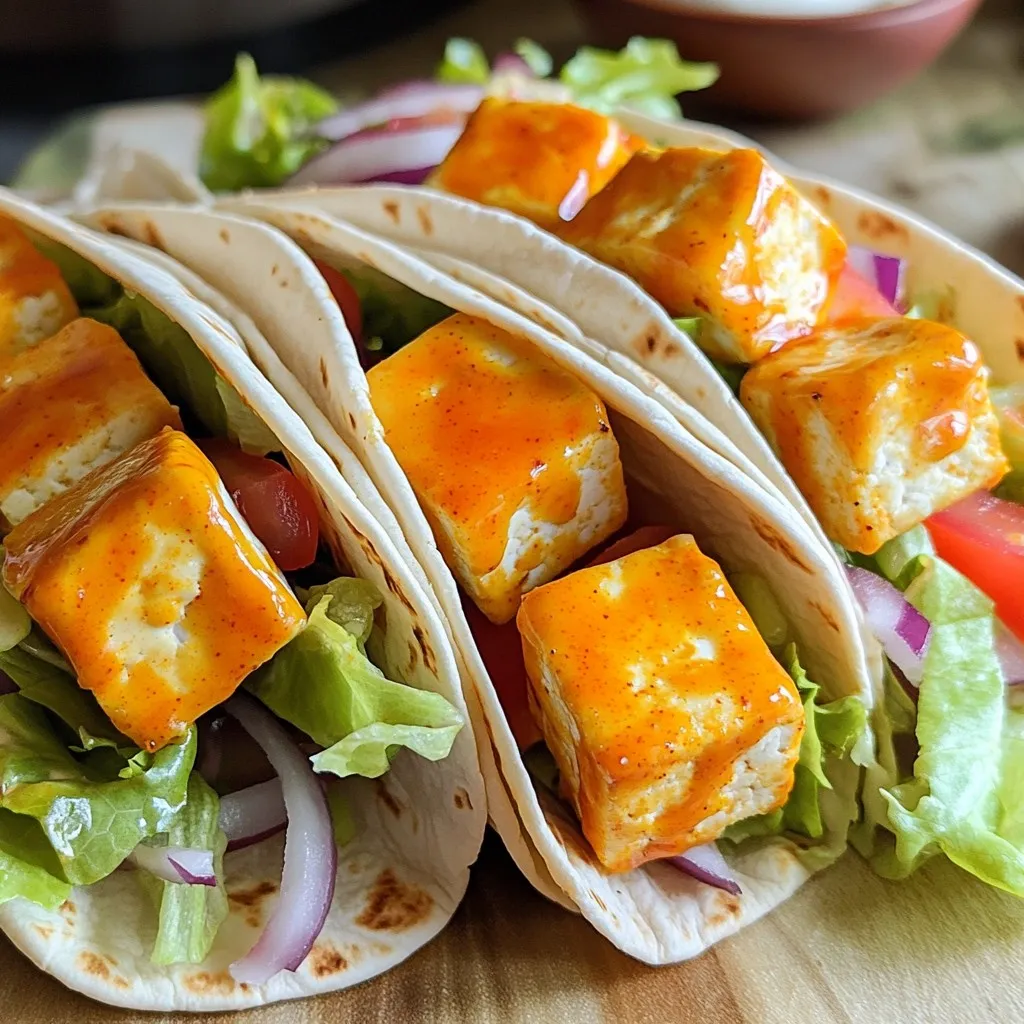
Air Fryer Buffalo Tofu Wraps Tasty and Crisp Meal
Looking for a tasty and crisp meal that’s quick to make? Try Air Fryer Buffalo Tofu Wraps! They are packed with flavor and perfect for
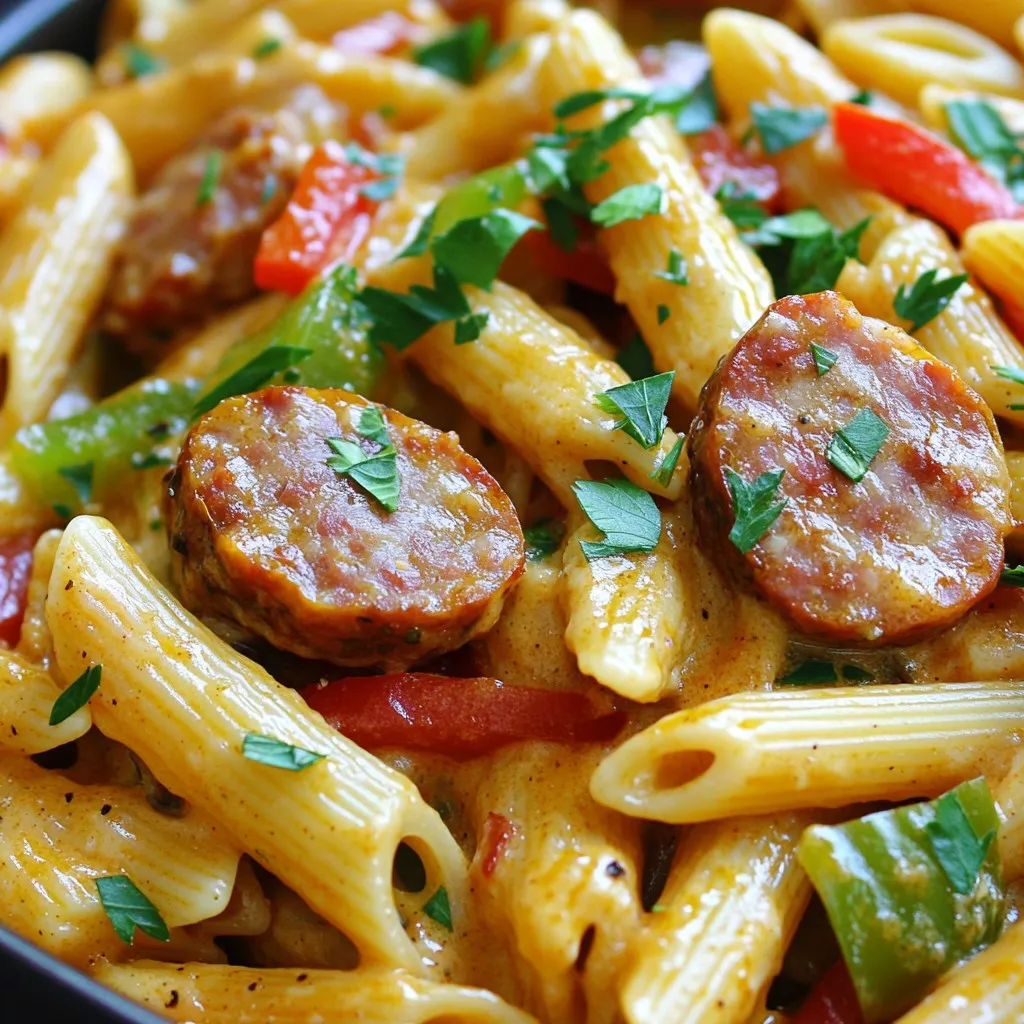
One-Pot Cajun Sausage Pasta Easy and Flavorful Meal
Craving a quick, delicious meal that packs a punch? One-Pot Cajun Sausage Pasta is here to save your dinner time! With its bold flavors and

Slow Cooker Creamy Garlic Mash Irresistible Comfort Food
If you crave comfort food that warms your soul, you’ve come to the right place! My Slow Cooker Creamy Garlic Mash is rich, buttery, and
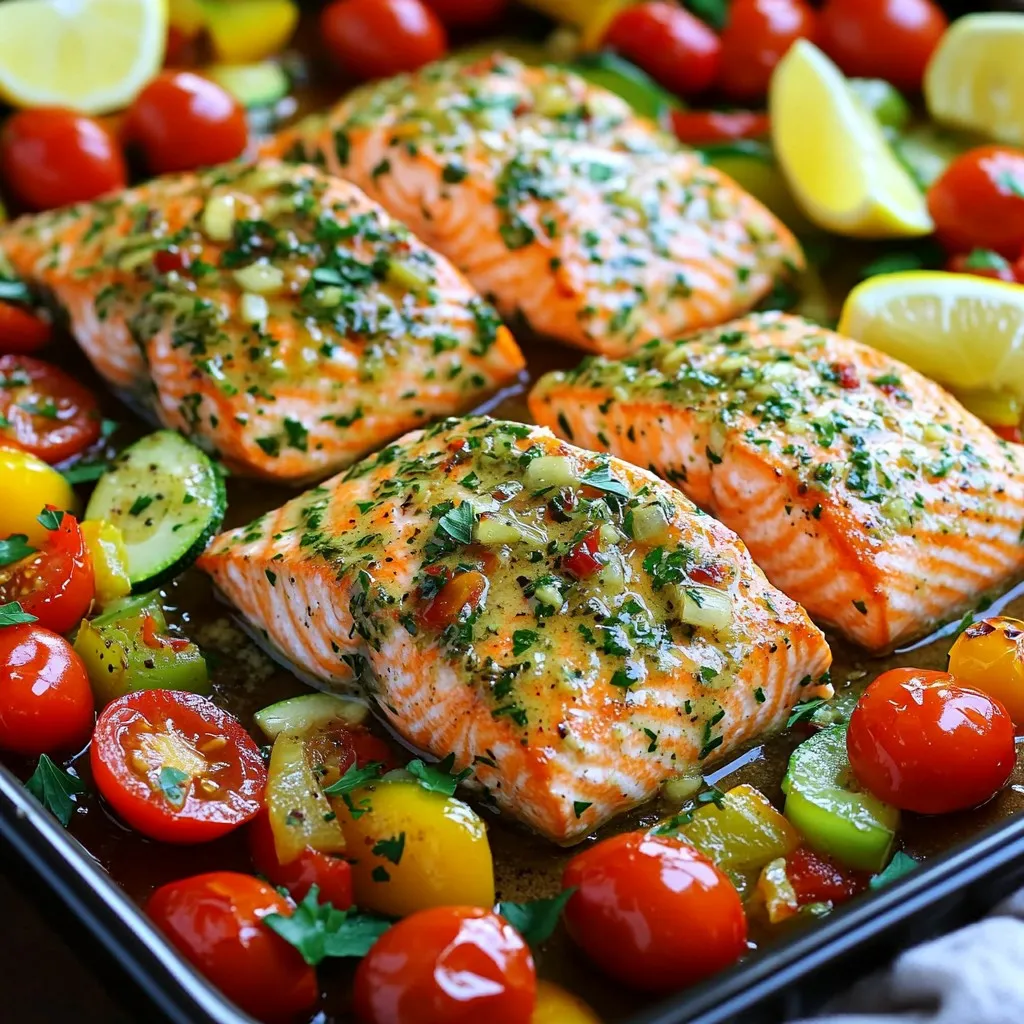
Sheet Pan Garlic Herb Salmon & Veggies Delight
Looking for a quick and tasty dinner? You’ve found it! This Sheet Pan Garlic Herb Salmon & Veggies recipe is easy, healthy, and full of
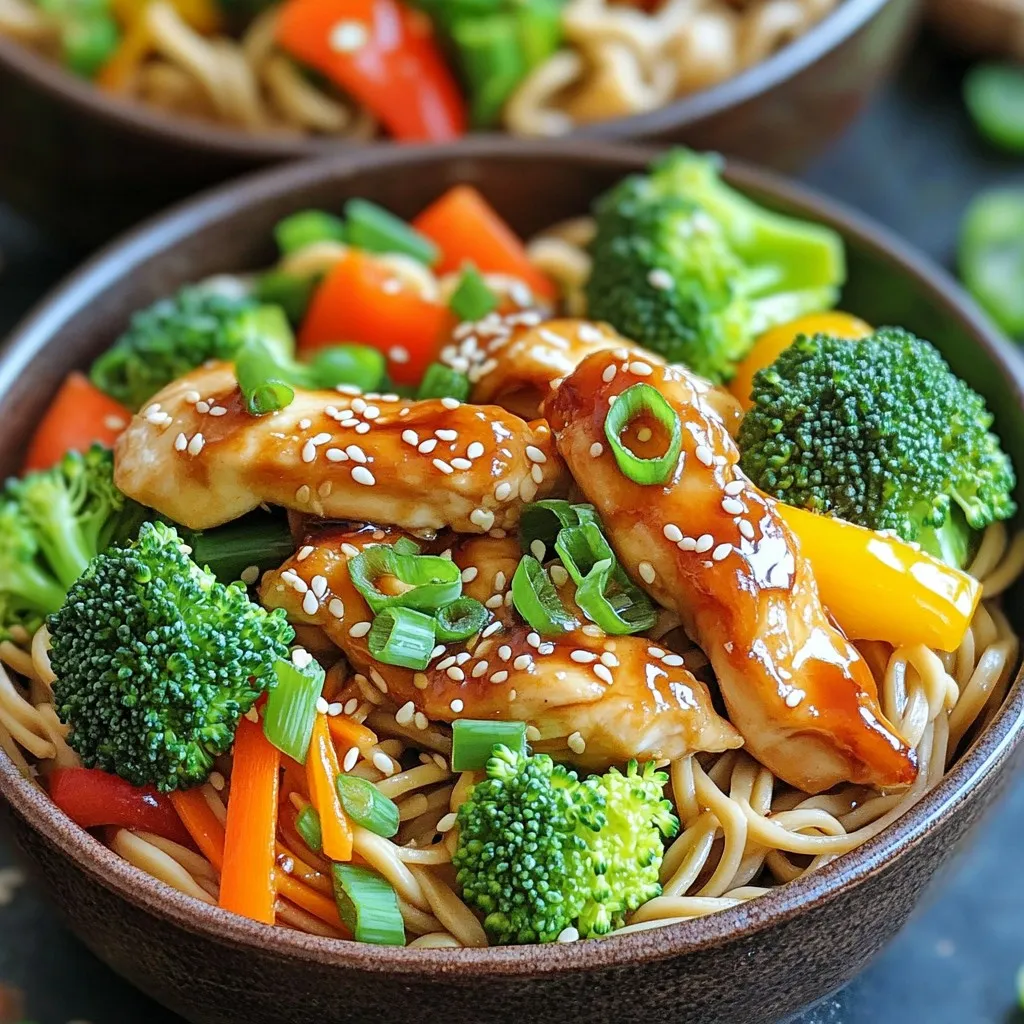
Teriyaki Chicken Noodle Bowls Delightful Homemade Meal
Love takeout but crave a homemade touch? My Teriyaki Chicken Noodle Bowls are a game changer! Packed with fresh veggies, tender chicken, and a sweet-savory
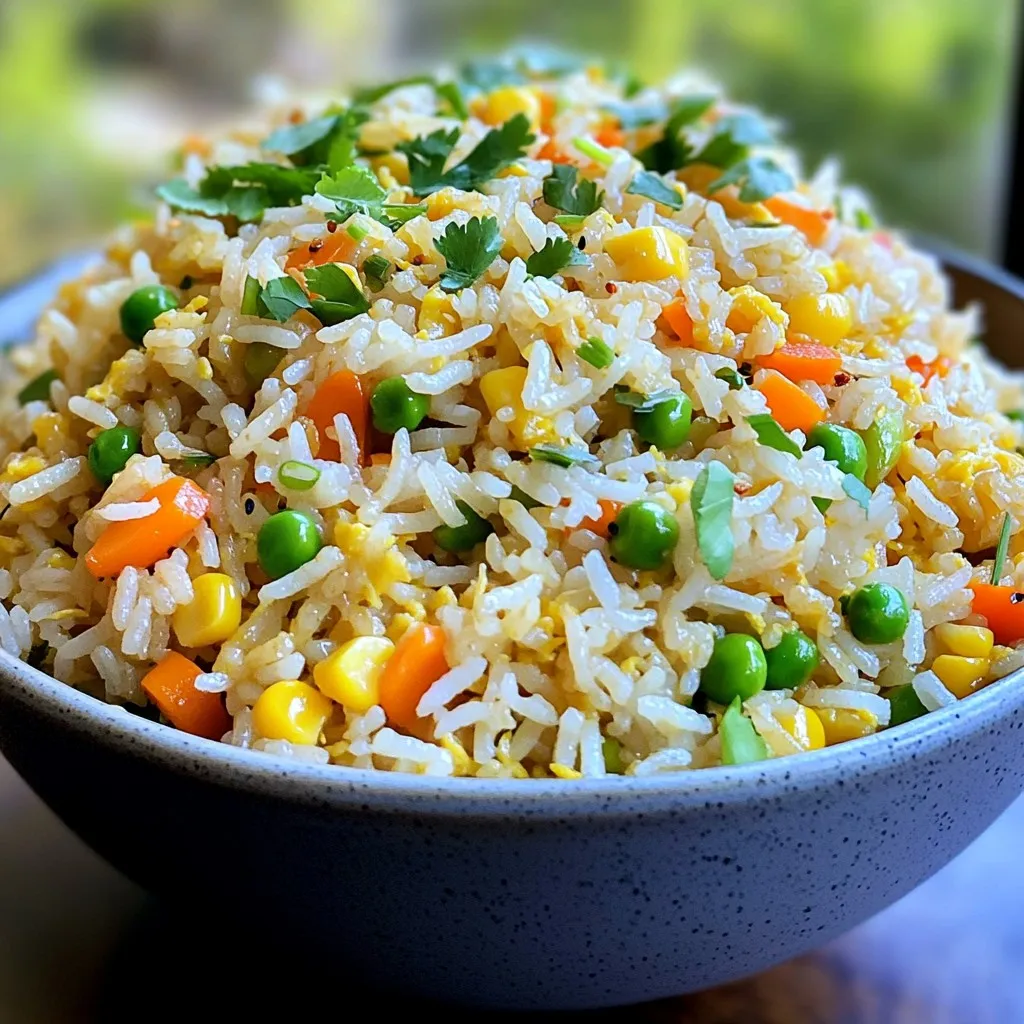
Better Than Takeout Garlic Butter Fried Rice Delight
Looking for a quick meal that’s better than takeout? My Garlic Butter Fried Rice recipe is a game changer! With simple ingredients and easy steps,