Dinner
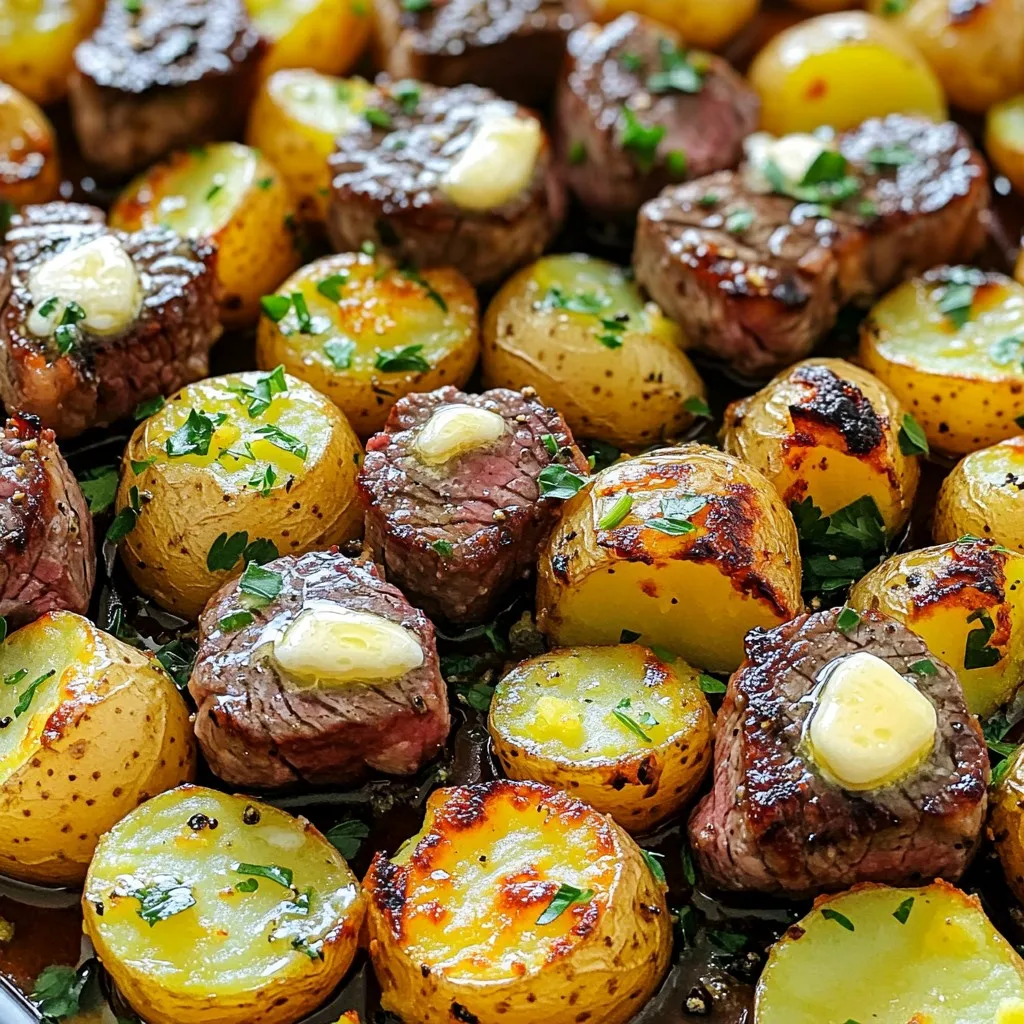
Garlic Butter Steak Bites & Potatoes Easy Weeknight Meal
Looking for an easy weeknight meal that packs a punch? Garlic Butter Steak Bites & Potatoes are the perfect choice! With just a few simple
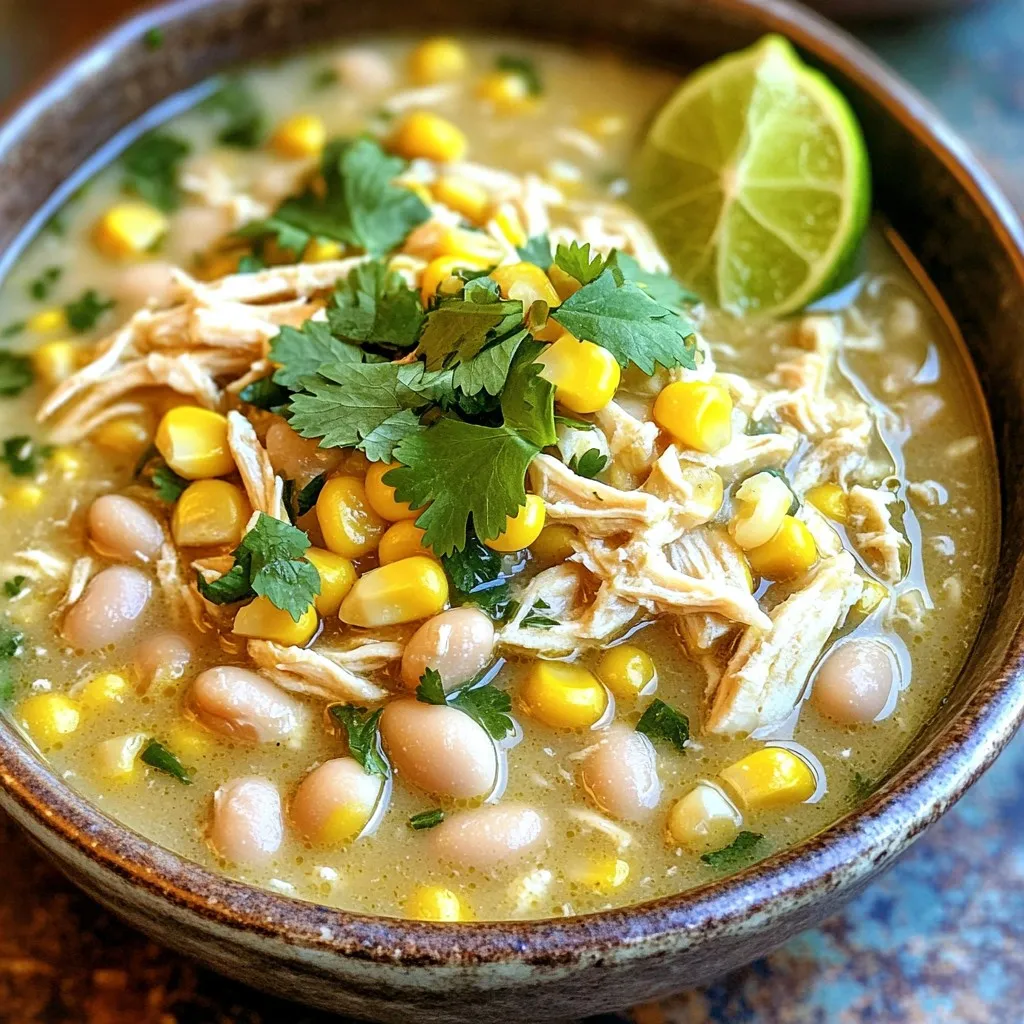
Slow Cooker White Chicken Chili Wholesome and Hearty
Are you ready to warm up with a bowl of comforting Slow Cooker White Chicken Chili? This wholesome meal is packed with tender chicken, creamy
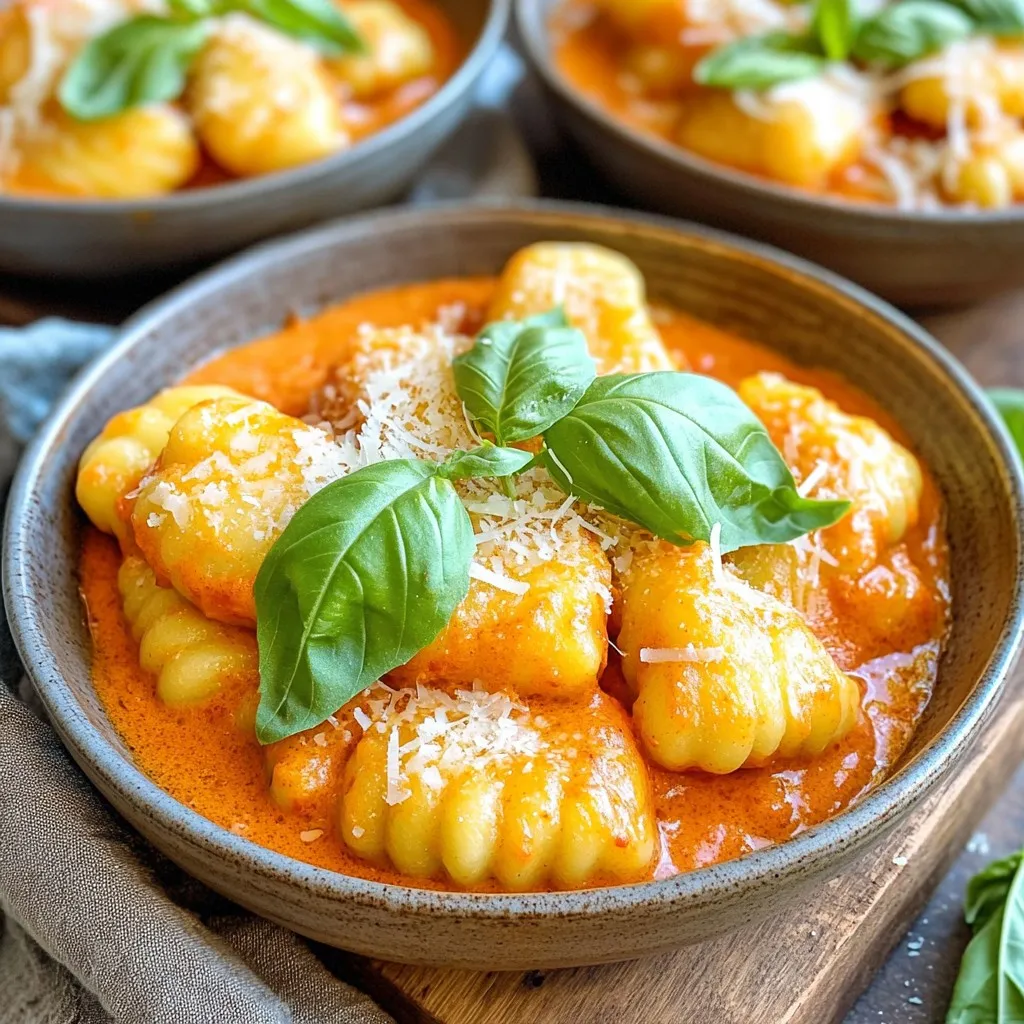
Creamy Roasted Red Pepper Gnocchi Flavorful Delight
Get ready to indulge in a bowl of creamy roasted red pepper gnocchi! This flavorful delight combines tender potato gnocchi with a rich, velvety sauce
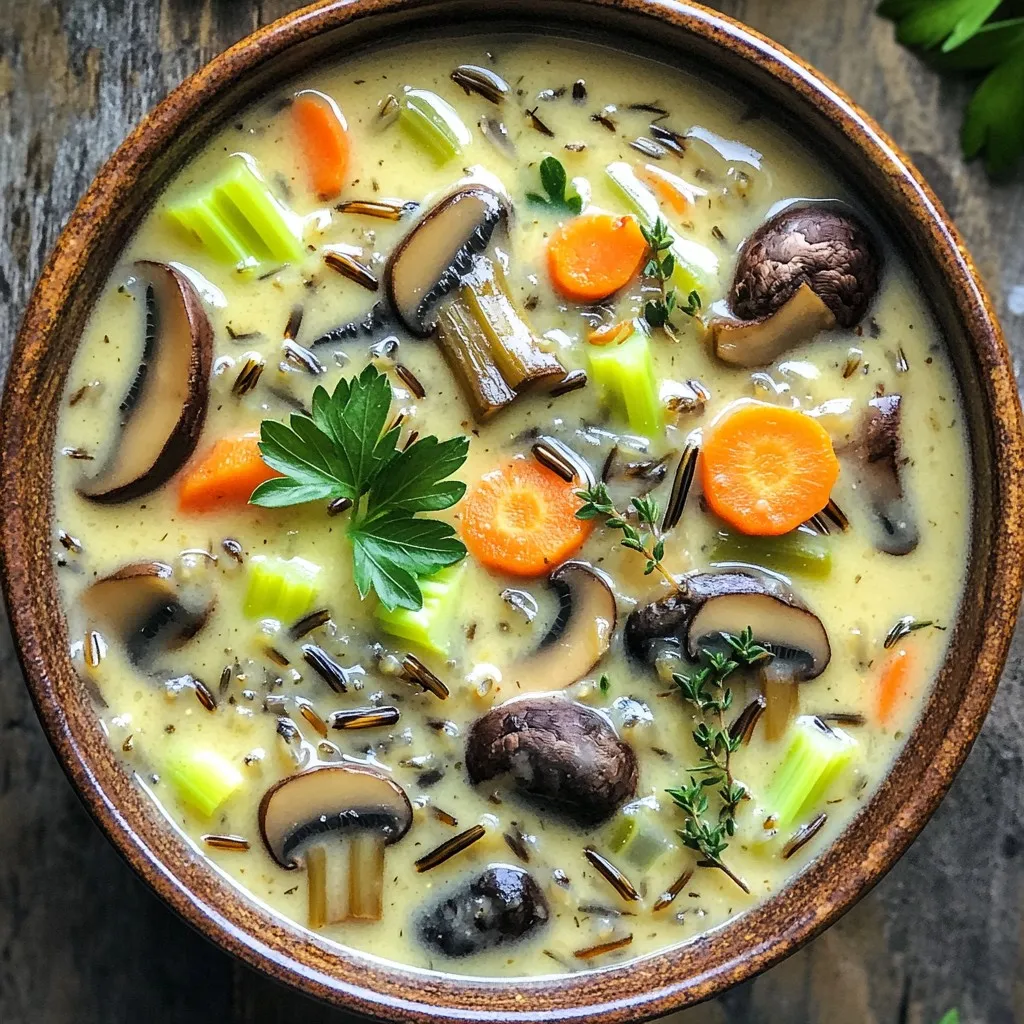
Slow Cooker Creamy Mushroom Wild Rice Soup Delight
Are you ready to savor a bowl of pure comfort? My Slow Cooker Creamy Mushroom Wild Rice Soup is your ticket to a cozy night
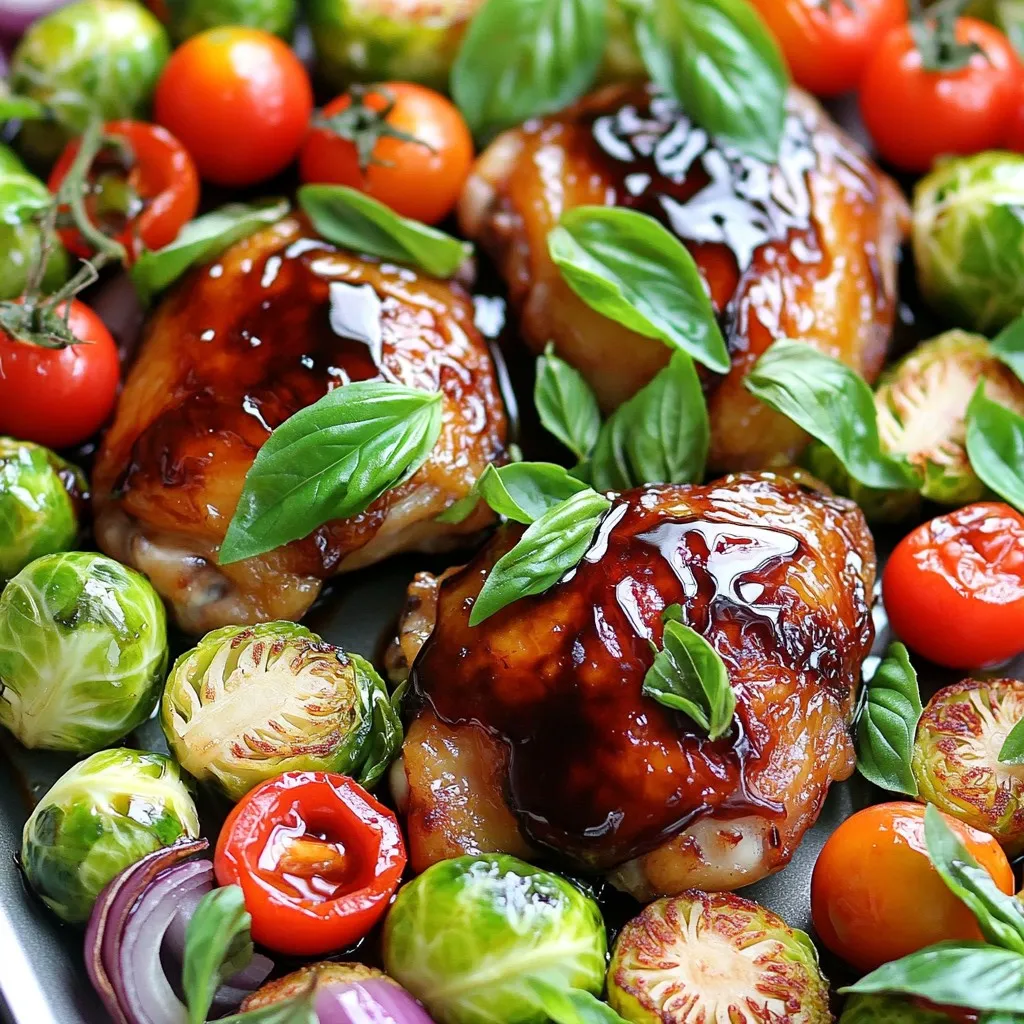
Sheet Pan Balsamic Glazed Chicken and Vegetables Delight
Looking for a delicious, easy meal? My Sheet Pan Balsamic Glazed Chicken and Vegetables will impress everyone at your table! With juicy chicken thighs and
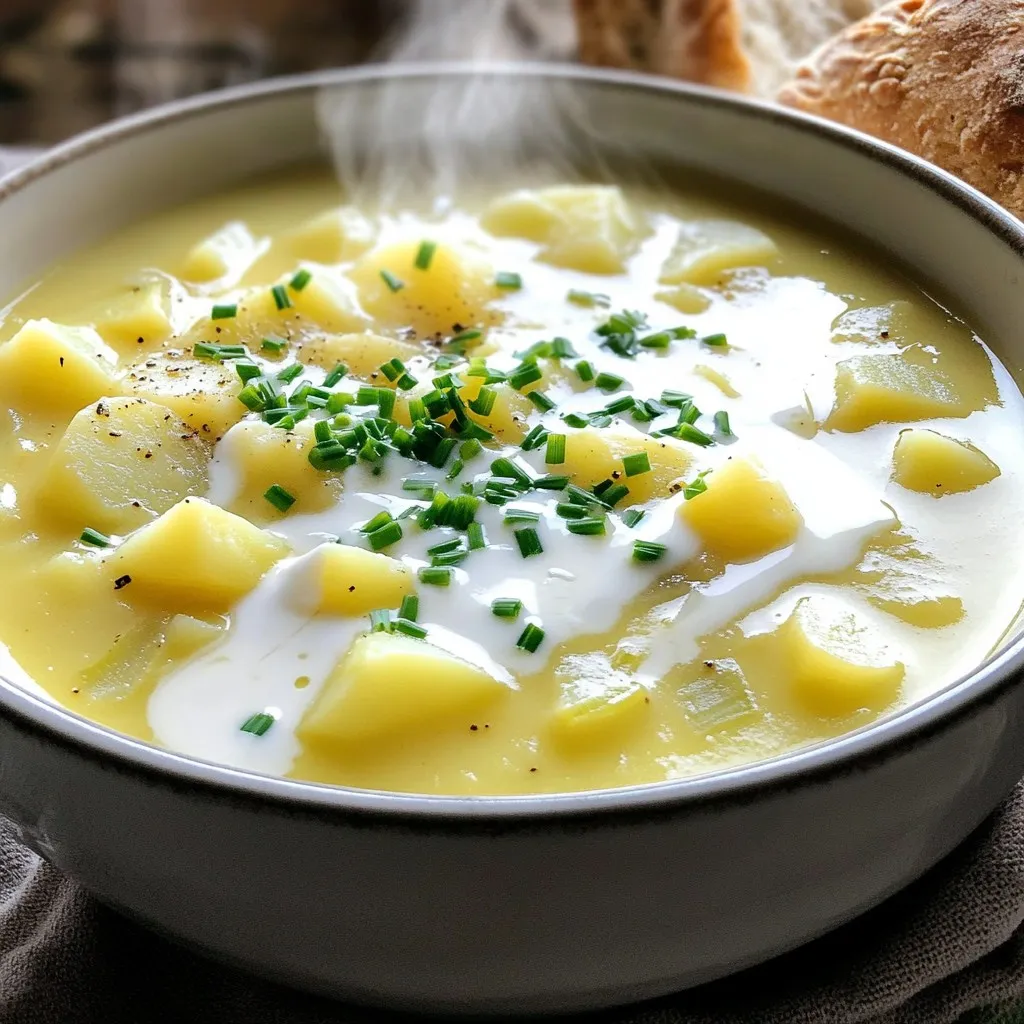
Creamy Potato Leek Crockpot Soup Easy and Flavorful
If you’re craving a warm, delicious soup that practically cooks itself, you’re in the right place. My Creamy Potato Leek Crockpot Soup is both easy
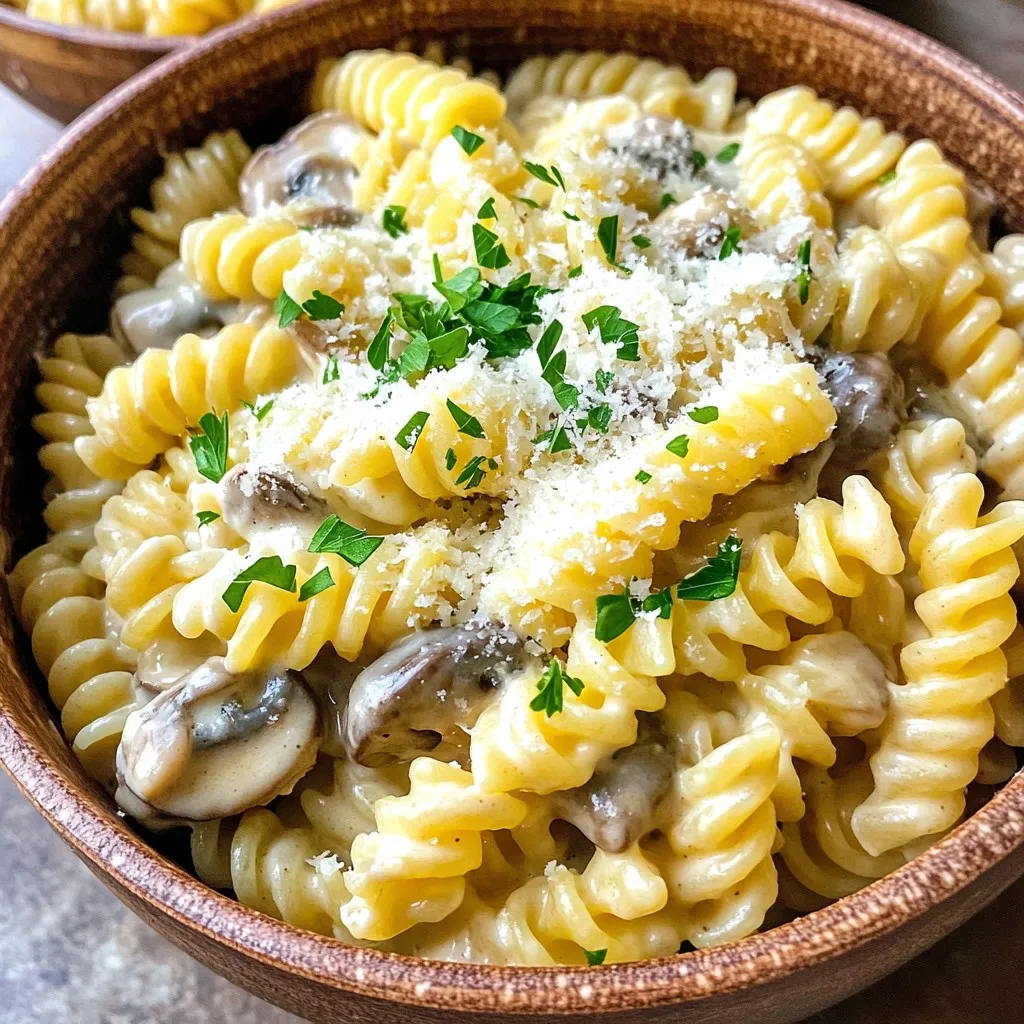
Creamy Garlic Mushroom Pasta One Pot Delightful Dish
Welcome to my kitchen! Today, I’ll show you how to make Creamy Garlic Mushroom Pasta in just one pot. This dish is rich, savory, and
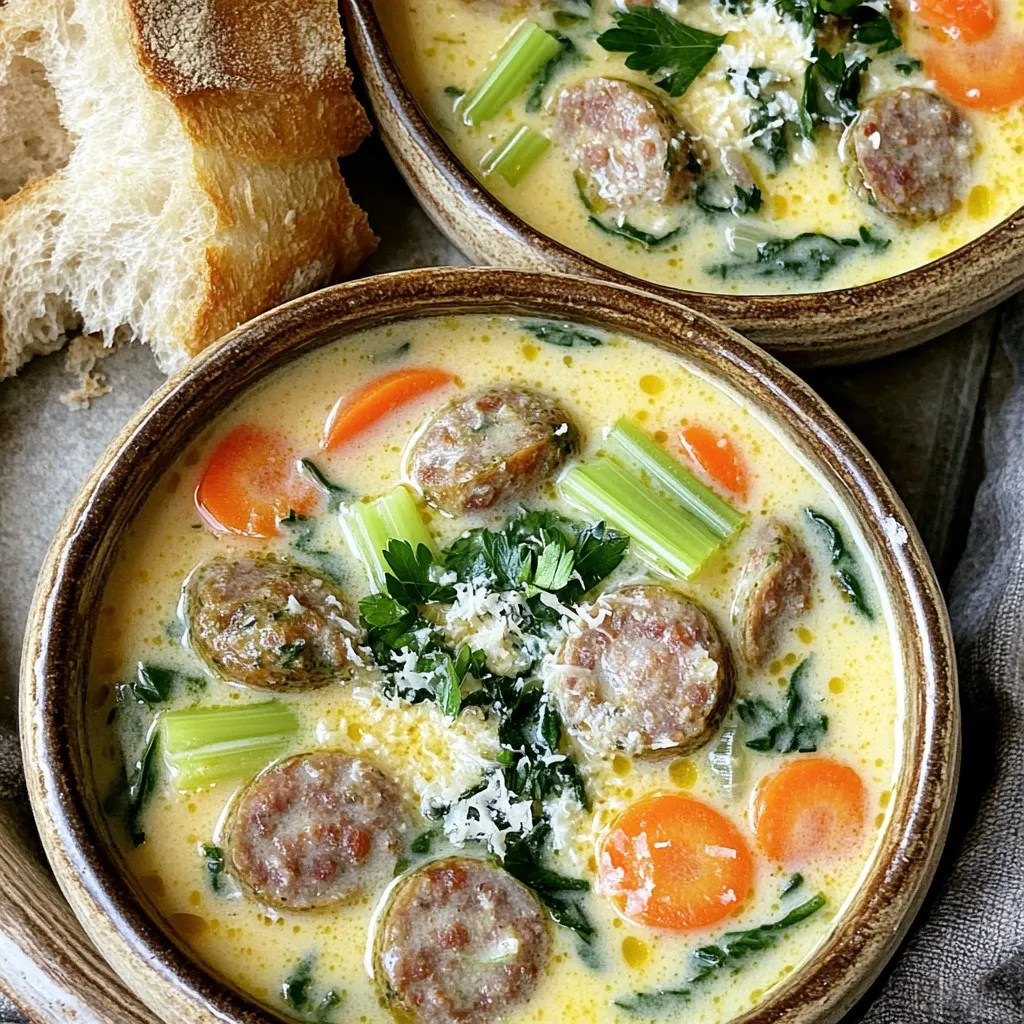
Slow Cooker Creamy Tuscan Sausage Soup Delight
Welcome to your new favorite comfort dish: Slow Cooker Creamy Tuscan Sausage Soup Delight! This rich and hearty soup combines savory Italian sausage with fresh
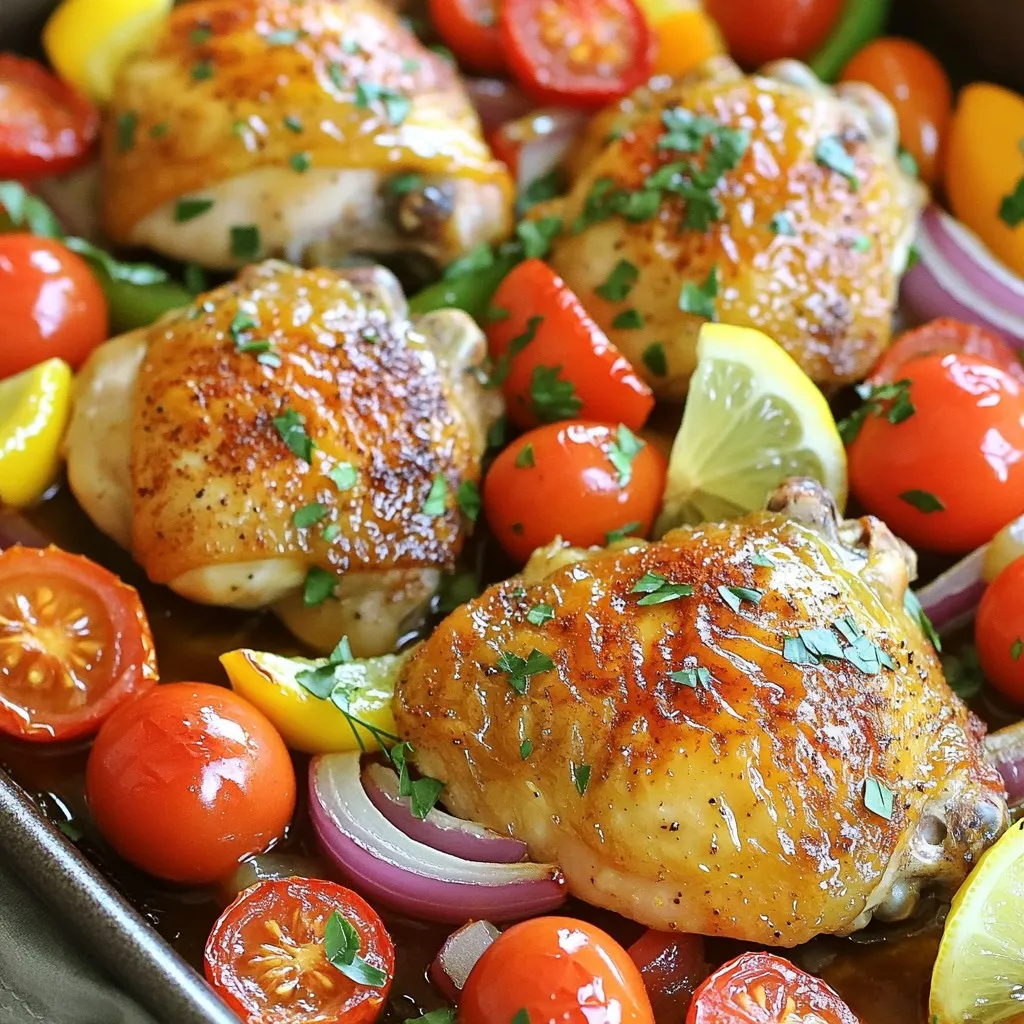
Savory One-Pan Mediterranean Lemon Chicken Thighs
If you’re craving a fresh and zesty dinner option, you’ll love this recipe! My Savory One-Pan Mediterranean Lemon Chicken Thighs is bursting with flavor and
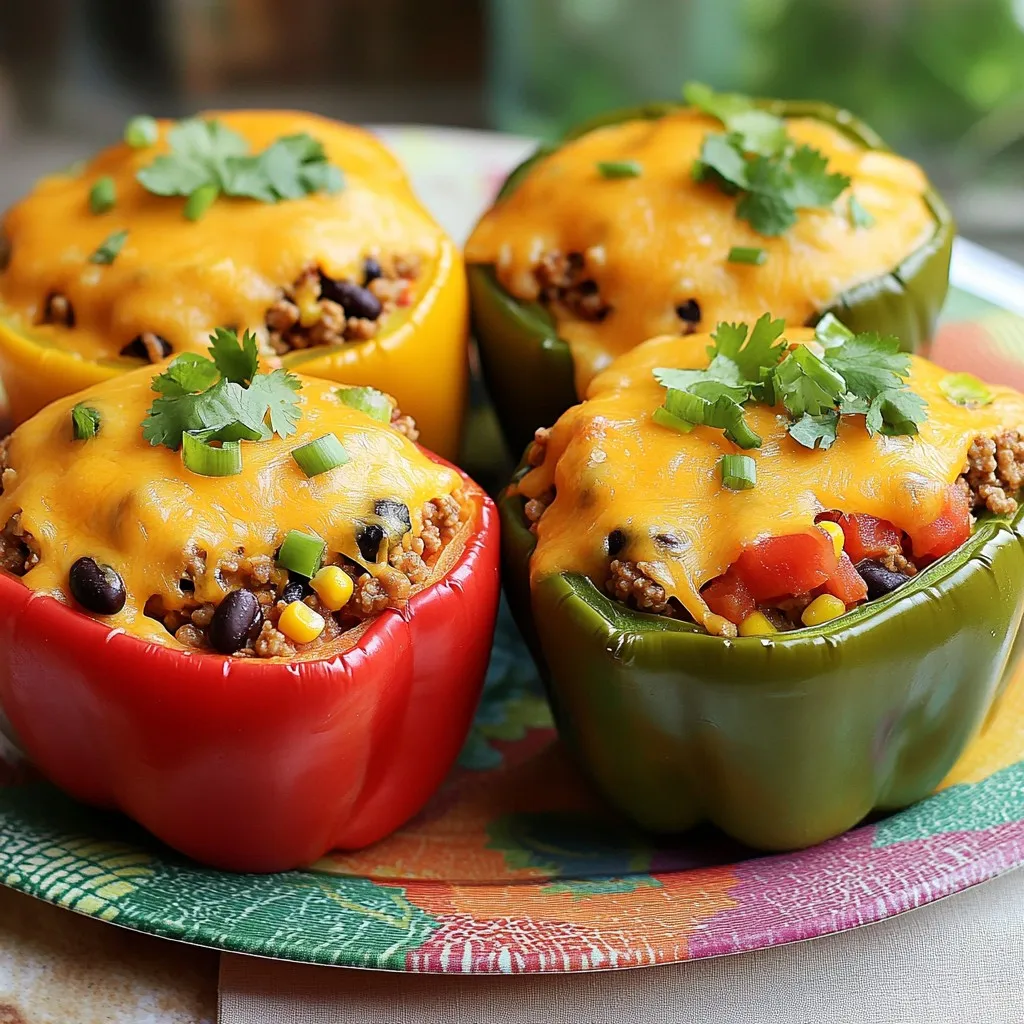
Cheesy Taco Stuffed Peppers Delicious and Easy Dish
Are you ready for a quick, mouthwatering meal that everyone will love? My Cheesy Taco Stuffed Peppers are just the ticket! Packed with flavor and