Dinner
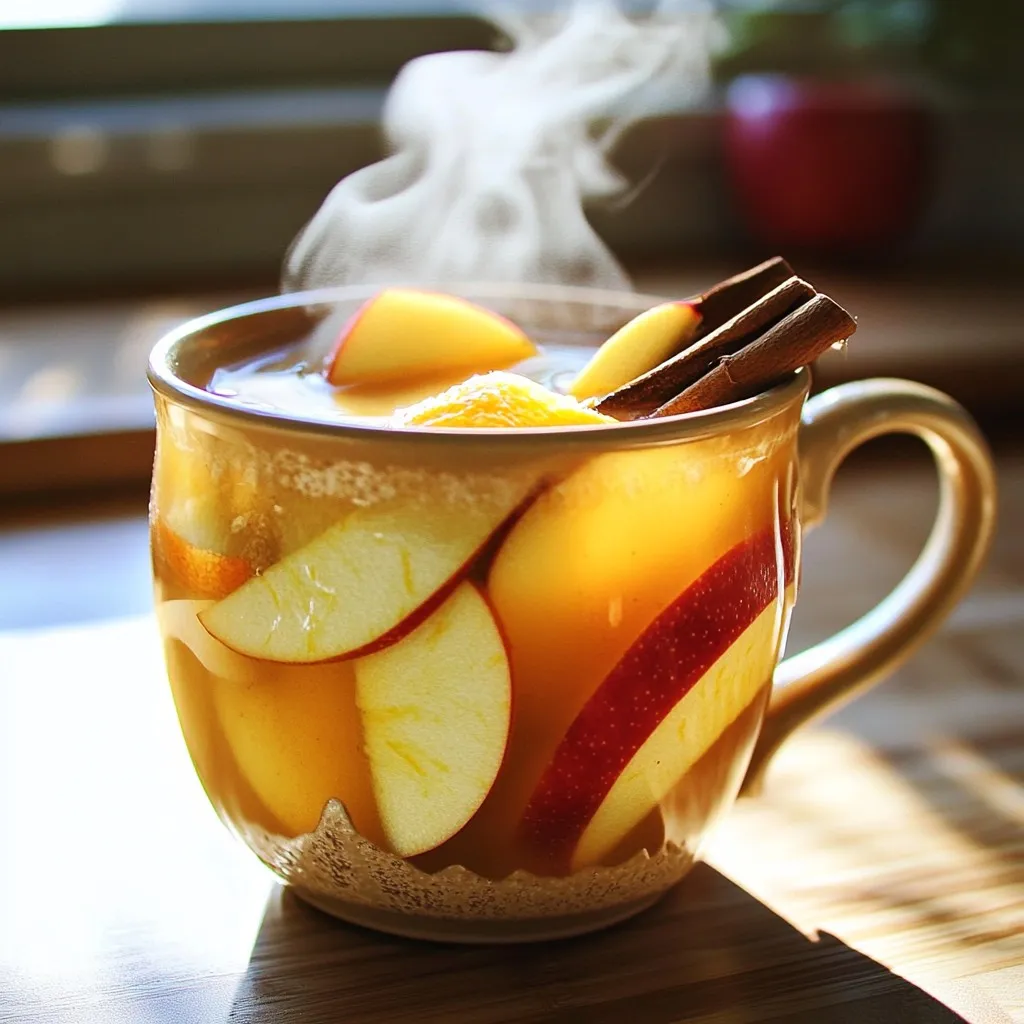
Slow Cooker Spiced Apple Cider Cozy and Warm Drink
As the chill of fall sets in, nothing warms you up quite like a cup of Slow Cooker Spiced Apple Cider. This cozy drink fills
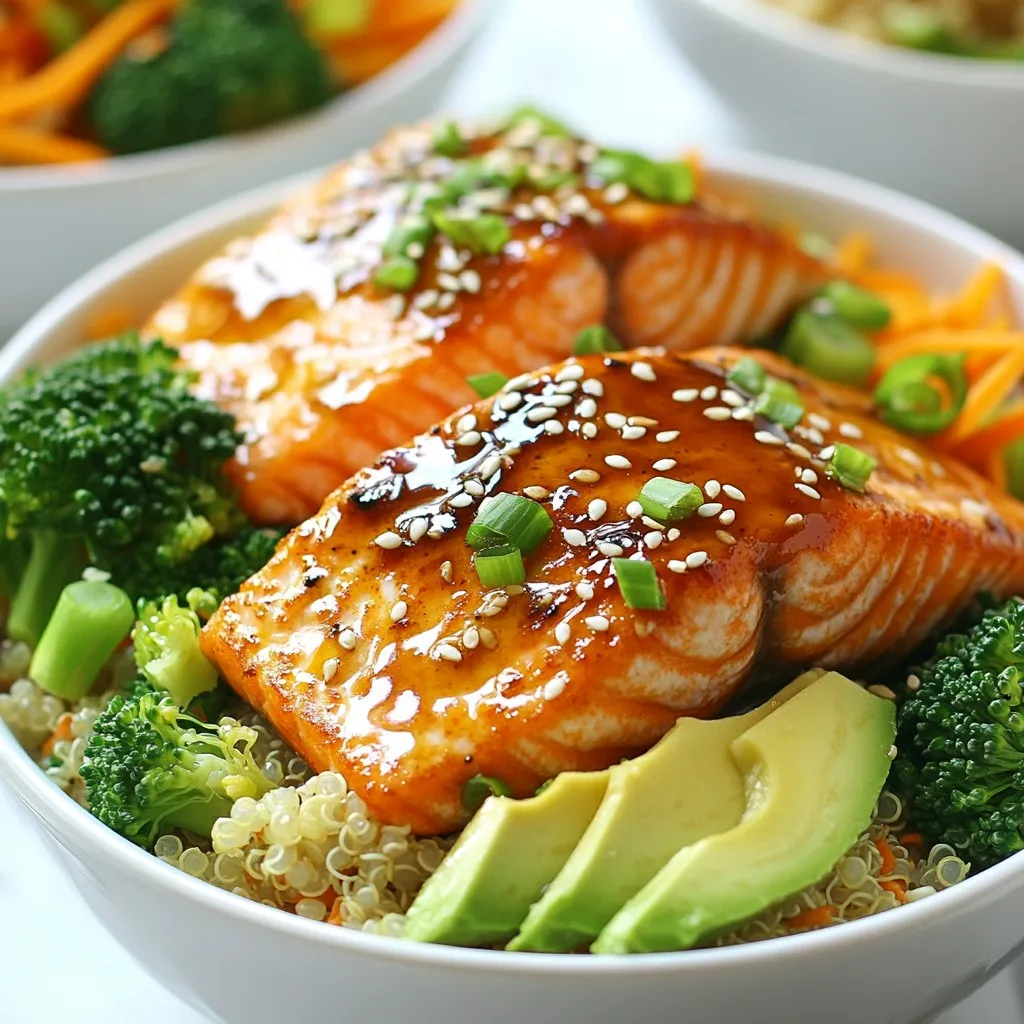
Honey Garlic Salmon Bowls Simple and Healthy Recipe
Are you ready to delight your taste buds with a simple and healthy recipe? Honey Garlic Salmon Bowls provide a delicious blend of flavors and
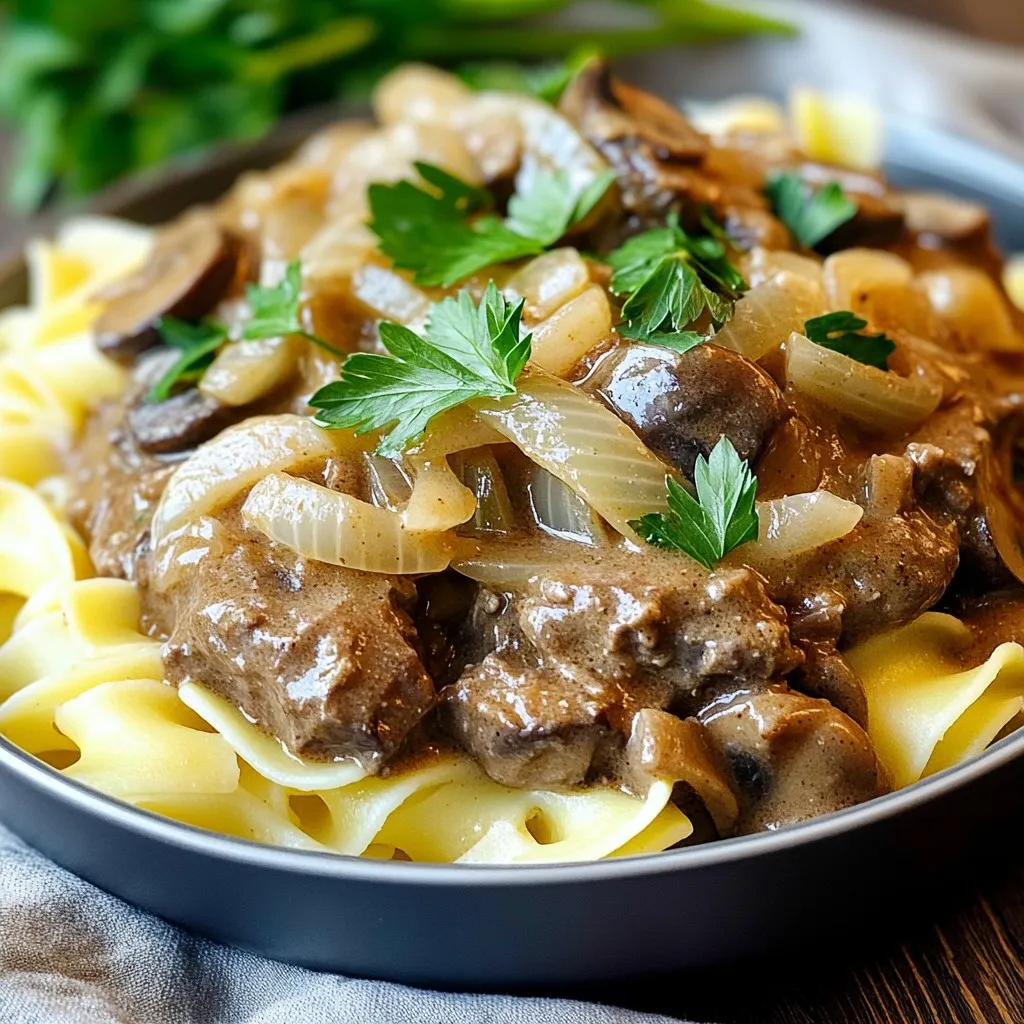
Slow Cooker Beef & Mushroom Stroganoff Delight
If you crave comfort food that’s simple and satisfying, you’ll love this Slow Cooker Beef & Mushroom Stroganoff Delight. I’ll guide you through each step,
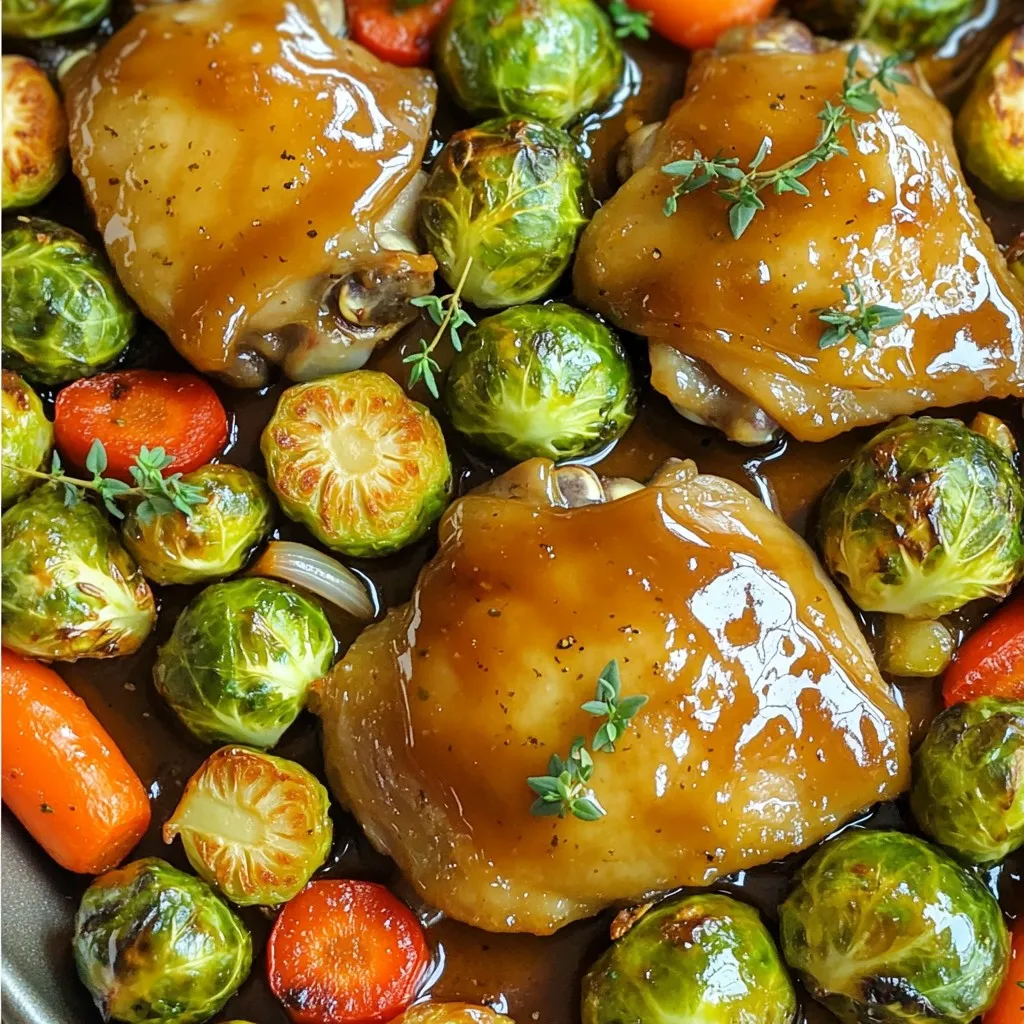
Sheet Pan Maple Dijon Chicken & Veggies Delight
If you’re looking for a simple yet tasty meal, you’ve found it! My Sheet Pan Maple Dijon Chicken & Veggies Delight is your new go-to
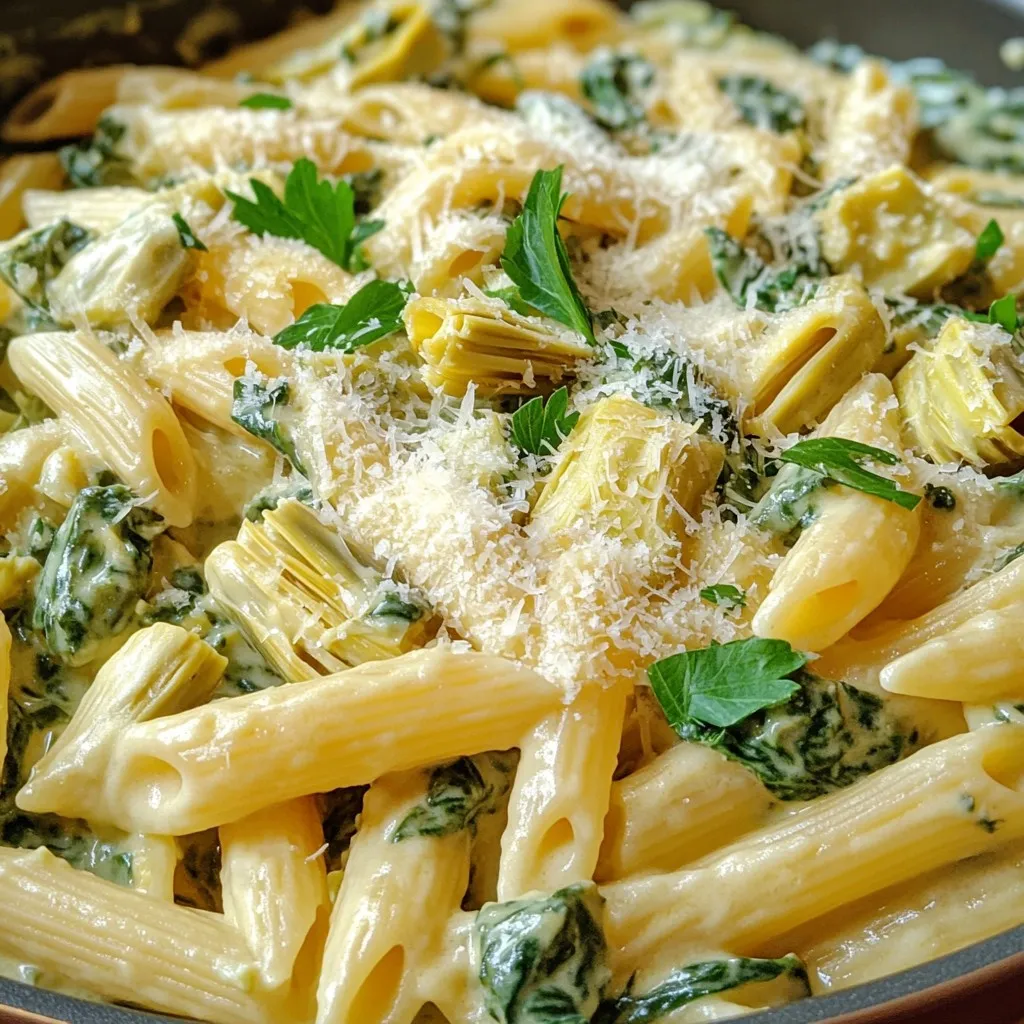
Spinach Artichoke Dip Pasta Creamy and Tasty Dish
If you love creamy dishes, you’ll adore this Spinach Artichoke Dip Pasta! Imagine all the flavors of the classic dip combined with tender pasta. It’s
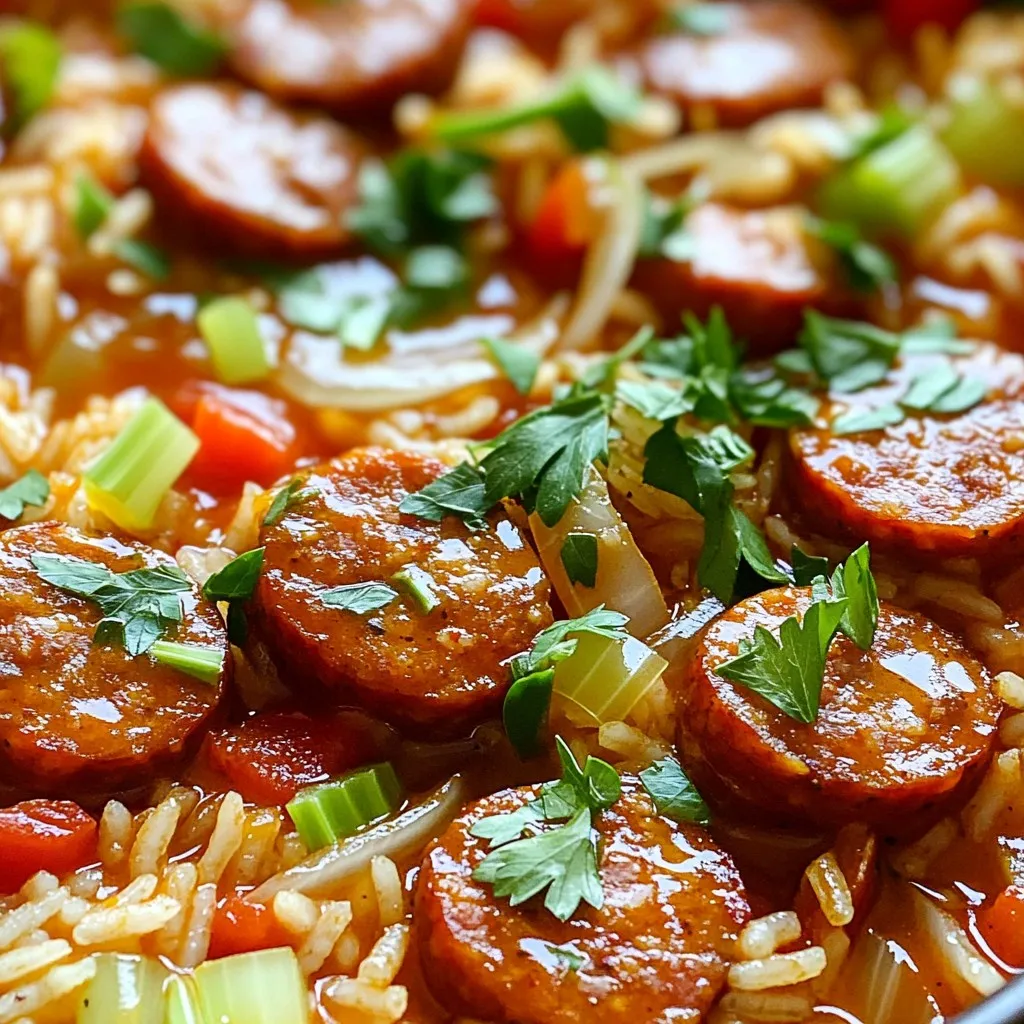
One-Pot Cajun Sausage & Rice Tasty Dinner Choice
Are you ready for a meal that’s packed with flavor and easy to make? My One-Pot Cajun Sausage & Rice is the perfect choice for
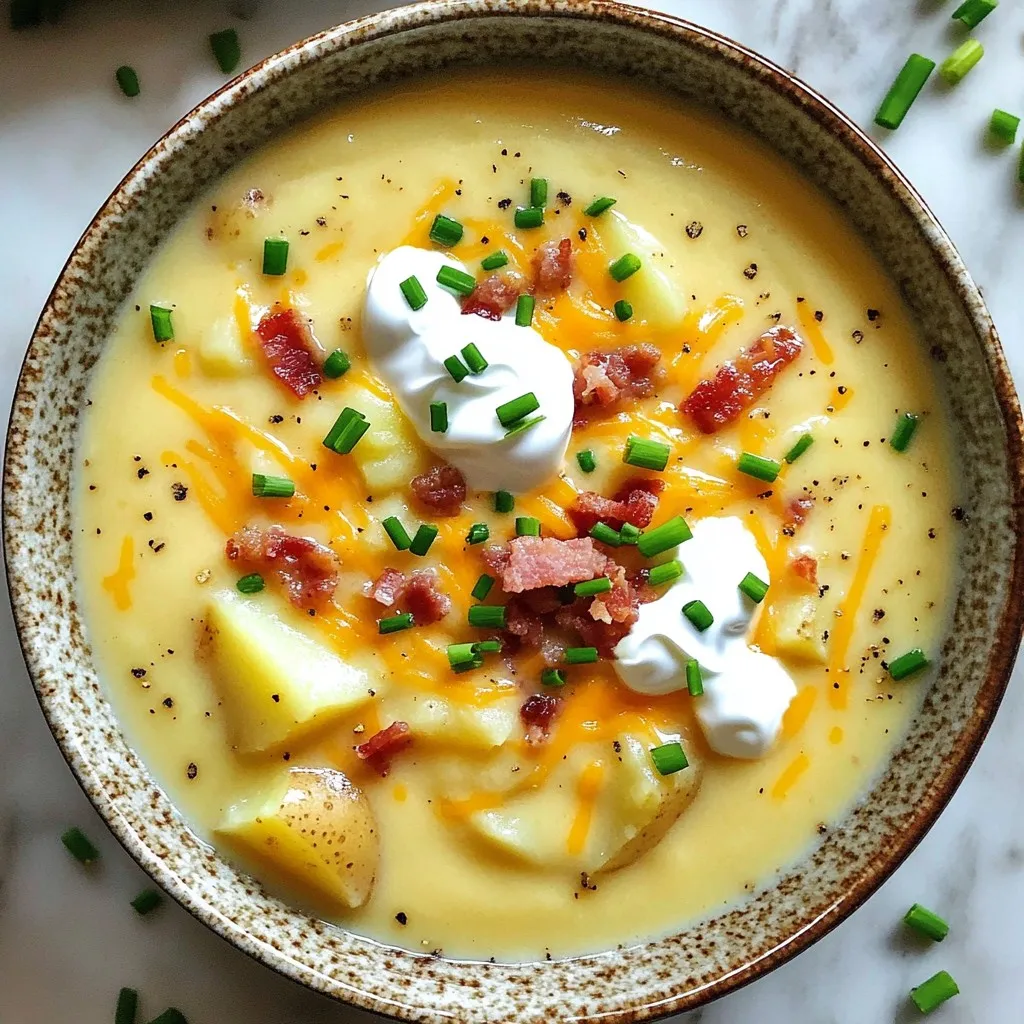
Slow Cooker Loaded Potato Soup Comforting and Easy Meal
Looking for a warm and easy meal to enjoy? I have just the thing! My Slow Cooker Loaded Potato Soup is comforting, delicious, and perfect
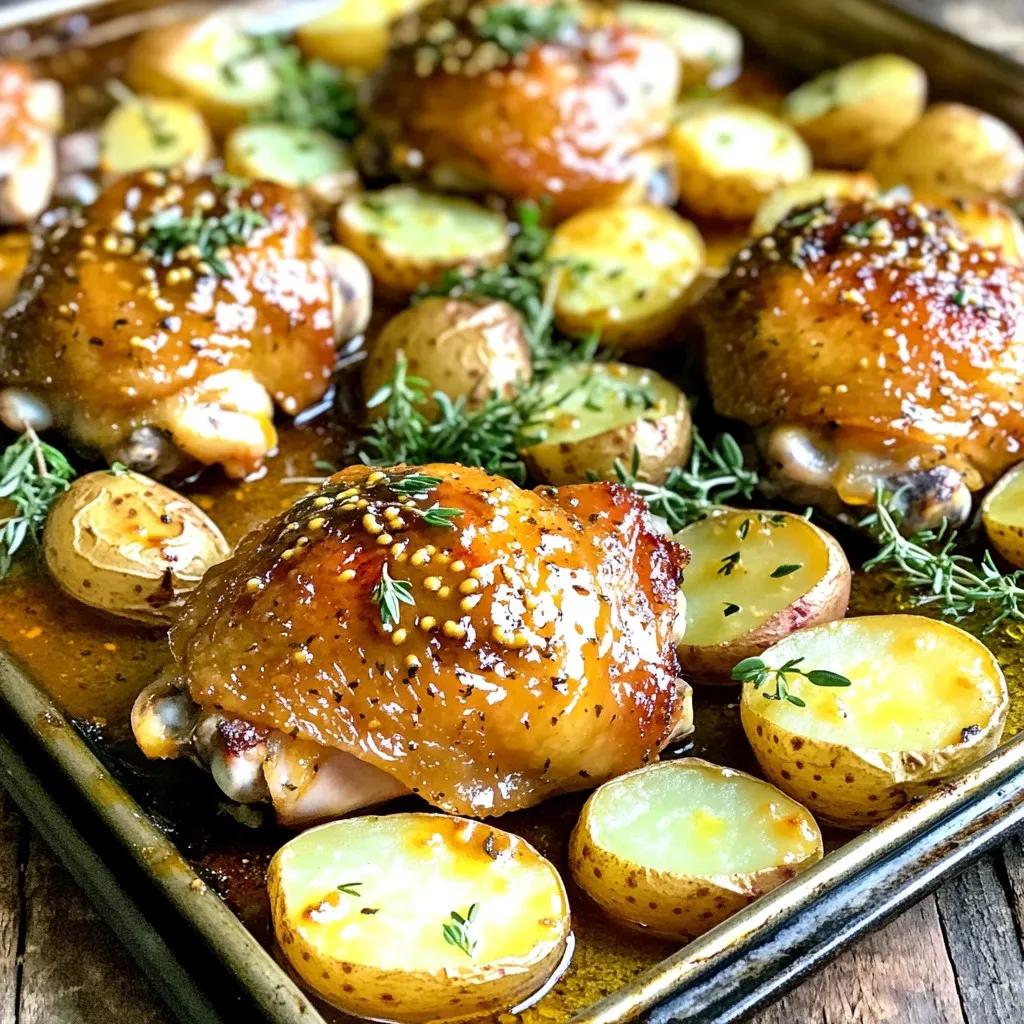
Sheet Pan Honey Mustard Chicken & Potatoes Delight
Are you ready to transform your dinner routine? My Sheet Pan Honey Mustard Chicken & Potatoes Delight is your answer! This simple recipe makes weeknight
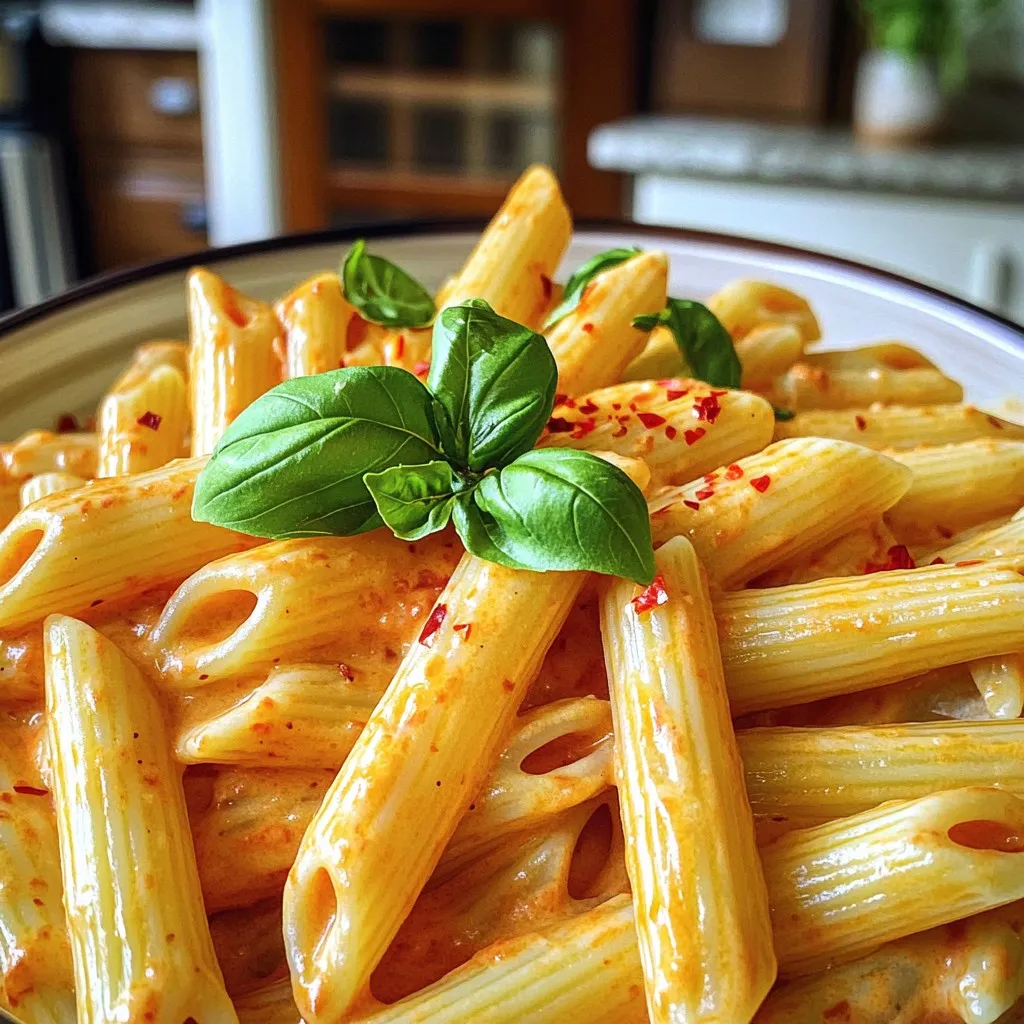
Creamy Roasted Red Pepper Pasta Simple and Flavorful Dish
Are you ready to whip up a delicious meal that’s both creamy and packed with flavor? My Creamy Roasted Red Pepper Pasta is the dish
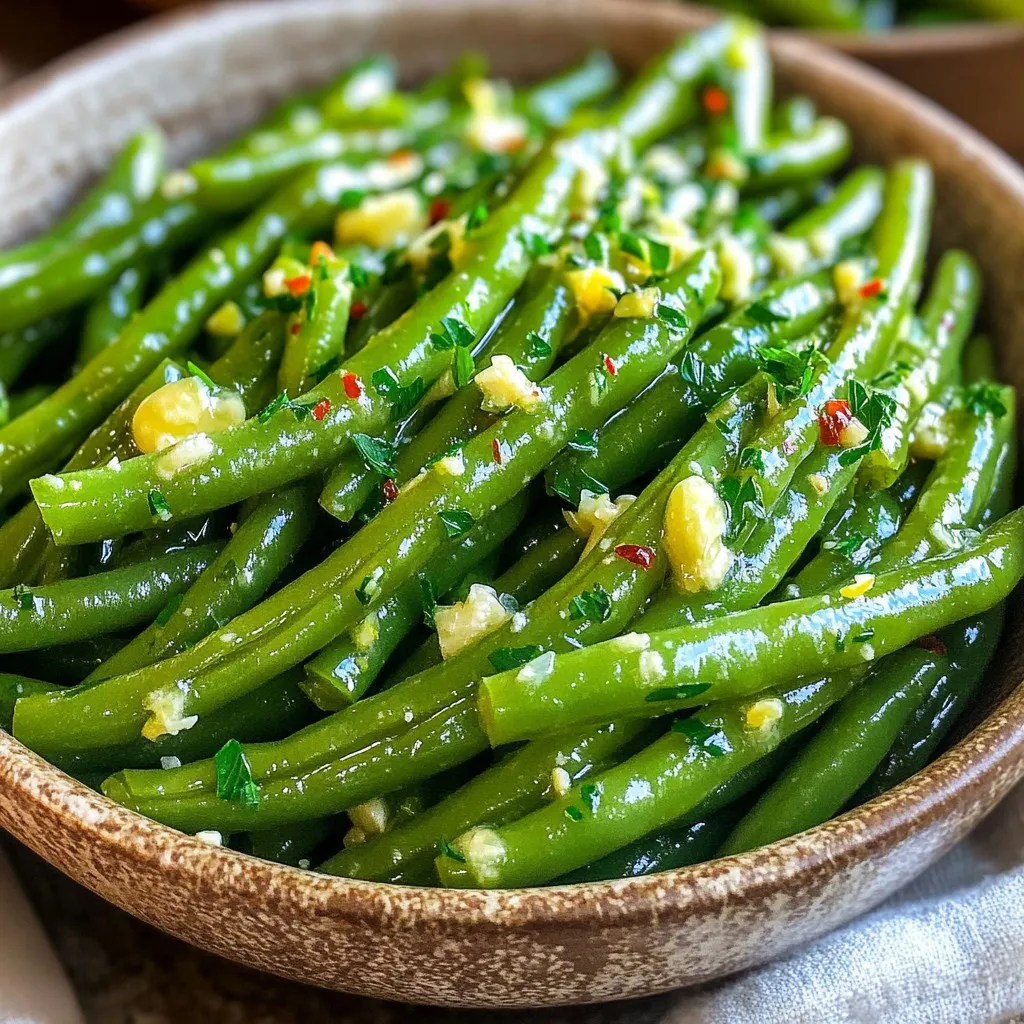
Air Fryer Garlic Butter Green Beans Tasty Side Dish
Looking for a simple yet delicious side dish? Air Fryer Garlic Butter Green Beans are the perfect choice! This recipe combines fresh green beans with