Dinner
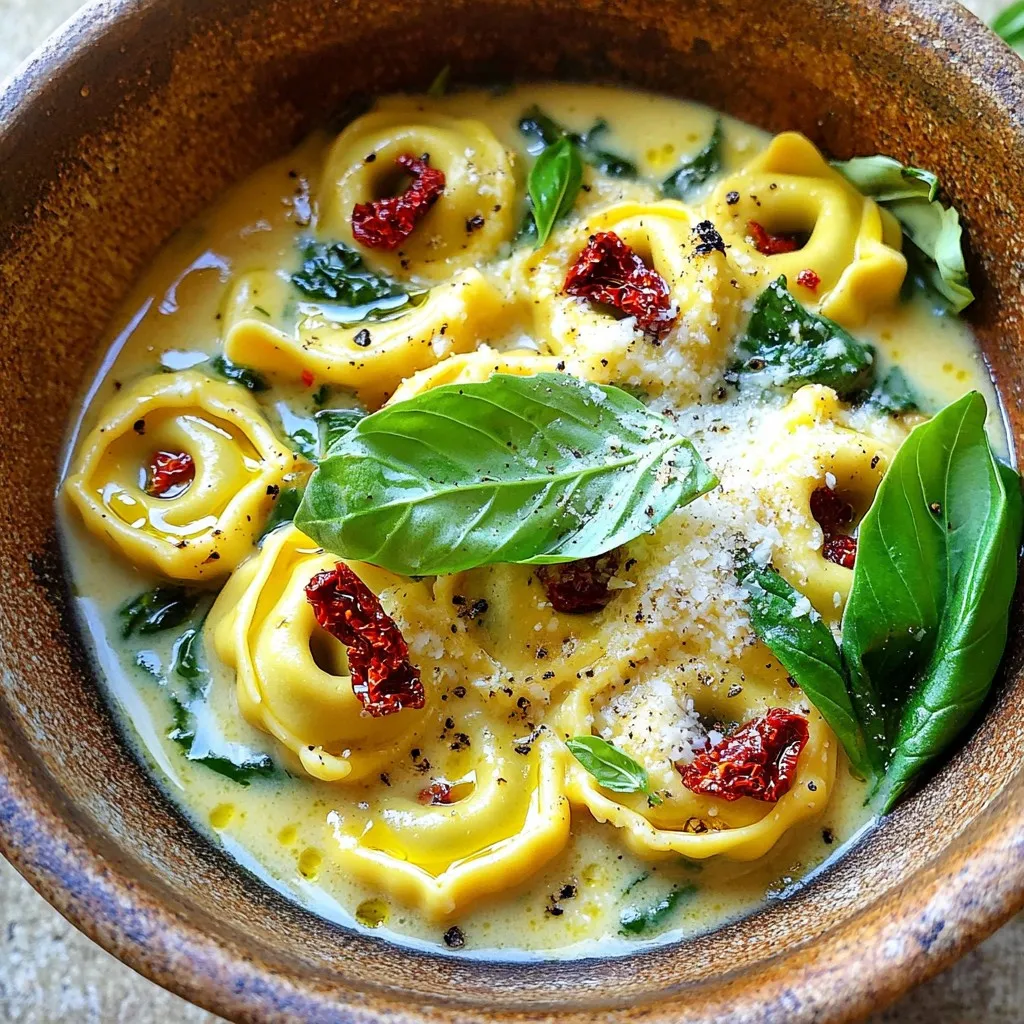
Sun-Dried Tomato Spinach Tortellini Flavor Boosting Dish
Looking for a quick and tasty meal? The Sun-Dried Tomato Spinach Tortellini is a flavor-packed dish that will wow your taste buds. With just a
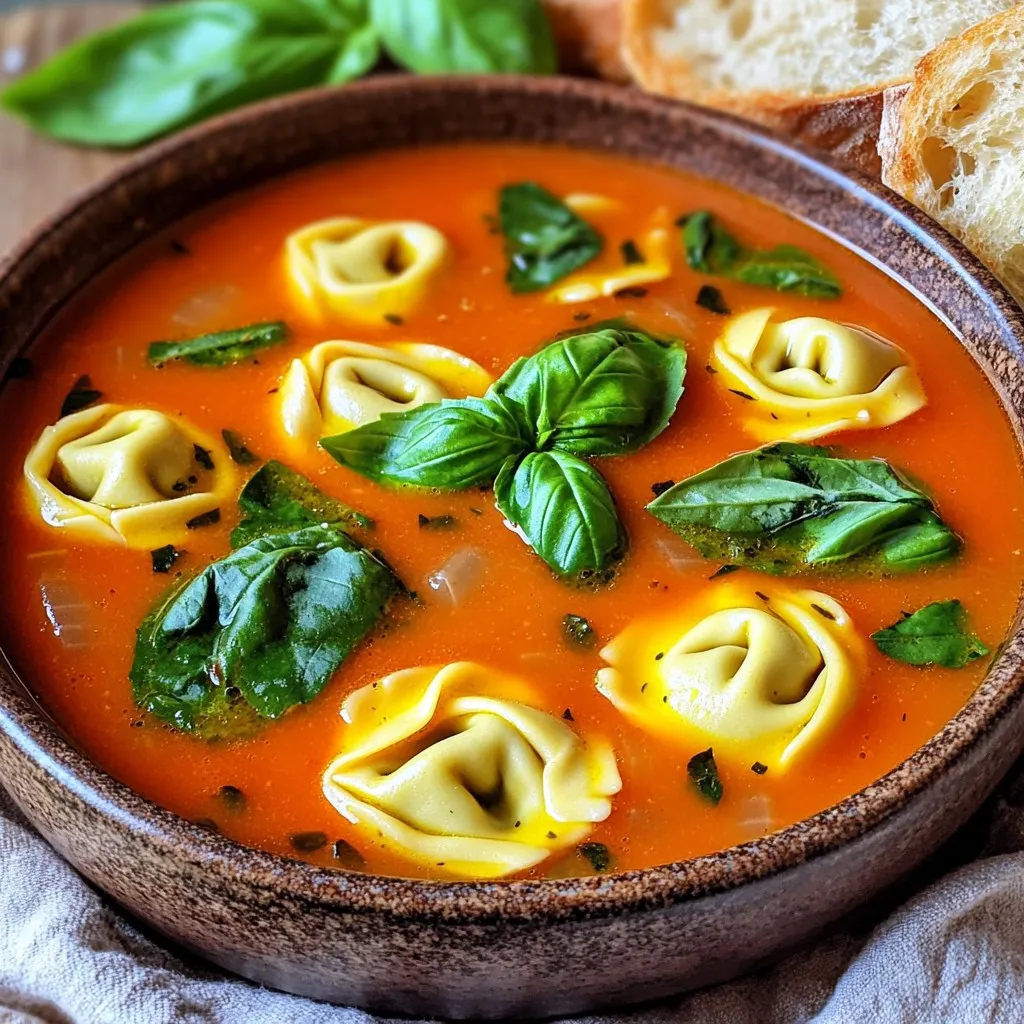
Creamy Tomato Basil Tortellini Soup Easy Slow Cooker
Welcome to your new favorite comfort food! This creamy tomato basil tortellini soup is a breeze to make in a slow cooker. With just a
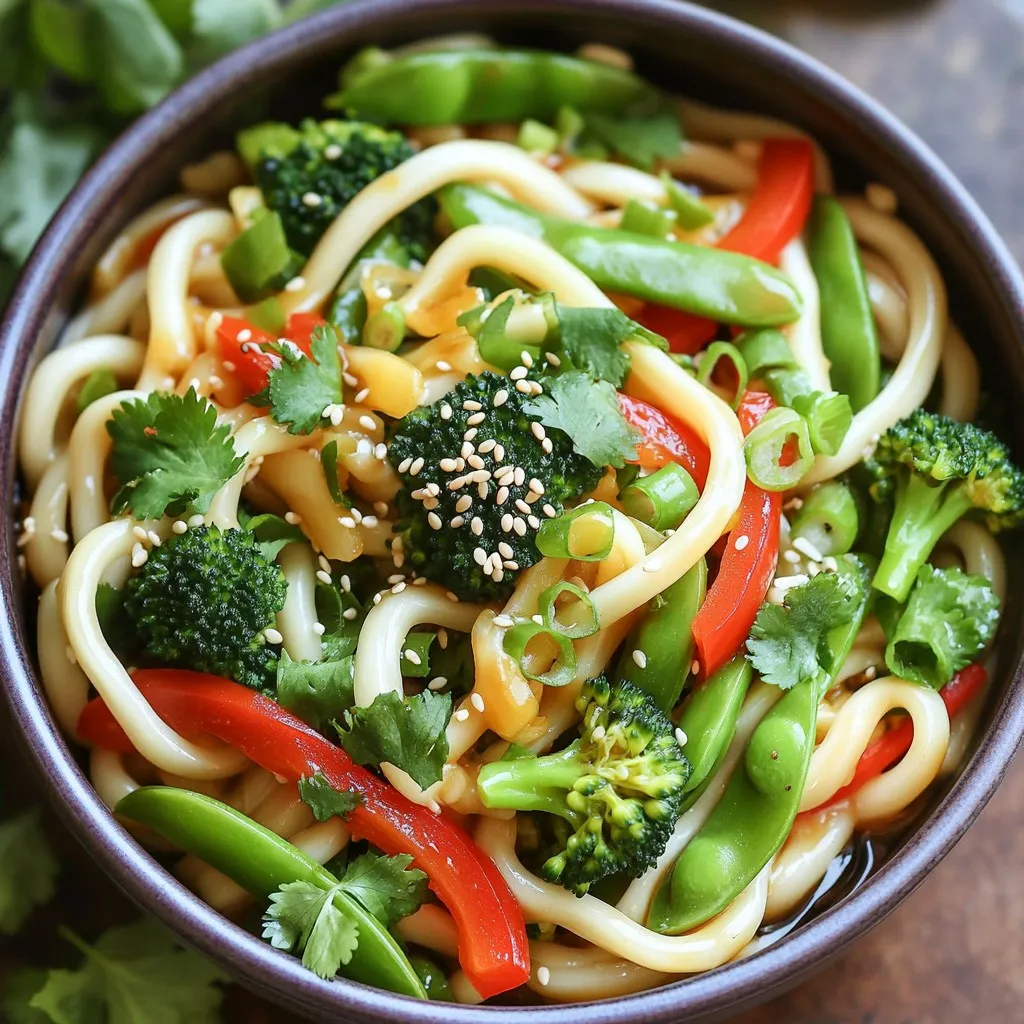
Minute Garlic Ginger Udon Stir-Fry Quick and Easy Meal
Craving a quick meal packed with flavor? You’re in the right place! This Minute Garlic Ginger Udon Stir-Fry is easy to whip up in no
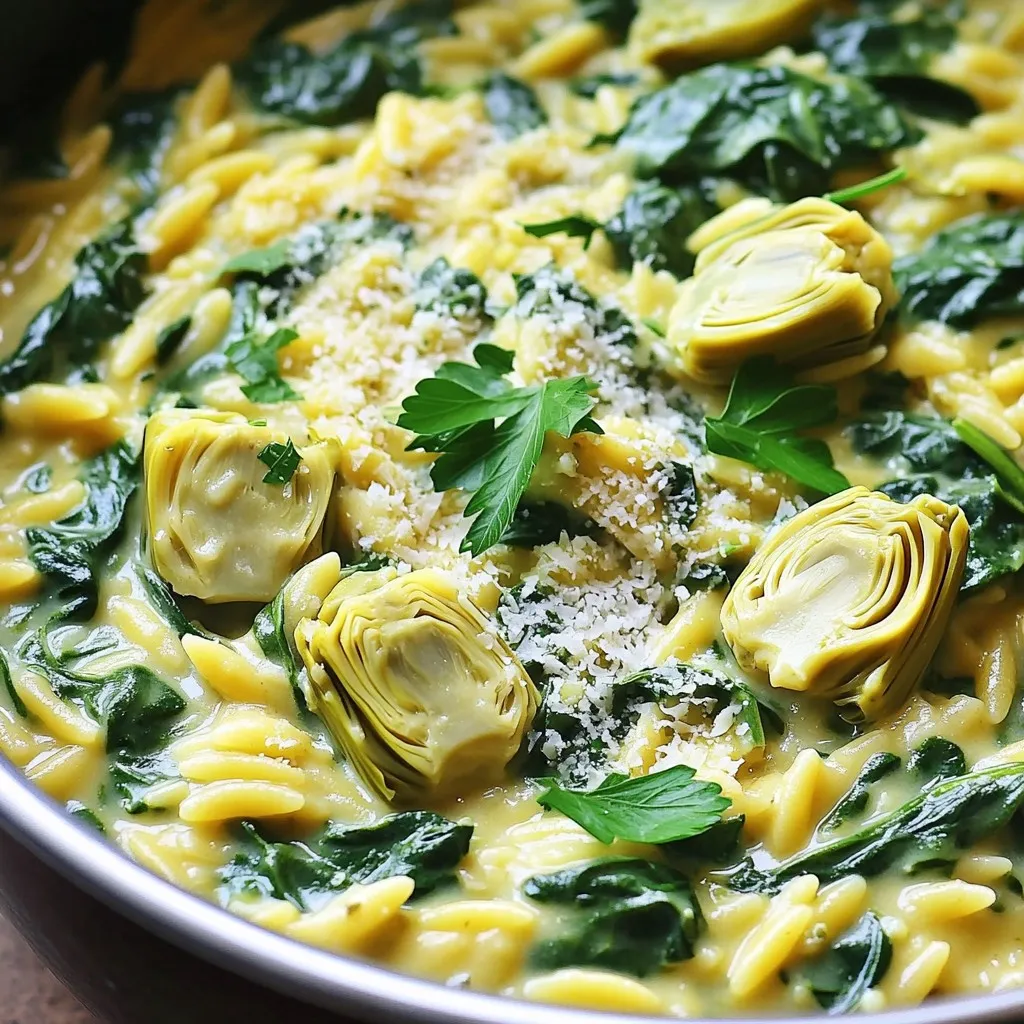
Creamy One-Pot Spinach Artichoke Orzo Delight
Are you ready for a dish that’s creamy, comforting, and easy to make? In this blog post, I’ll show you how to whip up a

Air Fryer Crispy Chicken Caesar Wraps Delightful Meal
Get ready to enjoy a tasty and easy meal with Air Fryer Crispy Chicken Caesar Wraps! These wraps blend juicy chicken, fresh lettuce, and rich
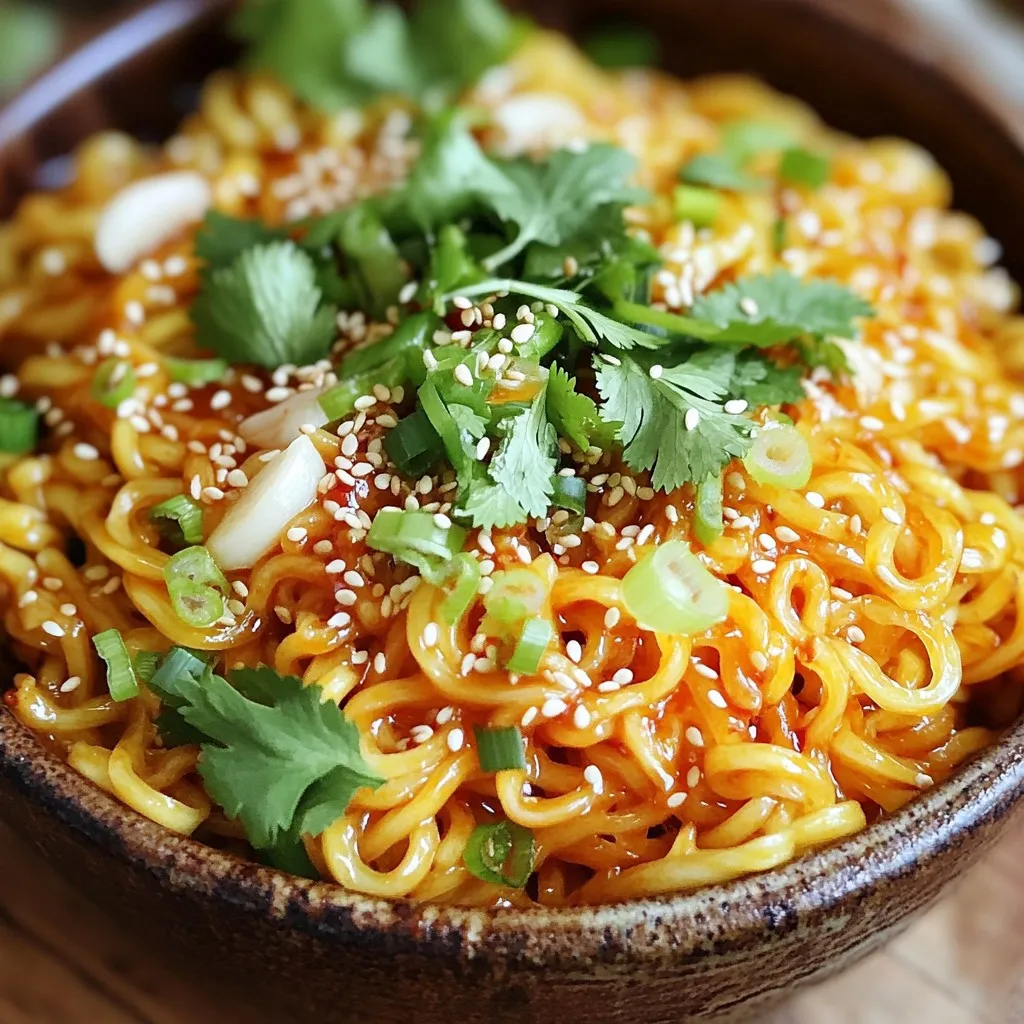
Spicy Garlic Chili Crisp Noodles Flavorful Quick Dish
Welcome to the world of Spicy Garlic Chili Crisp Noodles, where every bite packs a punch! This quick dish blends bold flavors and simple ingredients,
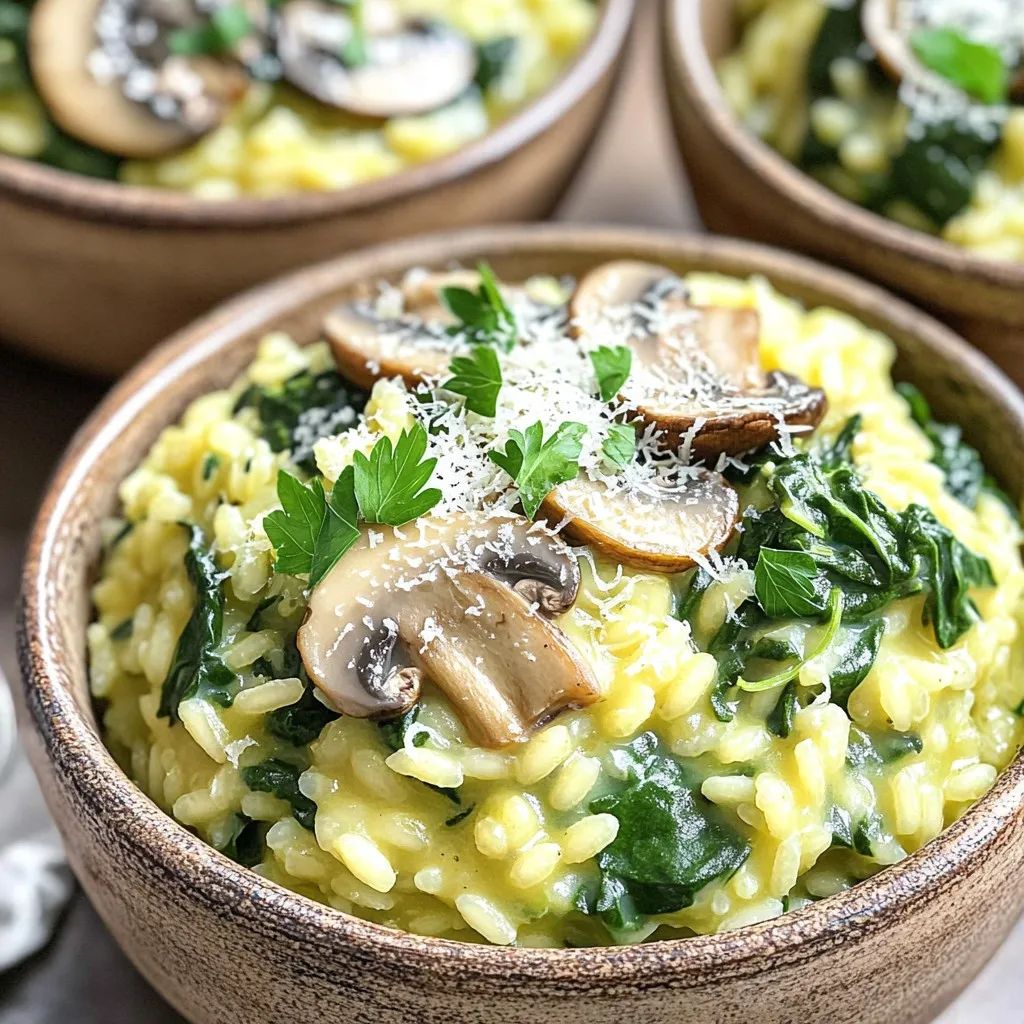
One-Pot Mushroom Spinach Risotto Simple Weeknight Meal
Looking for a quick and easy meal? My One-Pot Mushroom Spinach Risotto is just what you need! This simple weeknight dish takes just minutes to

Slow Cooker Teriyaki Beef & Broccoli Delightful Recipe
Are you ready to transform your dinner routine with a tasty dish? This Slow Cooker Teriyaki Beef & Broccoli recipe is easy, quick, and absolutely
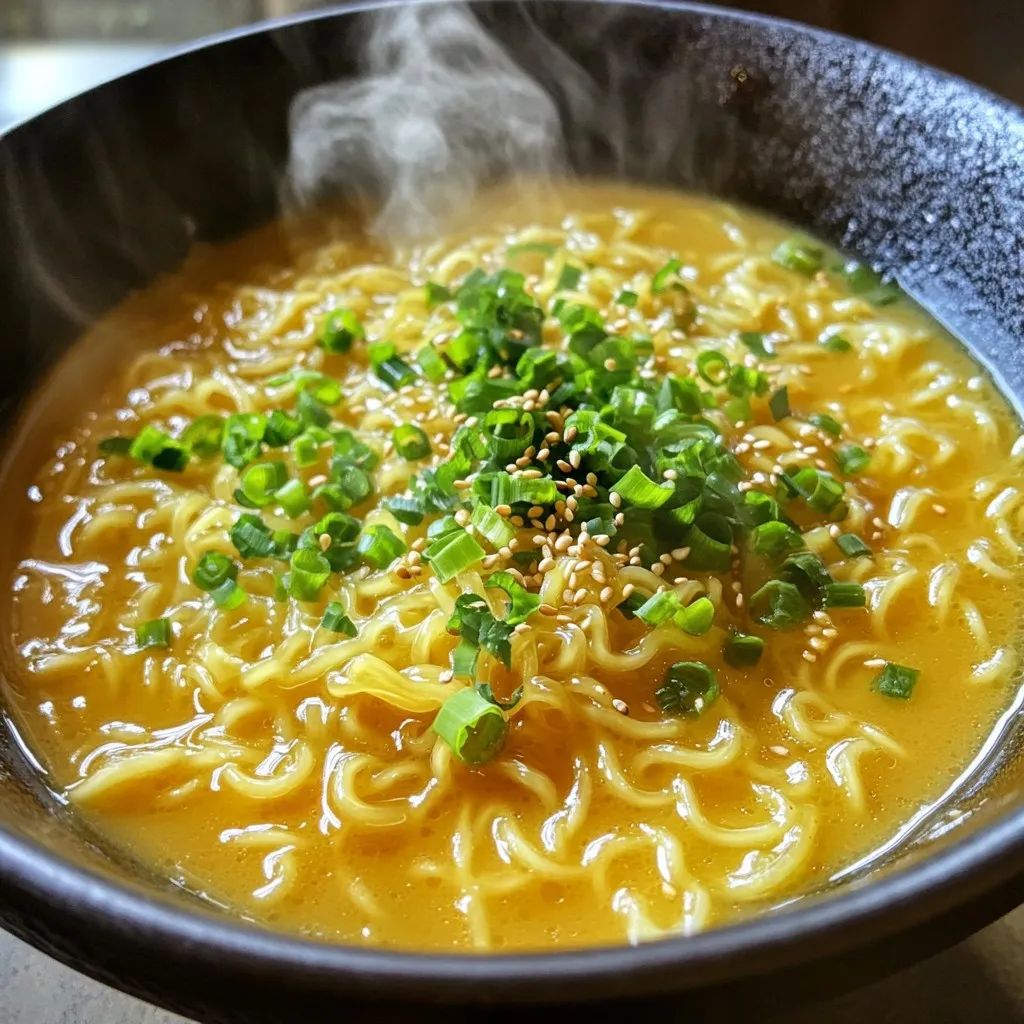
Minute Honey Butter Ramen Simple and Tasty Meal
Looking for a quick and tasty meal? Minute Honey Butter Ramen is your answer! This simple dish blends sweet and savory flavors, making it a
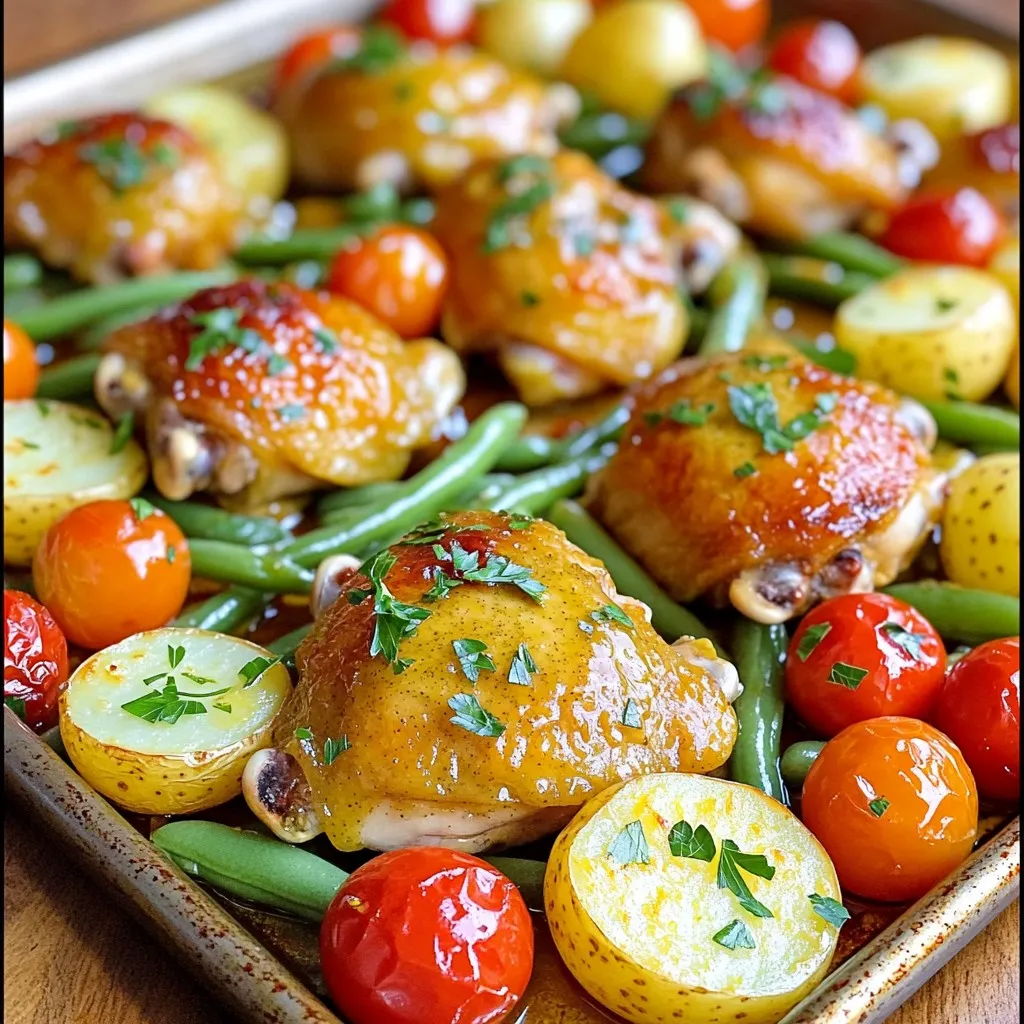
Sheet Pan Lemon Dijon Chicken & Veggies Delight
Get ready for a dinner that’s easy and tasty! My Sheet Pan Lemon Dijon Chicken & Veggies is a simple meal that packs bold flavors.