Dinner
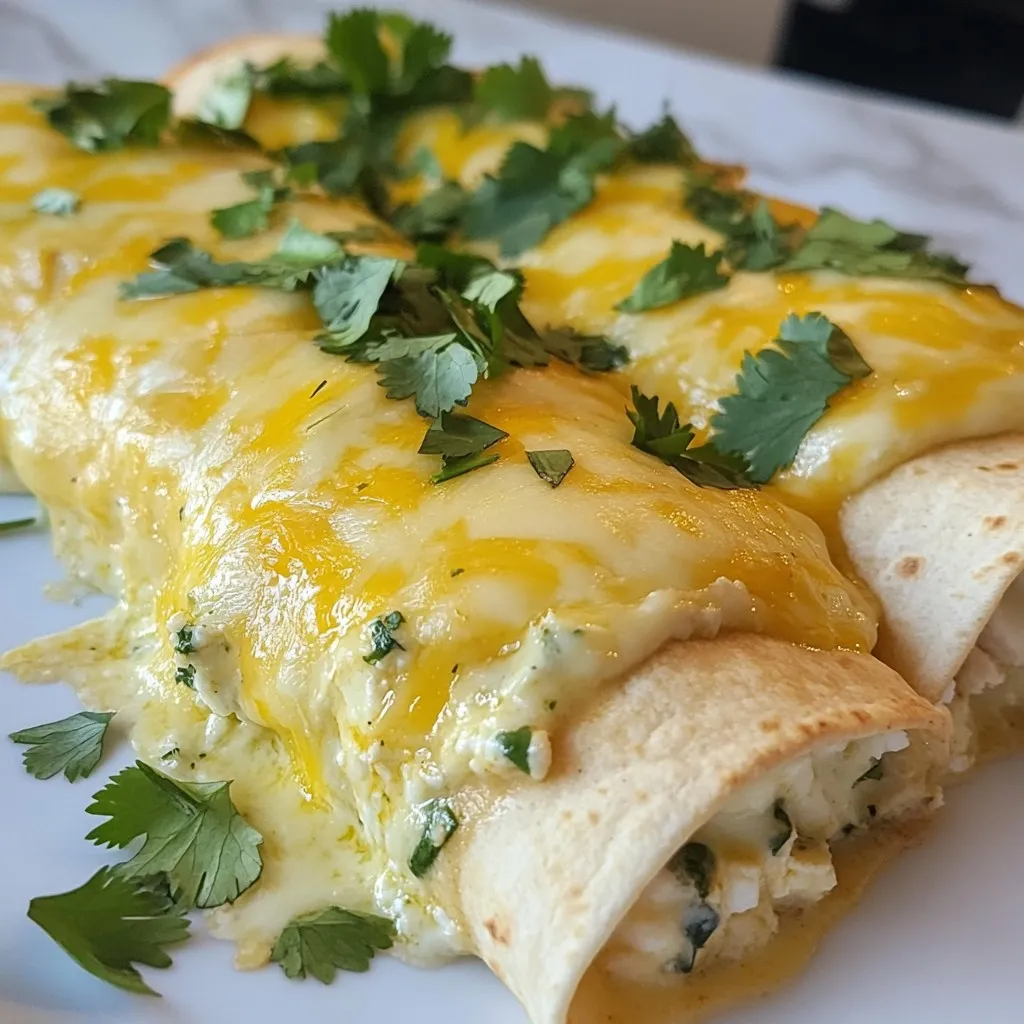
High-Protein White Sauce Chicken Enchiladas Delight
Do you want a tasty meal that’s packed with protein? Look no further than my High-Protein White Sauce Chicken Enchiladas! These enchiladas are creamy, filling,
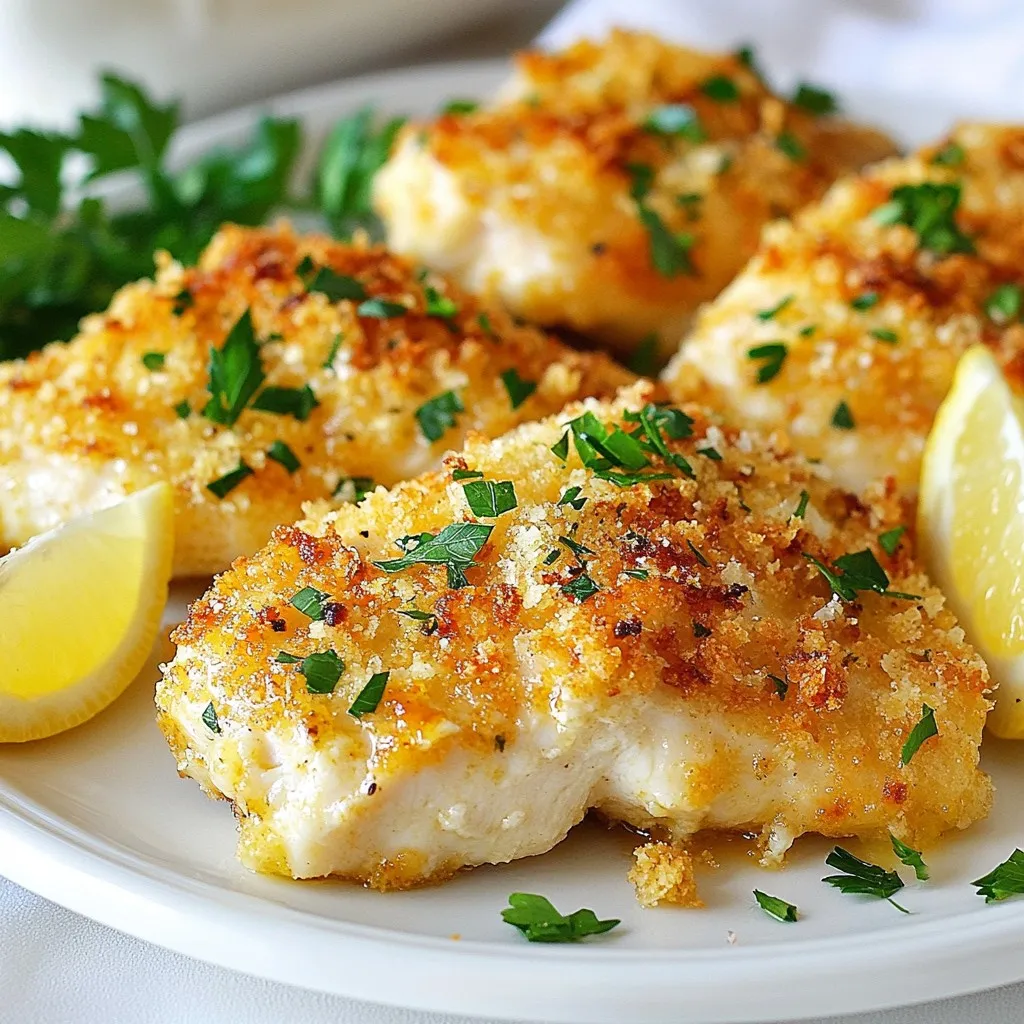
Garlic Parmesan Chicken Bake Cozy and Tasty Meal
Looking for a cozy dinner idea that’s both tasty and easy? You’ll love this Garlic Parmesan Chicken Bake. It features tender chicken breasts coated in
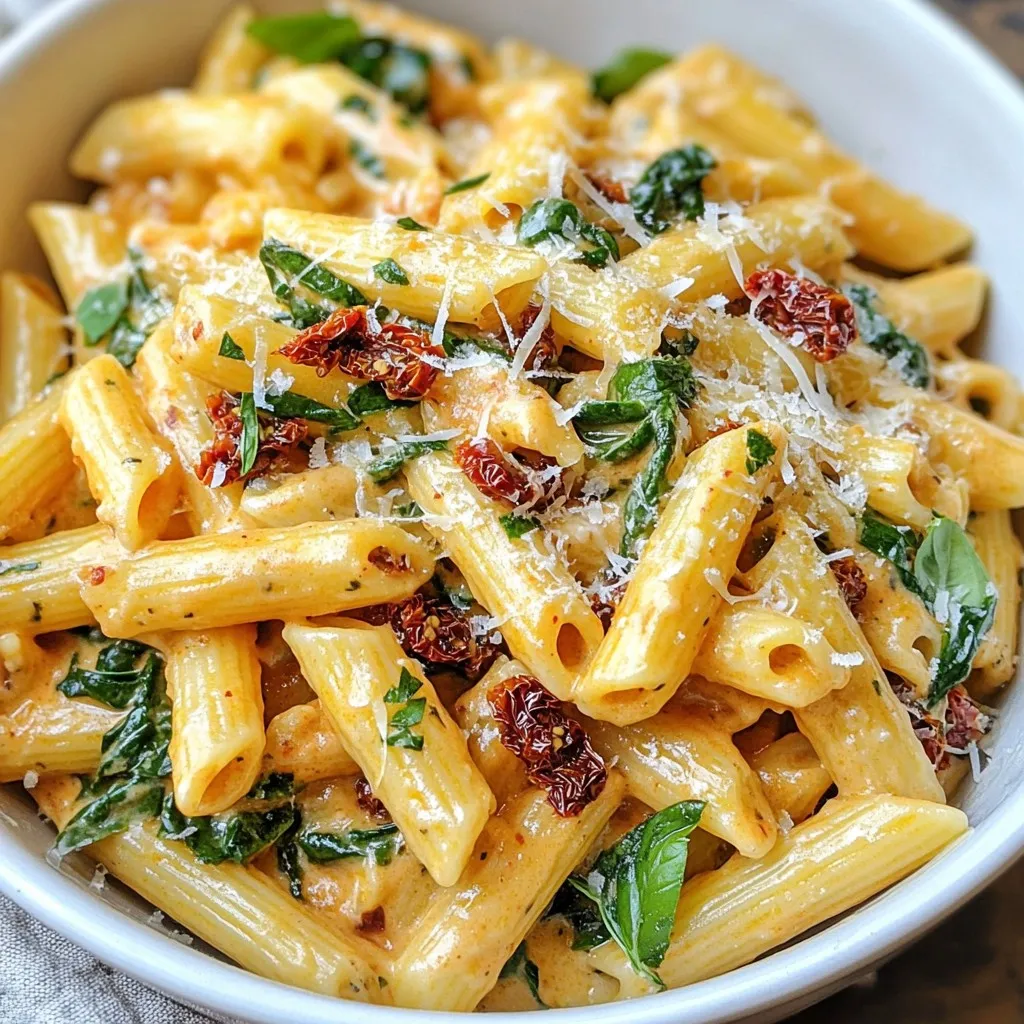
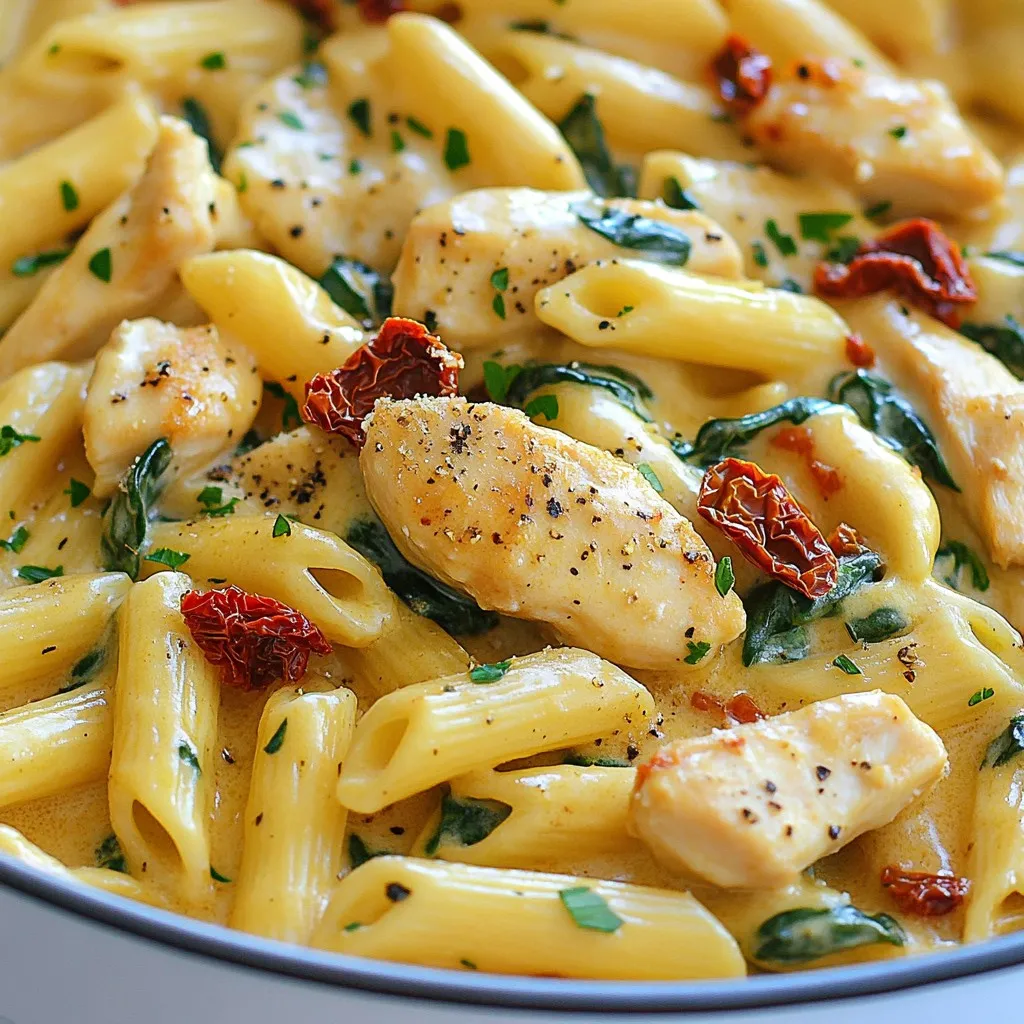
One-Pan Sun-Dried Tomato Pasta Quick and Easy Meal
Craving a quick and tasty meal? You’ll love this One-Pan Sun-Dried Tomato Pasta. It’s simple to make and packed with flavor, perfect for busy days.
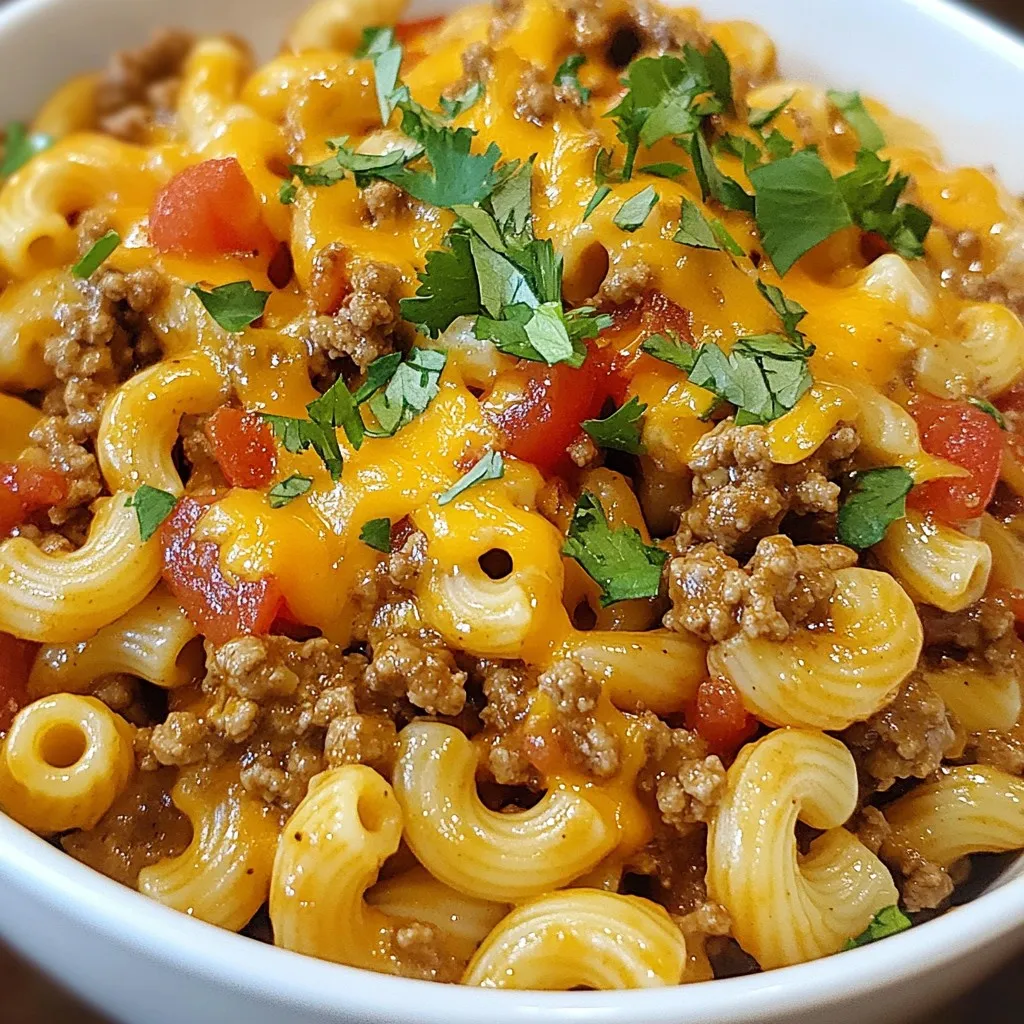
Beef Taco Pasta Skillet Flavorful One-Pan Meal
Looking for a quick, tasty meal the whole family will love? The Beef Taco Pasta Skillet is your answer! This one-pan dish combines the bold
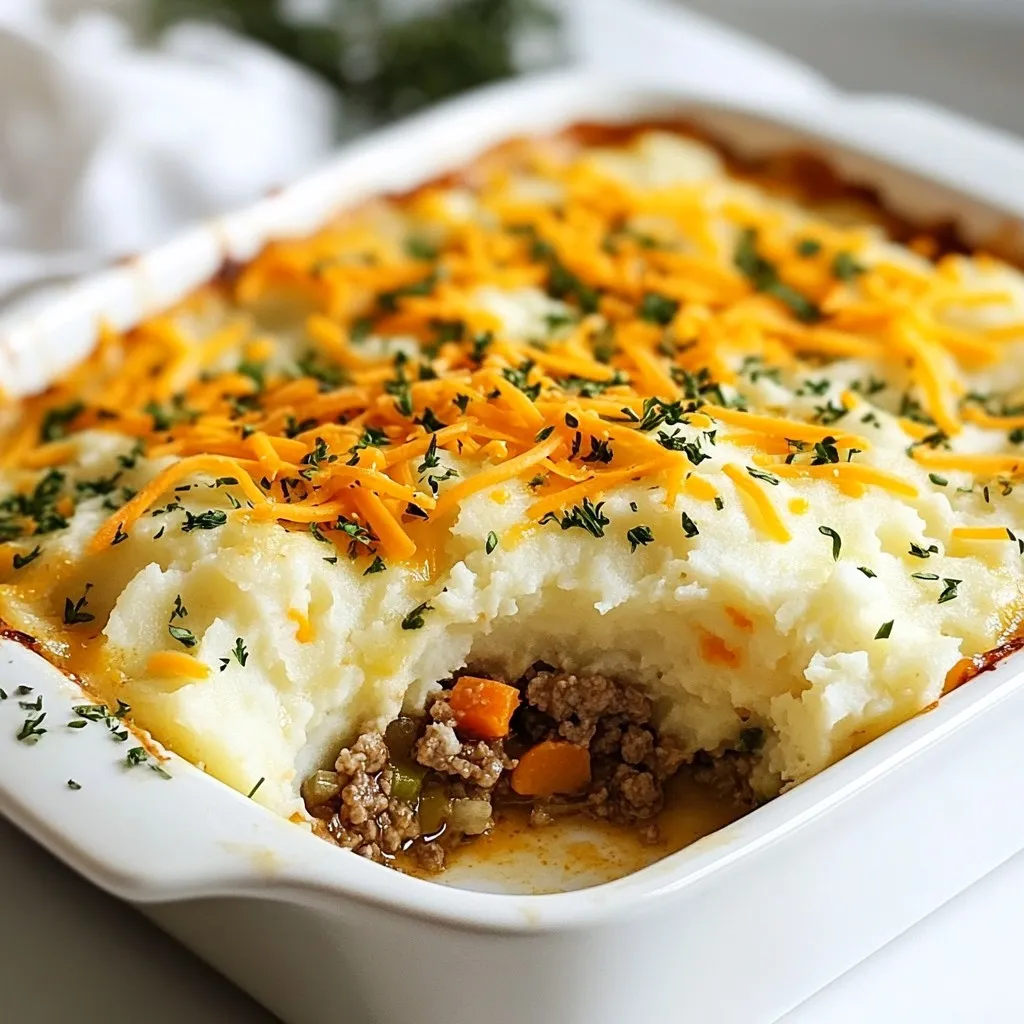
Easy Shepherd’s Pie Casserole Quick and Tasty Recipe
Craving comfort food that’s quick and simple? Look no further! This Easy Shepherd’s Pie Casserole will be your new favorite dish. Packed with delicious layers
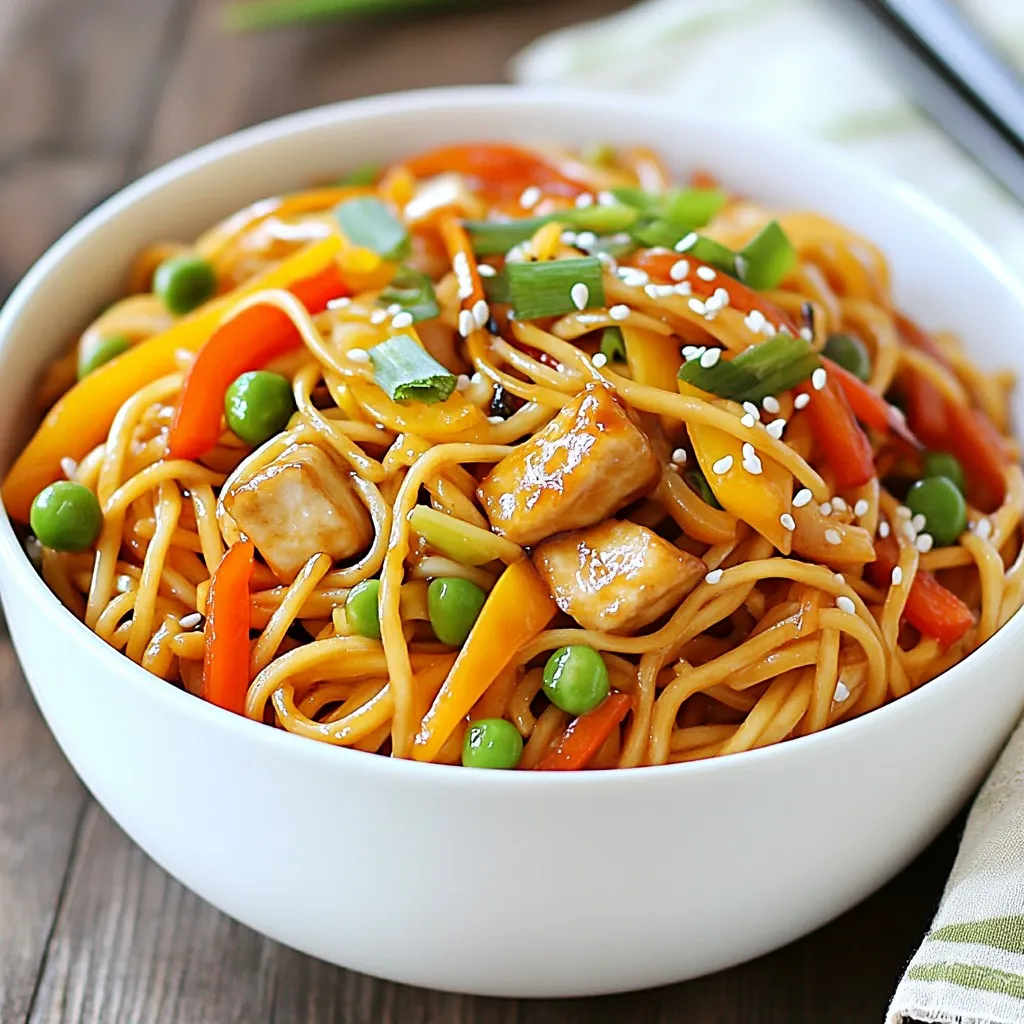
Minute Lo Mein Quick and Flavorful Recipe Guide
Craving something quick and delicious? You’re in the right place! In this Minute Lo Mein recipe guide, I’ll walk you through each step to create
One-Pot Garlic Parmesan Chicken Pasta Quick and Easy
Looking for a simple and tasty dinner idea? One-Pot Garlic Parmesan Chicken Pasta is your answer! This dish packs flavor and comfort into one pot,
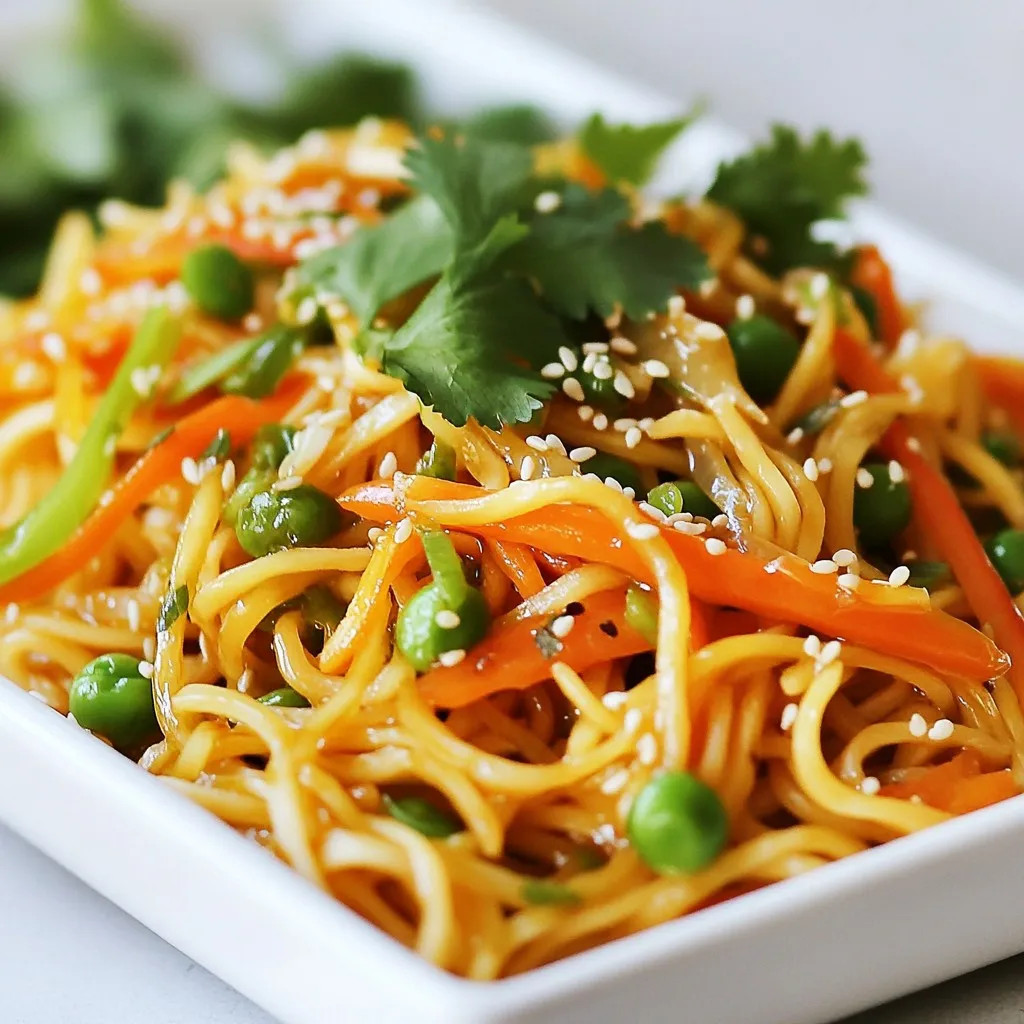
Minute Lo Mein Quick and Flavorful Recipe Guide
Welcome to your new favorite dish—Minute Lo Mein! This quick and flavorful recipe guide makes it easy for you to whip up a delicious meal
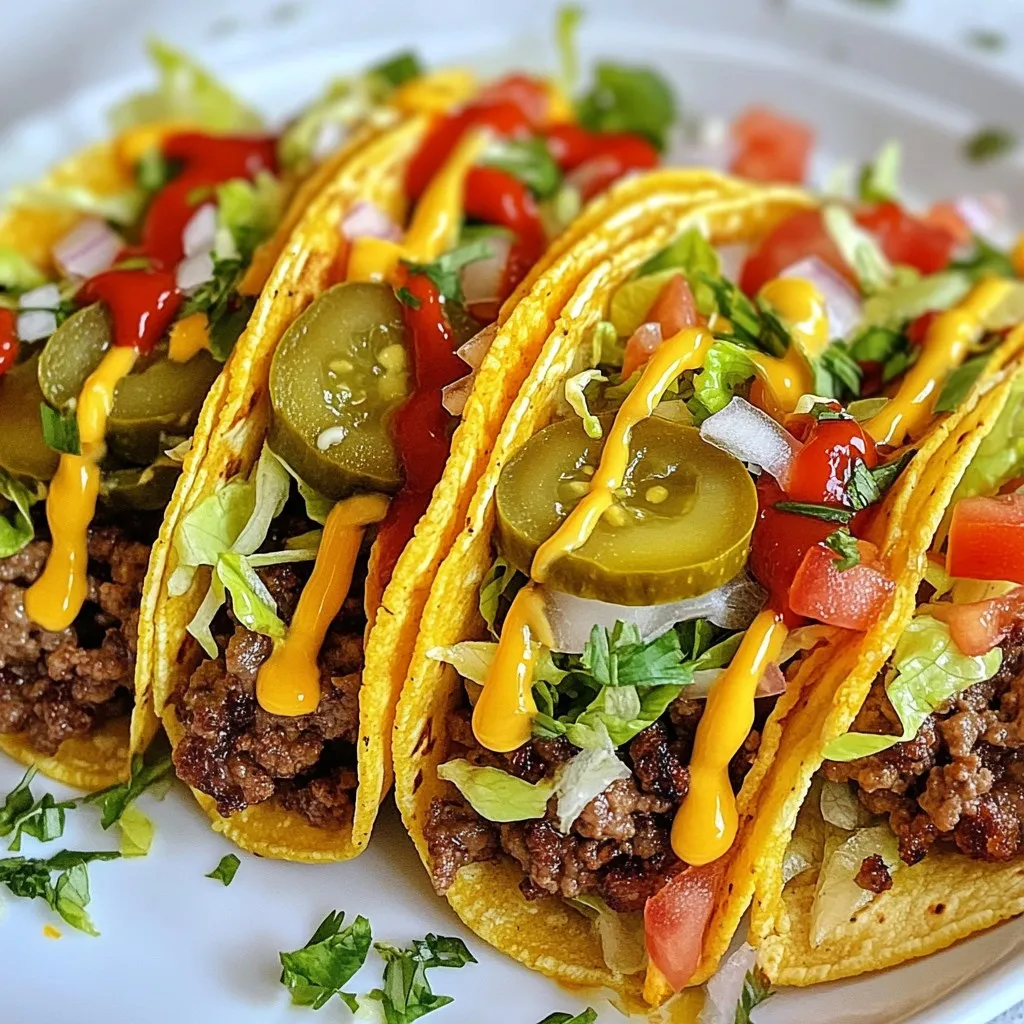
Savory Smash Burger Tacos Easy and Flavorful Recipe
Are you ready to spice up taco night? My savory smash burger tacos are the answer! With juicy beef patties tucked inside warm tortillas and
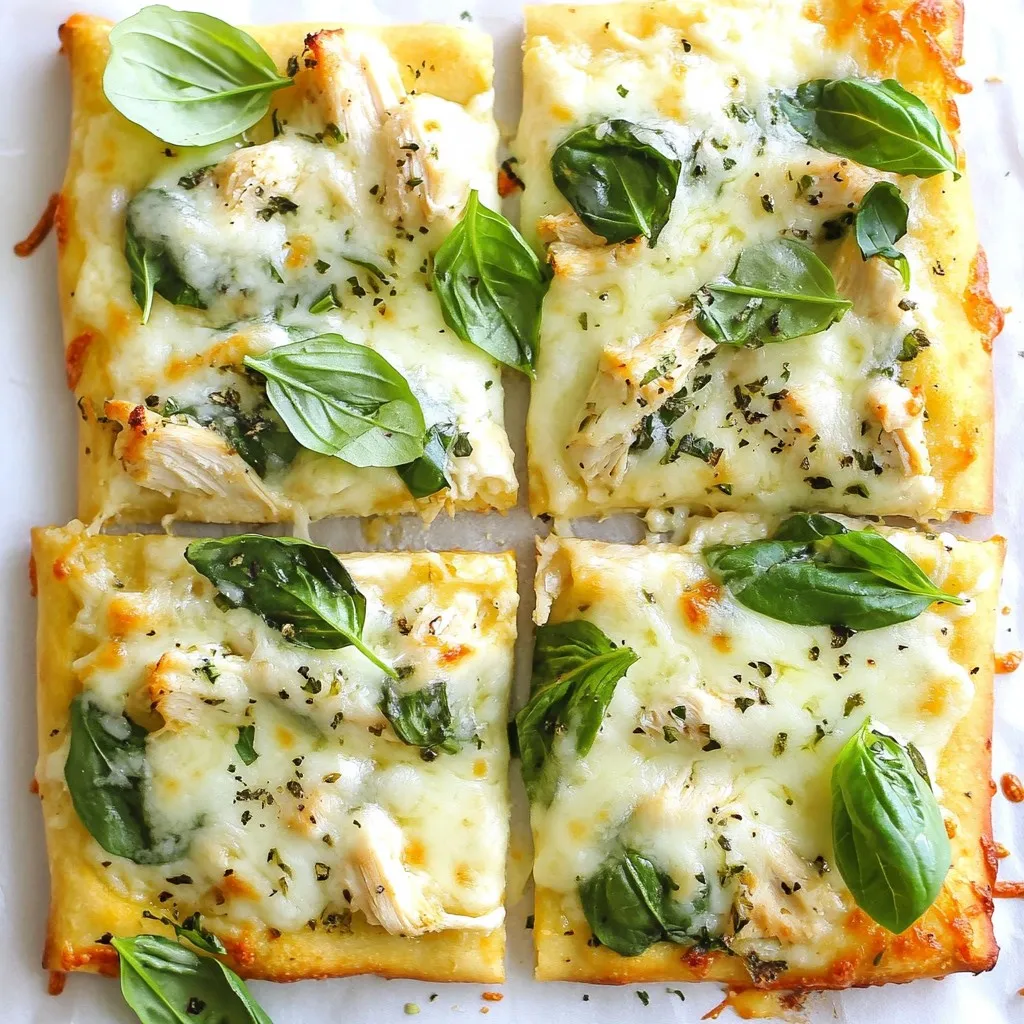
Savory Chicken Alfredo Flatbread Easy and Flavorful Dish
Get ready to enjoy a delightful meal with my Savory Chicken Alfredo Flatbread! This easy recipe blends creamy Alfredo sauce, tender chicken, and gooey cheese