Dinner
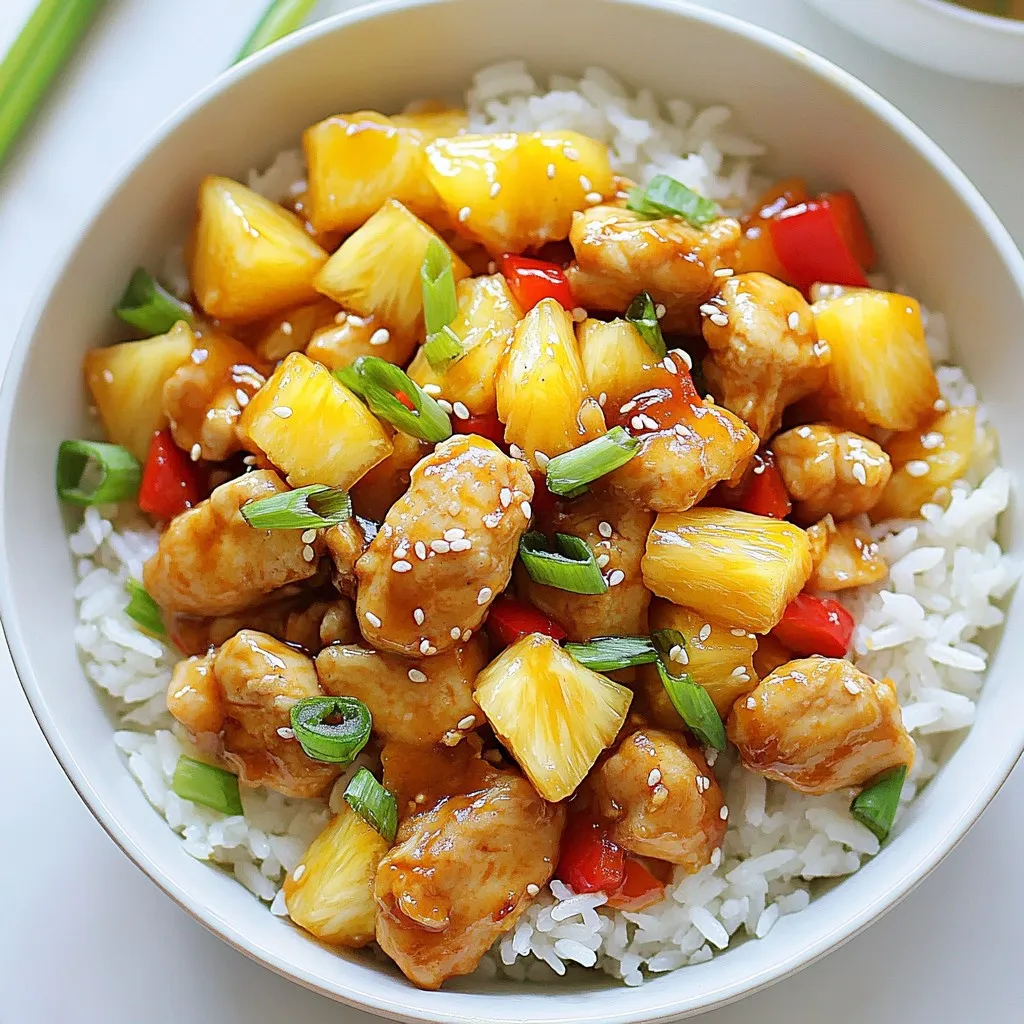
Pineapple Chicken and Rice Skillet Flavor Boost Recipe
Looking to spice up your dinner routine? This Pineapple Chicken and Rice Skillet is your answer! It’s a one-pan meal packed with juicy chicken, sweet
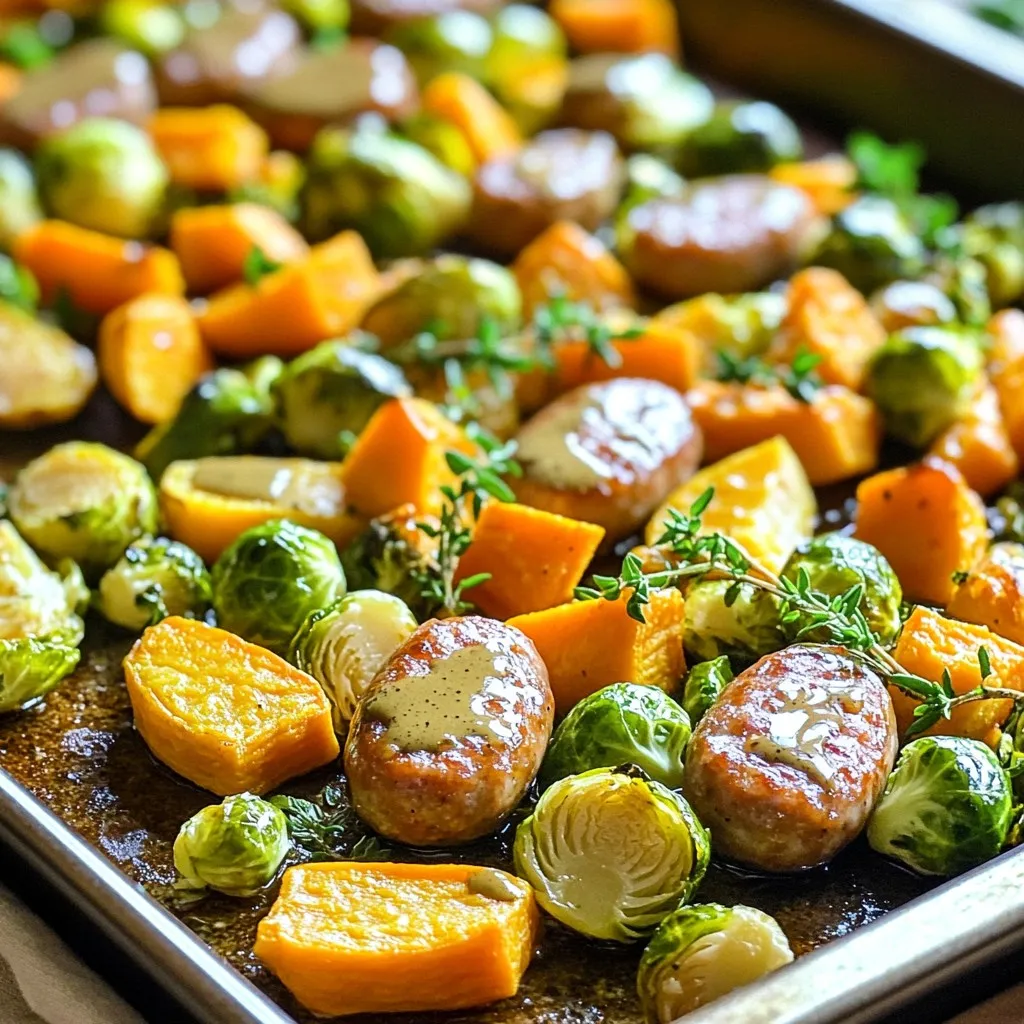
Sheet-Pan Maple Dijon Sausage & Veggies Delight
Get ready to wow your taste buds with my Sheet-Pan Maple Dijon Sausage & Veggies Delight! This simple and tasty dish combines juicy sausages and
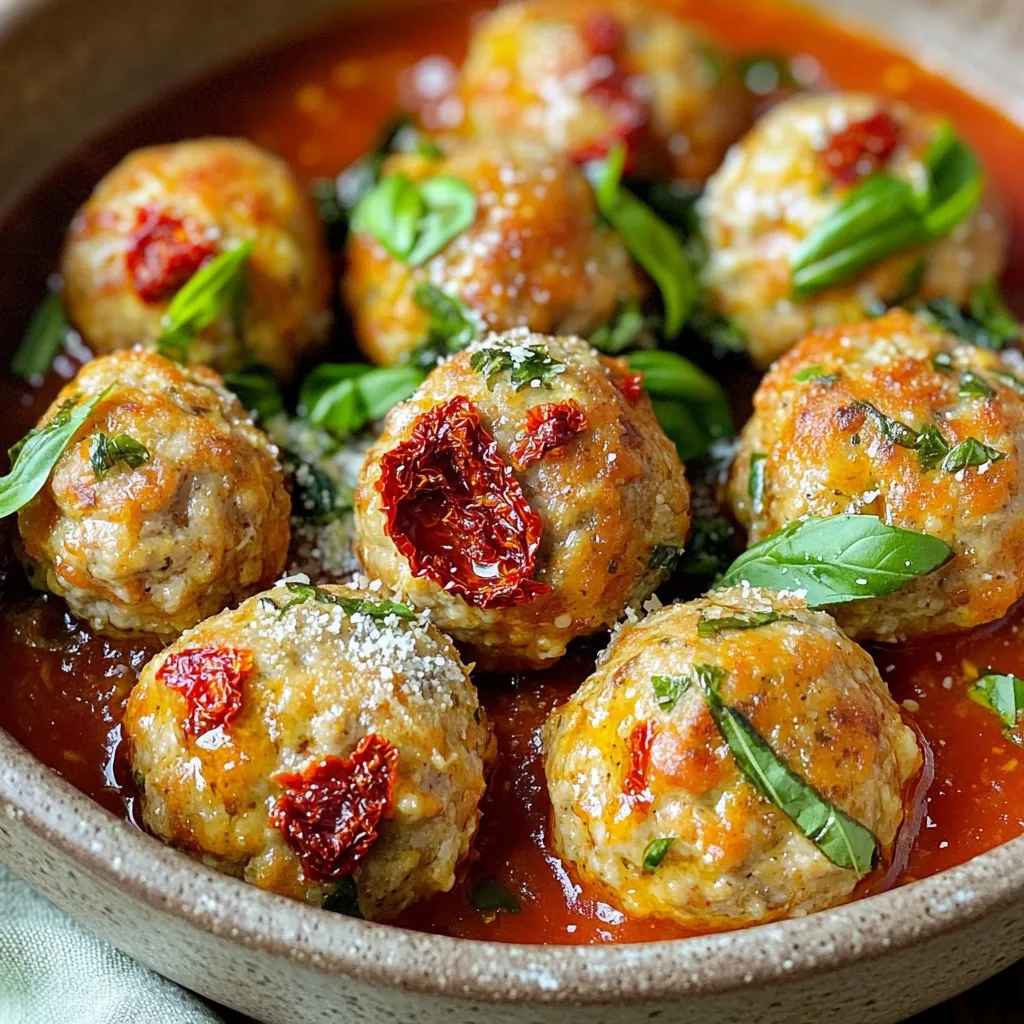
Sun-Dried Tomato Turkey Meatballs Flavorful and Easy
Looking for a quick and tasty meal? You’ll love these Sun-Dried Tomato Turkey Meatballs! They pack a burst of flavor with easy-to-find ingredients. I’ll walk
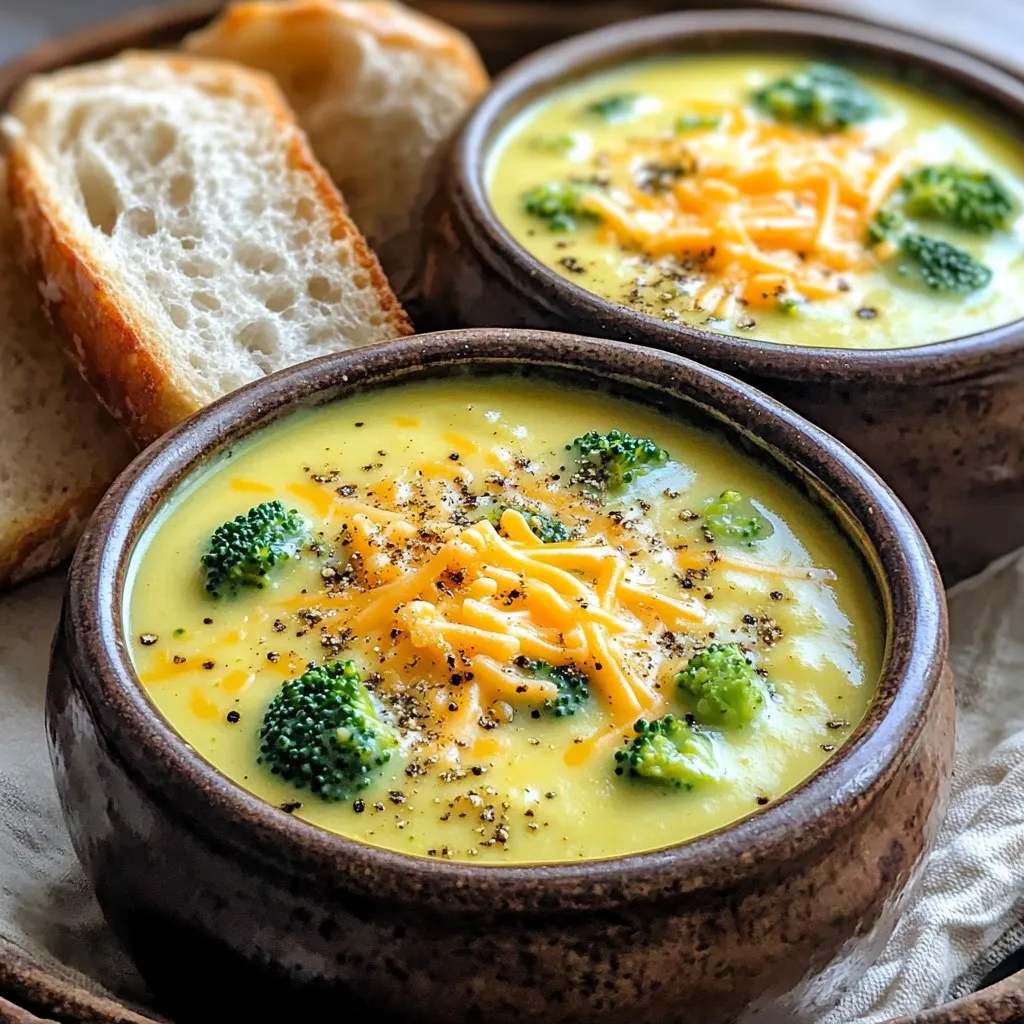
Slow Cooker Broccoli Cheddar Soup Rich and Creamy Delight
Are you ready to warm up with a bowl of rich and creamy Slow Cooker Broccoli Cheddar Soup? This dish is simple to make and
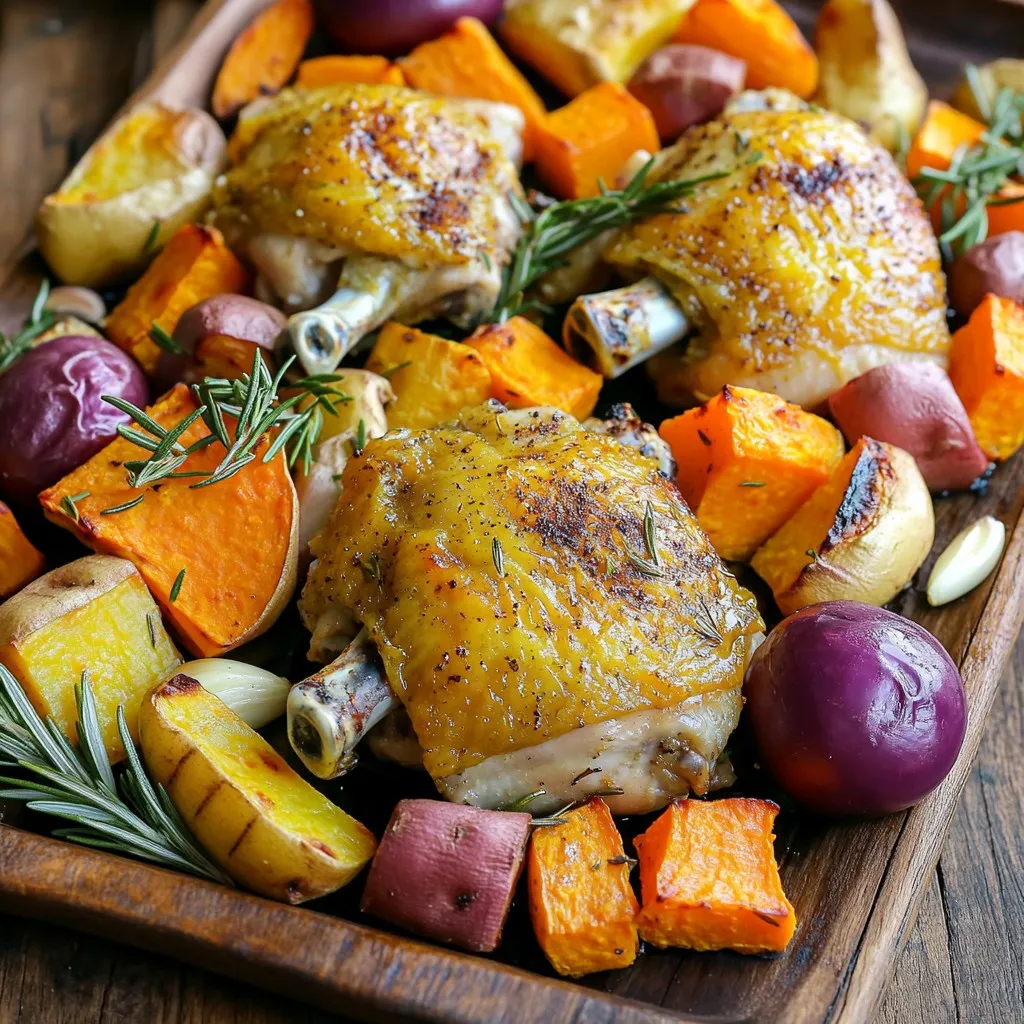
Sheet-Pan Roast Chicken & Root Veggies Delight
Get ready to savor a hassle-free meal with my Sheet-Pan Roast Chicken & Root Veggies Delight! This dish combines juicy chicken thighs with flavorful root

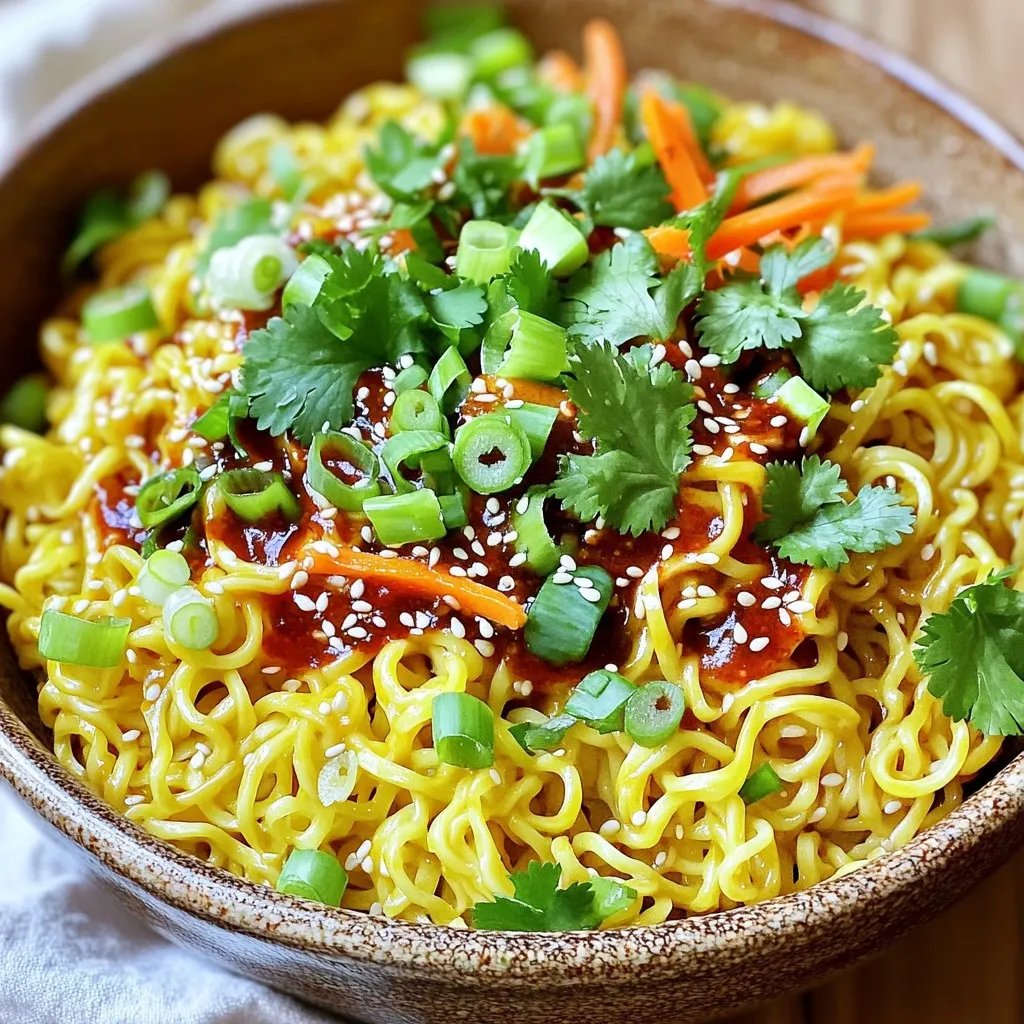
Minute Garlic Chili Udon Flavorful and Quick Meal
Are you craving a quick and tasty meal? Look no further! Minute Garlic Chili Udon checks all the boxes for flavor and ease. With just

Rotisserie Chicken Gnocchi Soup Flavorful Comfort Dish
If you’re craving a cozy, satisfying meal, this Rotisserie Chicken Gnocchi Soup is your answer. Packed with tender gnocchi, hearty chicken, and fresh veggies, it
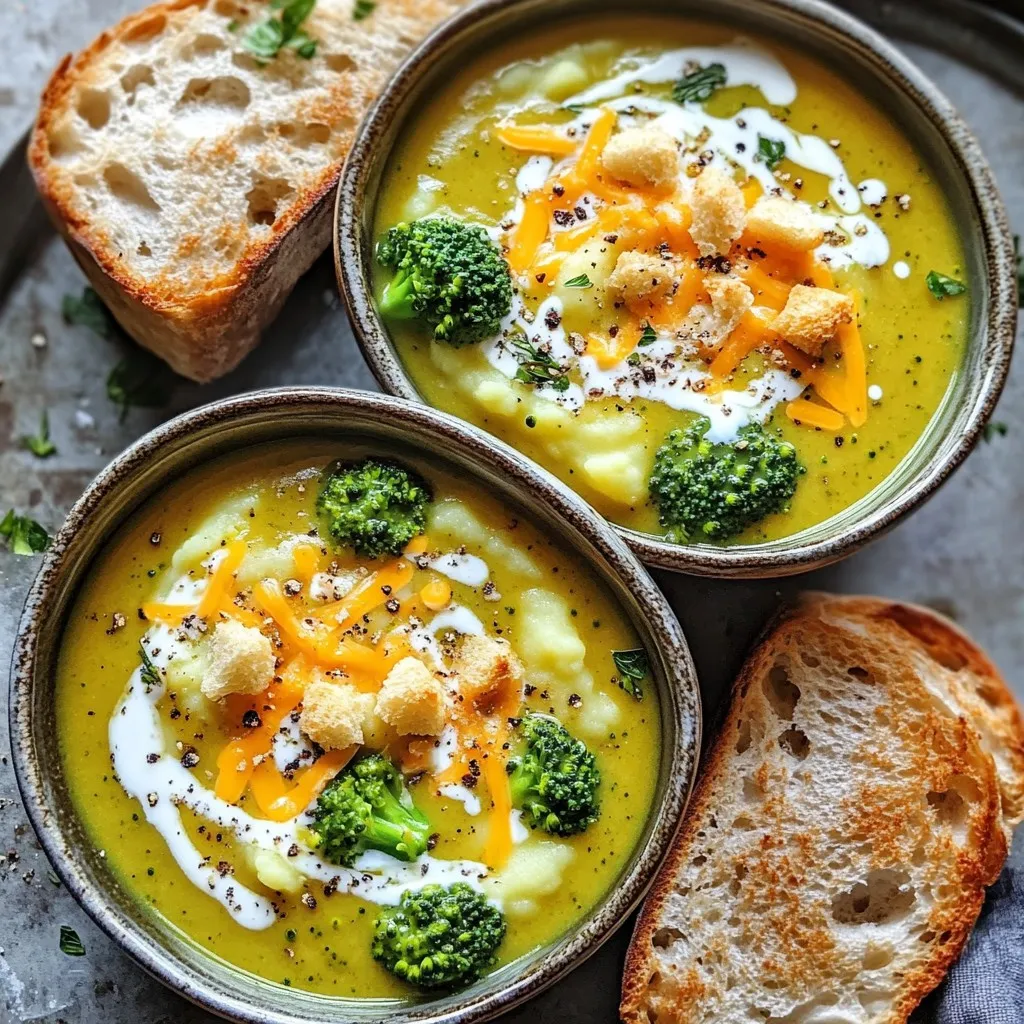
Slow Cooker Cheesy Broccoli Potato Soup Delight
If you’re looking for a warm and comforting dish, you’ve found it! My Slow Cooker Cheesy Broccoli Potato Soup is rich, creamy, and packed with
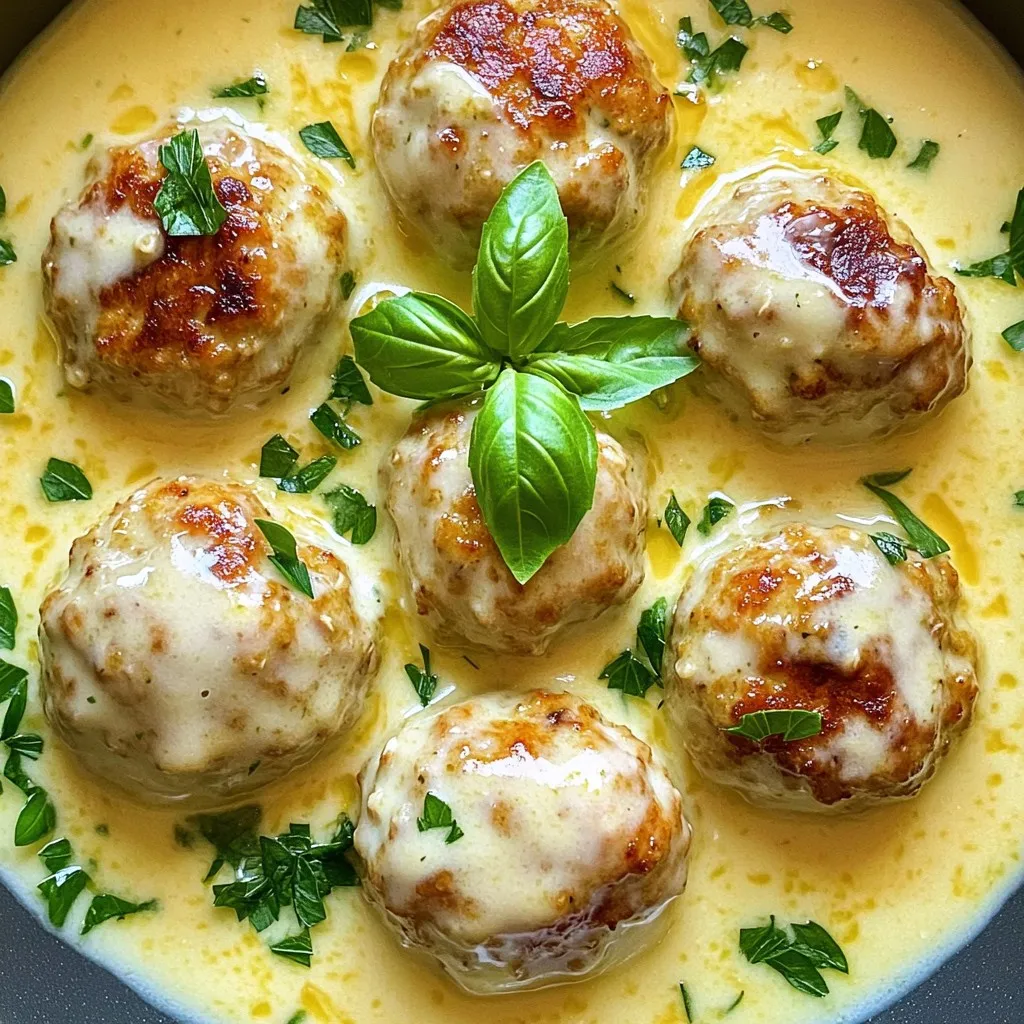
Creamy Garlic Parmesan Chicken Meatballs Delight
Are you ready to indulge in a dish that’s creamy, flavorful, and oh-so-satisfying? Welcome to my Creamy Garlic Parmesan Chicken Meatballs Delight. I’ll guide you
Minute Chili Crisp Egg Noodles Quick and Tasty Meal
If you’re looking for a quick, tasty meal, I have the perfect recipe for you! Minute Chili Crisp Egg Noodles are easy to whip up