Dinner
Failproof Baked Chicken Breasts Simple and Tasty Meal
Are you tired of dry, bland chicken breasts? You’ve come to the right place! In this guide, I’ll share failproof tips to bake juicy, flavorful
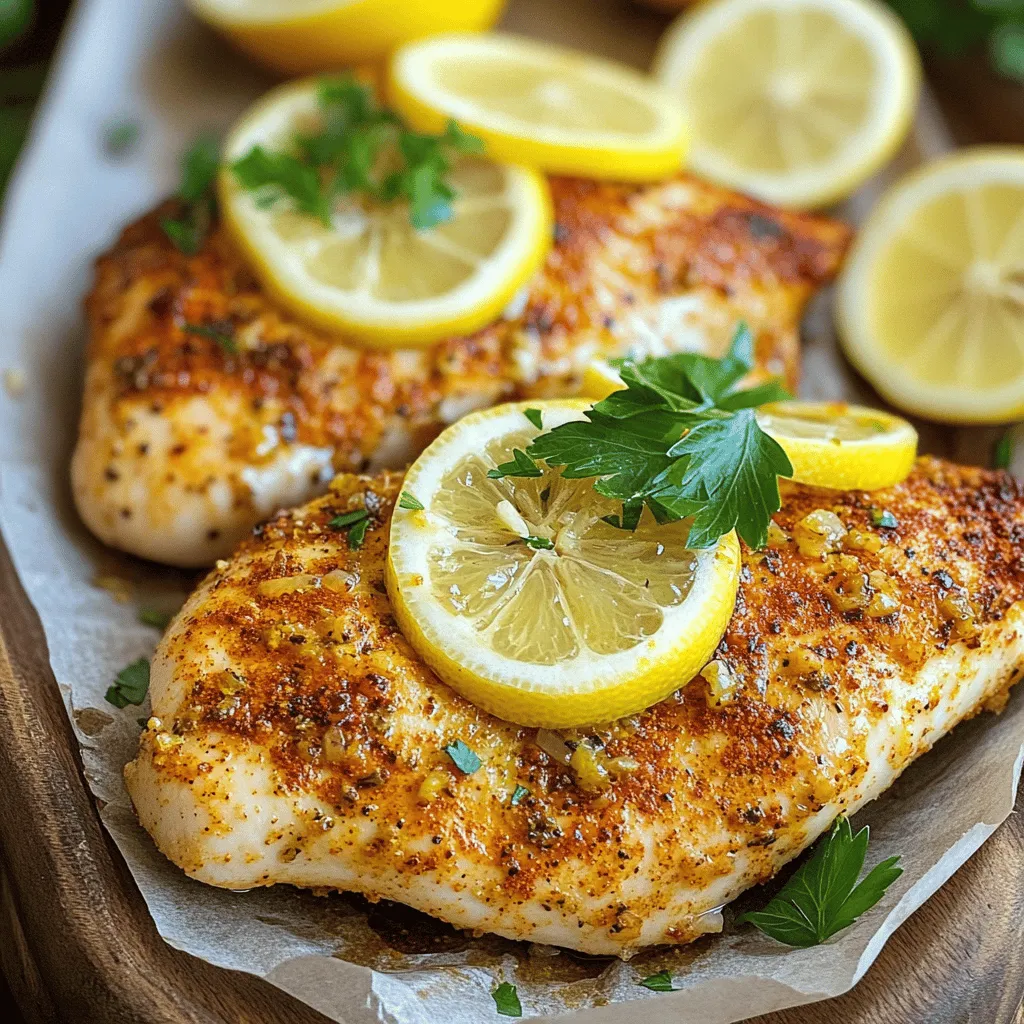
![- 4 boneless, skinless chicken breasts - 1/2 cup unsalted butter - 6 cloves garlic, minced - 1 tablespoon fresh rosemary, chopped - 1 tablespoon fresh thyme, chopped - 1 teaspoon paprika - Salt and pepper to taste - Juice of 1 lemon - Fresh parsley, chopped for garnish Garlic Butter Chicken shines in its simplicity. You need just a few key items to make it delicious. The chicken breasts are the star. They must be boneless and skinless for the best results. Butter is our next big player. Use unsalted butter so you can control the salt level. Garlic adds the wonderful flavor. I love using six cloves, but you can adjust to your taste. Herbs make every dish special. Fresh rosemary and thyme give this chicken a lovely aroma. Paprika adds a hint of color and warmth. To finish, you’ll need salt and pepper. Use them to season the chicken well. A squeeze of lemon juice brightens the dish beautifully. Finally, fresh parsley adds a pop of color and freshness on top. For the Full Recipe, mix these ingredients and follow the steps to create a savory delight. Enjoy the magic of flavor in every bite! Season the chicken breasts with salt, pepper, and paprika on both sides. This adds flavor and makes the dish tasty. To get even seasoning, sprinkle the spices from a height. This way, your chicken absorbs all the flavors well. Make sure to cover both sides for the best taste. Melt the butter in a large skillet over medium heat. Once the butter is melted, add minced garlic, rosemary, and thyme. Sauté for 1-2 minutes until fragrant. You don’t want the garlic to brown, as it can taste bitter. Next, turn up the heat to medium-high. Add the seasoned chicken breasts to the skillet. Cook the chicken for about 6-7 minutes on each side. Use a meat thermometer to check the internal temperature, which should reach 165°F (75°C). This ensures the chicken is safe to eat and juicy. Squeeze lemon juice over the chicken towards the end of cooking. This brightens the flavors. Let it cook for one more minute. After cooking, take the chicken out and let it rest for a few minutes. While the chicken rests, increase the heat and let the garlic butter sauce simmer to thicken slightly. For plating, slice the chicken and arrange it on a serving platter. Drizzle the garlic butter sauce over the chicken. Garnish with fresh parsley for a pop of color. This adds a nice touch and makes the dish look great. - To keep chicken juicy, brine it first. Soak in salty water for 30 minutes. - Use medium heat to cook the chicken. This helps it cook evenly. - Sear the chicken for a nice crust. This adds flavor and keeps moisture in. - When sautéing garlic, use low heat. High heat can burn it quickly. - Stir the garlic often. This helps it cook evenly and stay fragrant. - Pair Garlic Butter Chicken with steamed broccoli or green beans. - Serve it over rice or pasta for a hearty meal. - Add a fresh salad on the side for crunch and color. - For presentation, drizzle extra garlic butter sauce around the plate. - Finish with fresh parsley on top for a pop of green. - Store leftovers in an airtight container in the fridge. - Use the chicken within three days for best taste. - To reheat, place the chicken in a skillet on low heat. - Add a splash of water or broth to keep it moist. - Avoid using the microwave; it can dry out the chicken. {{image_2}} You can easily switch up the flavors in your garlic butter chicken. Try using different herbs like basil or oregano. These herbs add a fresh twist. You can also use lemon thyme instead of regular thyme for a citrusy taste. For chicken cuts, feel free to use thighs or drumsticks. Dark meat is juicier and adds rich flavor. If you want a quicker option, diced chicken works well, too. Just adjust the cooking time to ensure it cooks through. If you need gluten-free options, ensure your butter is gluten-free, which most are. You can also swap regular butter for coconut oil for a dairy-free dish. This change keeps the dish rich and savory. Adding vegetables makes your meal more complete. Try adding broccoli, bell peppers, or green beans to the skillet. They cook quickly and soak up the flavor of the garlic butter. It’s a great way to make a one-pan meal. For an extra punch of flavor, consider adding lemon zest. This brightens the dish and adds freshness. If you like spice, a dash of hot sauce can transform the meal. You can mix it into the garlic butter sauce for a warm kick. Want it spicier? Add a pinch of cayenne pepper when cooking. This small change brings heat without overpowering the dish. Customize the spice level to suit your taste. For the full recipe, check out [Full Recipe]. For the best storage, use airtight containers. Glass or plastic containers work well. They keep the chicken fresh and prevent odors. Store Garlic Butter Chicken in the fridge or freezer. In the refrigerator, keep it at a temperature below 40°F (4°C). For the freezer, aim for 0°F (-18°C) or lower. Make sure to seal the container tightly. This helps maintain flavor and texture. Garlic Butter Chicken lasts about 3-4 days in the fridge. After that, it may spoil. You can store it in the freezer for up to 3 months. Signs of spoilage include a sour smell or changes in color. If you notice any off smells, it’s best to toss it. To reheat, you want to keep the chicken moist. The stovetop is the best way. Heat in a skillet over low heat. Add a splash of water or broth to keep it juicy. If you use a microwave, cover the chicken. This helps trap steam and moisture. Heat in short bursts, checking often. This will keep your Garlic Butter Chicken delicious. For the full recipe and more details, check out the Full Recipe. Cooking Garlic Butter Chicken is quick and simple. You will need about 10 minutes for prep and 20 minutes for cooking. In total, it takes about 30 minutes to make this dish. - Prep time: 10 minutes - Cook time: 20 minutes - Total time: 30 minutes - Servings: 4 This dish cooks fast, so you can enjoy a tasty meal in no time. Yes, you can use frozen chicken breasts. Just remember to thaw them before cooking. The best way to thaw chicken is in the fridge overnight. If you are short on time, you can use the cold water method. - Cold water method: Place the chicken in a sealed bag and submerge it in cold water for about an hour. Change the water every 30 minutes. - Cooking from frozen: If you must cook from frozen, increase the cooking time by 50%. Ensure the chicken reaches an internal temperature of 165°F (75°C). This way, your chicken will be safe and tasty. Garlic Butter Chicken pairs well with many sides. Here are some great options: - Steamed vegetables: Broccoli, green beans, or carrots work well. - Rice: White or brown rice soaks up the garlic butter sauce. - Mashed potatoes: Creamy potatoes balance the dish nicely. - Salad: A fresh green salad adds crunch and flavor. For drinks, consider serving a crisp white wine or a refreshing lemonade. These options complement the flavors of the dish perfectly. In this article, we explored the key ingredients and steps to make Garlic Butter Chicken. I shared cooking tips, serving ideas, and storage methods to enhance your meal. You can use fresh herbs or swap ingredients for different flavors. Remember, cooking does not have to be hard. With these steps, you can create a delicious dish everyone will love. Happy cooking!](https://therecipehatch.com/wp-content/uploads/2025/06/23904089-0642-418f-9770-edef0c1b7dd1.webp)
Garlic Butter Chicken Savory and Simple Delight
Are you ready to impress at your next dinner? Garlic Butter Chicken is a simple recipe that brings rich flavors to your table. With just
![Sautéed carrots and zucchini is a quick and easy dish. It uses fresh, colorful veggies. This dish is packed with flavor and makes a great side. You can serve it with any meal. Check out the Full Recipe for more details. - 3 medium carrots, sliced into thin rounds - 2 medium zucchinis, sliced into half-moons - 2 tablespoons olive oil - 1 tablespoon butter - 2 cloves garlic, minced - 1 teaspoon fresh thyme leaves (or ½ teaspoon dried thyme) - Salt and pepper to taste - 1 tablespoon lemon juice - Optional: Grated Parmesan cheese for garnish Gather these ingredients before you start cooking. Fresh vegetables make all the difference. The olive oil and butter will help the veggies brown nicely. Garlic adds a lovely aroma. Thyme gives it a fragrant touch. Salt and pepper bring out the best flavors. The lemon juice adds brightness. If you like, sprinkle some Parmesan cheese on top for extra taste! To make sautéed carrots and zucchini, start by prepping your veggies. First, wash the carrots and zucchinis under cold water. Next, peel the carrots. Slice them into thin rounds, about a quarter-inch thick. For the zucchinis, cut them into half-moons. Aim for even slices so they cook well. This prep takes about 10 minutes. Now, let’s cook! Heat two tablespoons of olive oil and one tablespoon of butter in a large skillet over medium heat. Wait until the butter melts and the oil is hot. Add the sliced carrots first. Sauté them for 4 to 5 minutes. Stir them occasionally until they start to soften. Next, add two cloves of minced garlic and one teaspoon of fresh thyme leaves. Stir well for about one minute. You want the garlic to smell good but not burn. Now, toss in the zucchini slices. Mix everything together and sauté for another 5 to 7 minutes. The zucchini should be tender yet still bright green. Season with salt and pepper to taste. Remove the skillet from heat and drizzle one tablespoon of lemon juice over the veggies. Toss everything to combine. If you like, add some grated Parmesan cheese on top before serving. For a nice presentation, serve the sautéed carrots and zucchini on a large plate. Spread them out evenly. Add a sprinkle of extra thyme or some fresh herbs for color. You can pair this dish with grilled chicken or fish for a full meal. Enjoy your colorful, tasty dish! For the full recipe, check out the details above. To make your sautéed carrots and zucchini shine, start with a hot skillet. Heat the olive oil and butter until they shimmer. This step keeps the veggies from sticking. Slice the carrots and zucchini evenly for even cooking. Thin slices cook faster and keep their crunch. Don't crowd the pan; cook in batches if needed. This tip allows steam to escape and enhances browning. Feel free to get creative. Add bell peppers or snap peas for extra color and crunch. You can also toss in fresh herbs like basil or parsley. For a spicy kick, try red pepper flakes. Different oils, like sesame or avocado, can change the flavor, too. You can also drizzle balsamic vinegar or soy sauce for an Asian twist. Overcooking is a common mistake. Keep an eye on your veggies as they sauté. Carrots take longer than zucchini, so add them first. Stir often to prevent burning. If you see browning too fast, lower the heat. Remember, you want tender veggies, not mush. Always taste as you cook; this helps you adjust salt and seasoning. For more details, check the Full Recipe for sautéed carrots and zucchini. {{image_2}} You can use different veggies instead of carrots and zucchini. Seasonal vegetables work best. Try bell peppers for a sweet twist. Broccoli adds a nice crunch. Cauliflower can give a hearty bite. Choose what you love or what is fresh. You can change the taste by adding spices or herbs. For a warm flavor, try cumin or paprika. Fresh parsley or basil can brighten your dish. A pinch of red pepper flakes adds heat. Experiment with these additions to find your favorite mix. This dish is easy to make gluten-free and vegan. Use olive oil and skip the butter for a vegan option. Make sure to check your seasonings. They should be gluten-free, too. This way, everyone can enjoy your tasty sautéed veggies! For the full recipe, check out the [Full Recipe]. To store sautéed carrots and zucchini, first let them cool. Place the veggies in an airtight container. Store them in the fridge for up to 3 days. This keeps them fresh and tasty. Avoid stacking them too high to prevent squishing. Reheat sautéed carrots and zucchini gently. Use a skillet over low heat. Add a splash of water or olive oil to keep them moist. Stir often to heat evenly. You can also microwave them for 1-2 minutes. Cover with a damp paper towel to keep the steam in. Freezing sautéed carrots and zucchini is possible but can change texture. If you want to freeze them, cool them first. Pack them in freezer-safe bags, removing as much air as possible. They can keep for up to 2 months. When ready to use, thaw them in the fridge overnight. Reheat gently to restore some flavor. For the complete cooking method, check out the Full Recipe. Yes, you can use frozen vegetables for sautéing. However, they may release water during cooking. This can make your dish a bit watery. To avoid this, thaw and drain the vegetables first. Then, cook them on high heat for a shorter time. This helps keep them crisp and tasty. Sautéing carrots and zucchini takes about 10 to 12 minutes. Start with the carrots, as they need a bit more time. Cook them for 4 to 5 minutes first. Then add the zucchini and sauté for an additional 5 to 7 minutes. Stir often for even cooking. Carrots and zucchini are packed with nutrients. Carrots are high in vitamin A, which is great for your eyes. They also provide fiber, which helps with digestion. Zucchini is low in calories and rich in vitamins C and K. Nutritional information and health advantages: - Carrots: - High in beta-carotene - Good for eye health - Low in calories - Zucchini: - Contains antioxidants - Supports hydration - Low in carbs Eating these veggies can help you maintain good health. They provide essential vitamins and minerals that support your body. For a quick and tasty dish, check out the Full Recipe for sautéed carrots and zucchini. In this blog post, we explored how to sauté carrots and zucchini. We covered the ingredients, step-by-step instructions, and helpful tips. You learned how to prepare your vegetables and cook them perfectly. We also discussed great serving ideas and variations to try. Remember, cooking is all about having fun and experimenting. With these tips, you'll create tasty vegetable dishes every time. Enjoy your cooking journey and savor the flavors!](https://therecipehatch.com/wp-content/uploads/2025/06/8d902e66-ec3d-488d-a066-d1eb6ca2256b.webp)
Sautéed Carrots and Zucchini Flavorful Easy Dish
Looking for a quick, tasty dish that brightens up any meal? Try my sautéed carrots and zucchini! This colorful, easy recipe offers a burst of

Zucchini Cheese Bread Hearty and Flavorful Delight
Are you ready to elevate your baking game? This Zucchini Cheese Bread is a hearty and flavorful delight that’s as easy to make as it
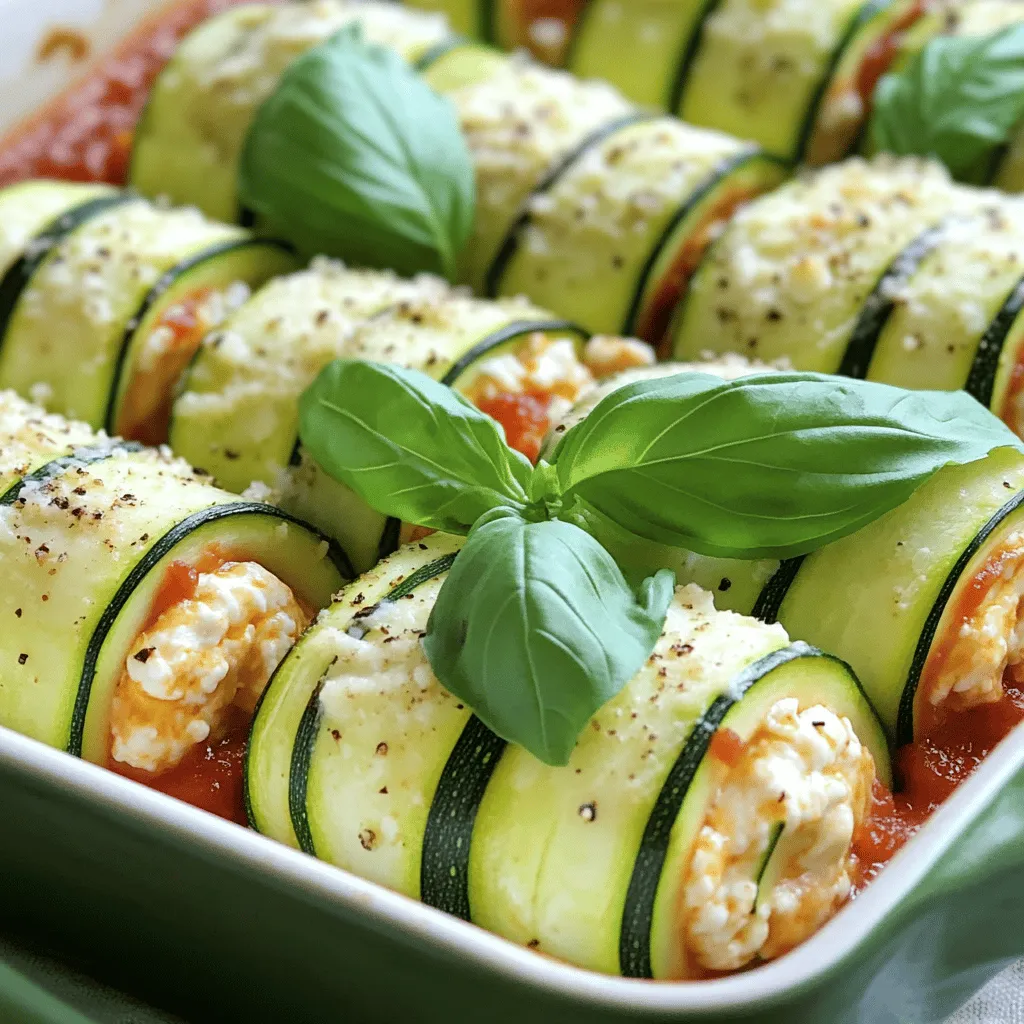
Zucchini Dinner Roll Ups Tasty and Easy Recipe
Are you looking for a tasty way to enjoy zucchini? These Zucchini Dinner Roll Ups are easy to make and packed with flavor! With layers
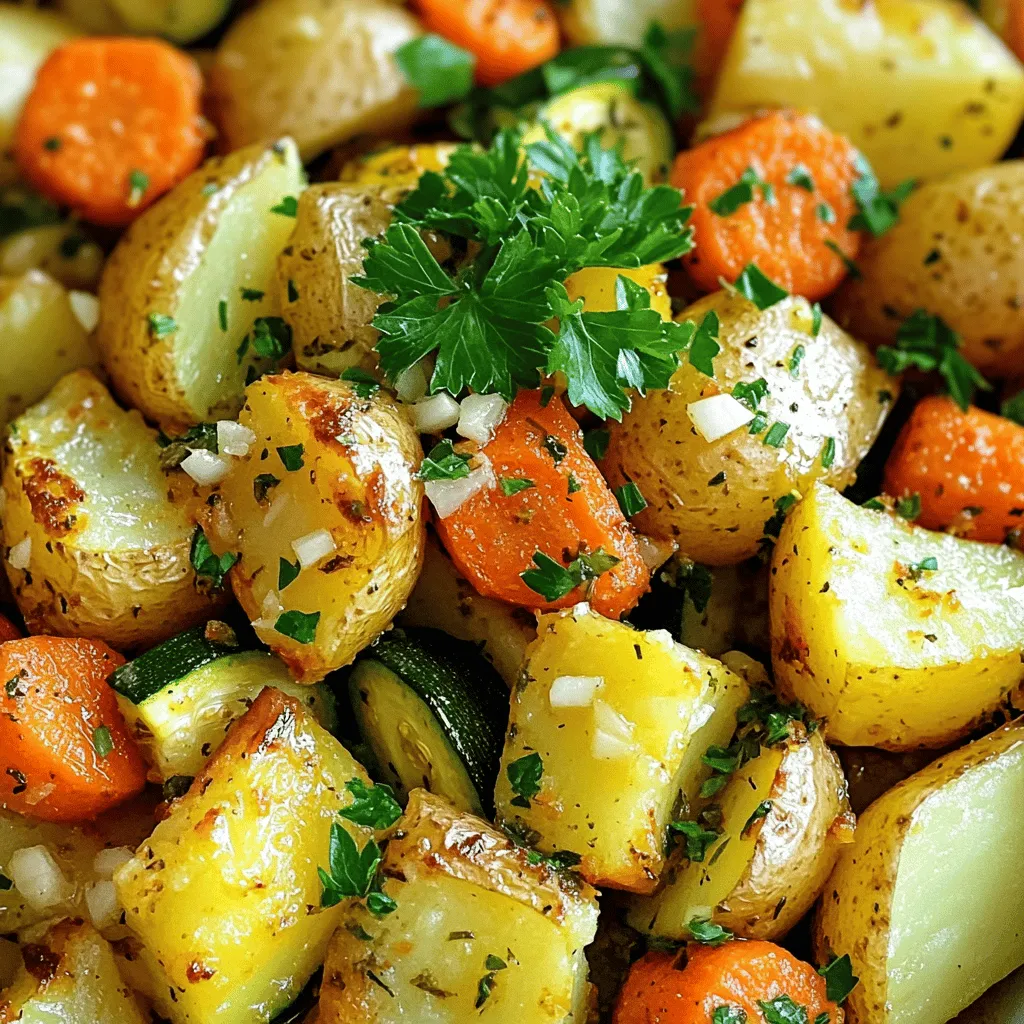
Garlic Herb Roasted Potatoes, Carrots & Zucchini Delight
Looking to elevate your dinner game? My Garlic Herb Roasted Potatoes, Carrots & Zucchini Delight combines simple, fresh ingredients for a mouthwatering side dish. In

Easy Fried Chicken Crispy and Flavorful Delight
Are you ready to master the art of fried chicken? In my guide, “Easy Fried Chicken: Crispy and Flavorful Delight,” I’ll share simple steps and

Honey Soy Chicken Thighs Simple and Tasty Recipe
Are you ready to impress your family with a delicious dinner? This Honey Soy Chicken Thighs recipe is both simple and tasty! With just a

Garlic Bread Grilled Cheese Delightfully Cheesy Dish
Are you ready to elevate your sandwich game? This Garlic Bread Grilled Cheese is your new go-to comfort food. With four slices of artisanal garlic

Savory Spinach Stuffed Chicken Breasts Recipe Guide
Are you ready to impress your family with a delicious meal? This Savory Spinach Stuffed Chicken Breasts Recipe Guide will show you how to make