Dinner
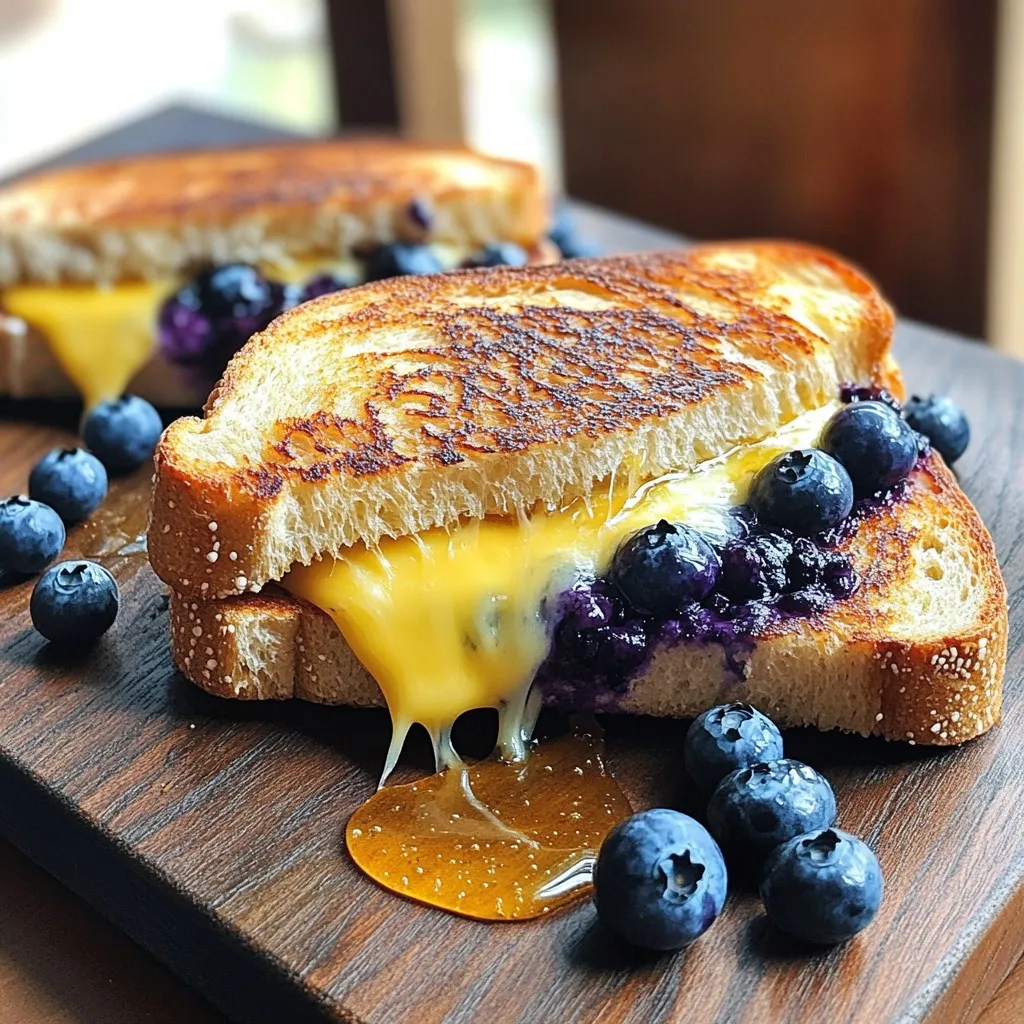
Blueberry Grilled Cheese Irresistible Flavor Combo
Are you ready to take your grilled cheese game to the next level? The Blueberry Grilled Cheese combines sharp cheddar with fresh blueberries for a
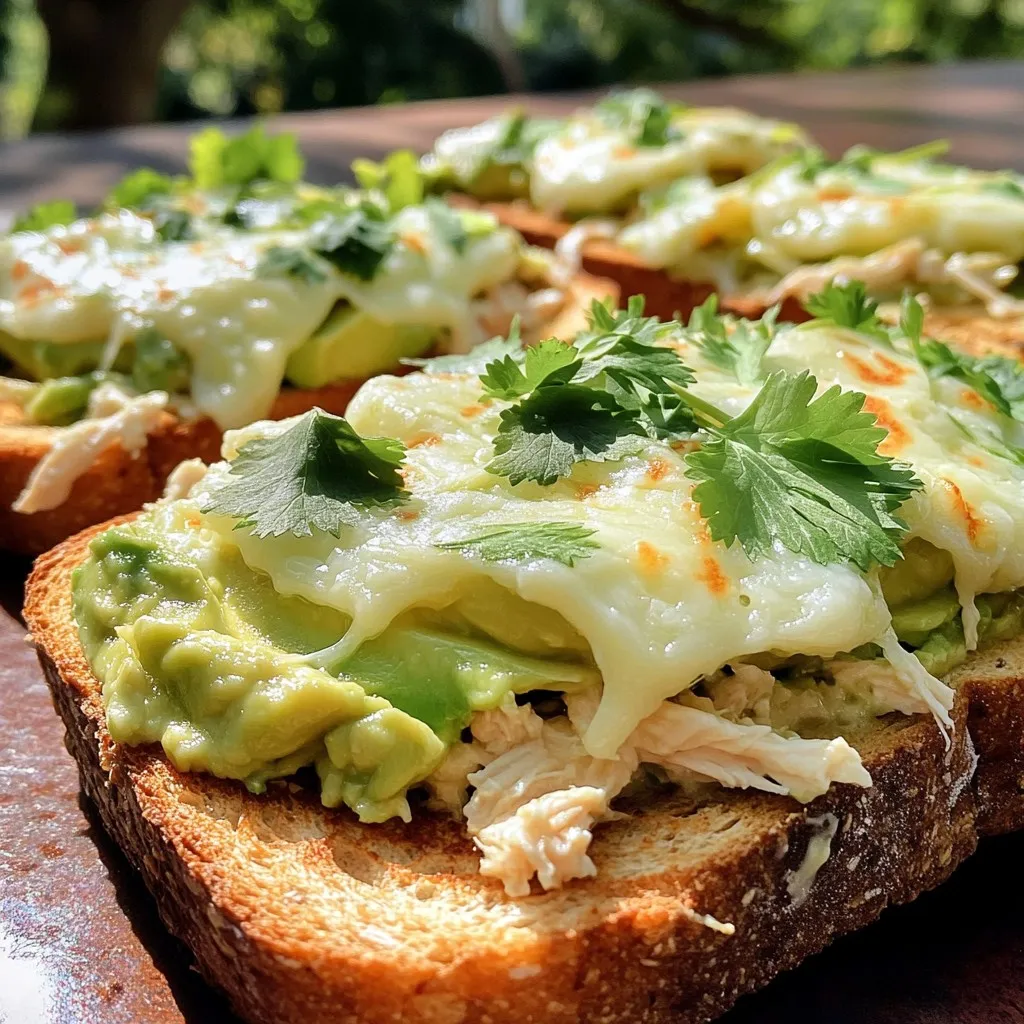
Chicken Avocado Melt Simple and Flavorful Delight
If you’re craving a dish that’s both simple and bursting with flavor, then the Chicken Avocado Melt is for you! I’ll guide you through each

Mediterranean Chicken Gyros Flavorful and Easy Recipe
Are you ready to savor the bold flavors of Mediterranean chicken gyros? This easy recipe will guide you through every step, from marinating tender chicken

Pretzel Crusted Chicken with Mustard Cheddar Sauce Delight
Are you ready to turn dinner into a fun experience? This Pretzel Crusted Chicken with Mustard Cheddar Sauce is your answer! It combines crispy pretzel
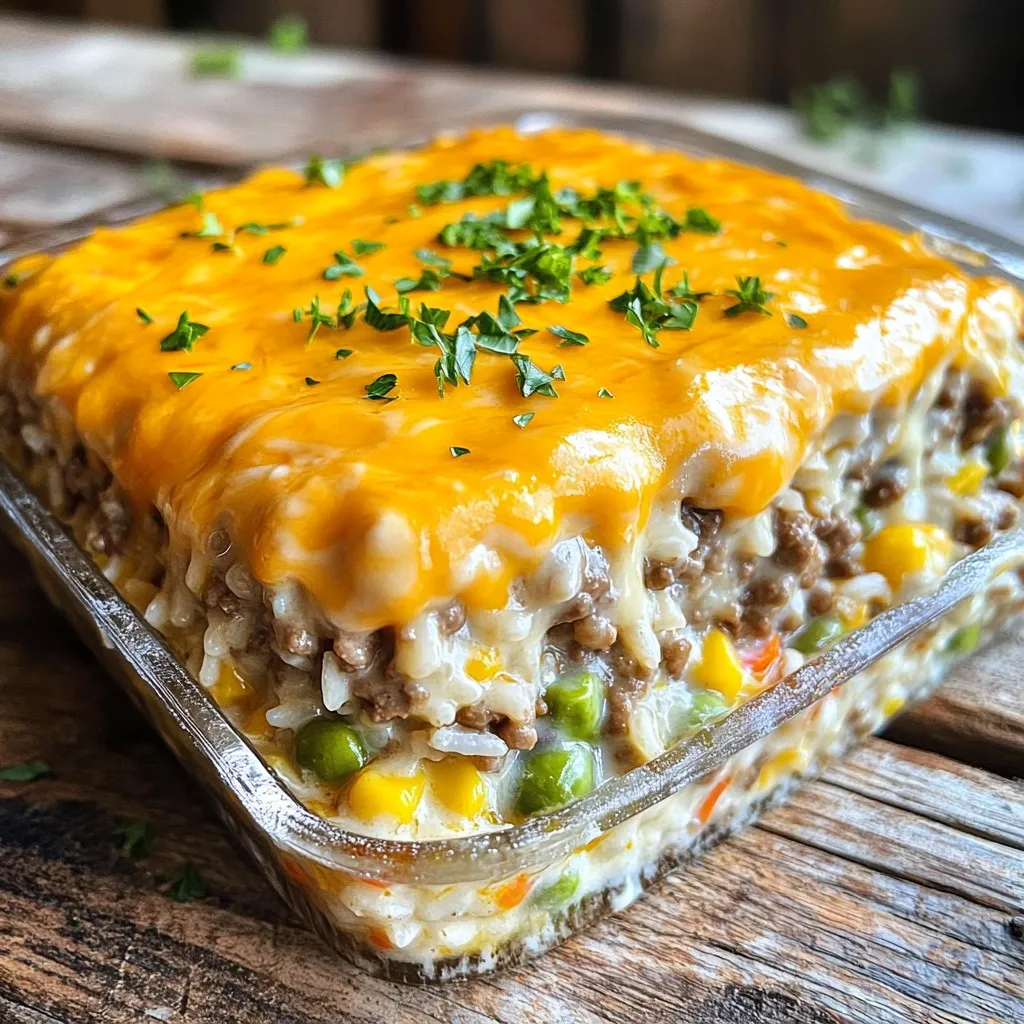
Cheesy Hamburger Rice Casserole Savory Comfort Meal
Craving a warm, hearty meal? Let me introduce you to Cheesy Hamburger Rice Casserole—a dish that wraps comfort in every bite! This easy recipe combines
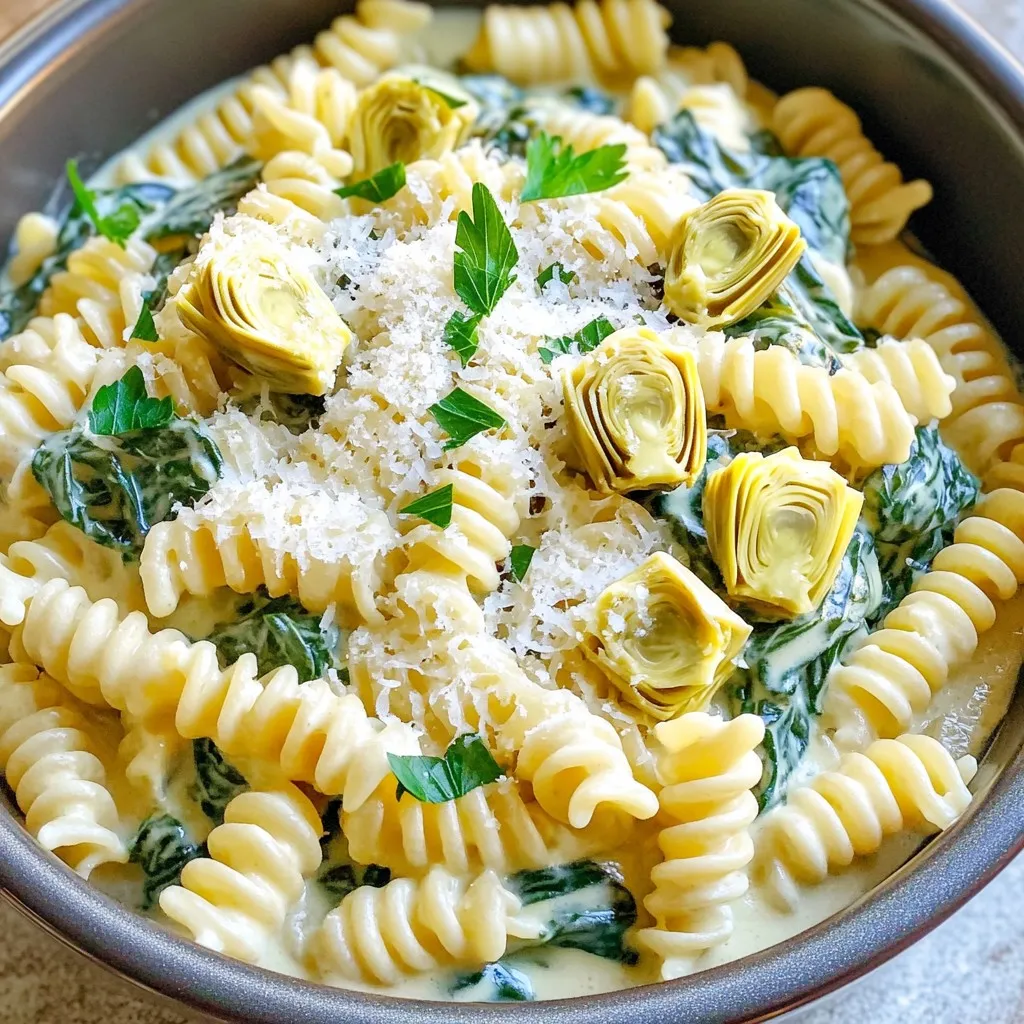
One-Pot Creamy Spinach Artichoke Pasta Delight
Are you ready to whip up a creamy, dreamy dish that everyone will love? In this blog post, I’ll show you how to make a
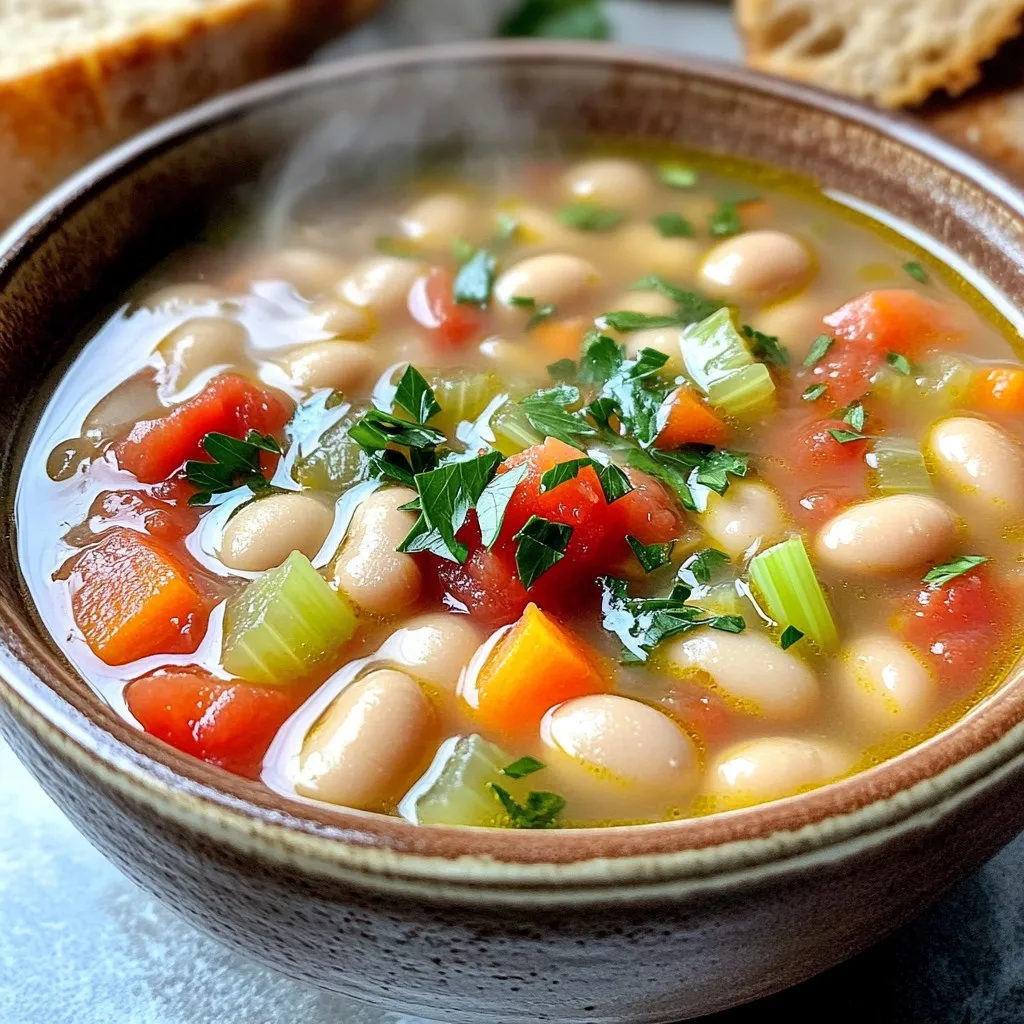
Slow Cooker Tuscan White Bean Soup Flavorful Comfort Food
Looking for a warm and tasty dish? Slow Cooker Tuscan White Bean Soup is your answer! This soup is packed with rich flavors and healthful
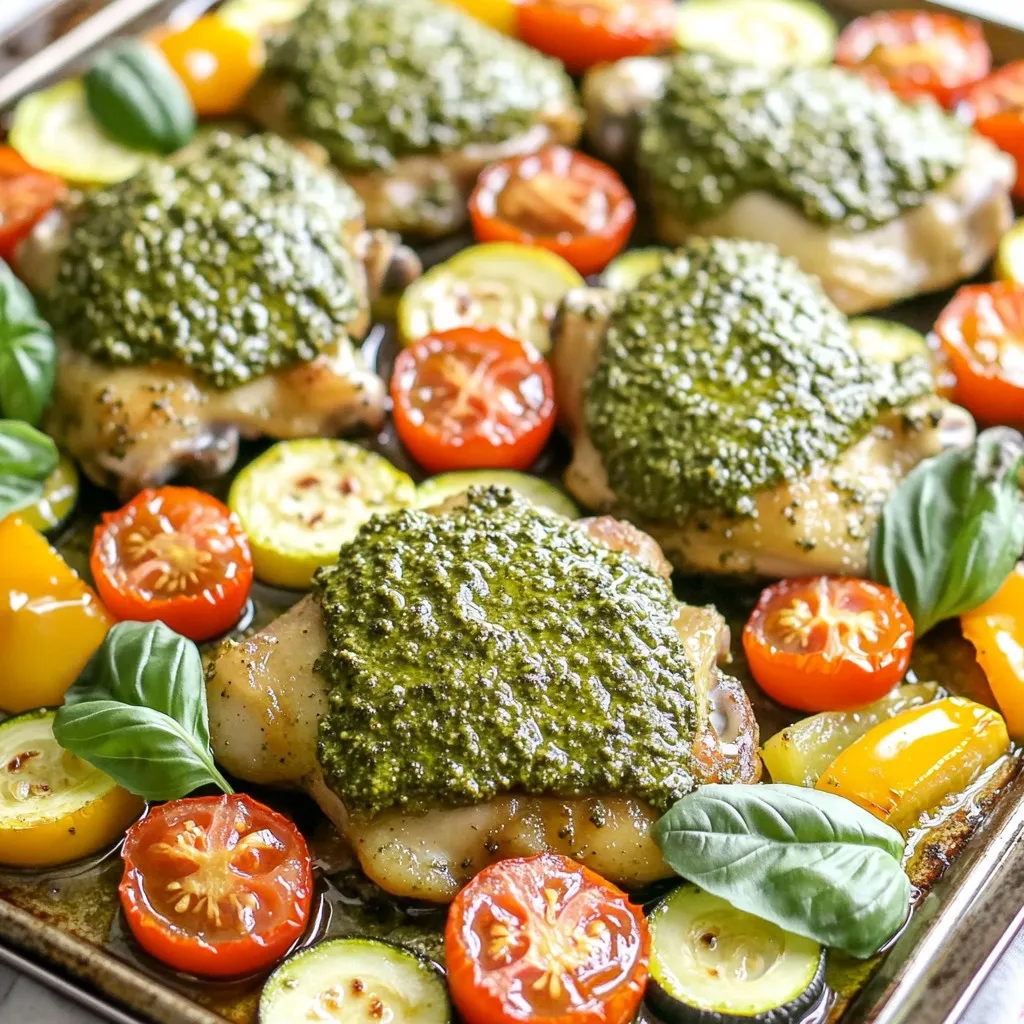
Pesto Chicken & Cherry Tomato Sheet Pan Delight
Are you ready to elevate your weeknight dinners with minimal fuss? The Pesto Chicken & Cherry Tomato Sheet Pan Delight is here to save you
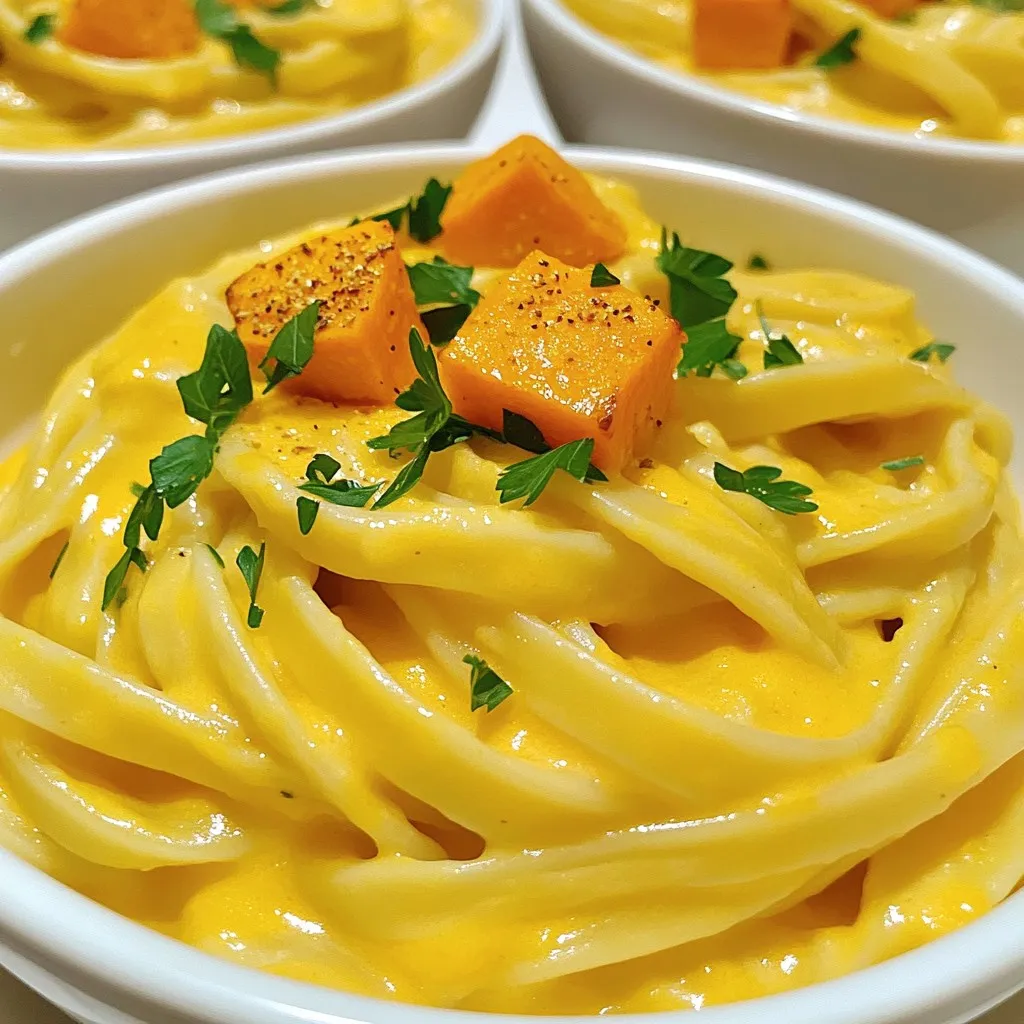
Creamy Butternut Squash Alfredo Pasta Delight
Are you ready to enjoy a warm bowl of creamy goodness? My Creamy Butternut Squash Alfredo Pasta is rich, smooth, and packed with flavor. This
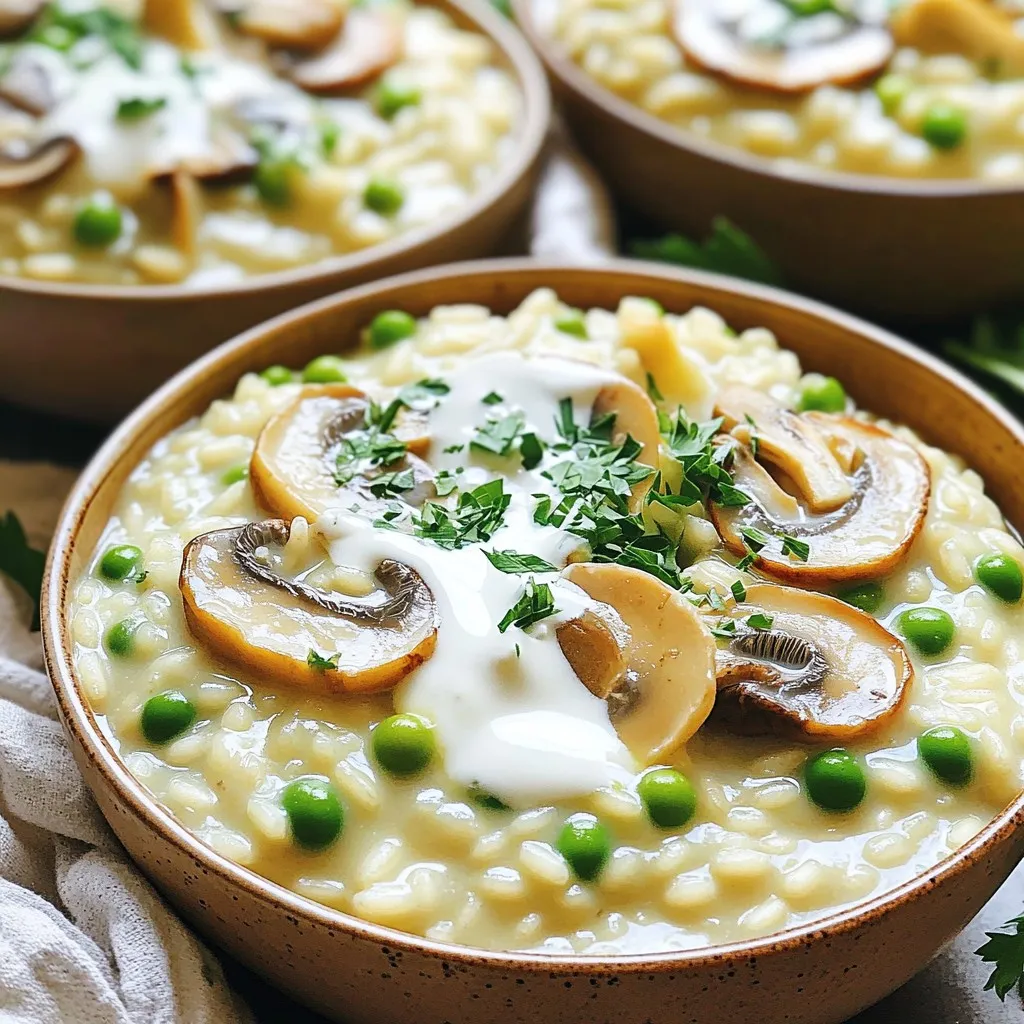
Slow Cooker Creamy Mushroom Risotto Simple Comfort Meal
Are you ready to make a creamy, dreamy mushroom risotto without the hassle? My Slow Cooker Creamy Mushroom Risotto is the easiest way to enjoy