Dinner
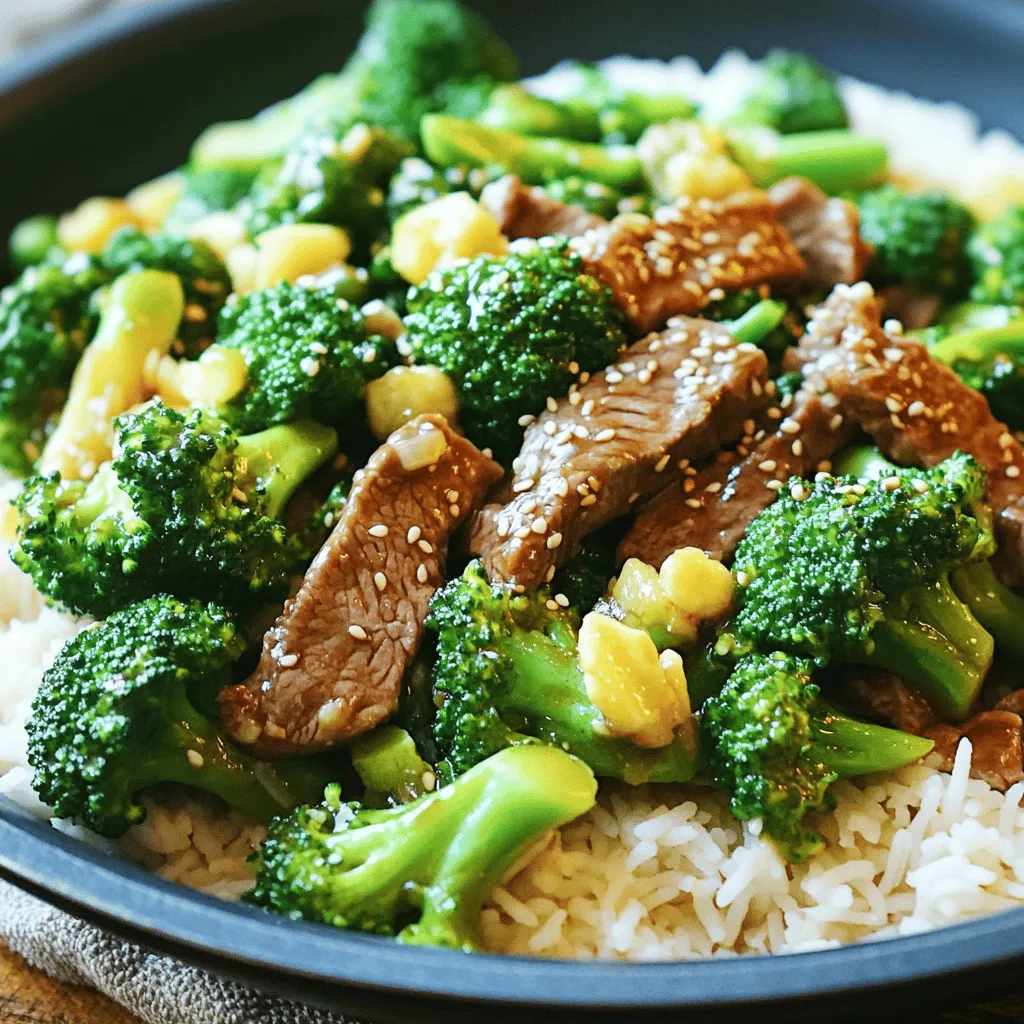
One-Pan Beef & Broccoli Simple and Quick Meal
Looking for a quick and tasty meal? This One-Pan Beef & Broccoli recipe is perfect for busy nights. It’s simple to make and packed with
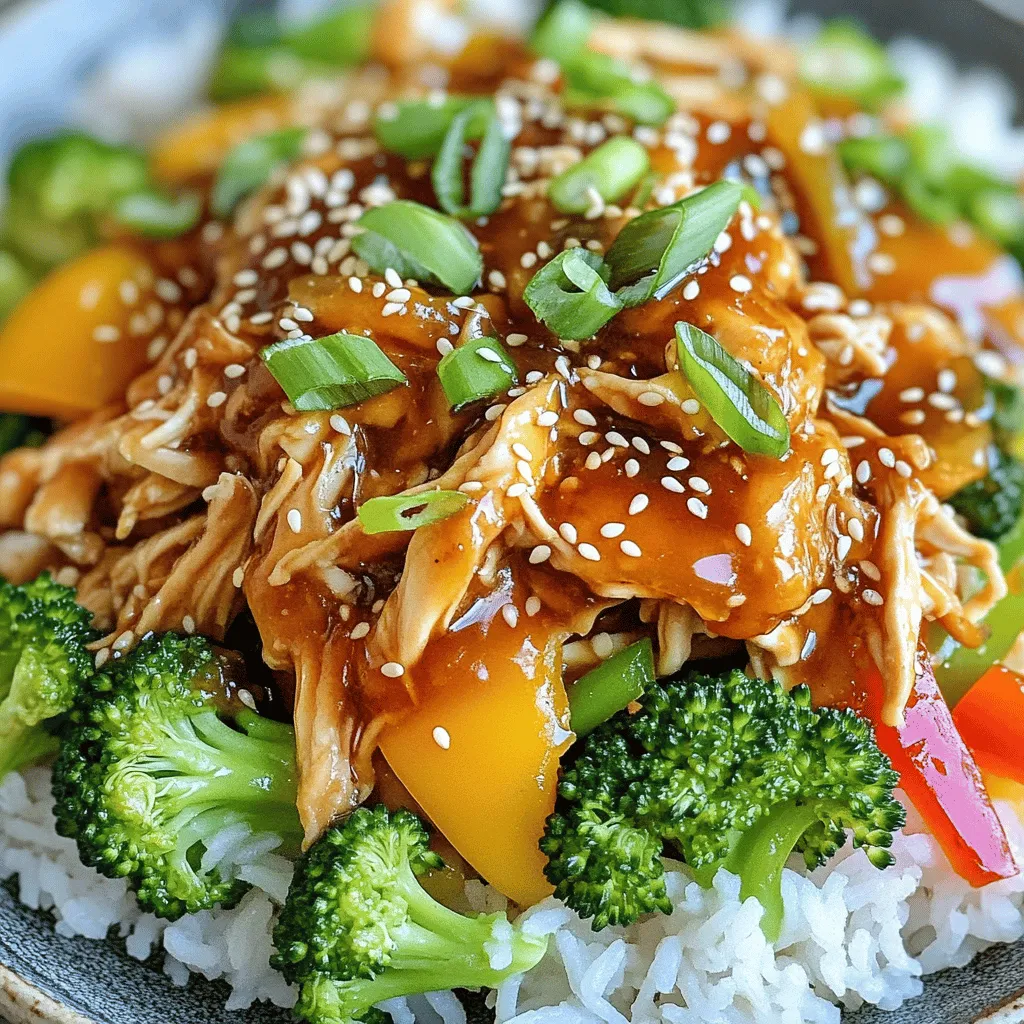
Slow Cooker Honey Garlic Chicken Tasty Weeknight Meal
Are you ready for an easy and tasty weeknight meal? Slow Cooker Honey Garlic Chicken is the answer! With just a few simple ingredients, you
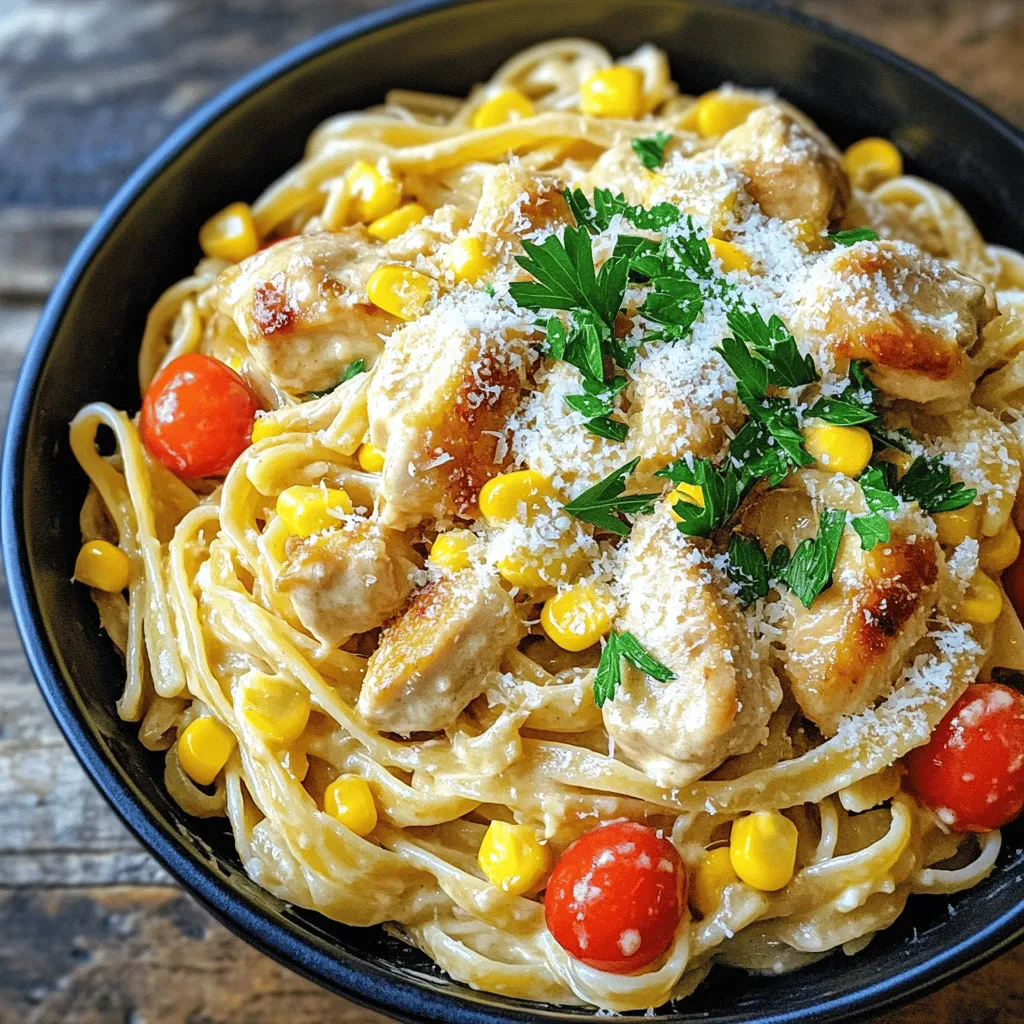
Cowboy Butter Chicken Linguine Flavorful Dinner Delight
Are you ready to spice up your dinner routine? Let’s dive into Cowboy Butter Chicken Linguine, a dish bursting with flavor and comfort. This pasta
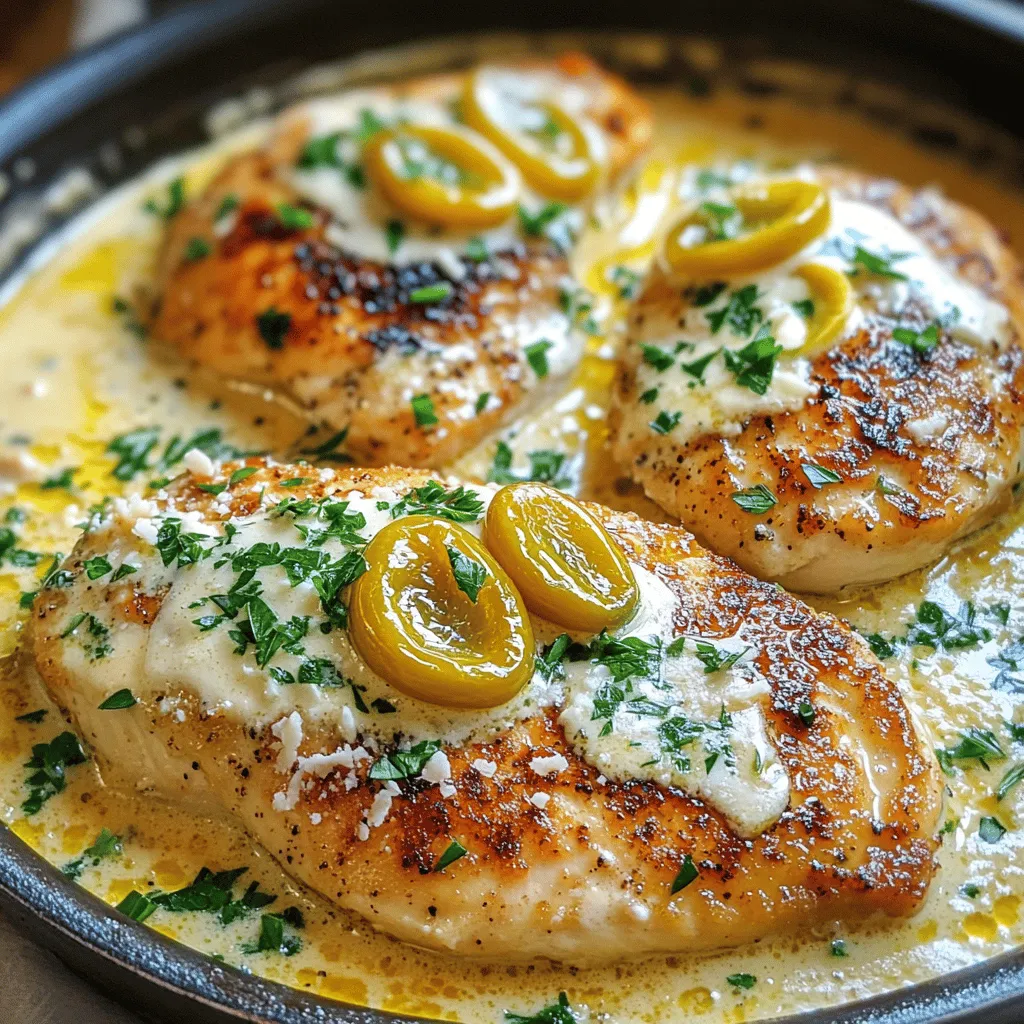
Creamy Pepperoncini Chicken Skillet Delight Recipe
Craving a dish that’s creamy, zesty, and easy to make? Look no further! My Creamy Pepperoncini Chicken Skillet Delight recipe combines tender chicken breasts with
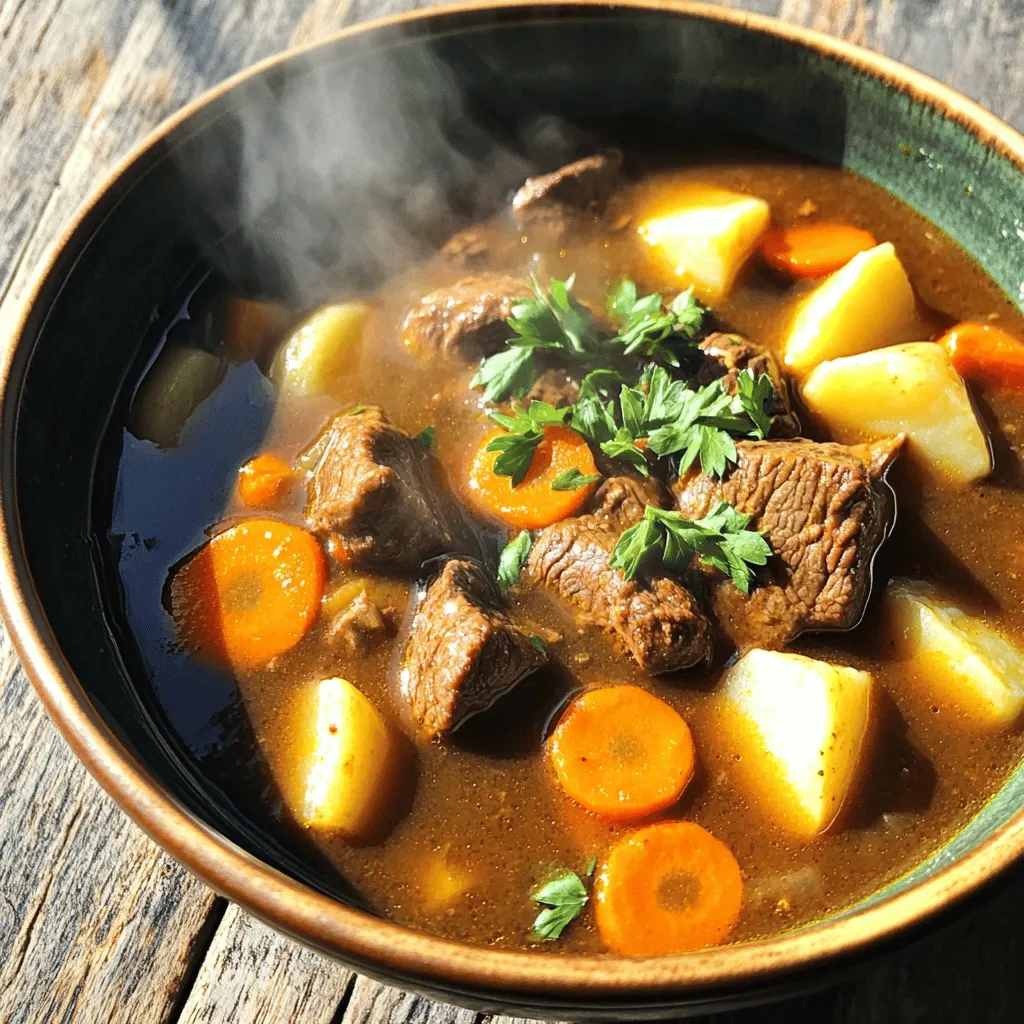
Classic Beef Stew with Carrots & Potatoes Delight
Are you ready to dive into the heartwarming world of comfort food? This Classic Beef Stew with Carrots & Potatoes will warm your kitchen and
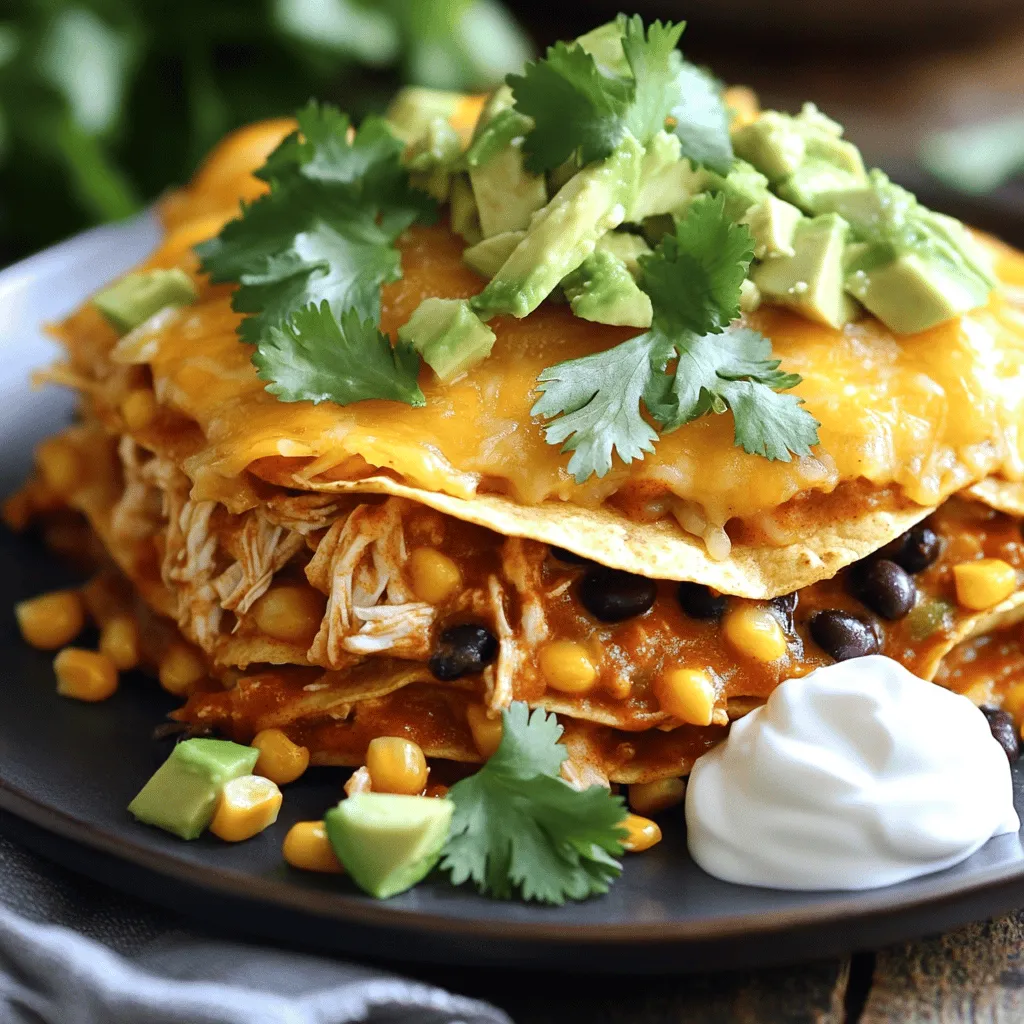
Hearty Chicken Enchilada Crockpot Casserole Delight
Are you ready for a dish that’s warm, cozy, and oh-so-simple? Dive into my Hearty Chicken Enchilada Crockpot Casserole Delight! This mouth-watering recipe combines tender
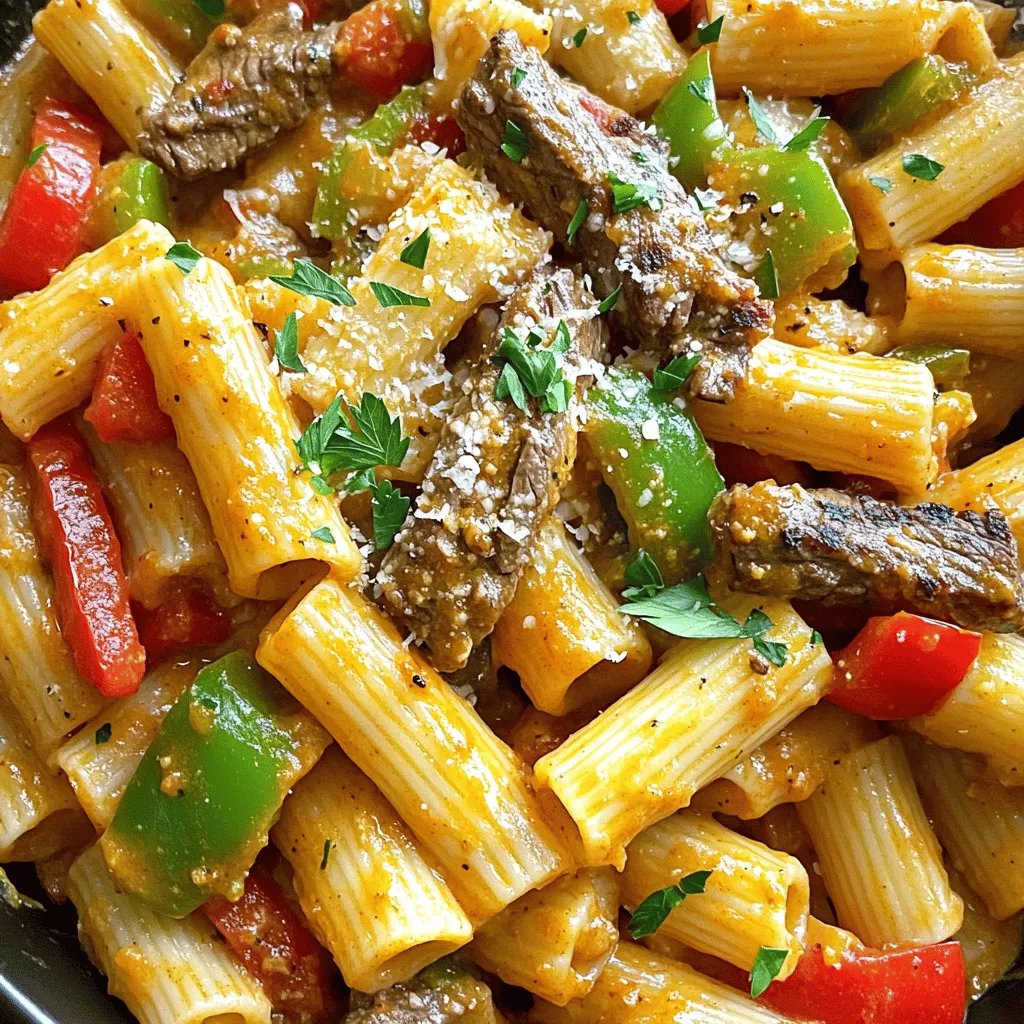
Cajun Steak Tips Rigatoni Flavorful and Easy Recipe
Looking for a delicious meal that’s easy to prepare? You’re in the right place! My Cajun Steak Tips Rigatoni combines tender steak tips with creamy
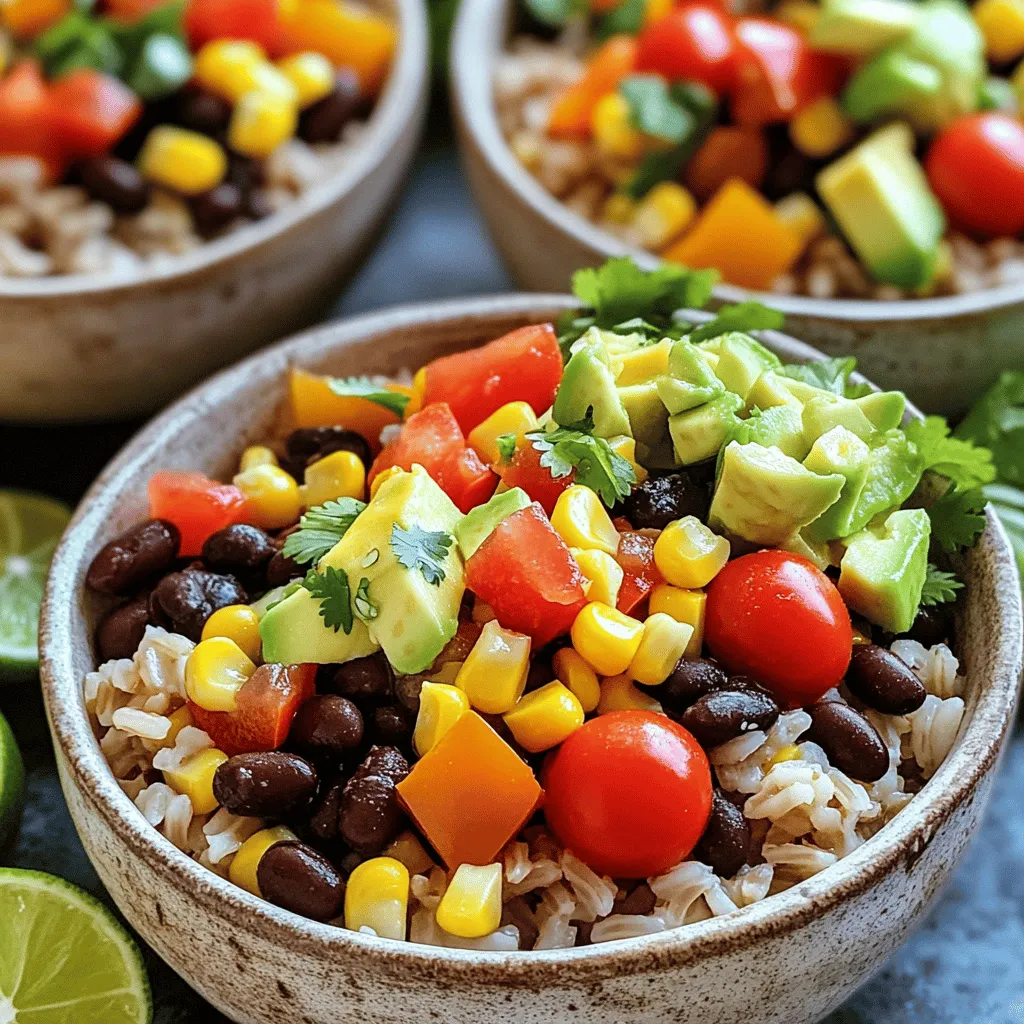
Quick Taco Rice Bowls Flavorful and Simple Meal
Are you ready to whip up a meal that’s quick, tasty, and full of flavor? My Quick Taco Rice Bowls are the answer to your
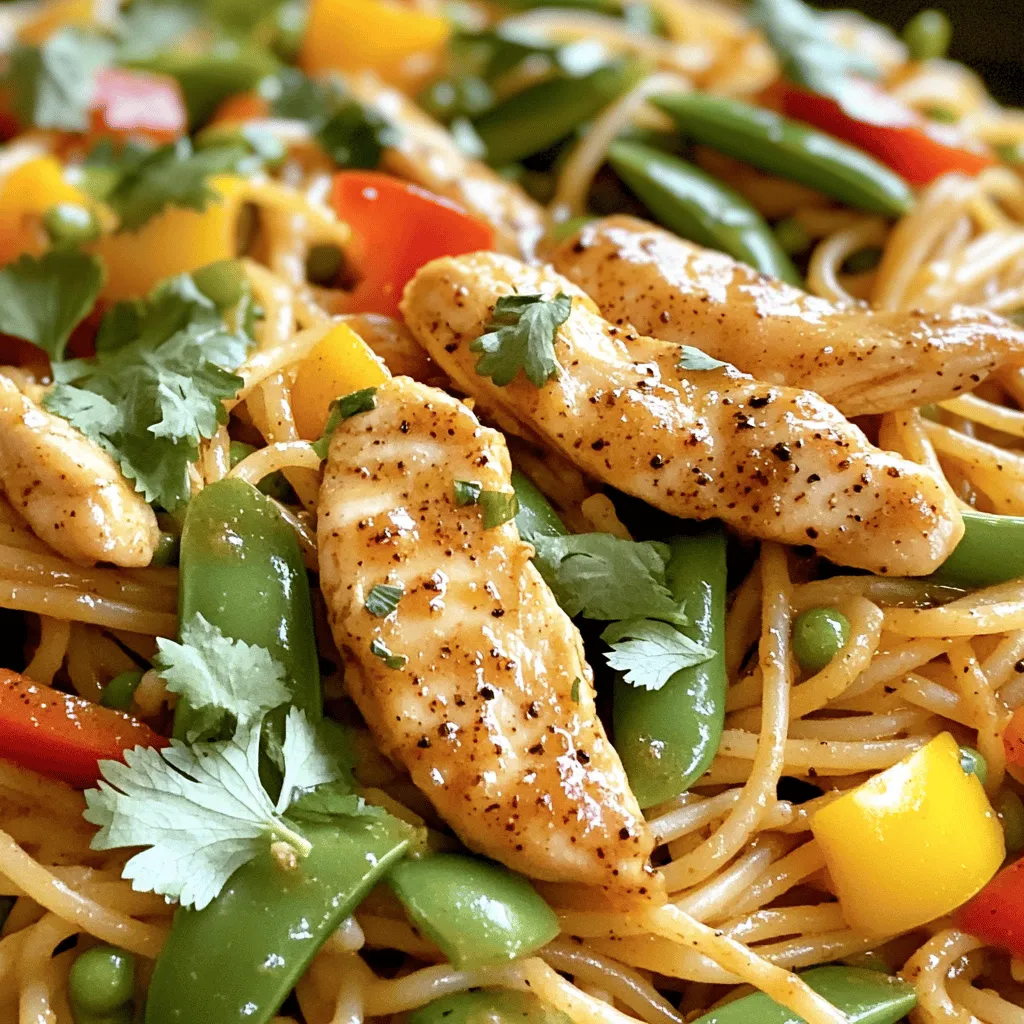
Honey Pepper Chicken Pasta Flavorful and Easy Meal
Looking for a meal that’s packed with flavor and easy to make? Honey Pepper Chicken Pasta is your answer! This dish combines juicy chicken, sweet
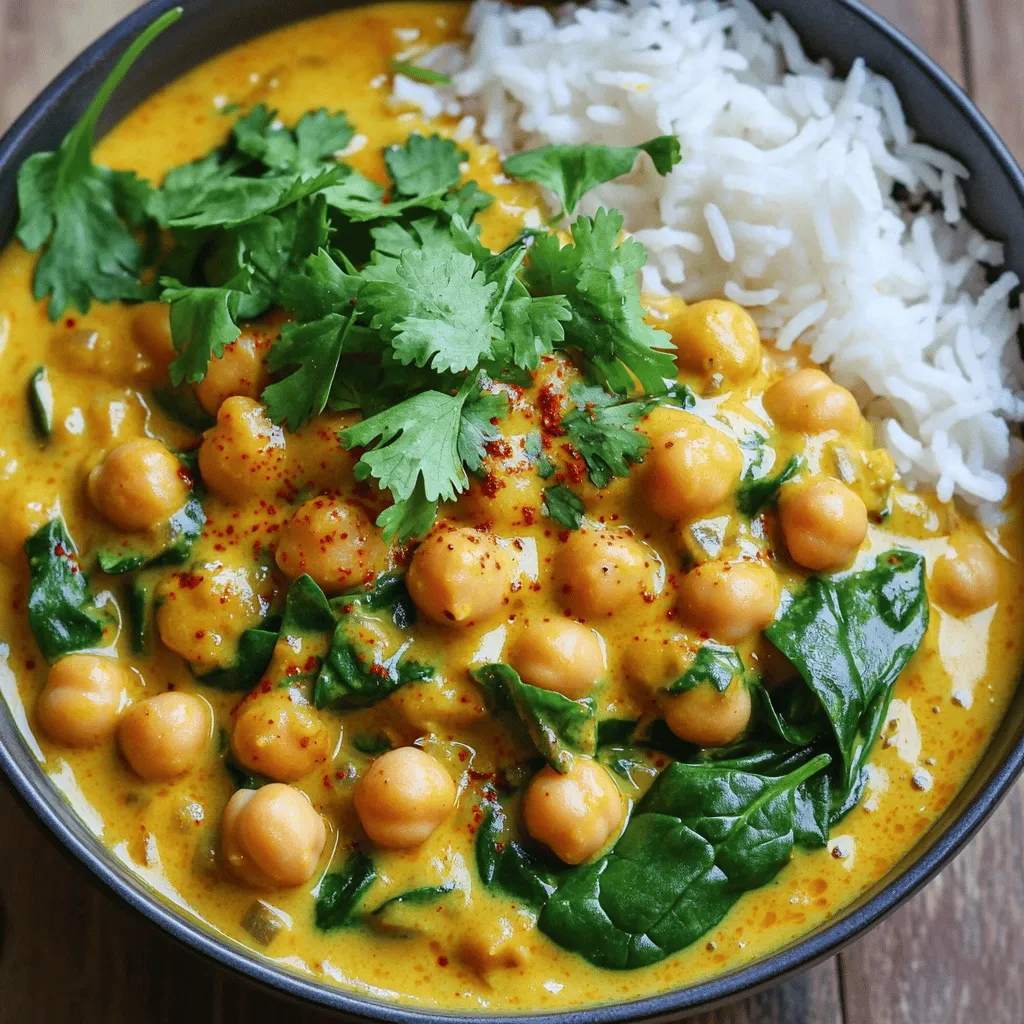
Creamy Coconut Chickpea Curry Flavorful and Easy Dish
Are you ready to dive into a bowl of creamy goodness? This Creamy Coconut Chickpea Curry is not just easy to make; it’s bursting with