Dinner
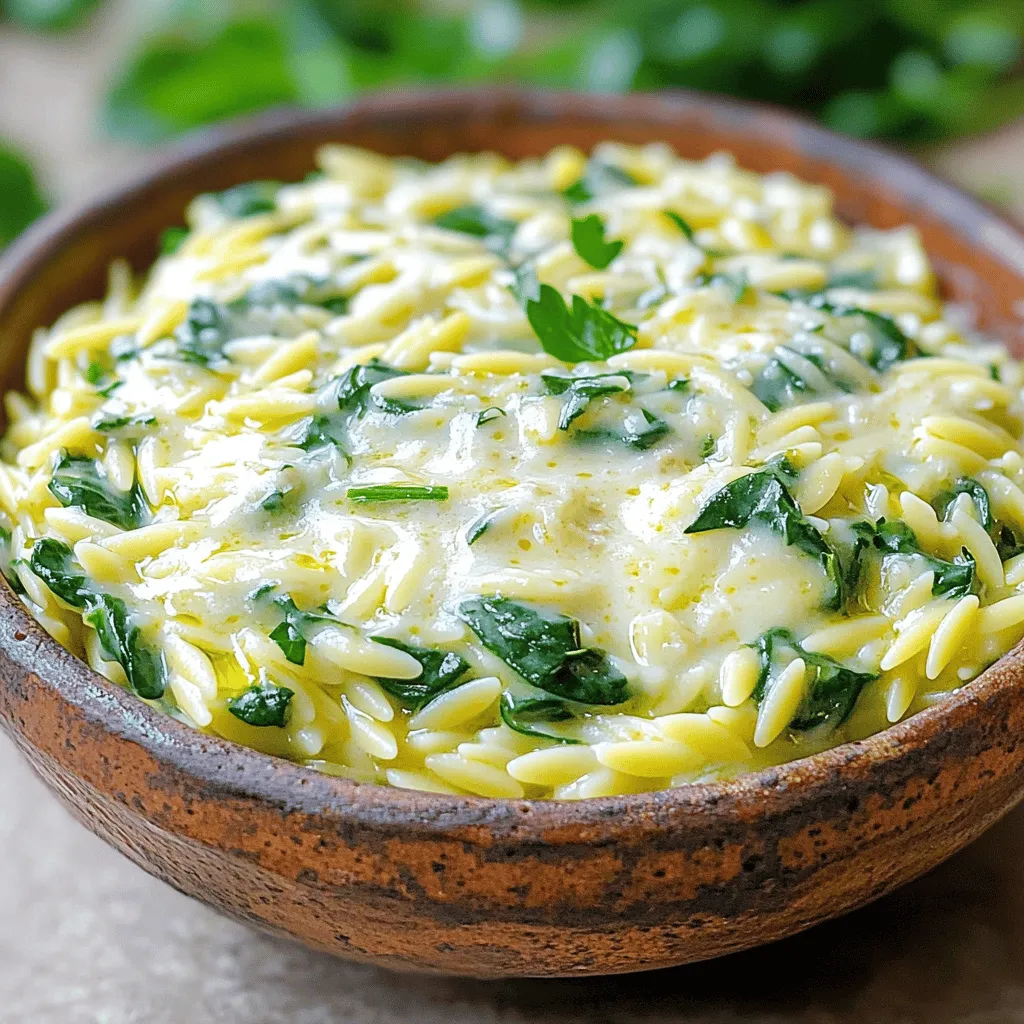
Creamy Garlic Parmesan Orzo Tasty and Simple Recipe
If you love easy, tasty meals, you’re in for a treat! Creamy Garlic Parmesan Orzo is a rich dish that’s simple to make and bursting

One-Pan Tuscan Chicken Delightful Creamy Meal
Get ready for an easy and delicious meal with my One-Pan Tuscan Chicken! This creamy dish combines juicy chicken, fresh veggies, and bold flavors—all in
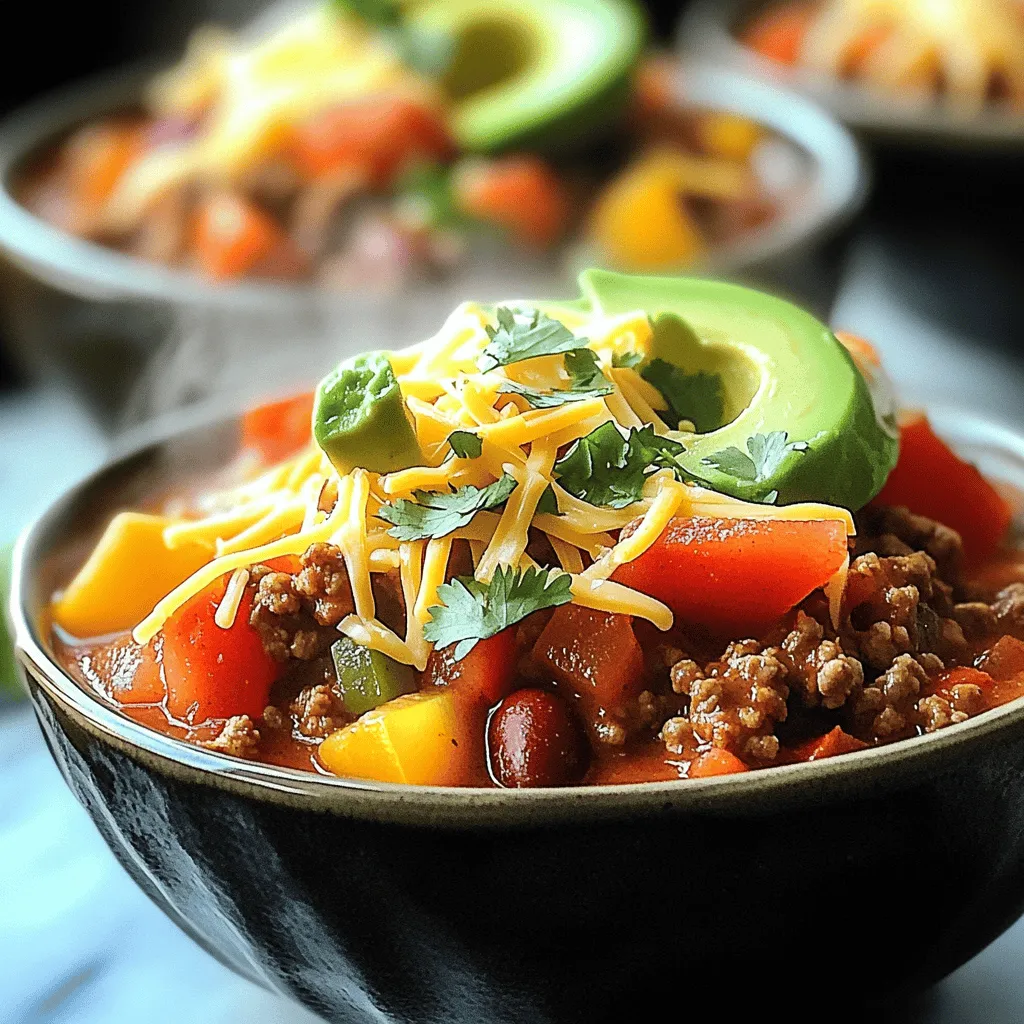
No Beans Chili Flavorful and Hearty Recipe
If you’re craving a hearty meal but want to skip the beans, you’re in the right place! This No Beans Chili offers a rich, flavorful
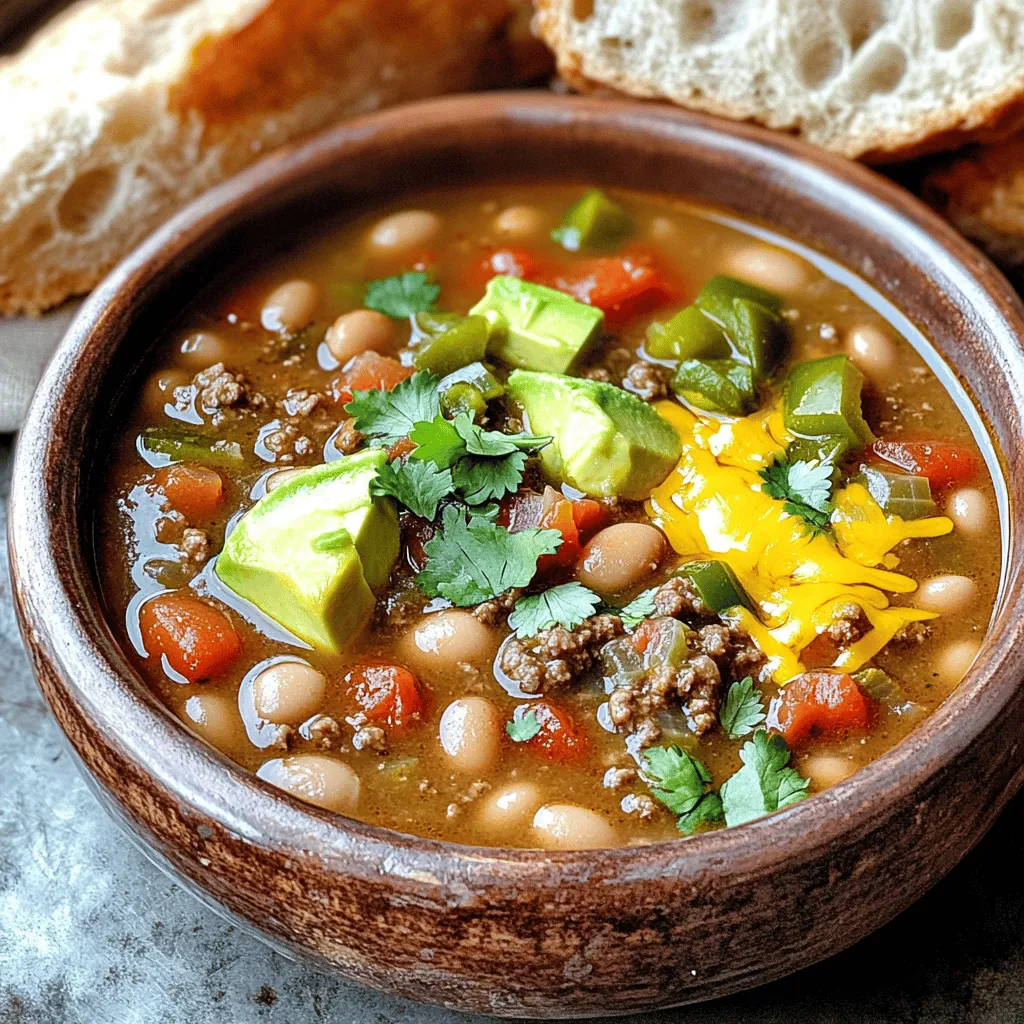
Pinto Bean Green Chile Beef Soup Hearty Comfort Dish
Warm up your day with my Pinto Bean Green Chile Beef Soup, a hearty comfort dish that’s perfect for any occasion. This soup combines tender
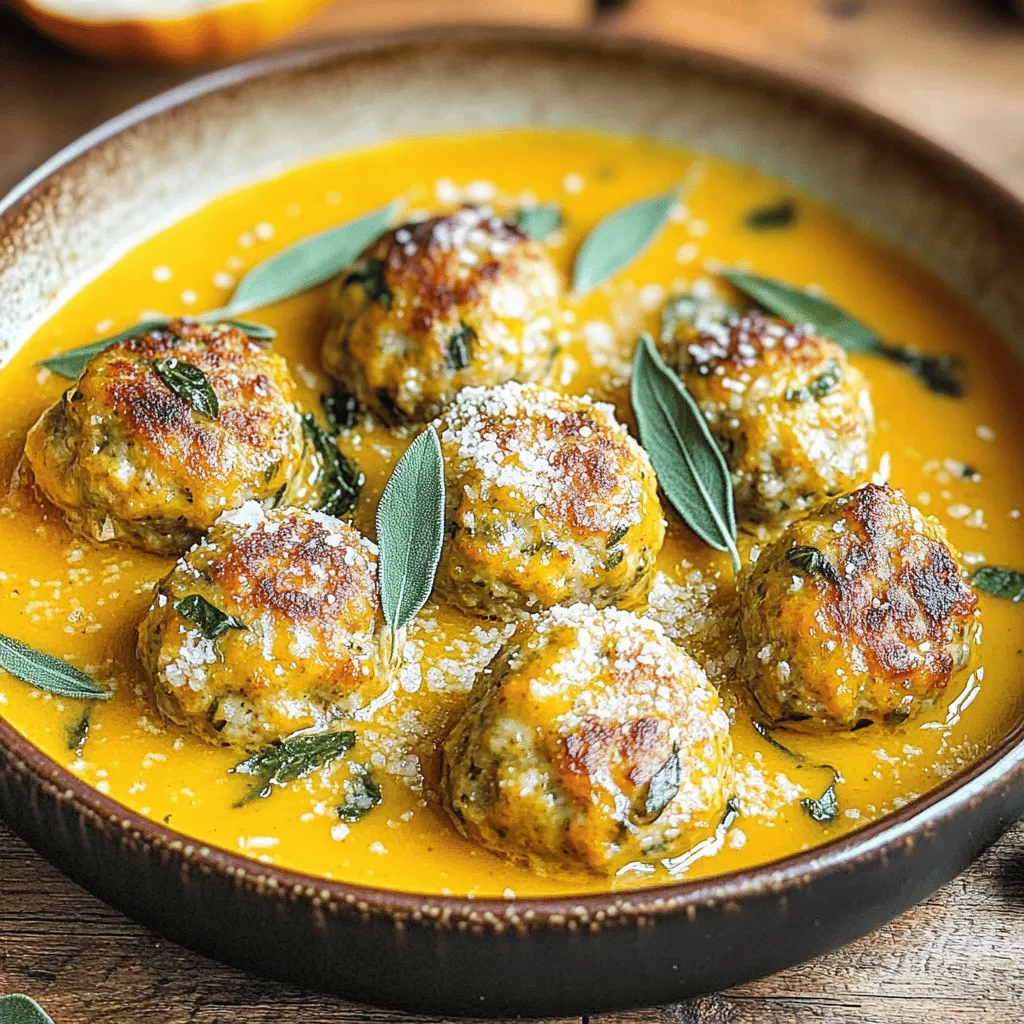
Turkey Meatballs in Pumpkin Sage Sauce Delight
Welcome to a tasty adventure! Today, we’ll make Turkey Meatballs in Pumpkin Sage Sauce. This dish combines lean turkey with creamy pumpkin and fresh sage
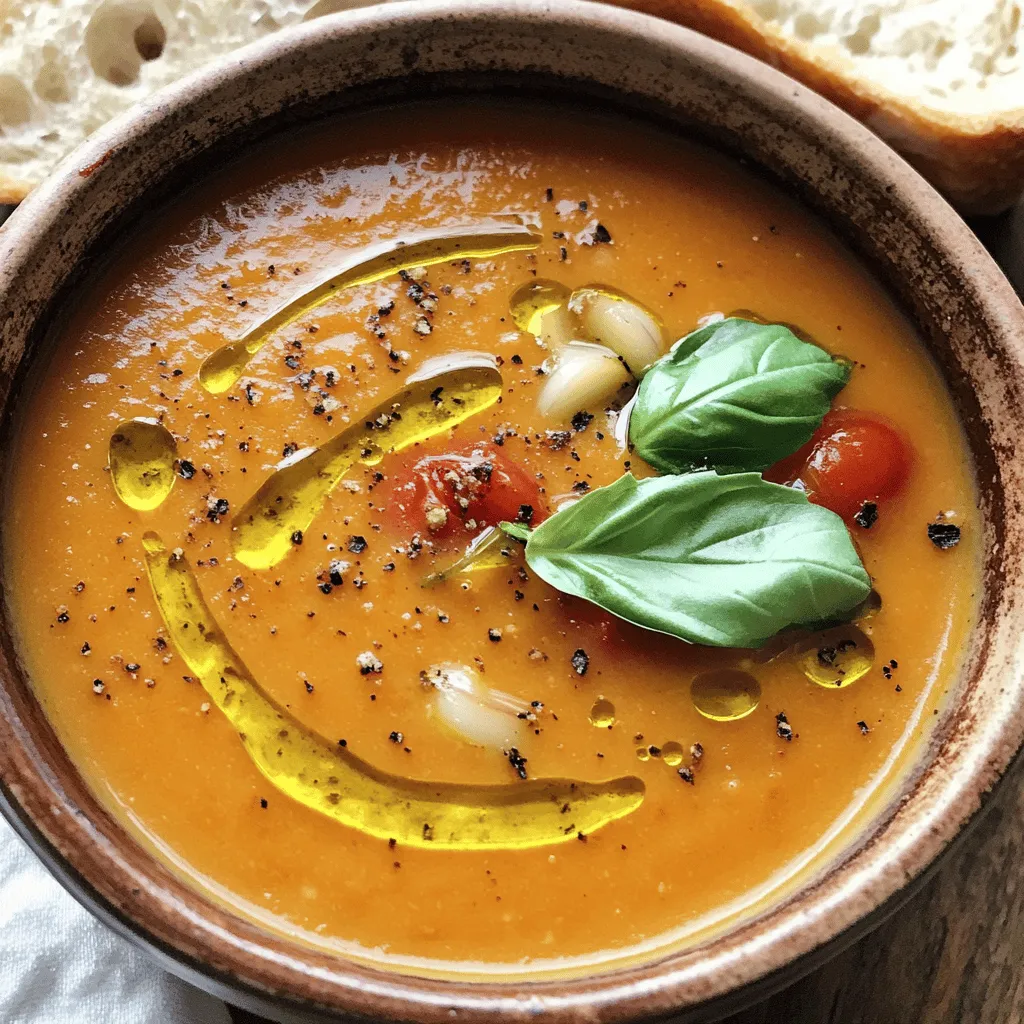
Roasted Tomato Basil Soup Simple and Flavorful Dish
Looking for a comforting dish that bursts with flavor? You’re in the right place! My Roasted Tomato Basil Soup combines simple ingredients to create pure
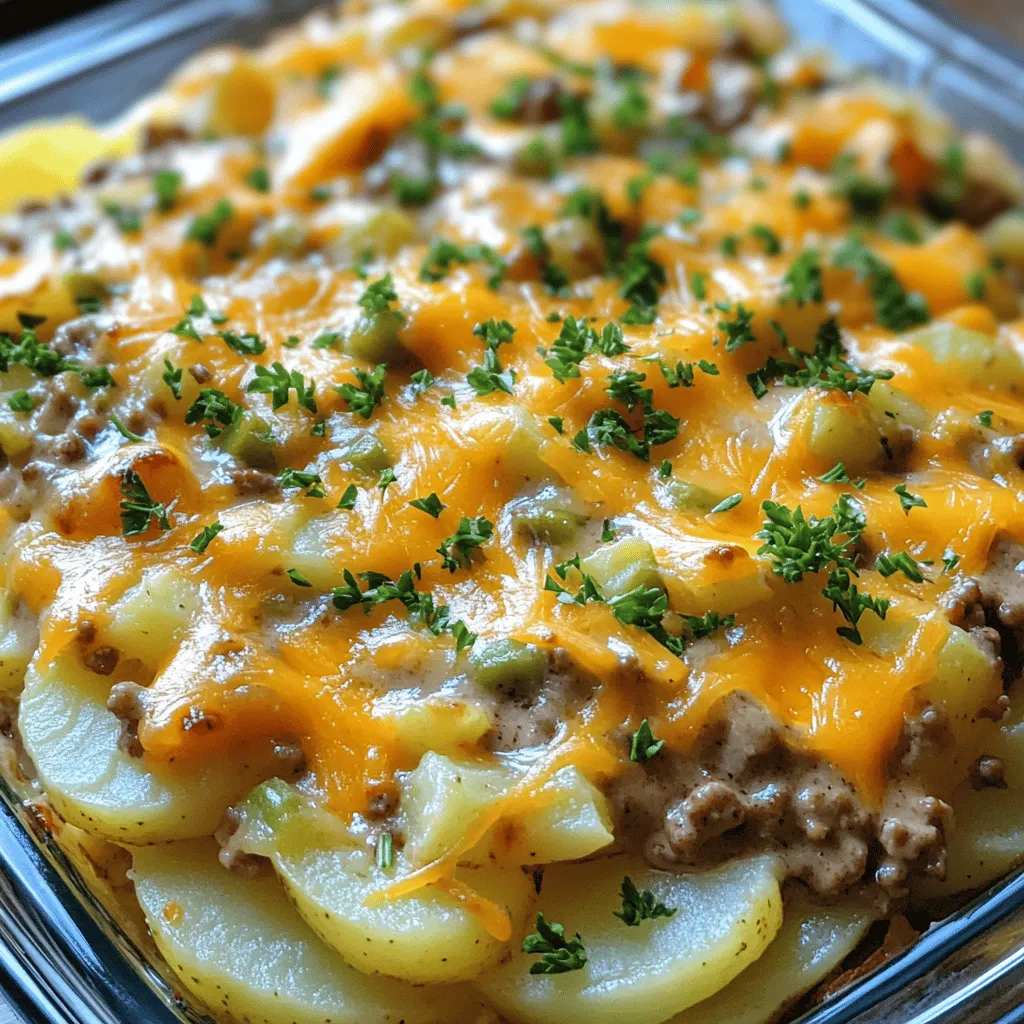
Hobo Ground Beef & Potato Casserole Hearty Dish
If you’re looking for a warm, hearty meal, Hobo Ground Beef & Potato Casserole is it! This dish combines tender potatoes, savory ground beef, and
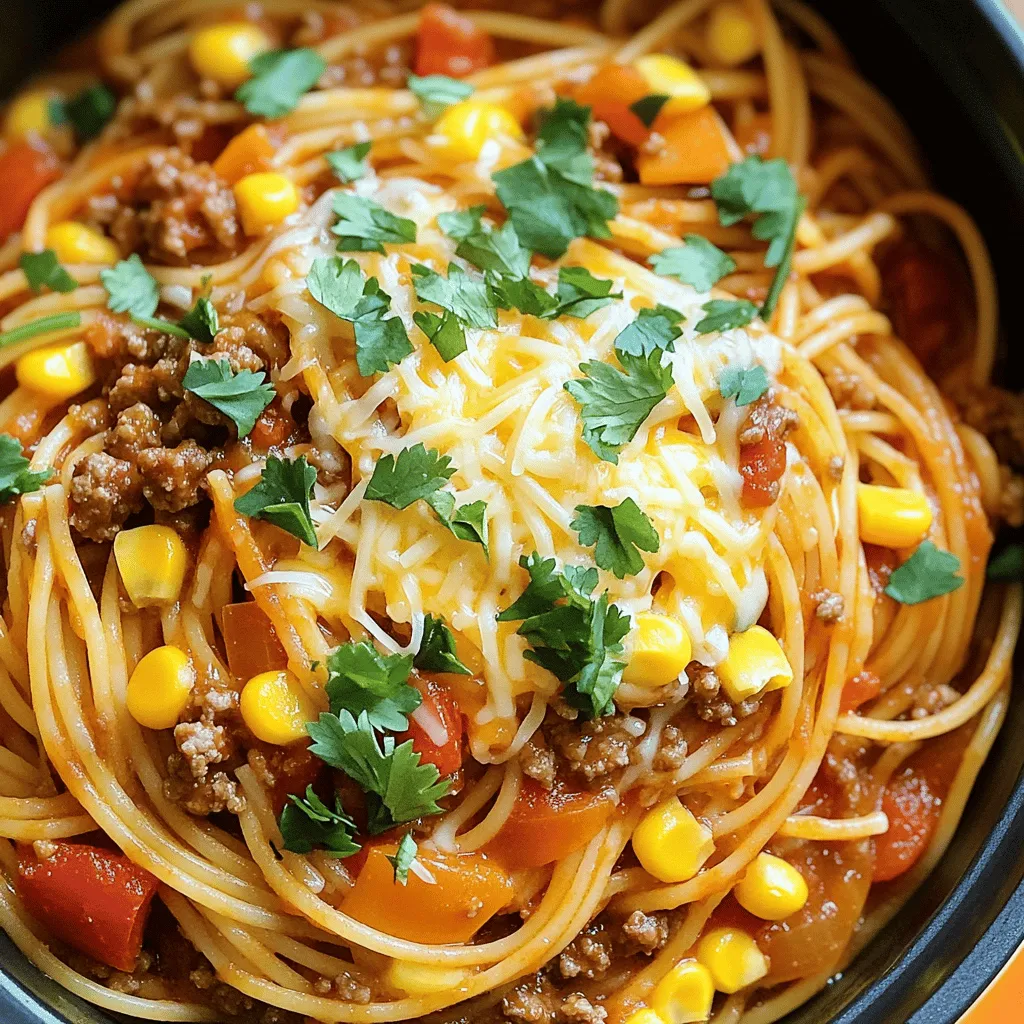
One-Pot Cowboy Spaghetti Easy and Flavorful Meal
Looking for a quick, tasty meal that pleases the whole family? You’ve come to the right place! My One-Pot Cowboy Spaghetti packs bold flavors and
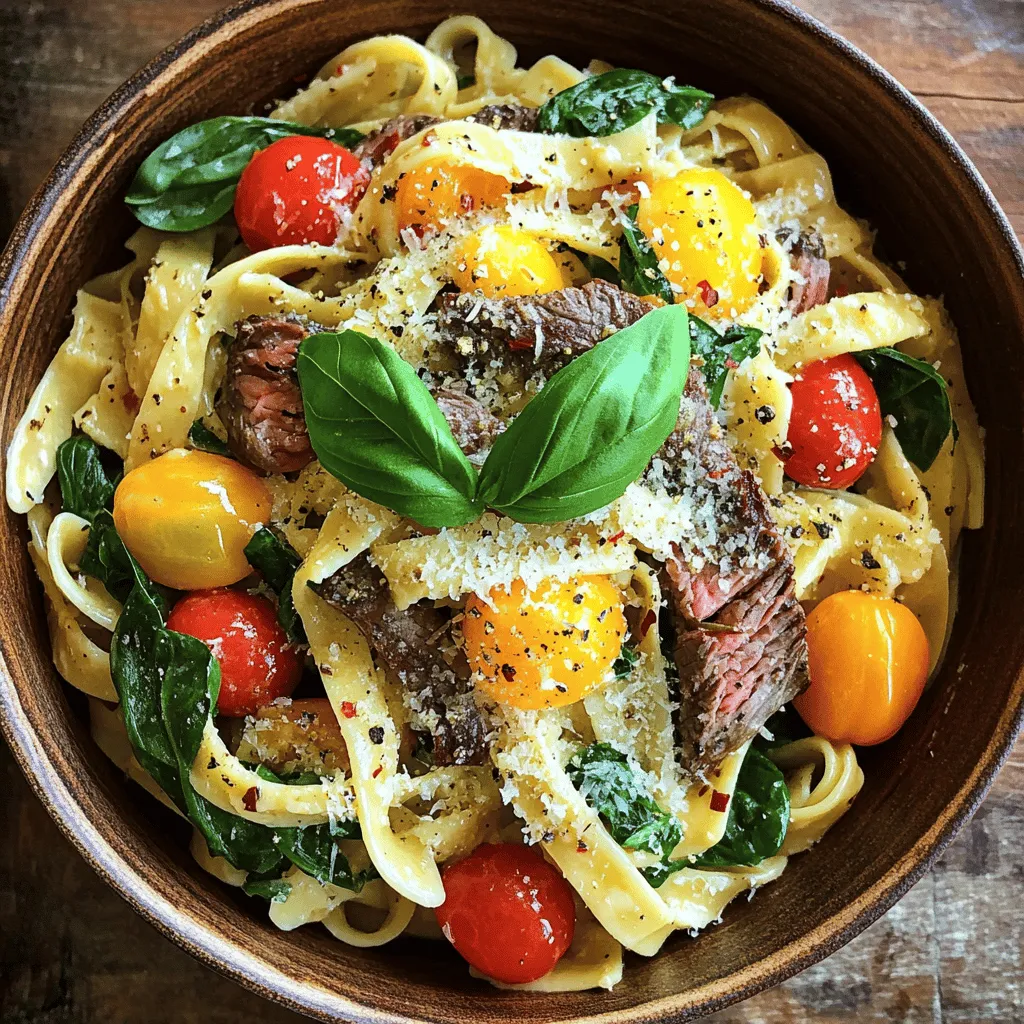
Garlic Steak Pasta Savory and Satisfying Meal
If you crave a meal that packs flavor and comfort, Garlic Steak Pasta is your answer. This dish combines tender steak, rich cream, and vibrant
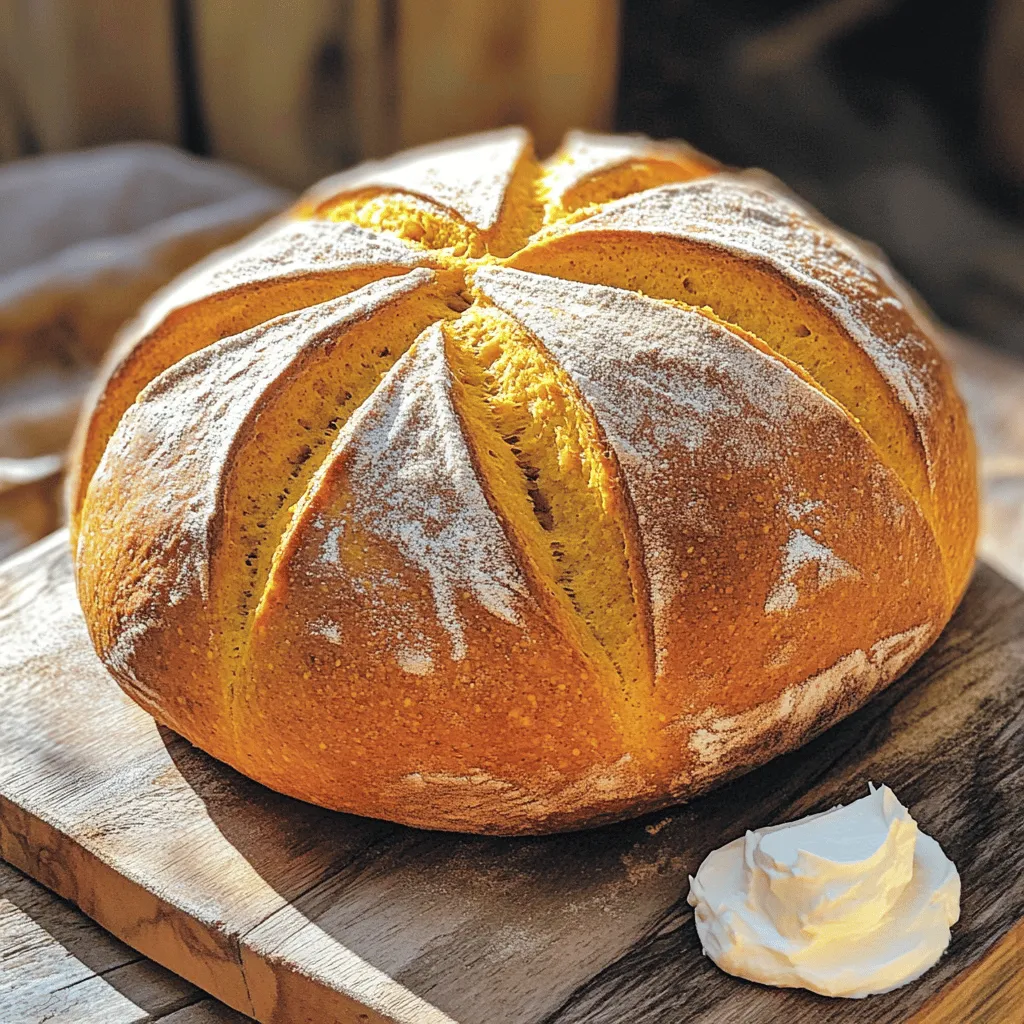
Sweet Pumpkin Sourdough Irresistible Flavor Awaits
If you love the cozy taste of fall, then my Sweet Pumpkin Sourdough is for you! This delightful recipe combines the tang of sourdough with