Dinner

Garlic Parmesan Chicken & Potatoes Quick and Easy Meal
If you crave a simple yet delicious dinner, try my Garlic Parmesan Chicken & Potatoes! This quick meal is packed with flavor and easy to
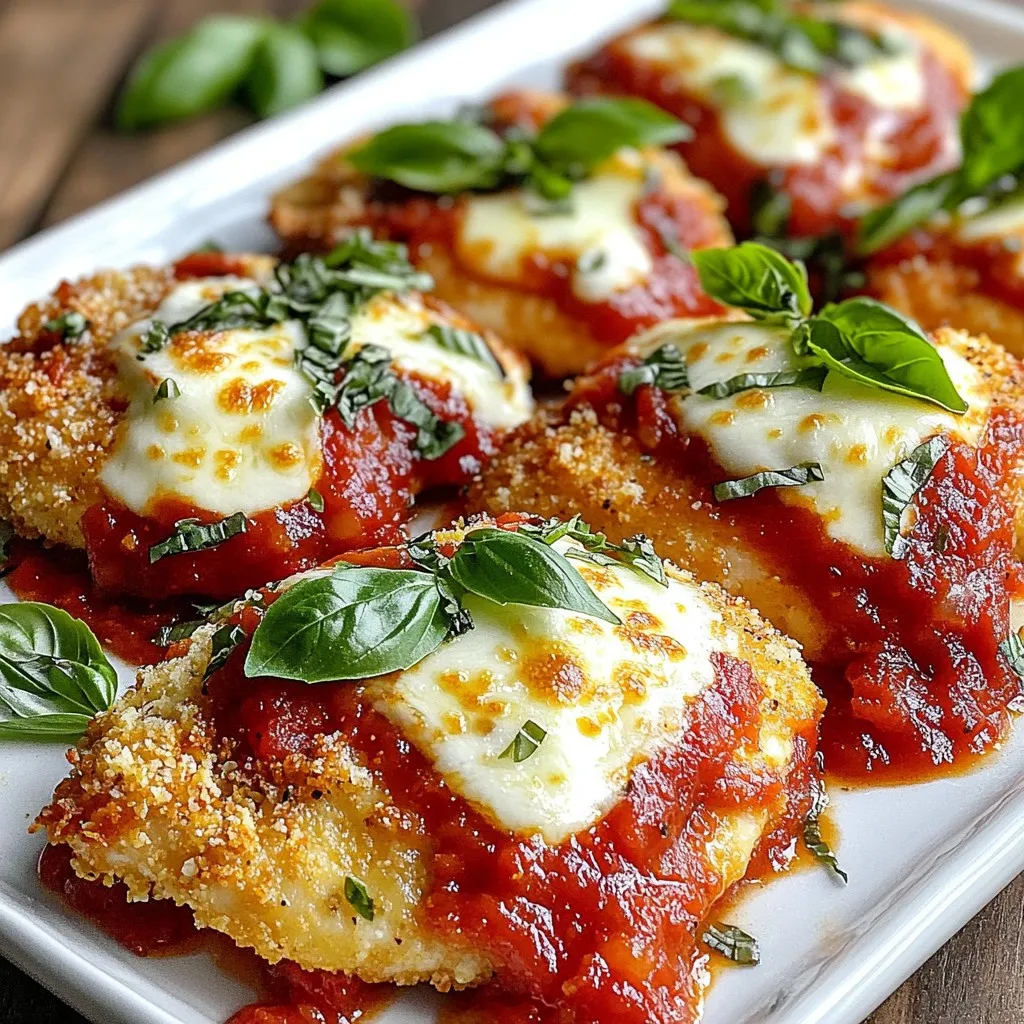
Oven Baked Chicken Parmesan Savory and Simple Meal
Are you ready to make a delicious Oven Baked Chicken Parmesan? This dish is savory, simple, and sure to impress. I’ll walk you through each
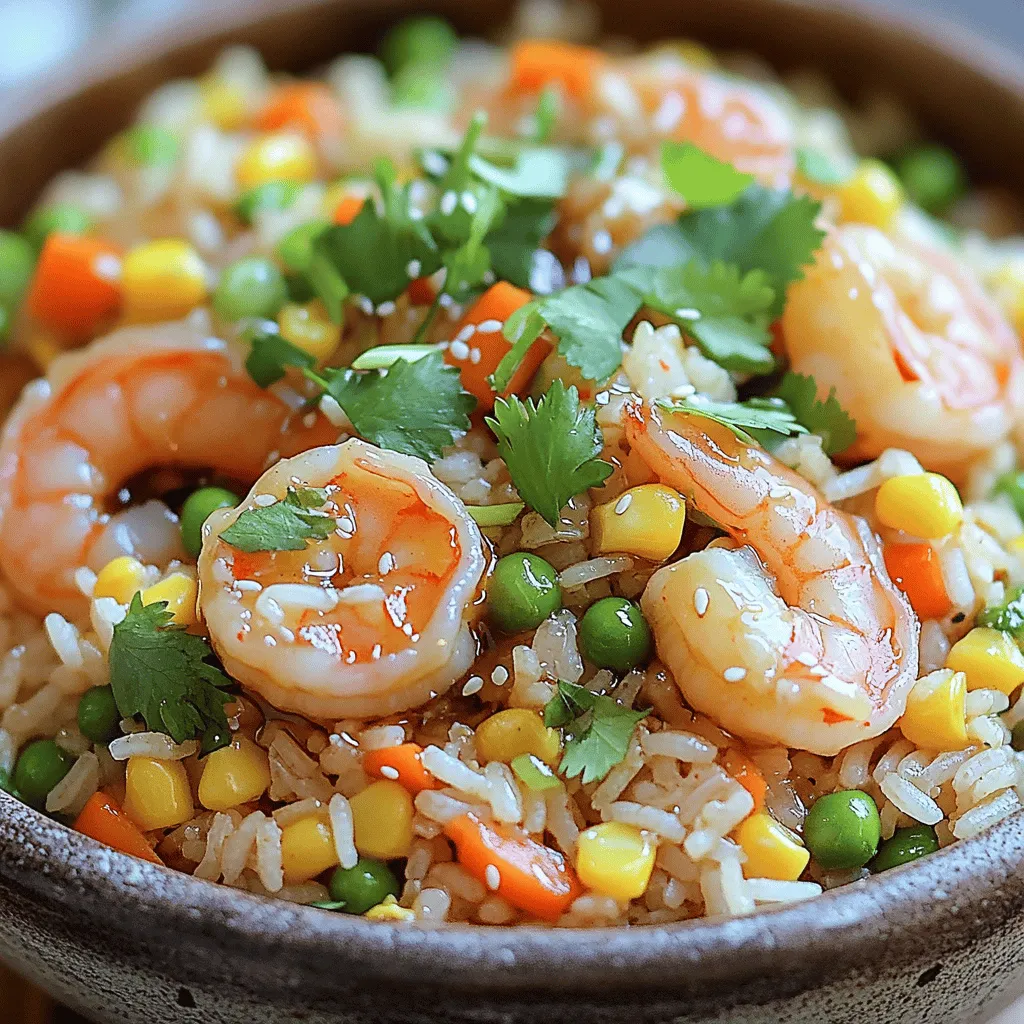
Honey Garlic Shrimp Fried Rice Easy and Flavorful Meal
Looking for an easy meal that bursts with flavor? Honey Garlic Shrimp Fried Rice is the answer! This dish combines sweet honey, savory garlic, and
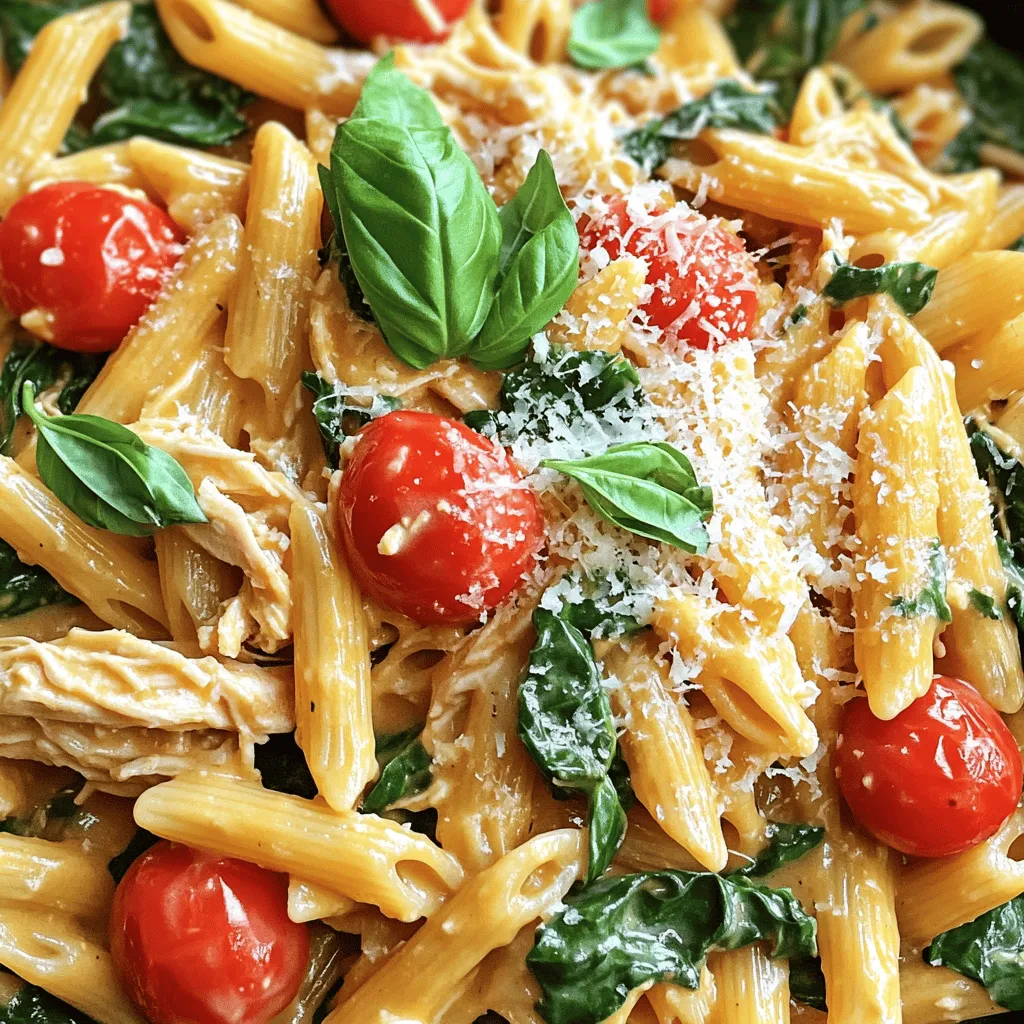
Slow Cooker Tuscan Chicken Pasta Easy Family Meal
Are you ready to enjoy a delicious family meal that practically cooks itself? Slow Cooker Tuscan Chicken Pasta is the answer! With just a few
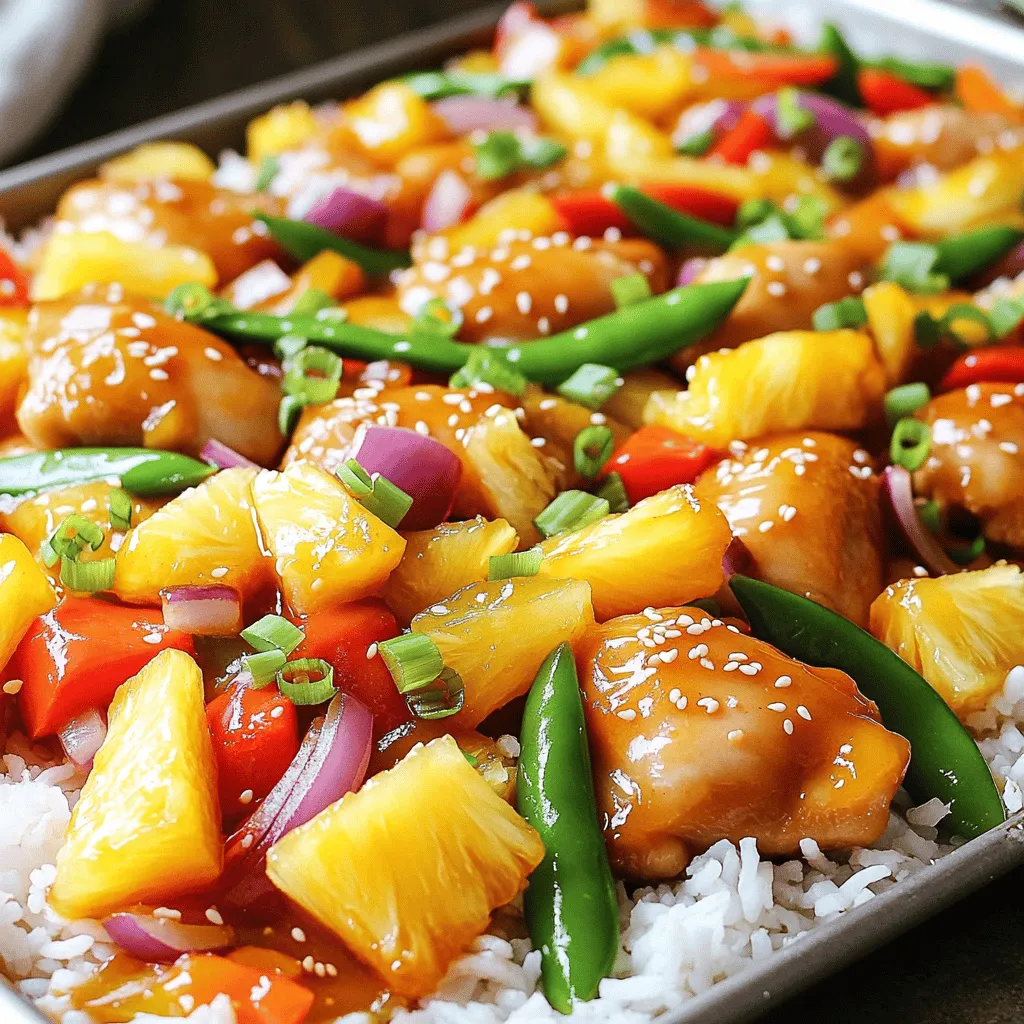
Sheet Pan Sweet Sour Chicken Pineapple Delight
Welcome to the delicious world of Sheet Pan Sweet Sour Chicken Pineapple Delight! If you’re craving a dish that’s easy to make and bursting with
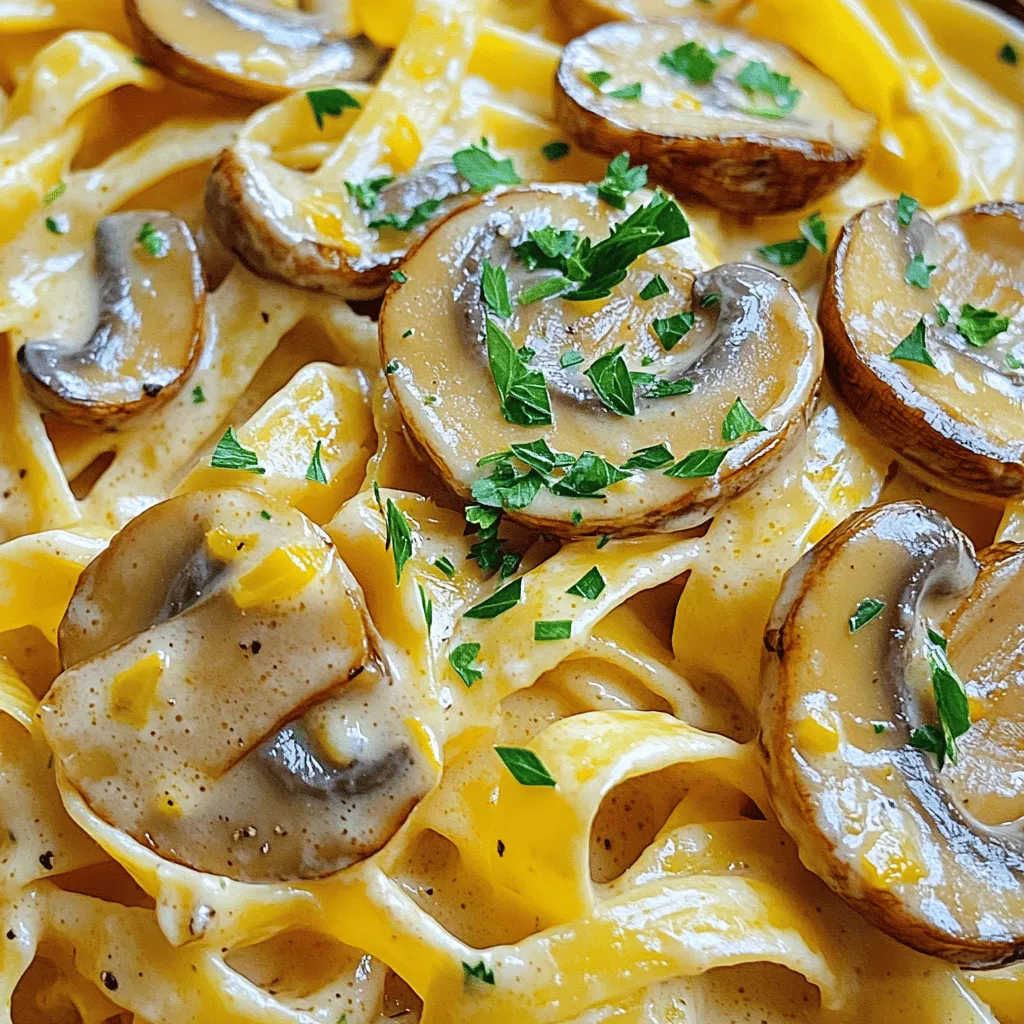
One Pot Creamy Mushroom Pasta Quick and Simple Dish
Welcome to the world of One Pot Creamy Mushroom Pasta! This dish is quick, simple, and sure to please. Imagine a creamy, tasty meal all
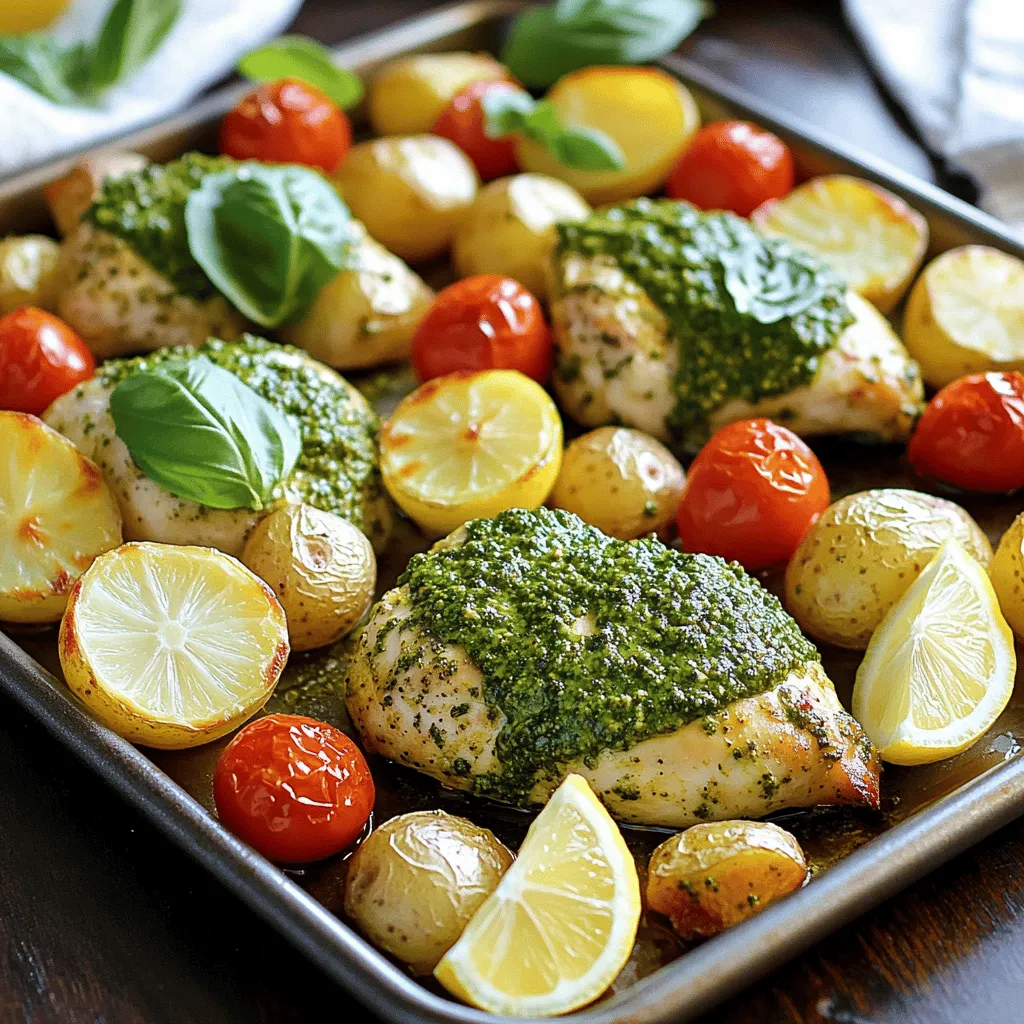
Pesto Chicken & Roasted Potatoes Sheet Pan Delight
Looking for a quick and tasty dinner idea? Try my Pesto Chicken & Roasted Potatoes Sheet Pan Delight! This meal brings together juicy chicken breasts
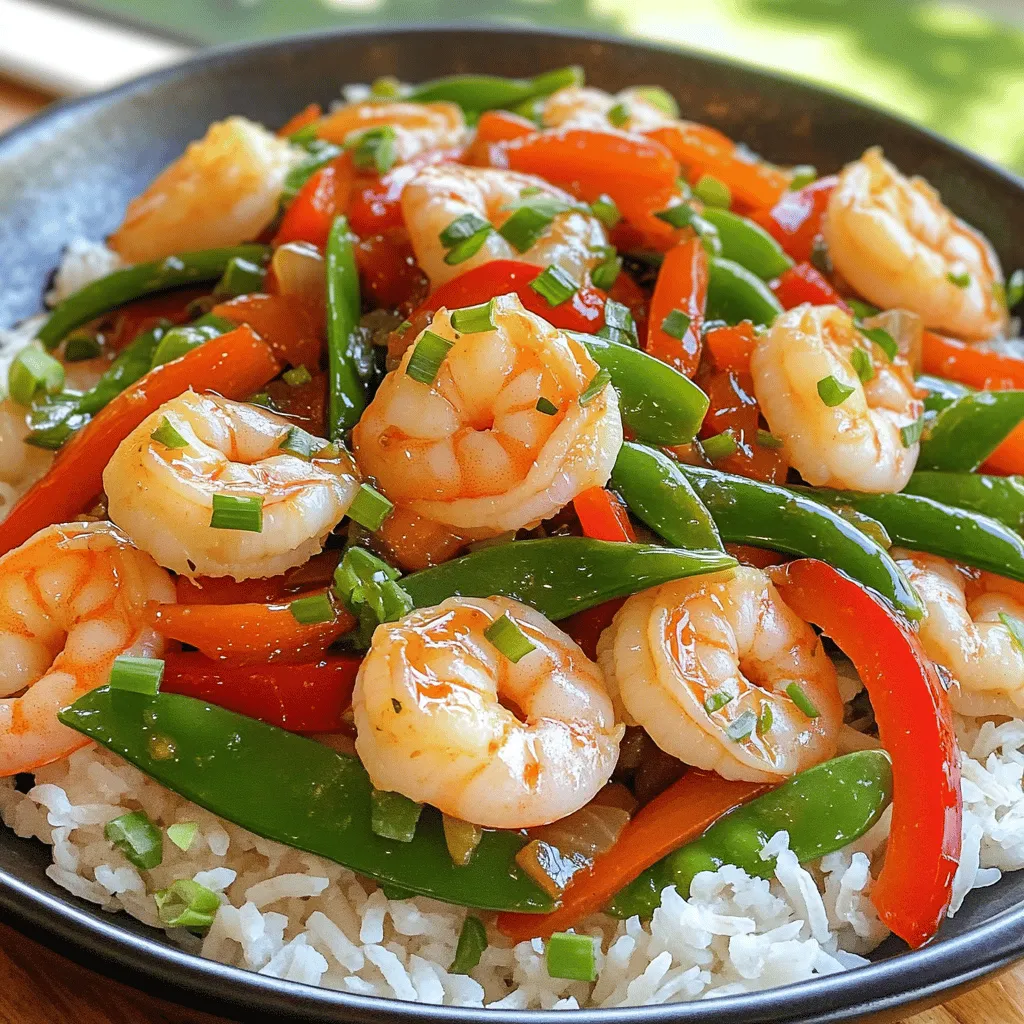
Garlic Ginger Shrimp Stir-Fry Quick and Flavorful Meal
Looking for a quick and tasty meal? You’re in the right place! This Garlic Ginger Shrimp Stir-Fry is packed with flavor and ready in just
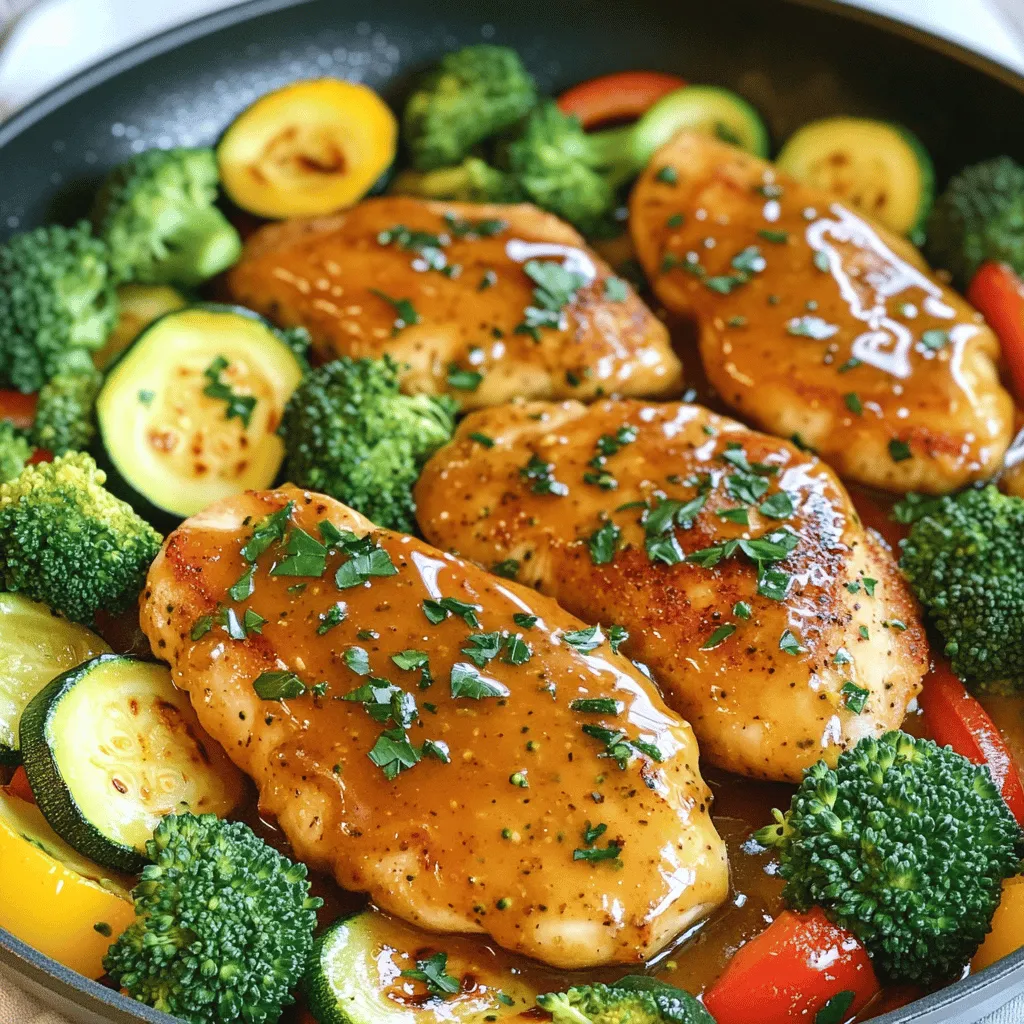
Honey Mustard Chicken Veggie Skillet Quick Delight
Looking for a quick and tasty meal? My Honey Mustard Chicken Veggie Skillet is just the answer! This dish packs protein and colorful veggies into
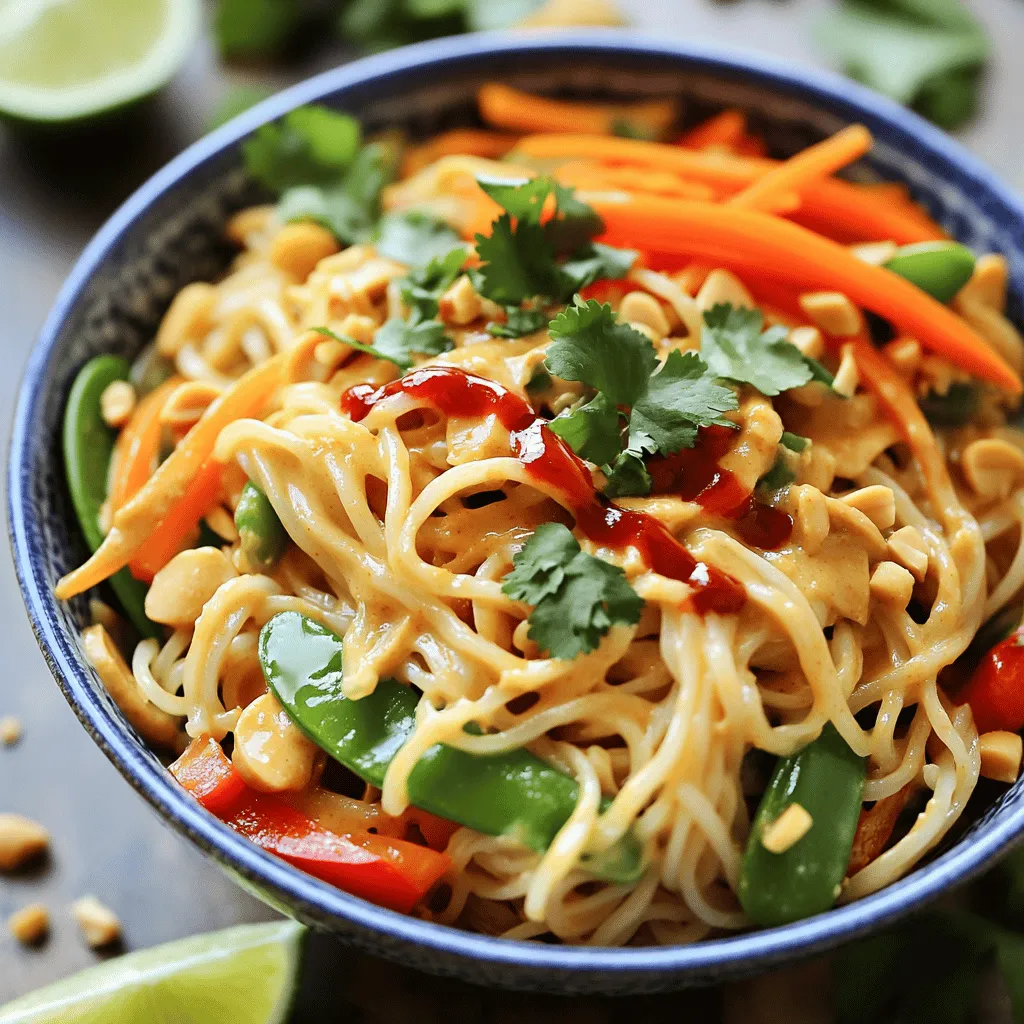
Spicy Thai Peanut Noodles One Pot Flavorful Dish
Are you ready to whip up a quick, tasty meal? My Spicy Thai Peanut Noodles are the perfect one-pot dish to satisfy your cravings. With