Dinner
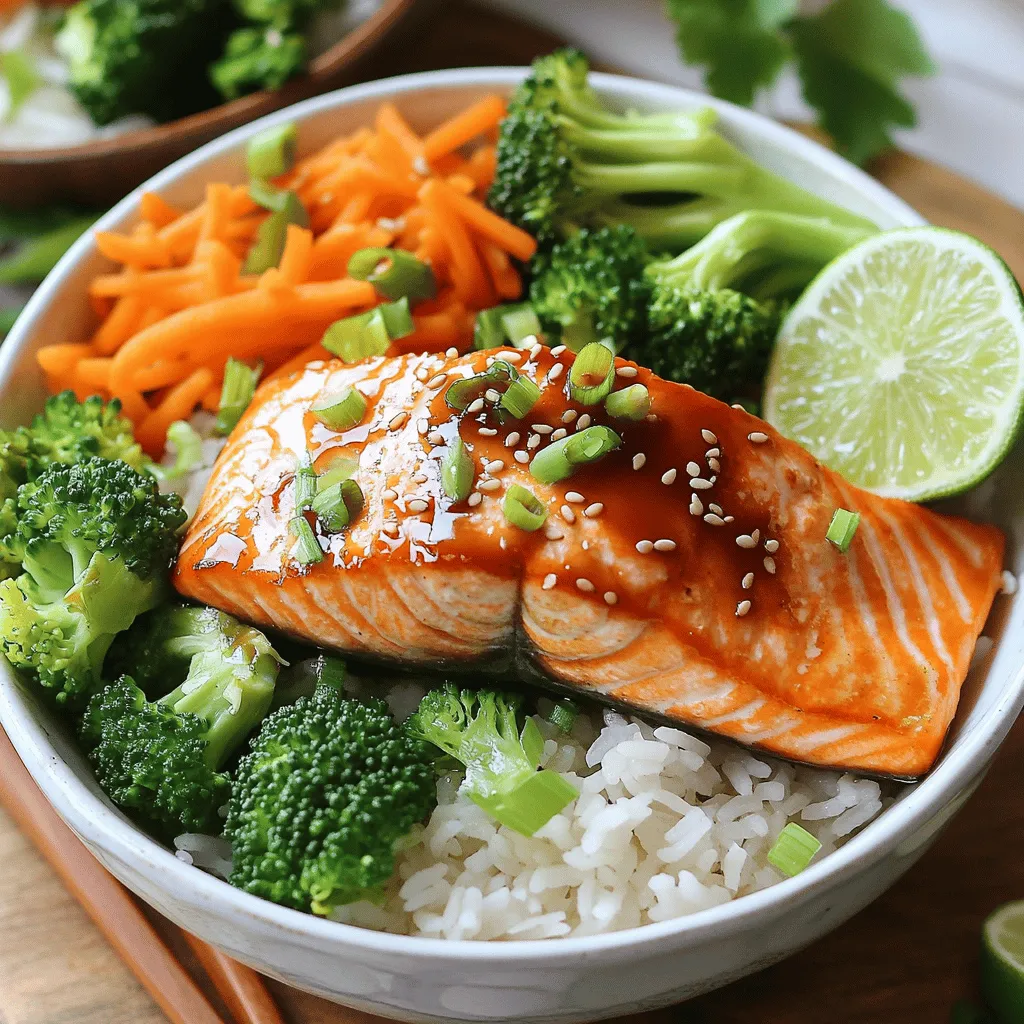
Teriyaki Salmon Rice Bowls Quick and Flavorful Meal
Looking for a quick and tasty dinner? I’ve got you covered with Teriyaki Salmon Rice Bowls! In just 15 minutes, you can whip up a
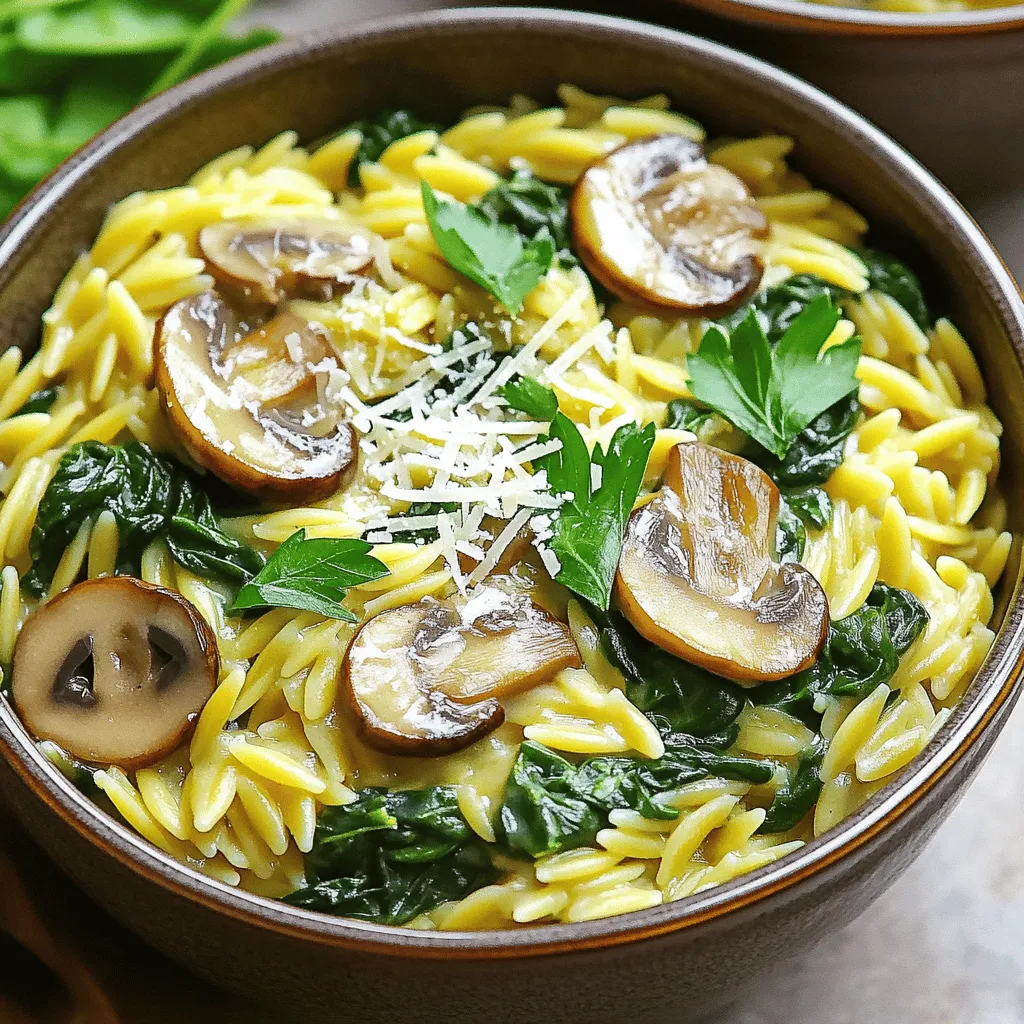
One Pot Creamy Mushroom Spinach Orzo Delightful Dish
Are you ready to spice up your dinner routine? This One Pot Creamy Mushroom Spinach Orzo will be a game-changer. It combines rich flavors with
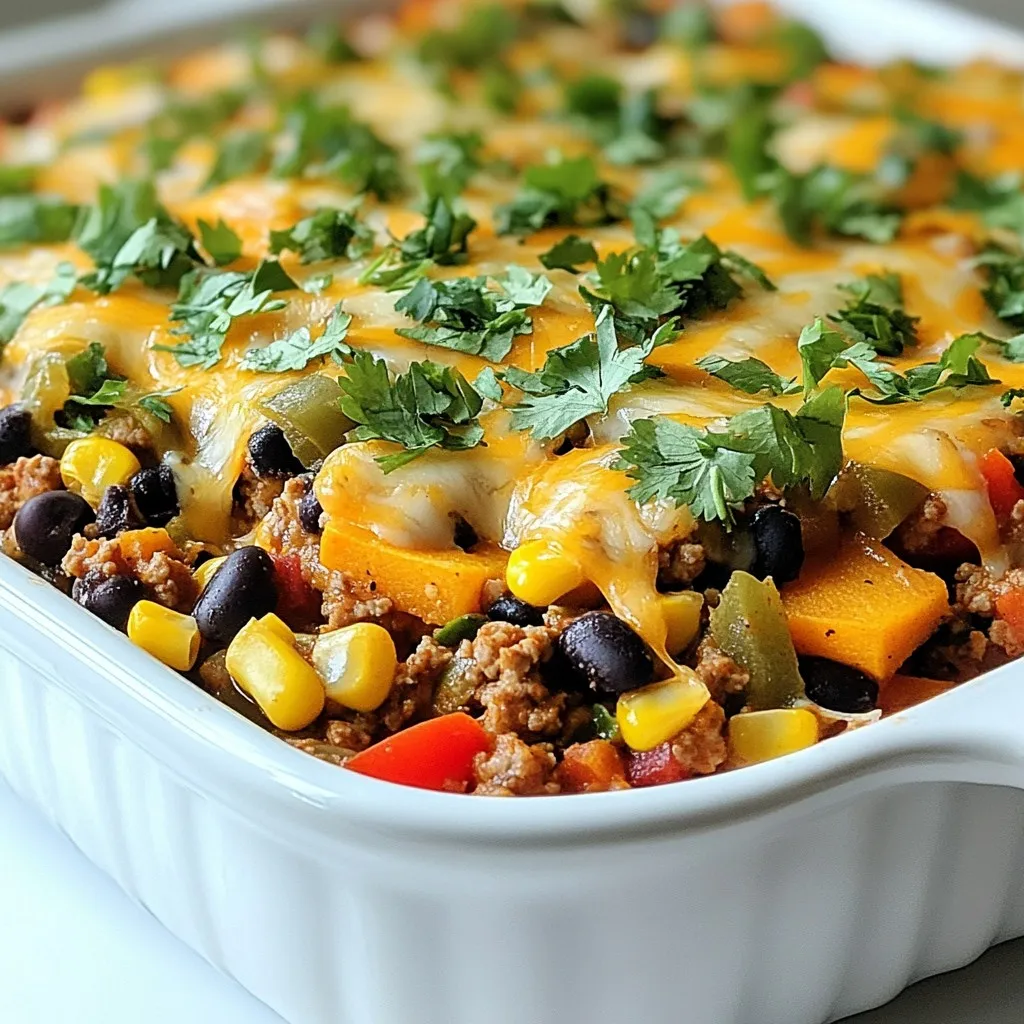
Ground Turkey Sweet Potato Casserole Delightful Dish
Looking for a cozy meal that warms your heart and your belly? Join me as we whip up a delicious Ground Turkey Sweet Potato Casserole.
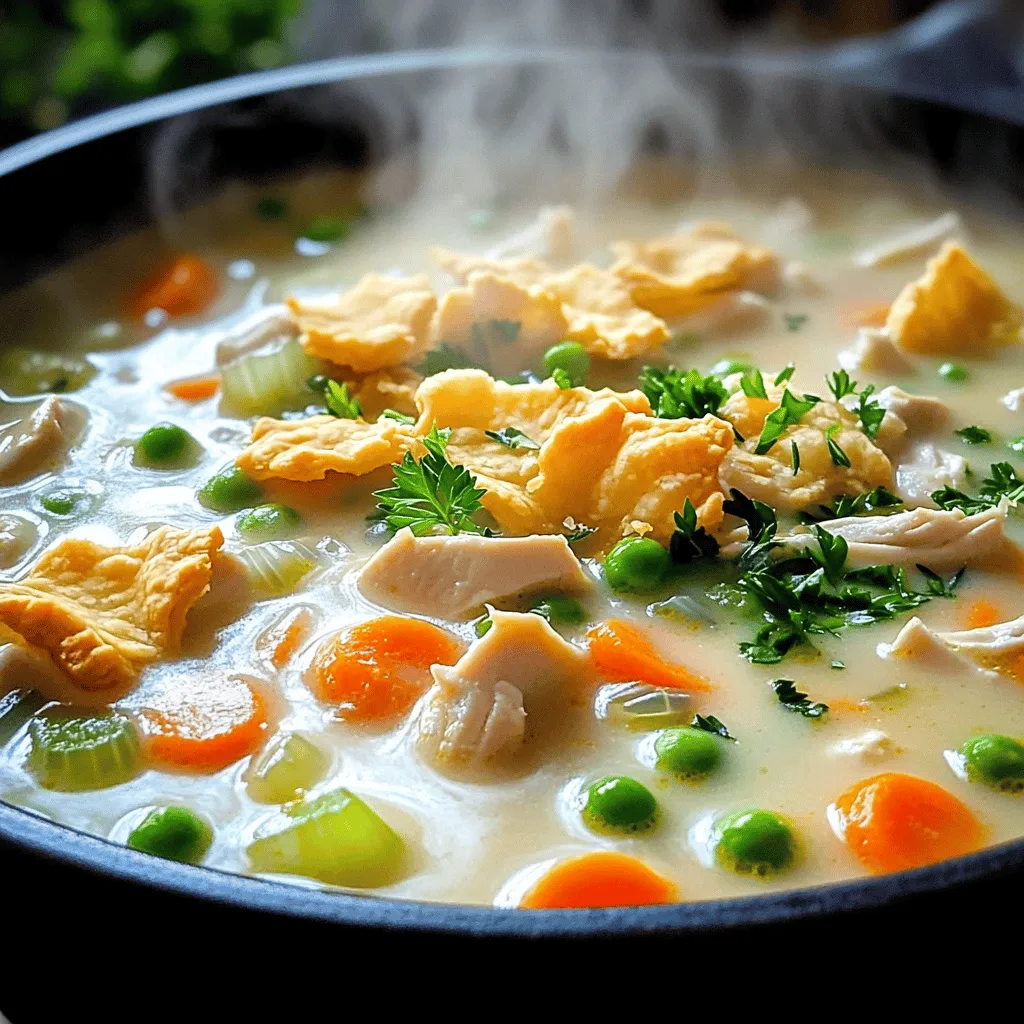
Classic Chicken Pot Pie Soup Cozy and Comforting Meal
Cozy up with a bowl of Classic Chicken Pot Pie Soup, the ultimate comfort food. This dreamy soup combines tender chicken, fresh veggies, and a
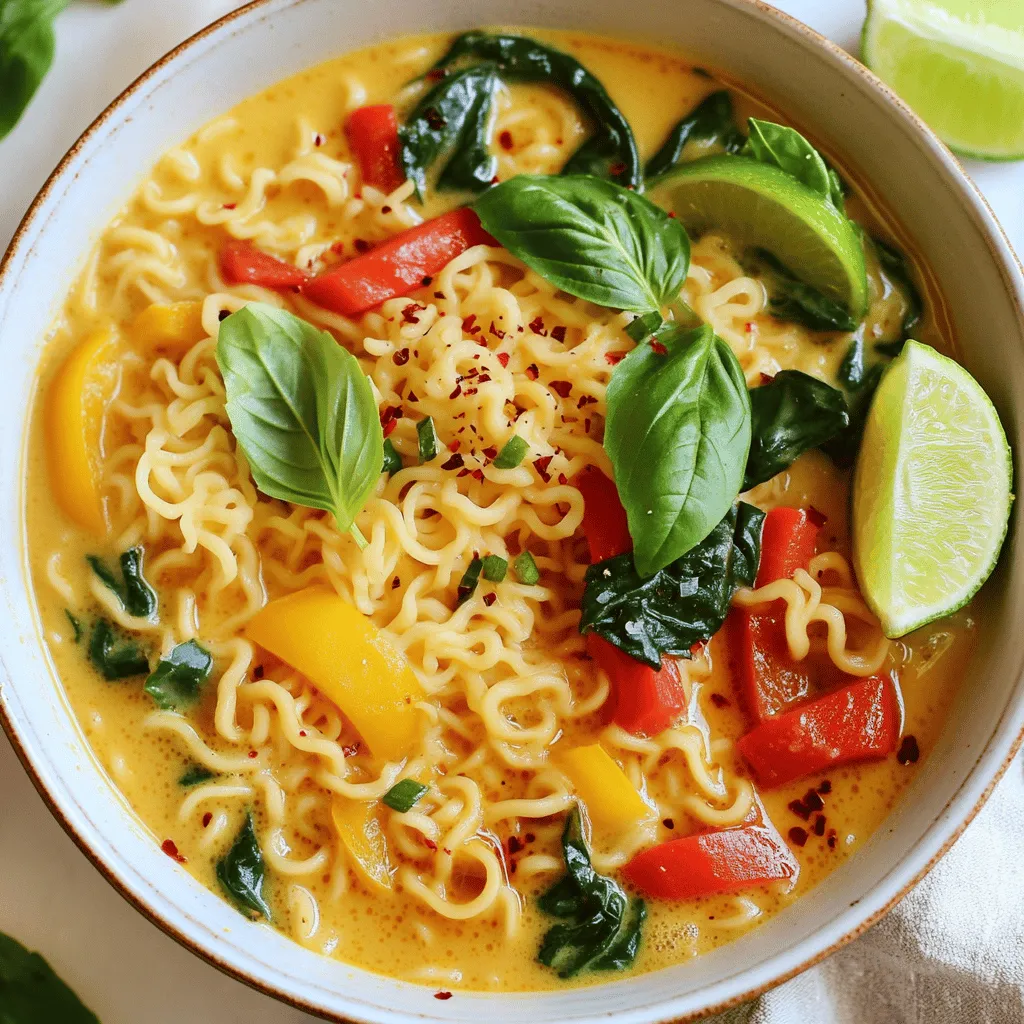
Thai Coconut Curry Ramen Rich and Flavorful Recipe
Get ready to dive into a bowl of Thai Coconut Curry Ramen that bursts with flavor! This rich and warming dish combines the best of
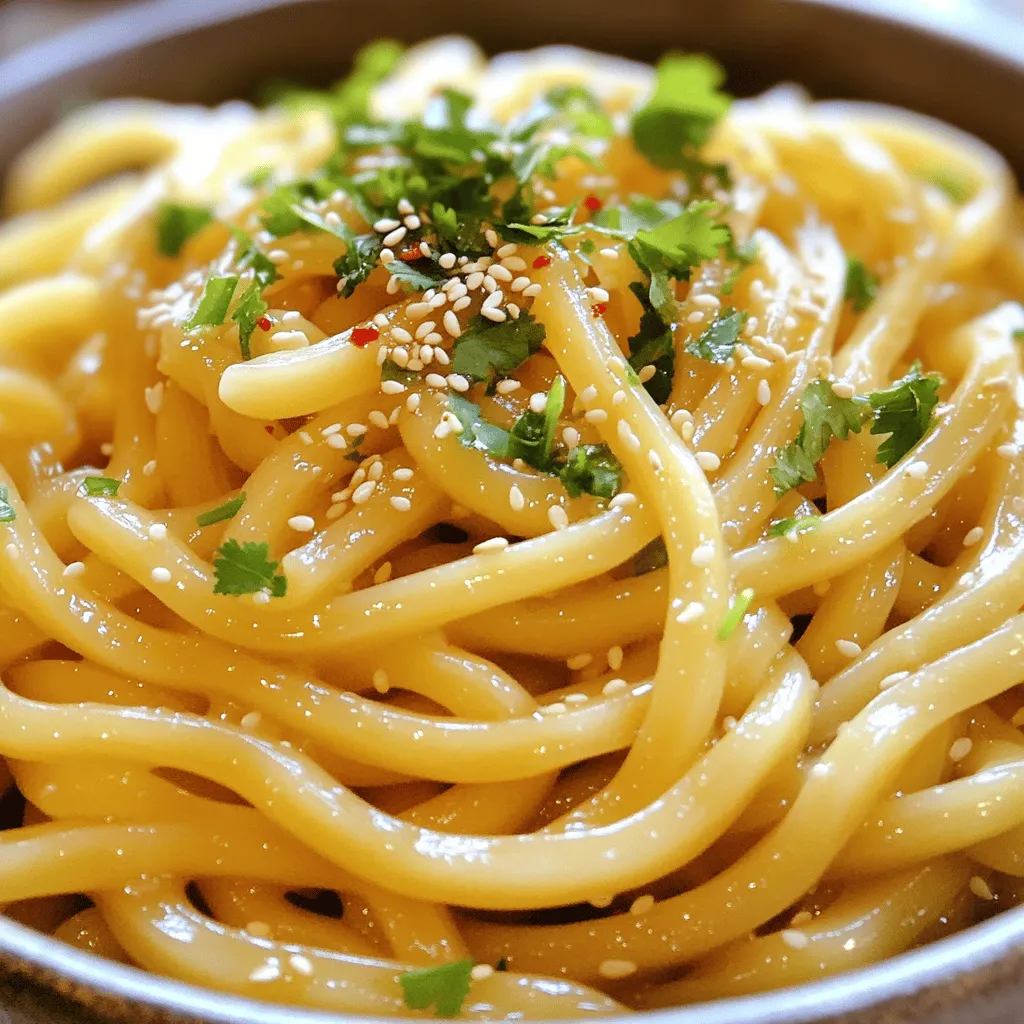
Spicy Garlic Butter Udon Noodles Flavorful and Simple
Craving a simple yet flavorful dish? Let me introduce you to Spicy Garlic Butter Udon Noodles! This recipe is quick to make and packed with

One-Pot Creamy Cajun Chicken & Rice Simple Delight
Welcome to my kitchen! Today, I’m excited to share a dish that’s bursting with flavor: One-Pot Creamy Cajun Chicken & Rice. This simple delight is
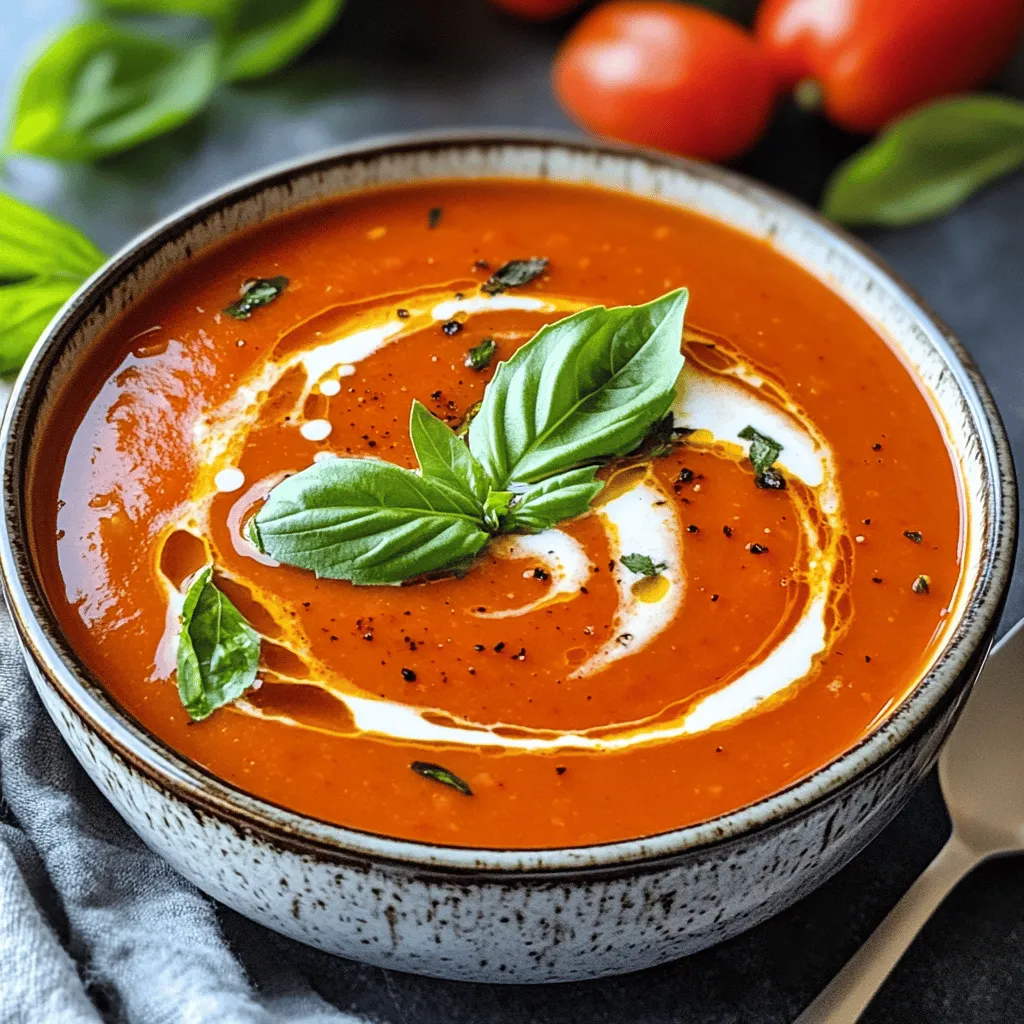
Roasted Red Pepper Tomato Bisque Rich and Cozy Soup
Welcome to the creamy comfort of Roasted Red Pepper Tomato Bisque. This rich soup warms you up in every way. With roasted bell peppers, fresh
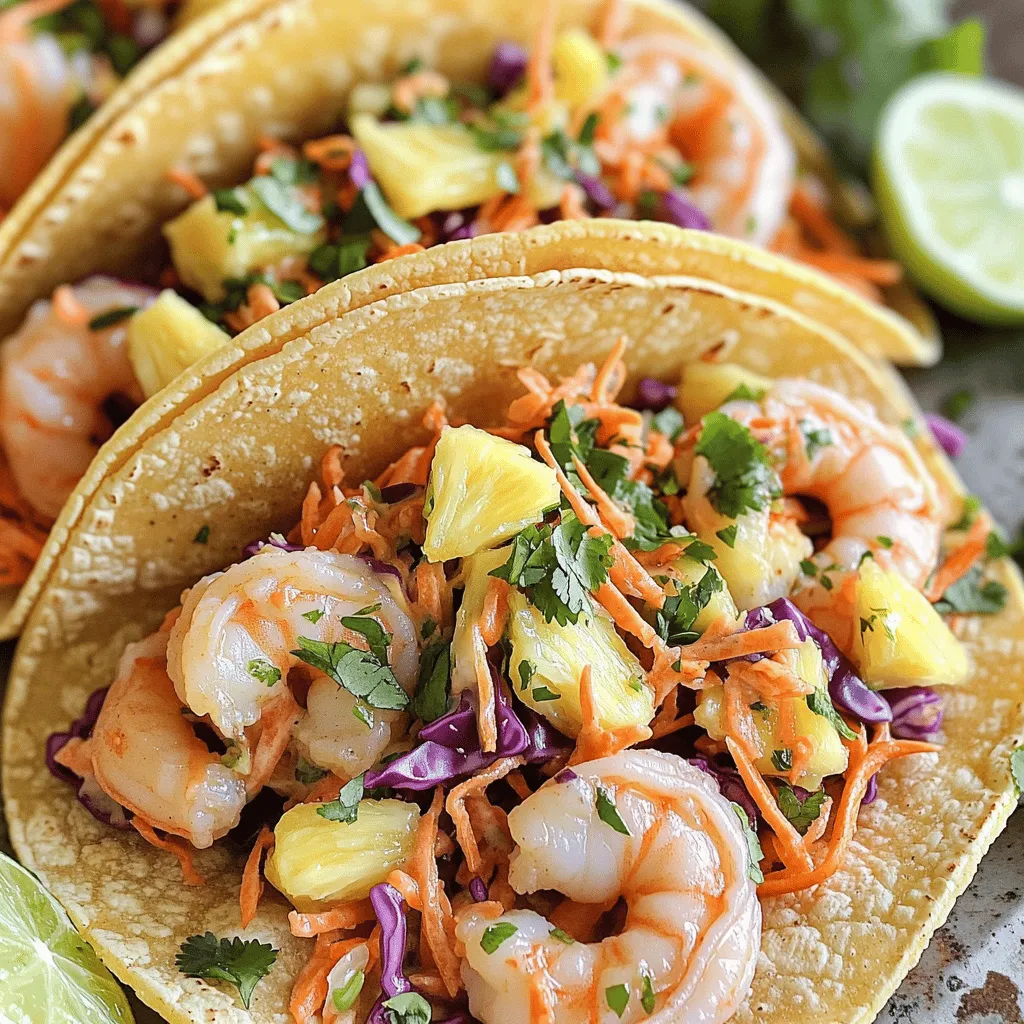
Garlic Butter Shrimp Tacos with Pineapple Slaw Delight
If you crave vibrant flavors and a fun twist on tacos, you’re in for a treat! My Garlic Butter Shrimp Tacos with Pineapple Slaw Delight
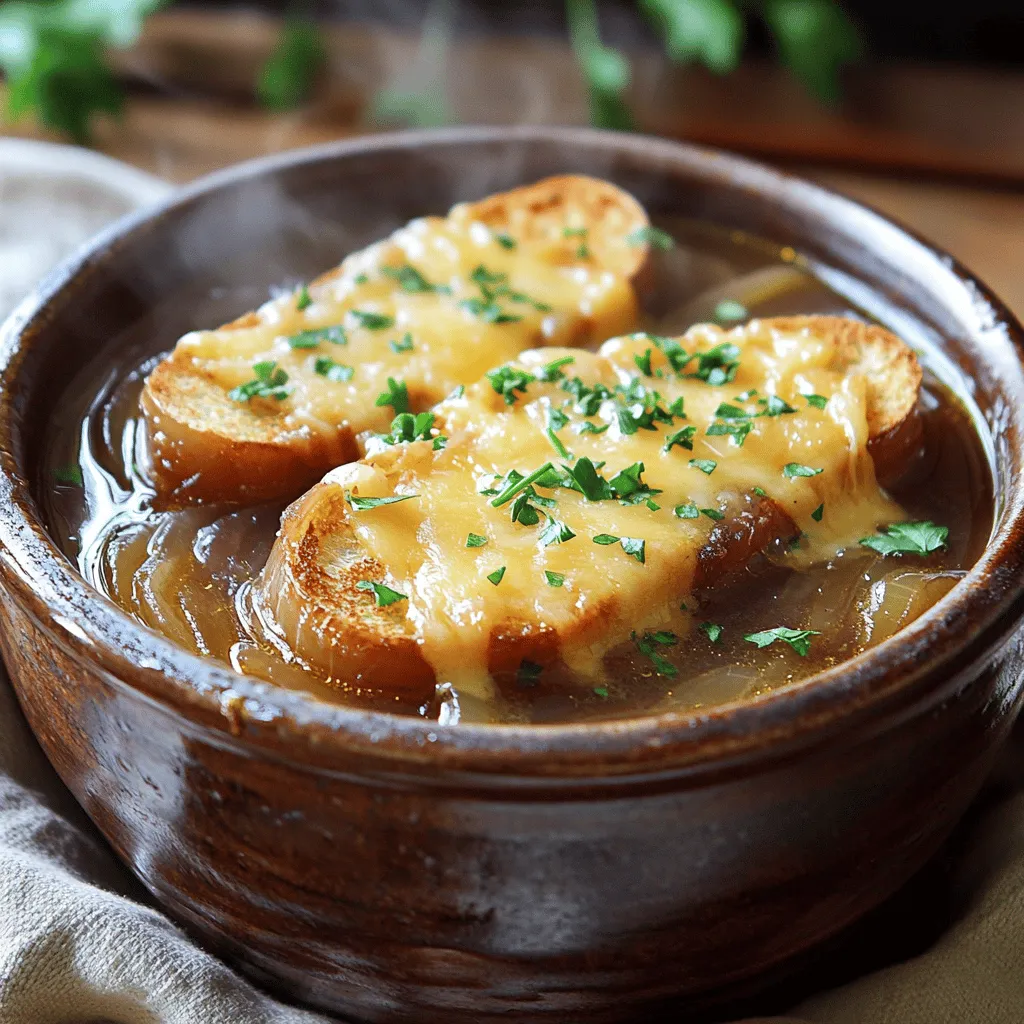
Slow Cooker French Onion Soup with Gruyère Toasts Delight
Warm, cheesy, and full of flavor, Slow Cooker French Onion Soup with Gruyère Toasts is a must-try! You’ll love the easy prep and rich taste.