Dinner
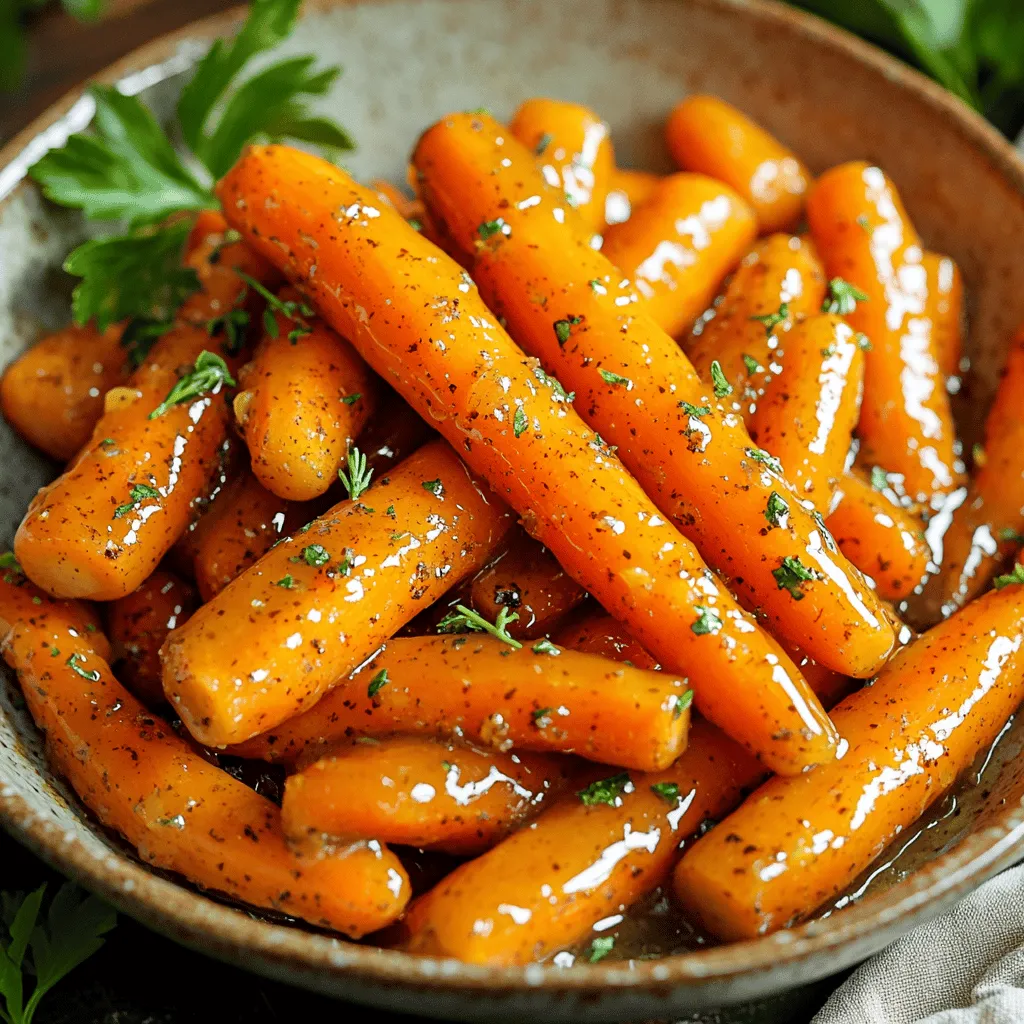
Slow Cooker Brown Butter Honey Glazed Carrots Delight
If you’re looking to impress at your next meal, try these Slow Cooker Brown Butter Honey Glazed Carrots. This simple recipe transforms everyday carrots into
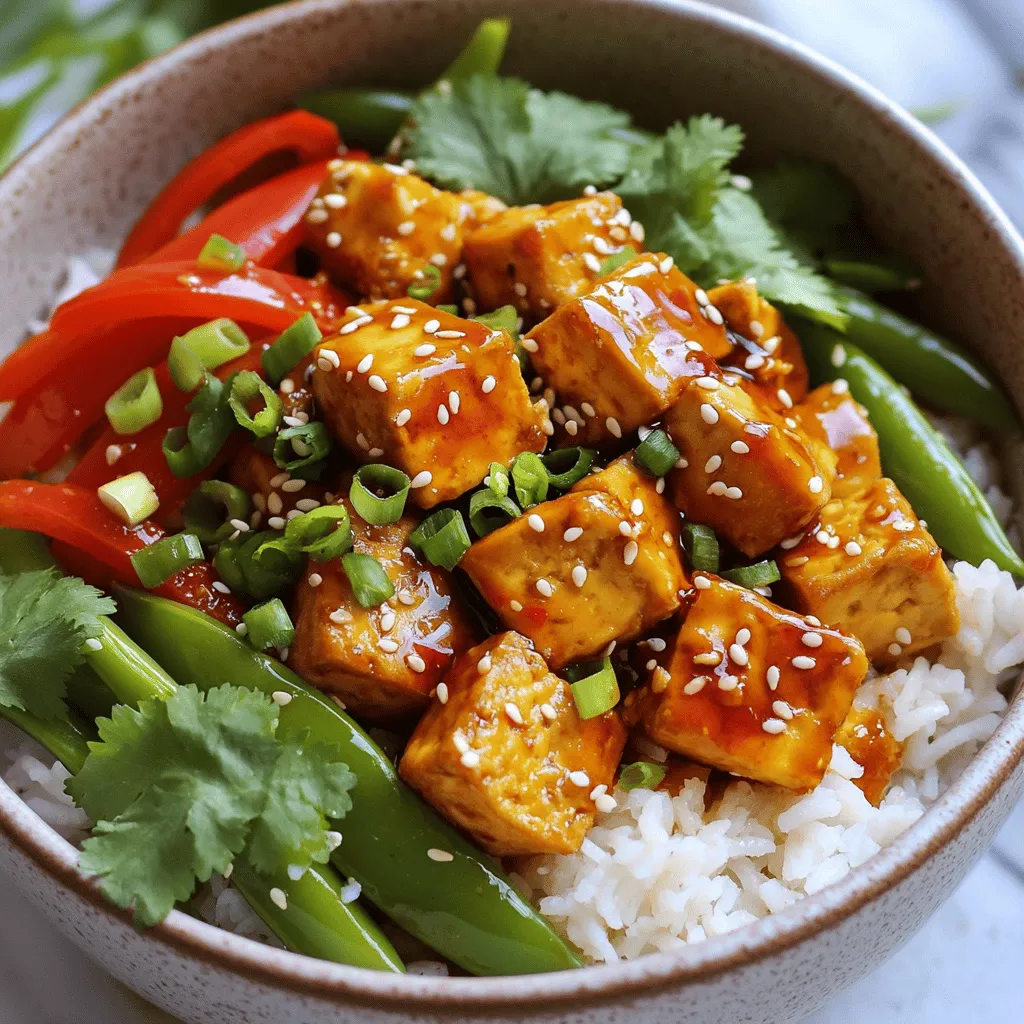
Spicy Szechuan Tofu Bowls Flavorful and Simple Recipe
If you’re craving a bold and tasty dish that’s easy to make, you’re in for a treat! My Spicy Szechuan Tofu Bowls combine firm tofu,
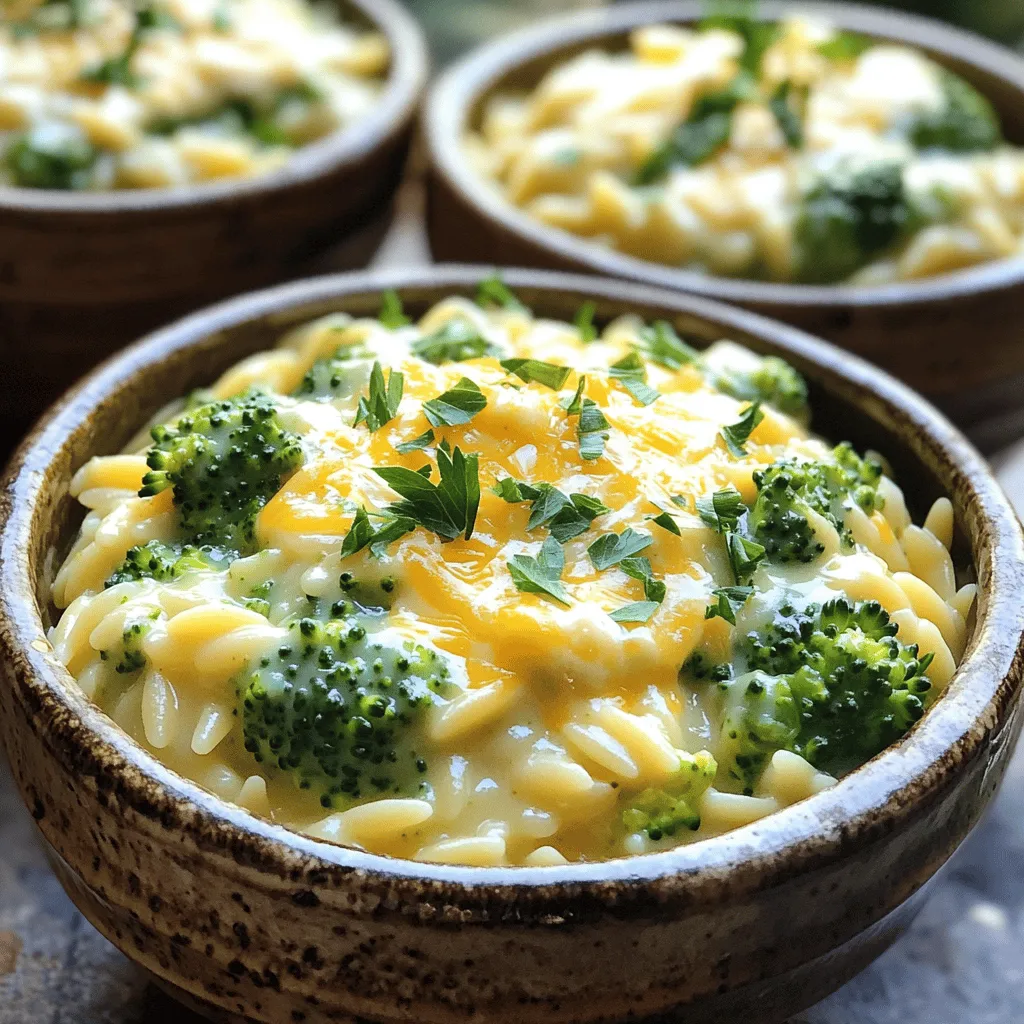
One-Pot Creamy Broccoli Cheddar Orzo Delight
Welcome to the world of comfort food with my One-Pot Creamy Broccoli Cheddar Orzo Delight! Are you ready to create a rich and creamy dish
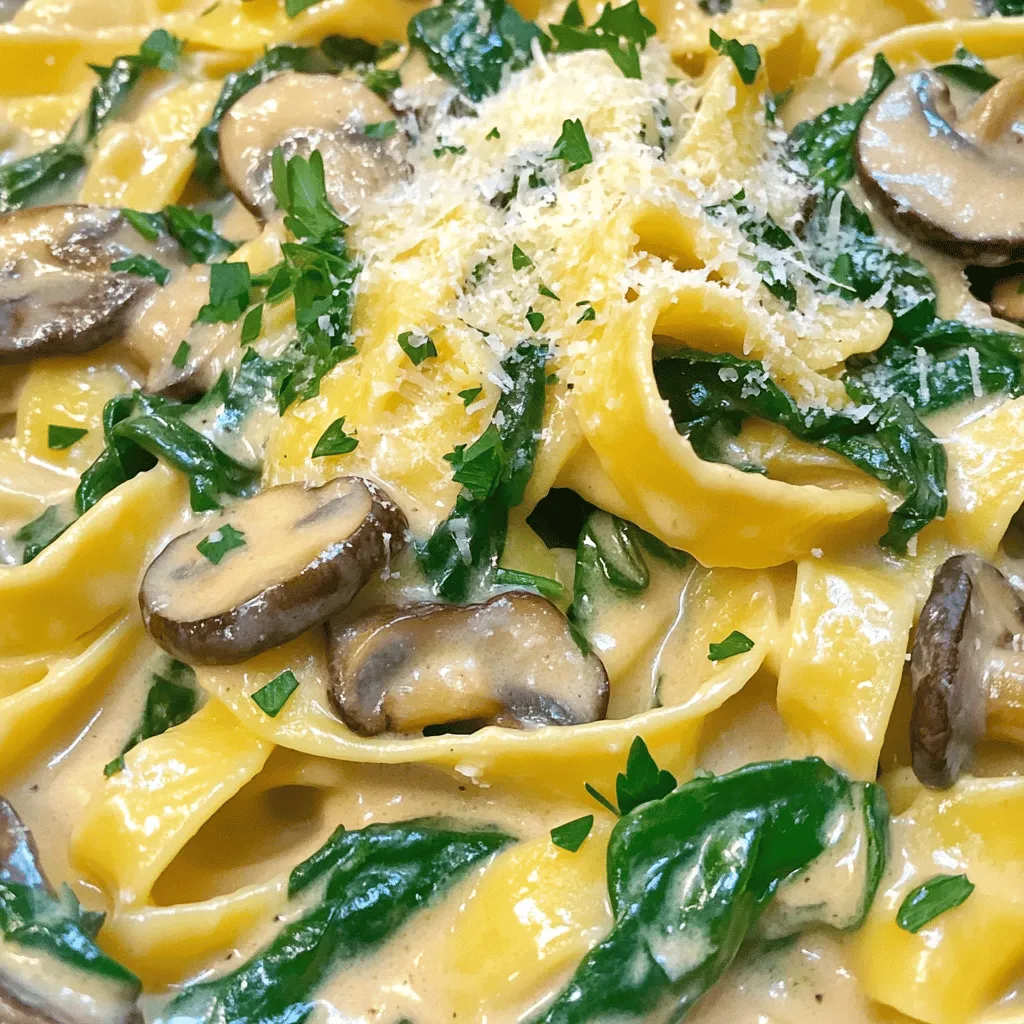
Creamy Mushroom Spinach Pasta One Pot Delightful Meal
Craving a comforting meal that’s simple and satisfying? This Creamy Mushroom Spinach Pasta is your answer! In just one pot, you can whip up a
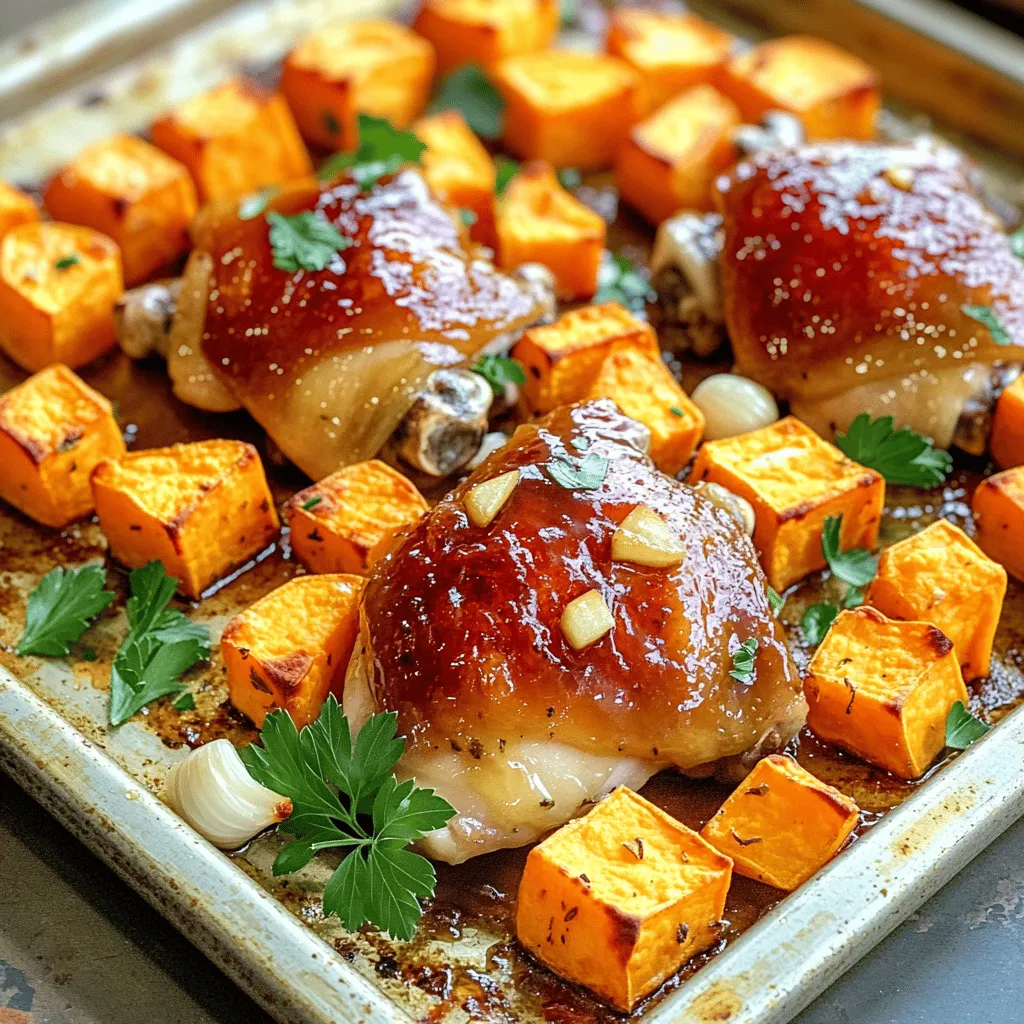
Garlic Honey Chicken & Sweet Potato Sheet Pan Delight
Looking for a simple, delicious meal? Let me introduce you to my Garlic Honey Chicken & Sweet Potato Sheet Pan Delight. This dish is full

Slow Cooker Cheesy Chili Mac Comforting Family Meal
Looking for a cozy dinner that your whole family will love? Try my Slow Cooker Cheesy Chili Mac! This dish combines ground meat, beans, and
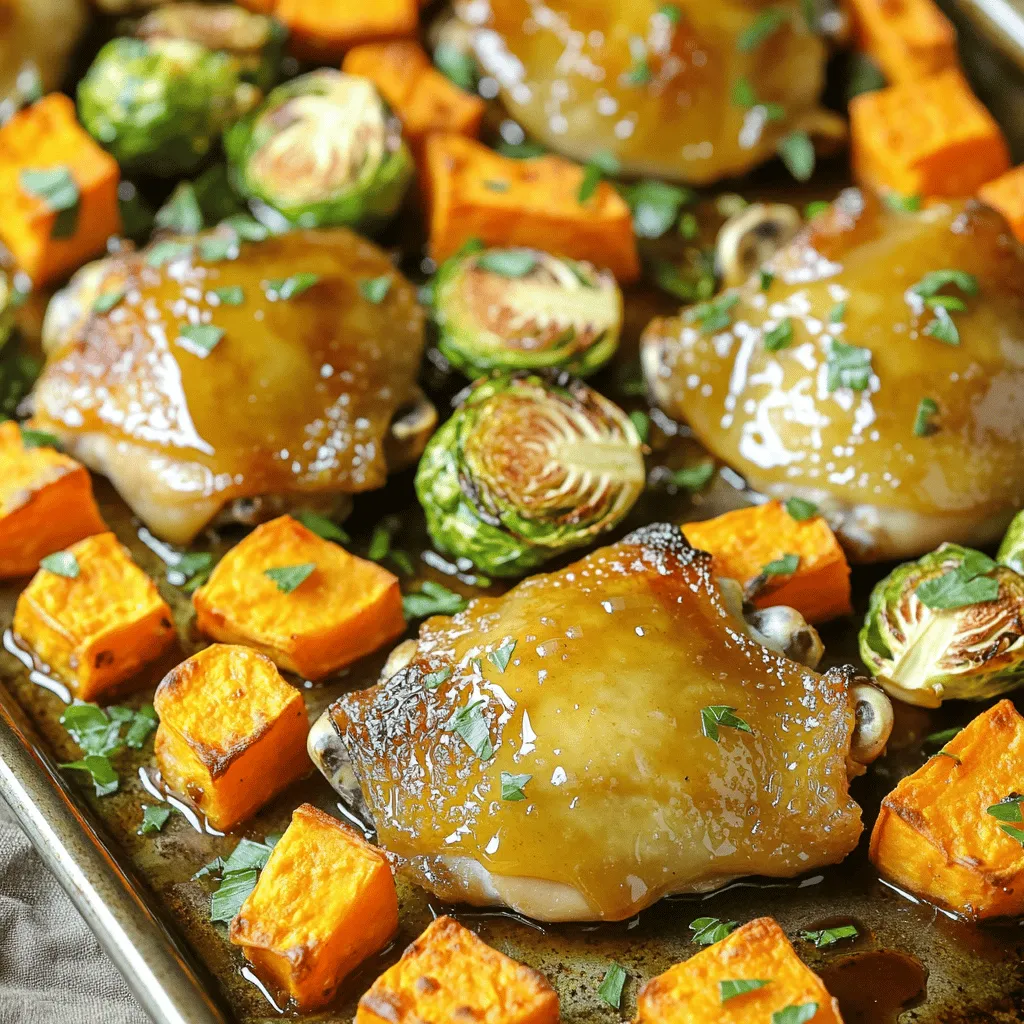
Sheet Pan Maple Roasted Chicken and Sweet Potatoes Delight
Looking for a delicious one-pan meal that’s easy to make? You’ve found it! My Sheet Pan Maple Roasted Chicken and Sweet Potatoes Delight is perfect
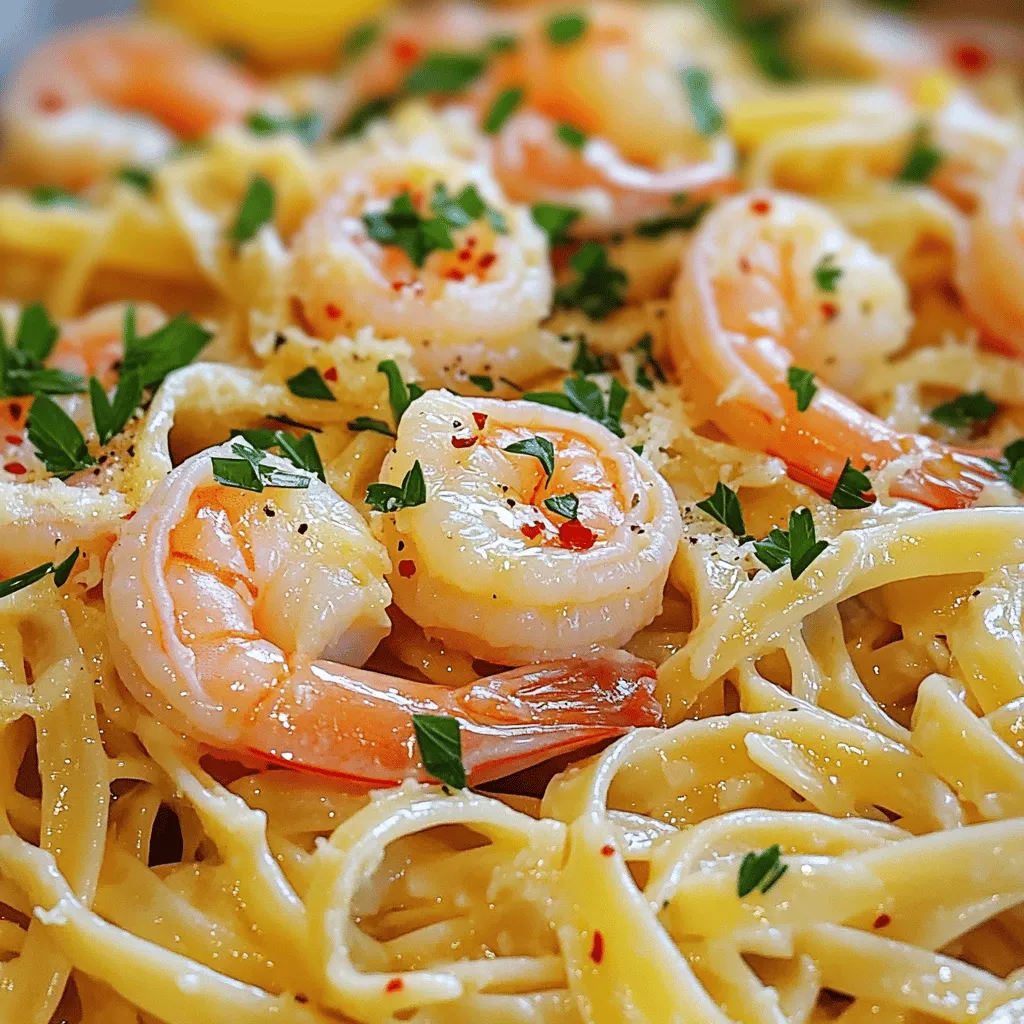
Garlic Butter Shrimp Scampi Linguine Flavorful Dish
If you love a dish that bursts with flavor, you’ll adore Garlic Butter Shrimp Scampi Linguine. This easy recipe combines tender shrimp, garlic, and rich
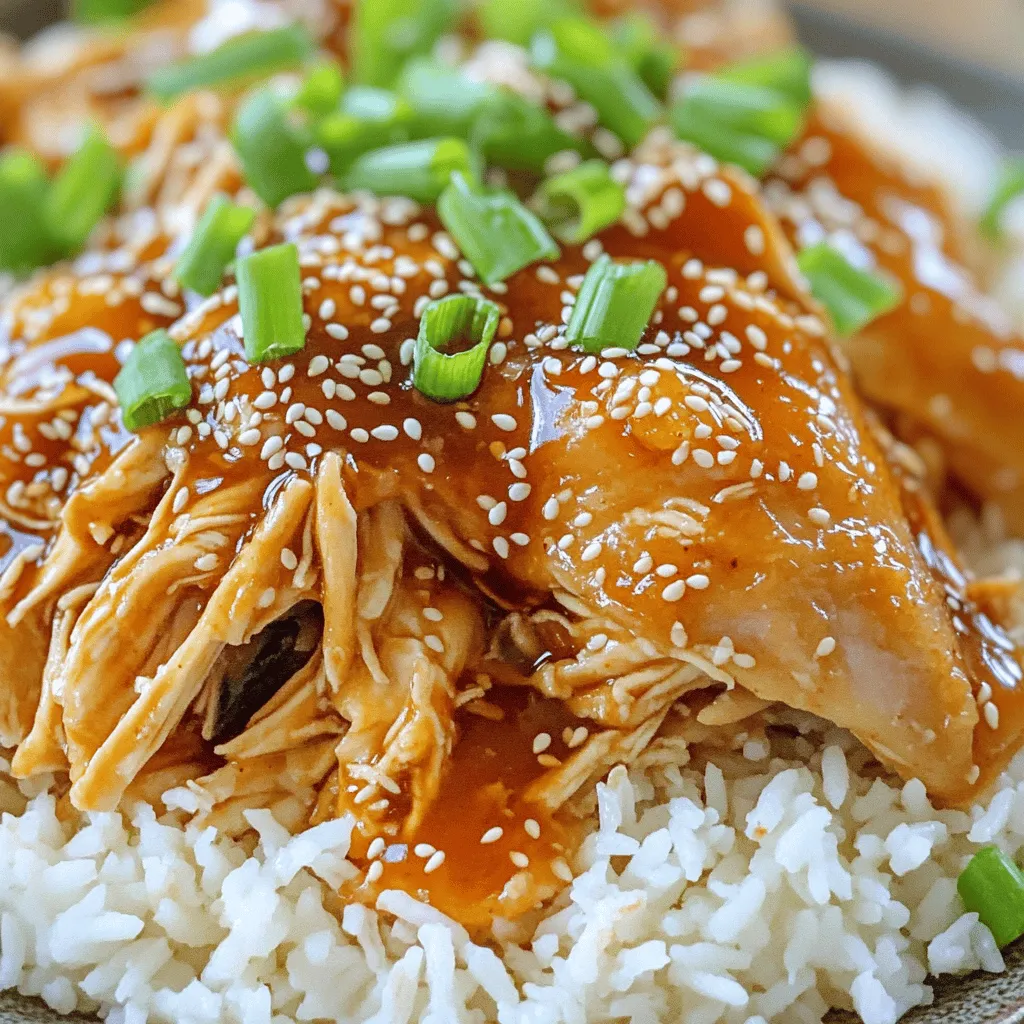
Savory Slow Cooker Sweet and Spicy Korean Chicken Dish
If you crave a dish bursting with flavor, you’re in the right place. This Savory Slow Cooker Sweet and Spicy Korean Chicken is not just
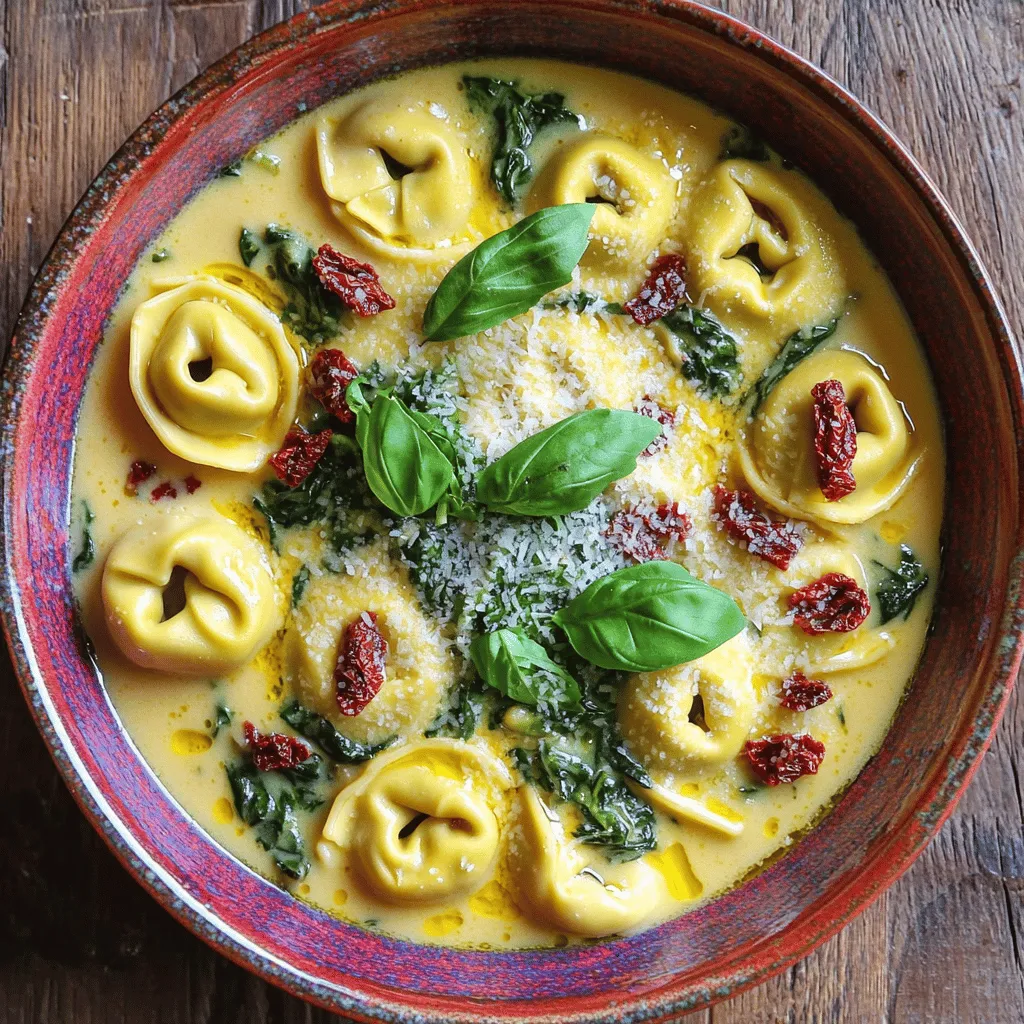
One-Pot Sun-Dried Tomato Spinach Tortellini Delight
Looking for a quick, tasty dinner? This One-Pot Sun-Dried Tomato Spinach Tortellini Delight is your answer! With just a few simple ingredients, you can whip