Dinner
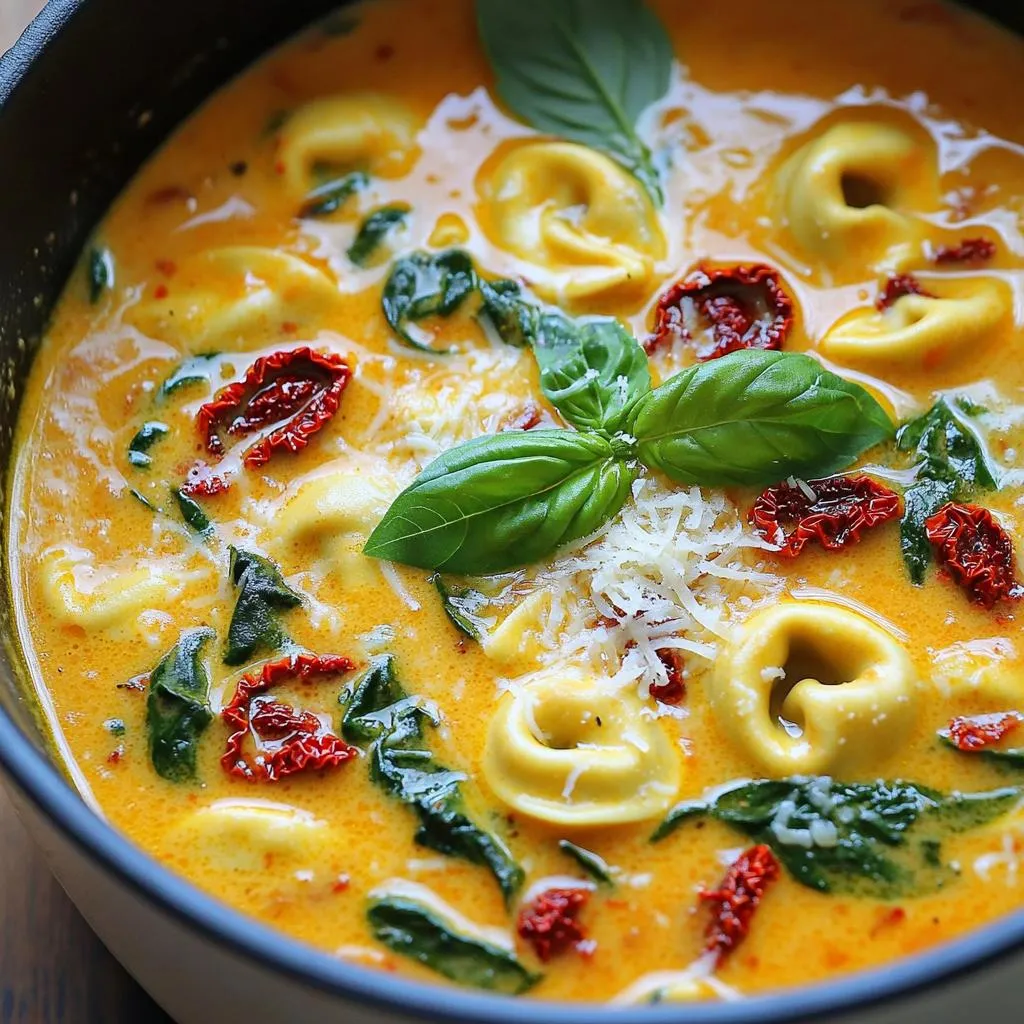
One-Pot Creamy Sun-Dried Tomato Tortellini Soup Delight
If you crave a warm, cozy meal, then this One-Pot Creamy Sun-Dried Tomato Tortellini Soup is exactly what you need! I’ll share how simple ingredients
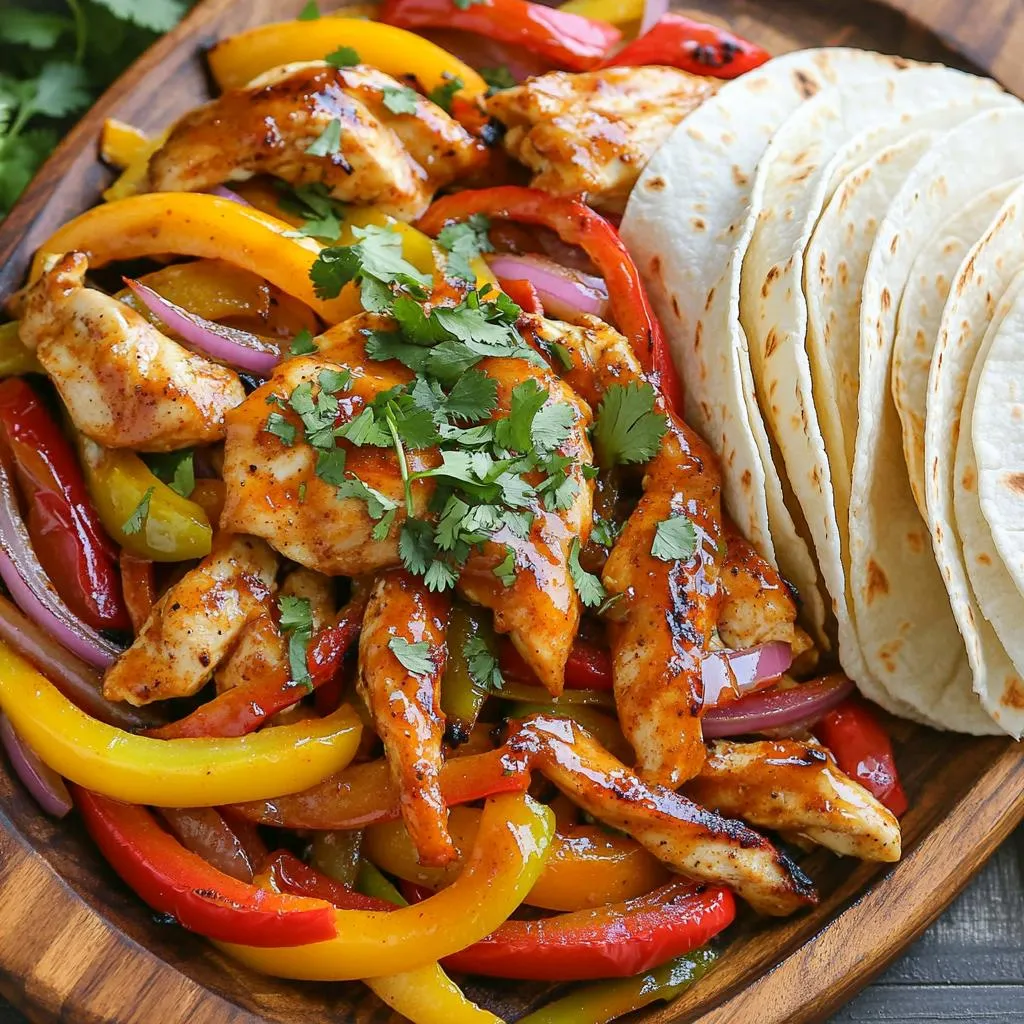
Sheet Pan Sweet Chili Lime Chicken Fajitas Delight
Get ready to spice up your dinner with my Sheet Pan Sweet Chili Lime Chicken Fajitas! This easy recipe combines juicy chicken thighs and fresh
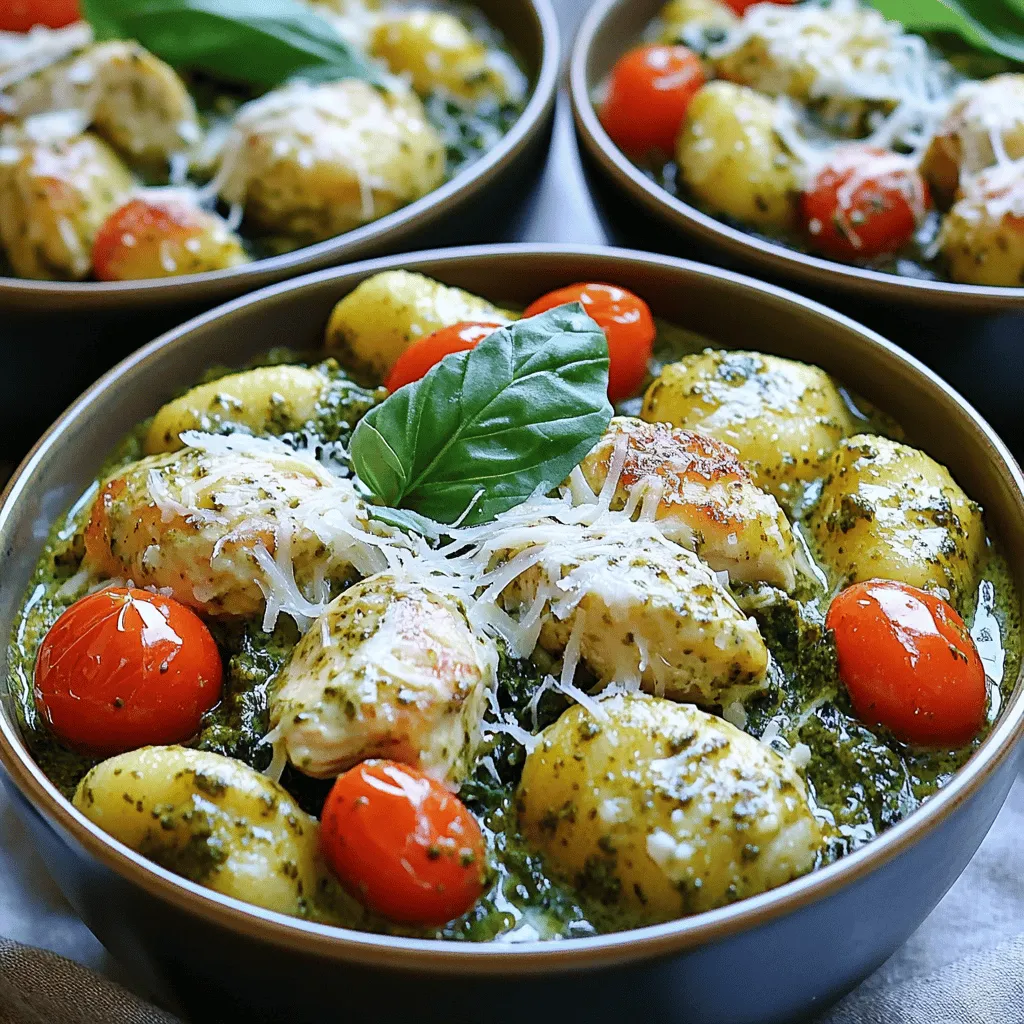
One-Pot Creamy Pesto Chicken Gnocchi Delight
Welcome to your new favorite dish: One-Pot Creamy Pesto Chicken Gnocchi Delight! This meal is easy and bursting with flavor. Imagine tender chicken, pillowy gnocchi,
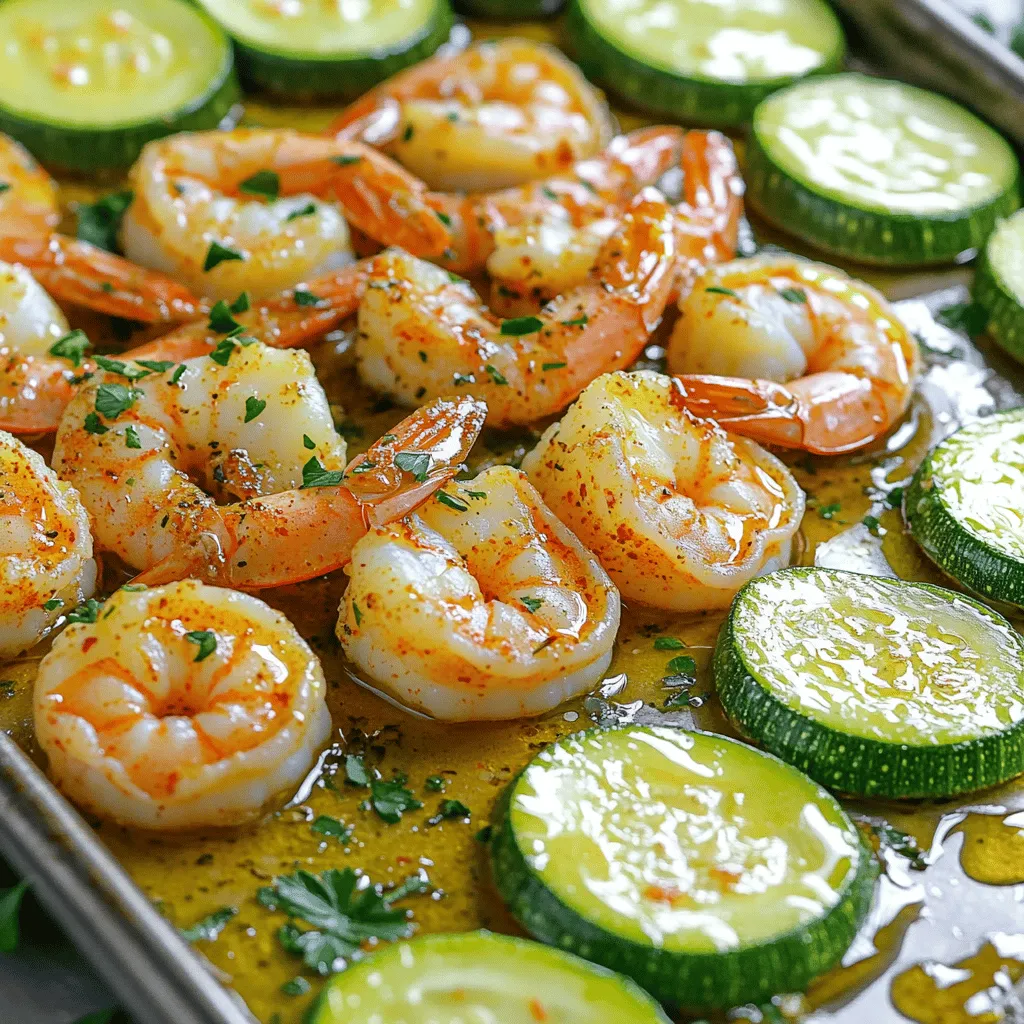
Sheet Pan Garlic Butter Shrimp & Zucchini Delight
Are you ready to whip up a simple and tasty meal? My Sheet Pan Garlic Butter Shrimp & Zucchini Delight recipe makes dinner a breeze.
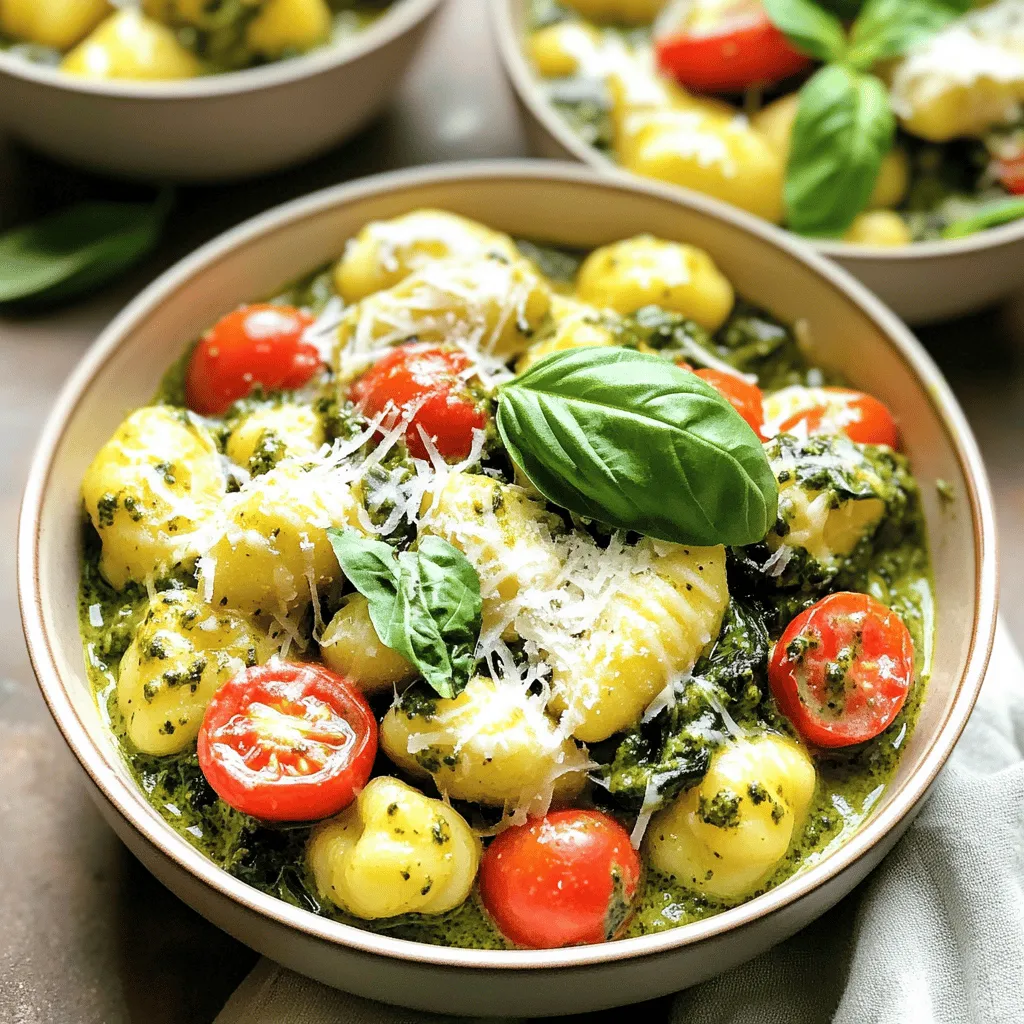
One-Pot Creamy Pesto Chicken Gnocchi Delight
Are you ready for a meal that’s easy, creamy, and full of flavor? In this blog post, I’ll show you how to make One-Pot Creamy

Honey Garlic Chicken Fajitas Sheet Pan Delight
Welcome to a flavor-packed adventure with my Honey Garlic Chicken Fajitas Sheet Pan Delight! This one-pan meal is quick, easy, and perfect for busy nights.
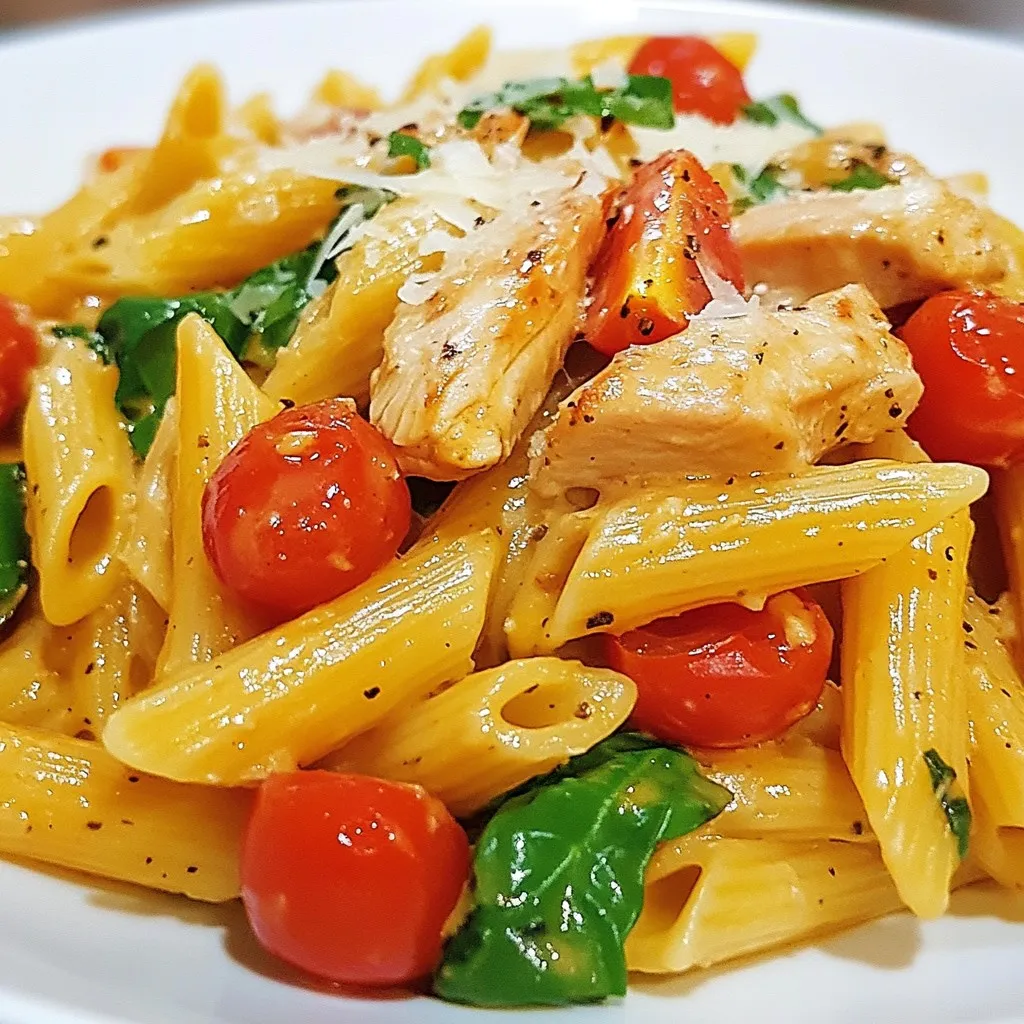
Tuscan Chicken Pasta Simple and Flavorful Dish
Are you looking for a delicious dinner option that’s quick and easy? Tuscan Chicken Pasta is your answer! This dish combines tender chicken, fresh veggies,
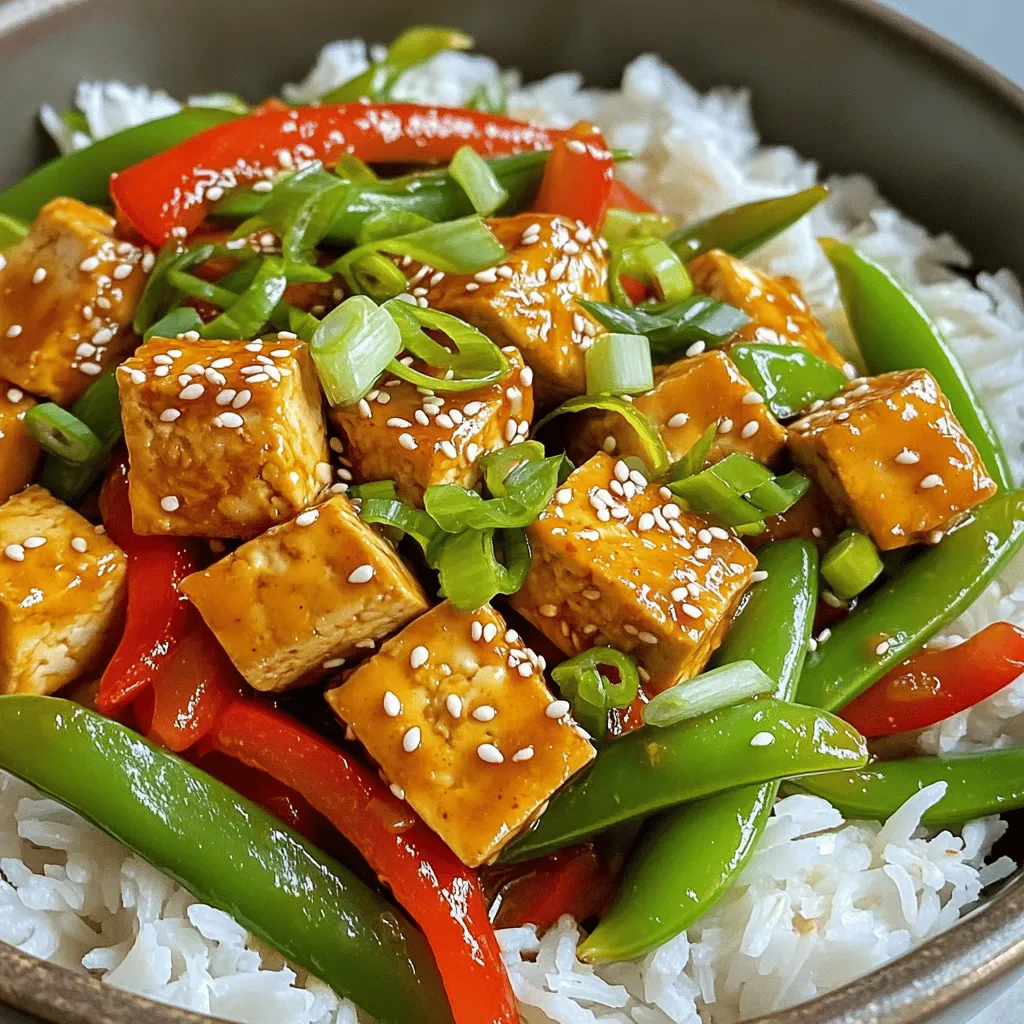
Minute Chili Garlic Tofu Stir-Fry Quick and Flavorful Dish
Craving a quick and tasty meal? My Minute Chili Garlic Tofu Stir-Fry is the answer! In just minutes, you can whip up a dish packed
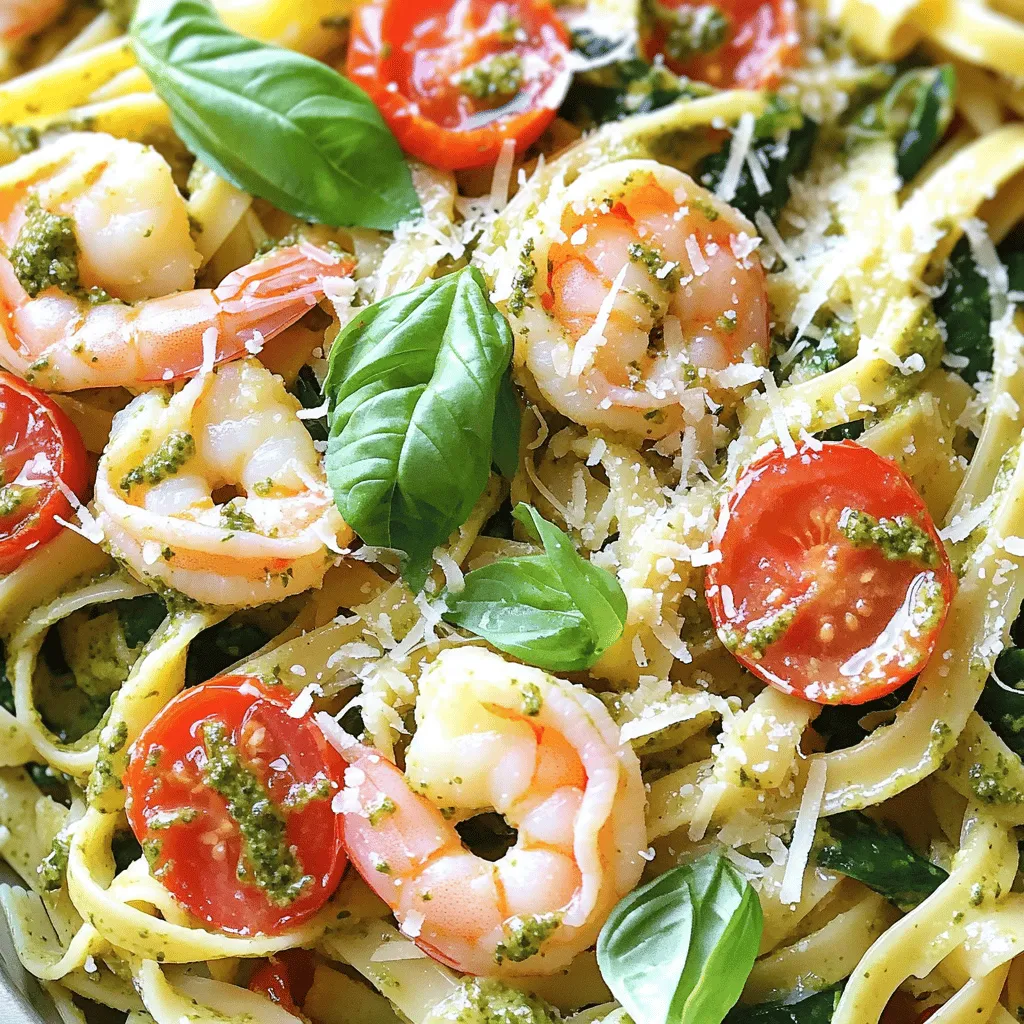
One-Pot Creamy Pesto Shrimp Pasta Delightful Dinner
Craving a quick, delicious dinner? You’ll love this One-Pot Creamy Pesto Shrimp Pasta! It’s rich, flavorful, and ready in a flash. With just one pot

Creamy Lemon Garlic Shrimp Pasta Easy and Flavorful Dish
Craving a dish that combines flavors to delight your taste buds? This Creamy Lemon Garlic Shrimp Pasta is your answer! Not only is it easy