Dinner
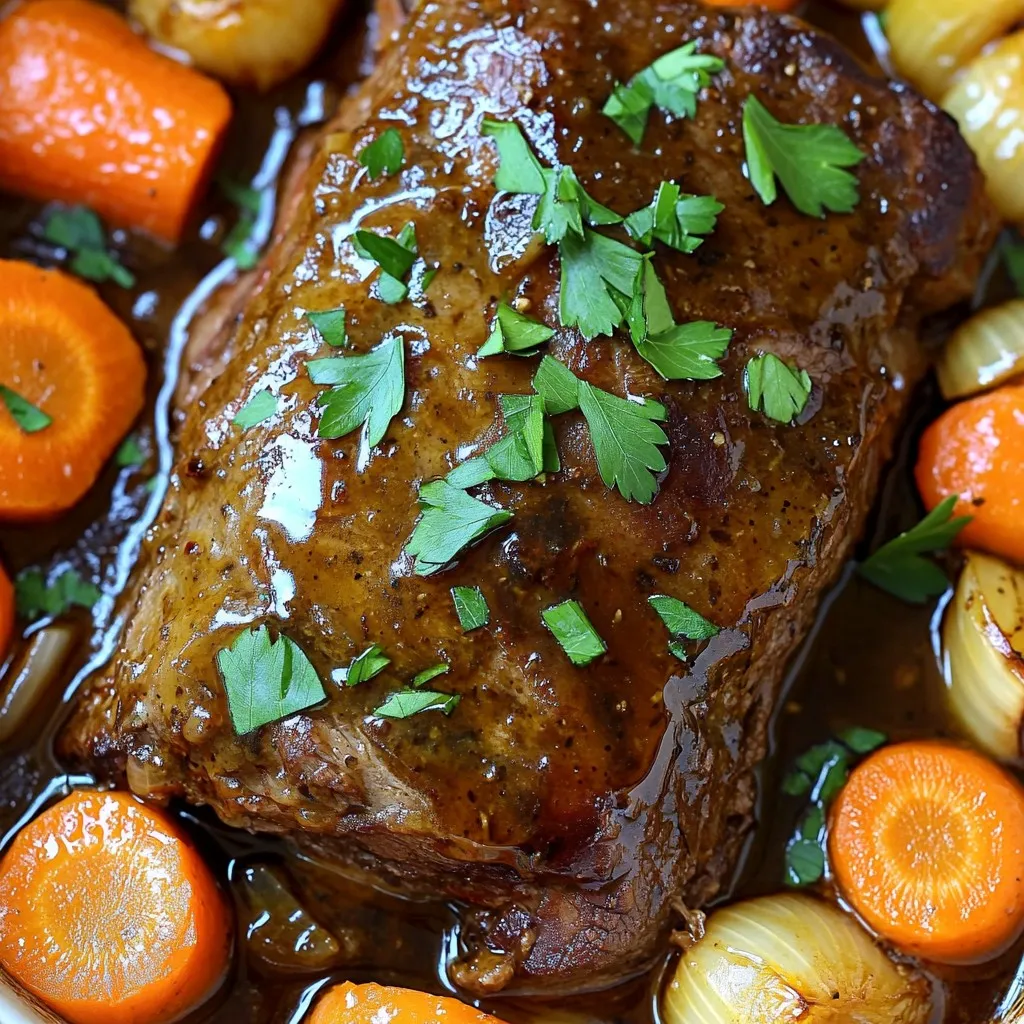
Slow Cooker Honey Balsamic Pot Roast Delight Recipe
Are you ready to transform dinner into a delightful experience? This Slow Cooker Honey Balsamic Pot Roast is the answer you’ve been looking for. With
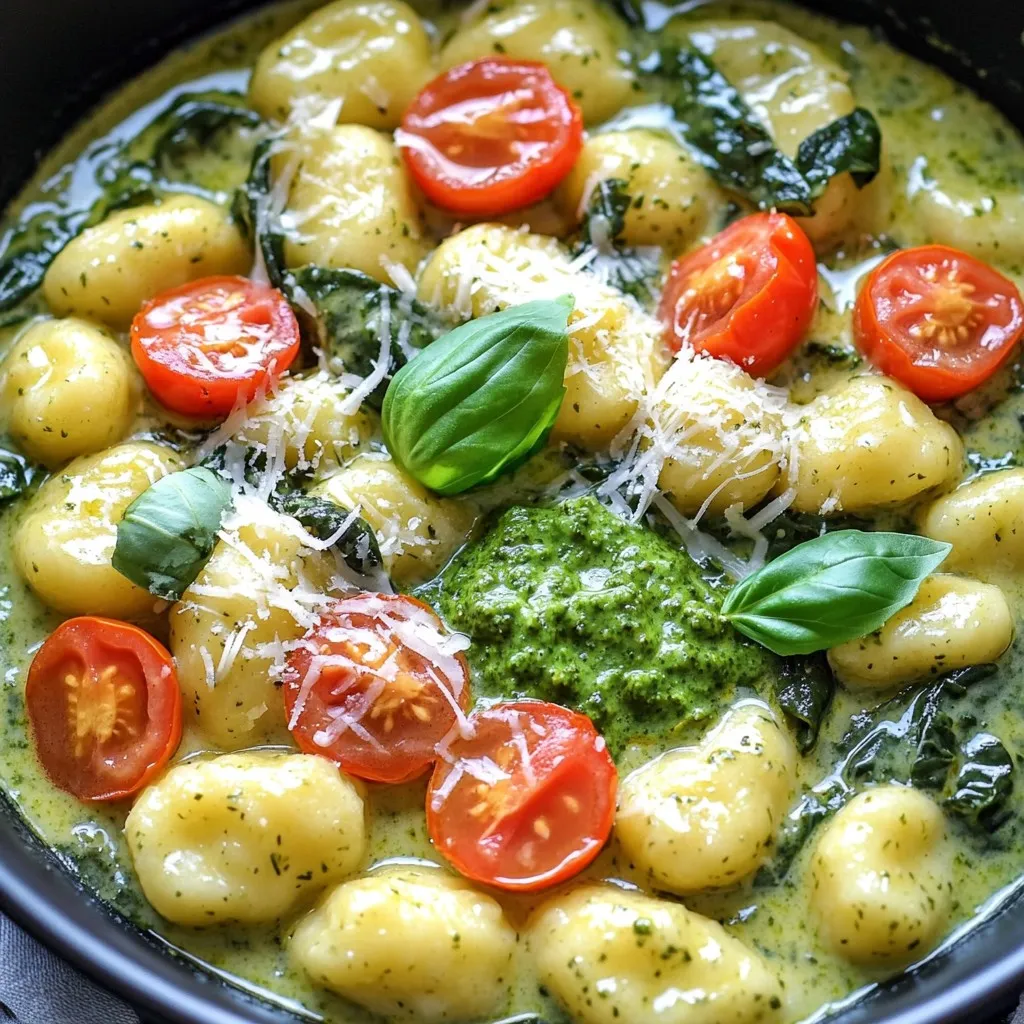
Creamy Pesto Gnocchi One Pot Simple Dinner Recipe
Are you ready to whip up a delicious meal in no time? This One Pot Creamy Pesto Gnocchi is your answer. With just a few

Slow Cooker BBQ Pulled Chicken Sandwiches Delight
Are you ready to treat your taste buds? Slow Cooker BBQ Pulled Chicken Sandwiches are simple, flavorful, and perfect for any meal. With just a
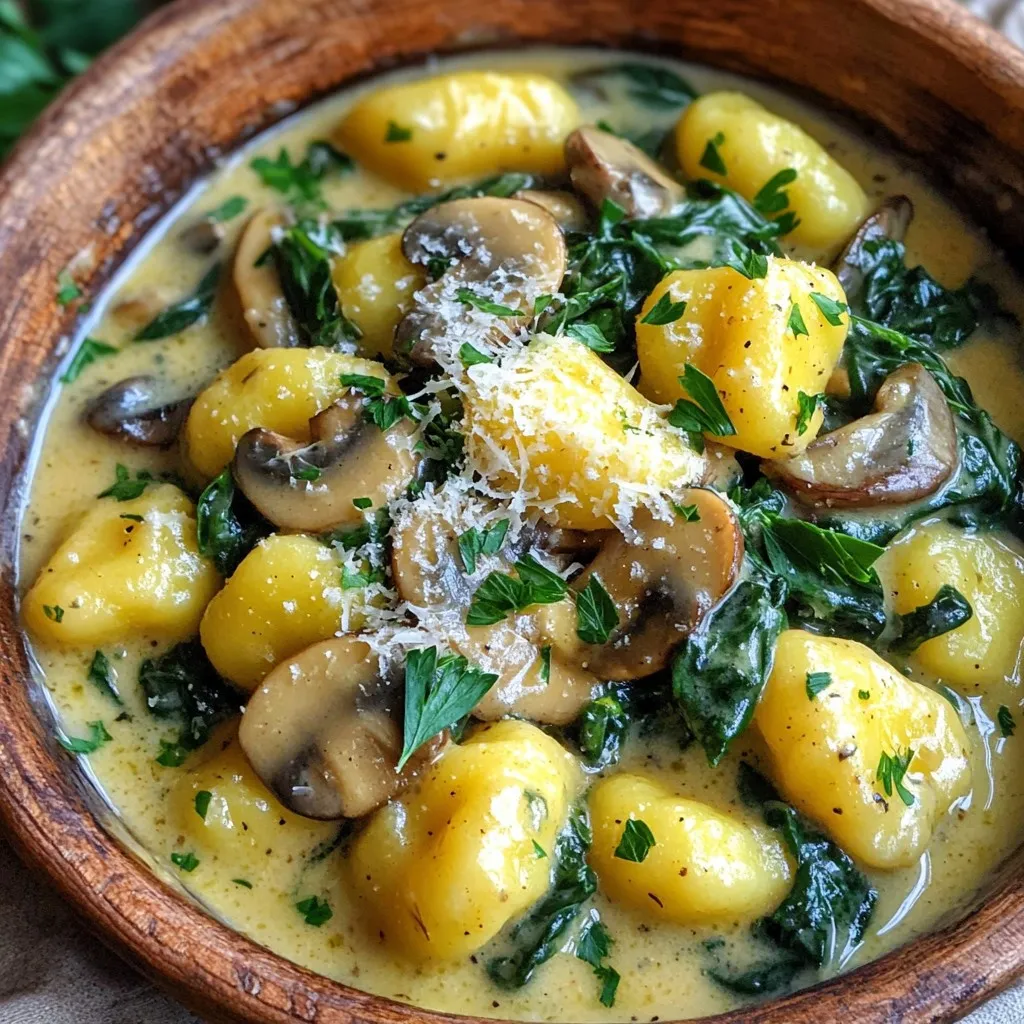
One-Pot Creamy Mushroom Spinach Gnocchi Delight
Ready for a comforting meal that shines in its simplicity? My One-Pot Creamy Mushroom Spinach Gnocchi is your answer! This easy dish blends soft gnocchi
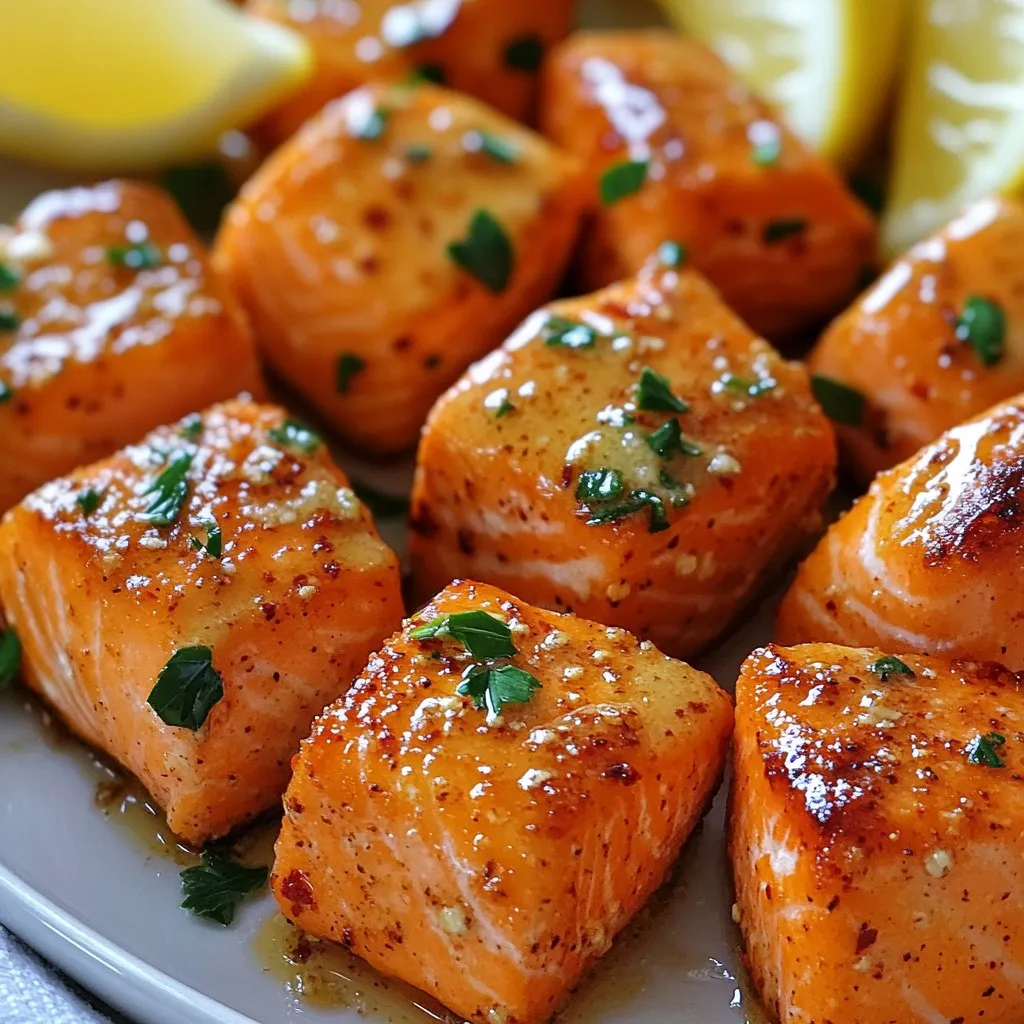
Air Fryer Garlic Butter Salmon Bites Flavorful Treat
Are you looking for a quick and tasty dinner idea? Try my Air Fryer Garlic Butter Salmon Bites! These flavorful treats are easy to make
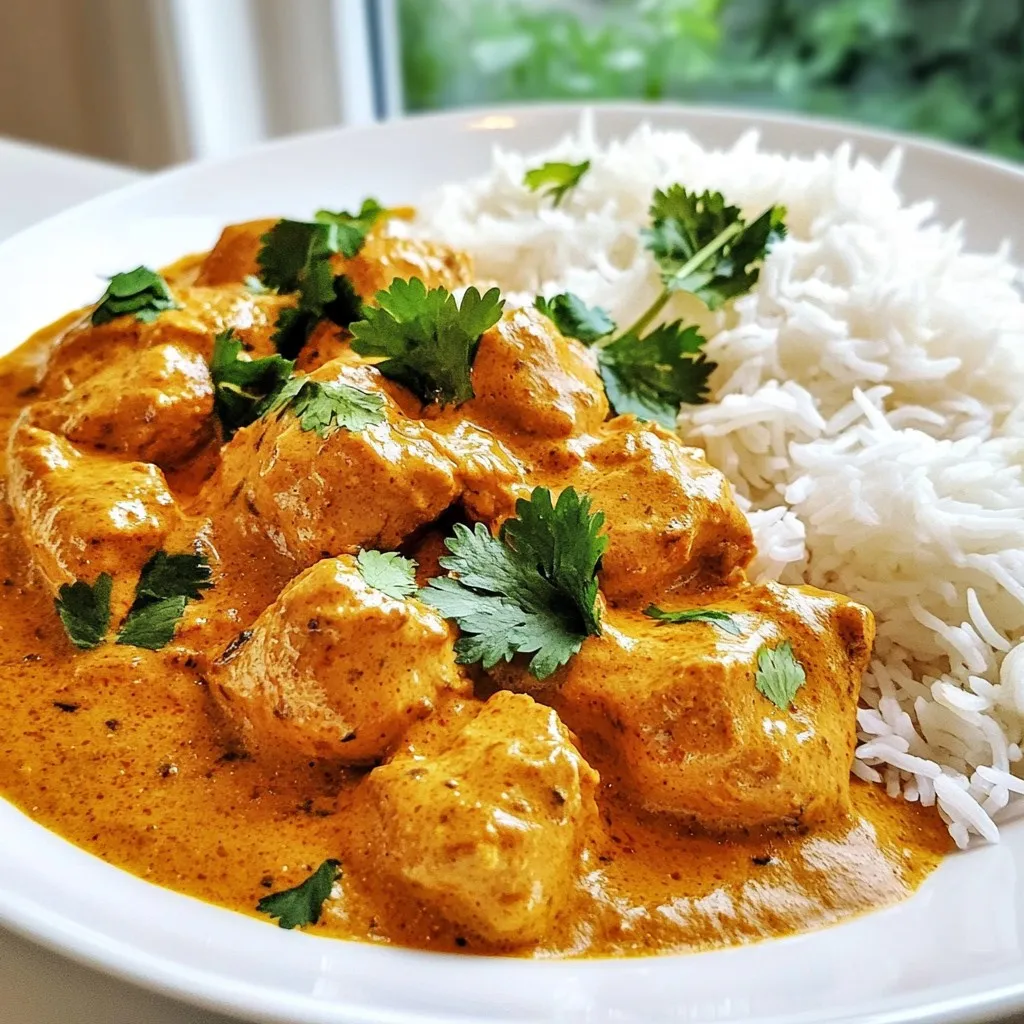
Quick Homemade Butter Chicken Simple and Tasty Recipe
Craving a rich and creamy butter chicken but short on time? You’re in the right place! This quick homemade butter chicken recipe delivers all the
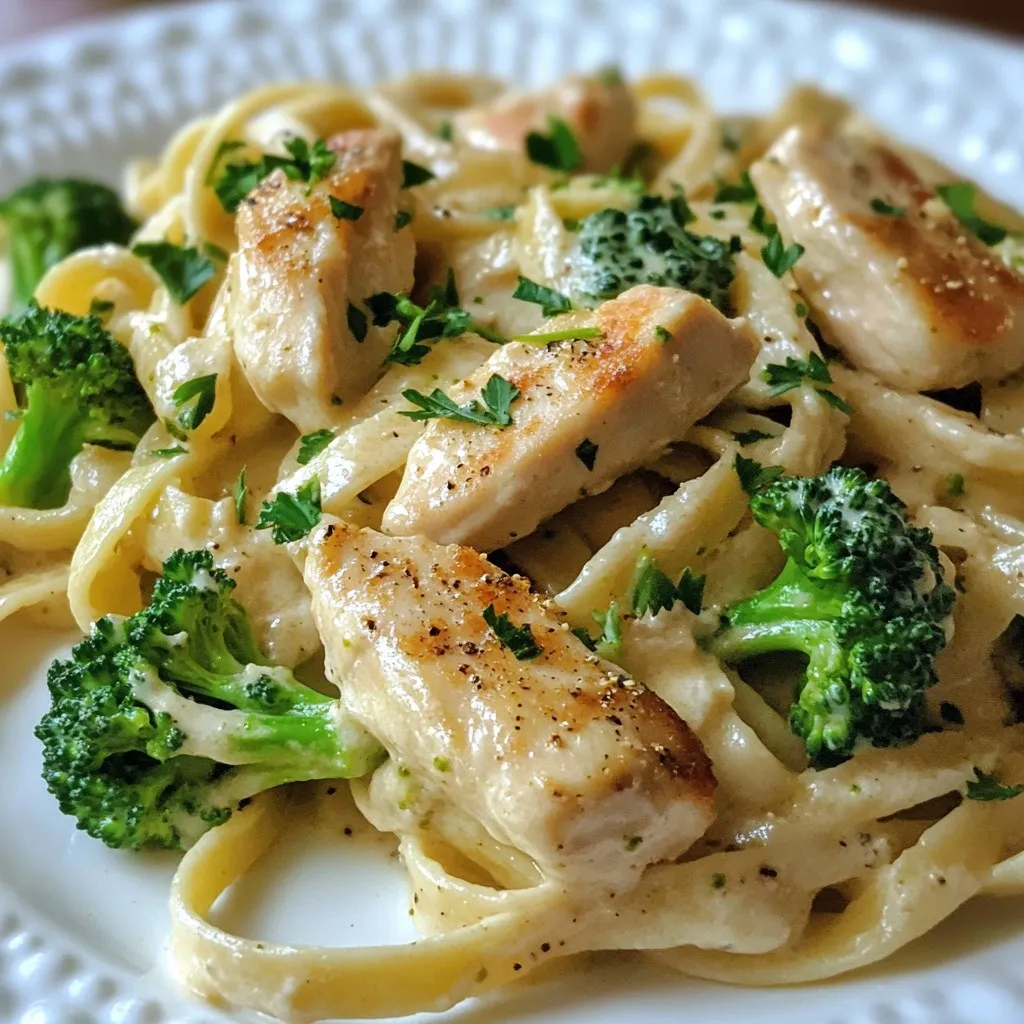
Skinny Chicken Broccoli Alfredo Easy and Healthy Dish
Looking for a delicious yet healthy meal? I’ve got just the dish for you! This Skinny Chicken Broccoli Alfredo is not only easy to make
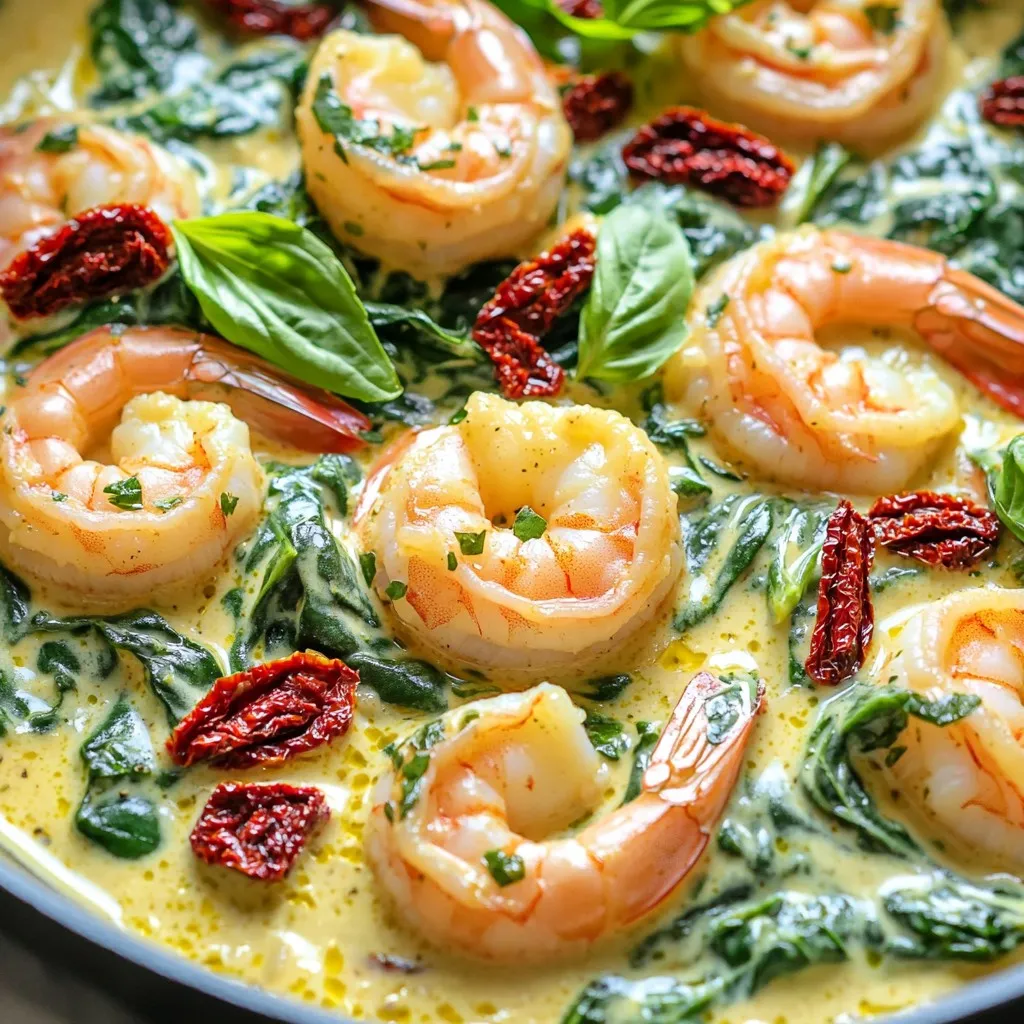
Creamy Tuscan Sun Dried Tomato Shrimp Skillet Delight
Are you ready to impress your dinner guests with a dish that bursts with flavor? My Creamy Tuscan Sun Dried Tomato Shrimp Skillet is quick,
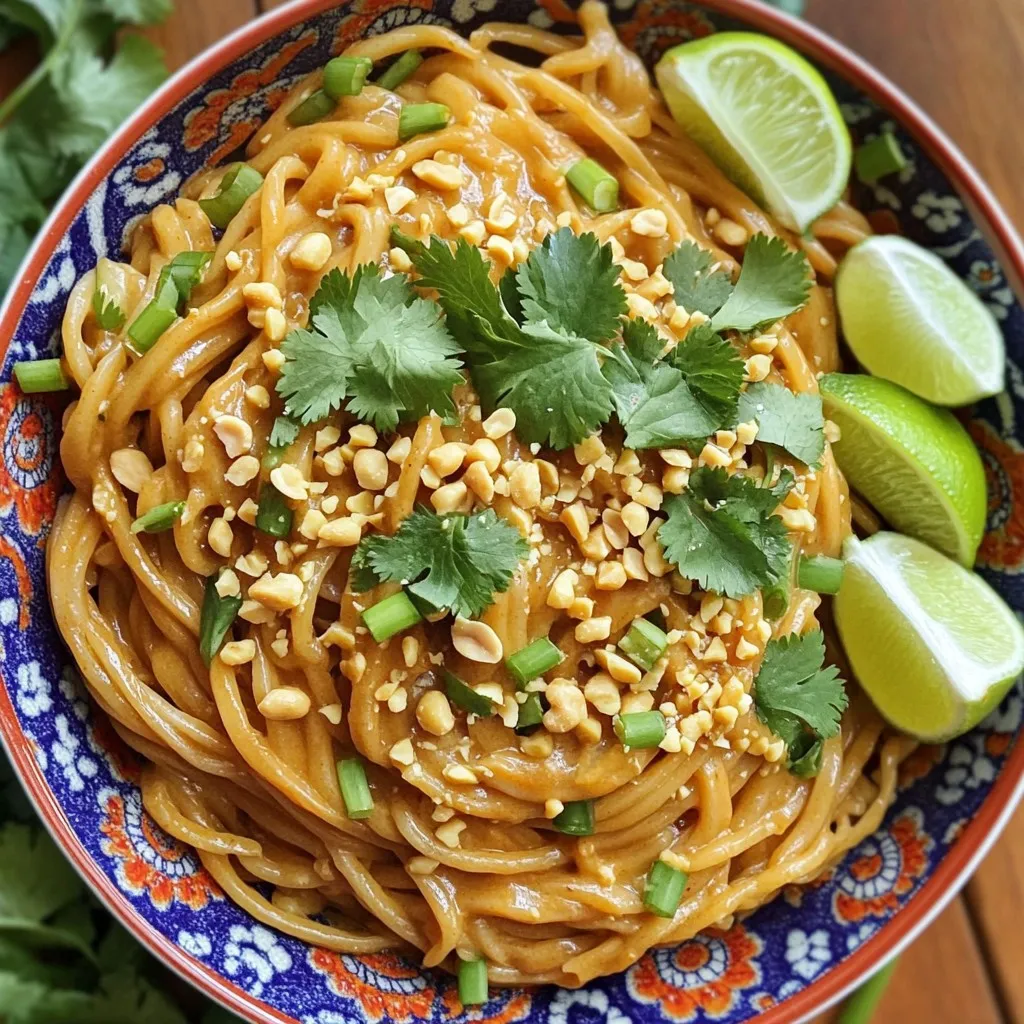
Minute Sweet Chili Peanut Noodles Simple and Quick
Looking for a quick meal? I’ve got just the thing! My Minute Sweet Chili Peanut Noodles are easy to make and bursting with flavor. This
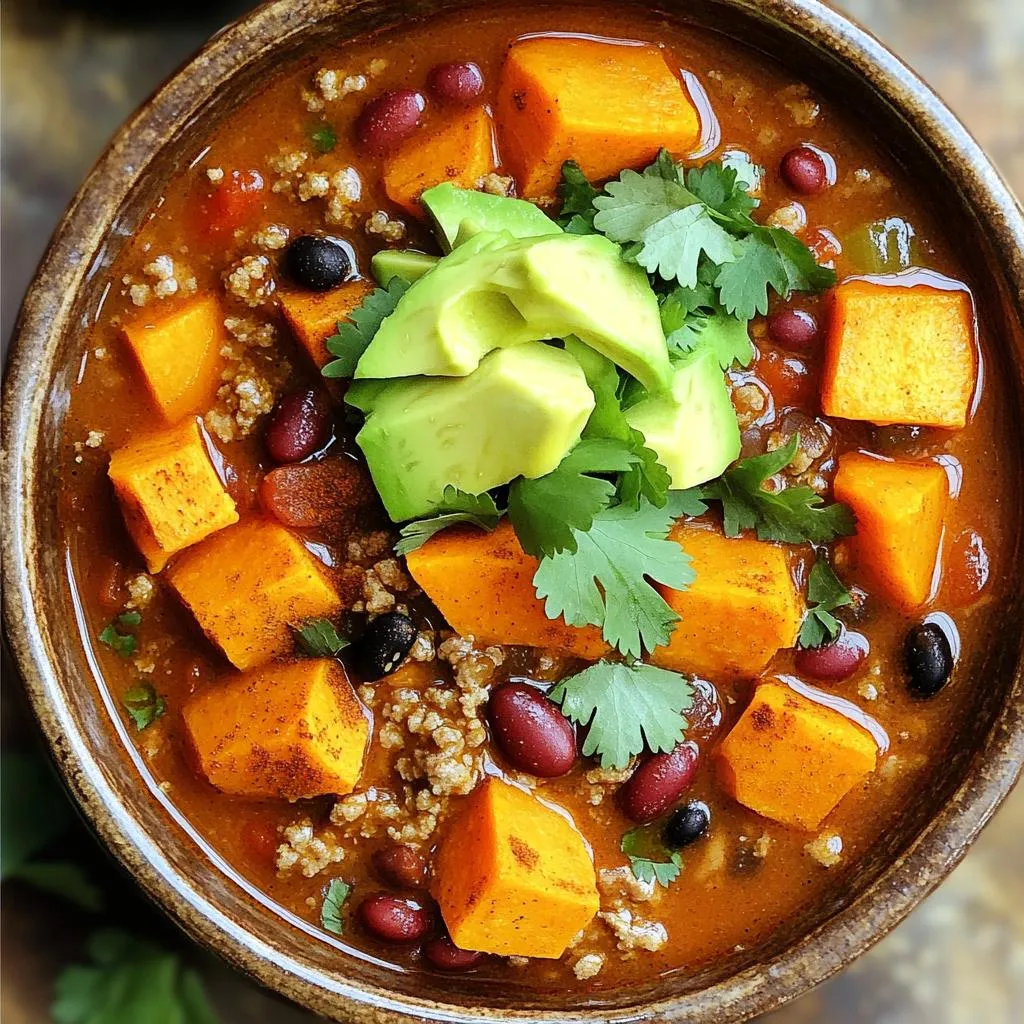
Savory Slow Cooker Turkey Sweet Potato Chili Recipe
If you’re ready to elevate your dinner game, this Savory Slow Cooker Turkey Sweet Potato Chili recipe is your answer. Packed with protein and nutrients,