Dinner
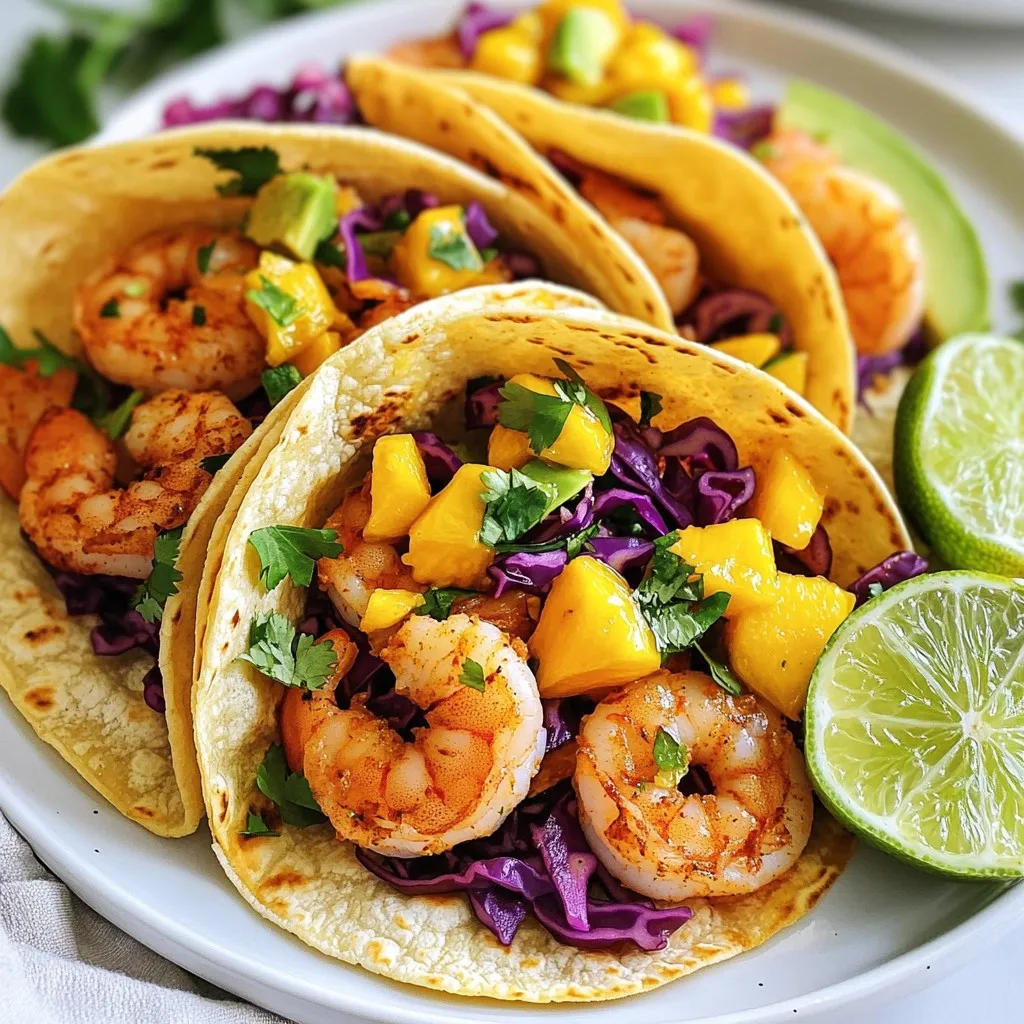
Easy Shrimp Tacos Flavorful and Quick Weeknight Meal
Looking for a quick and tasty dinner? Try these easy shrimp tacos! With fresh shrimp, zesty spices, and vibrant toppings, you can whip up a
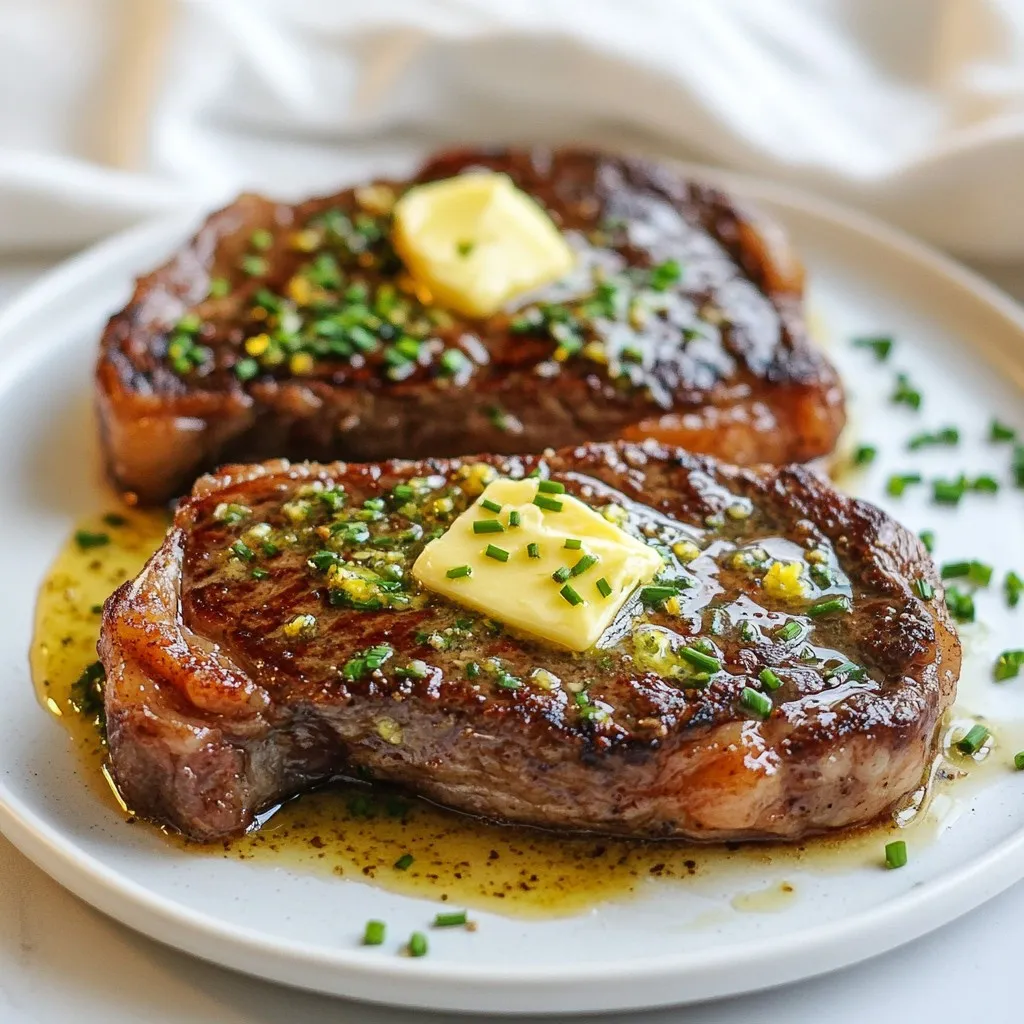
Cowboy Butter Steak Grilled to Perfection Every Time
Are you ready to take your grilling game to the next level? In this article, I’ll show you how to make Cowboy Butter Steak that
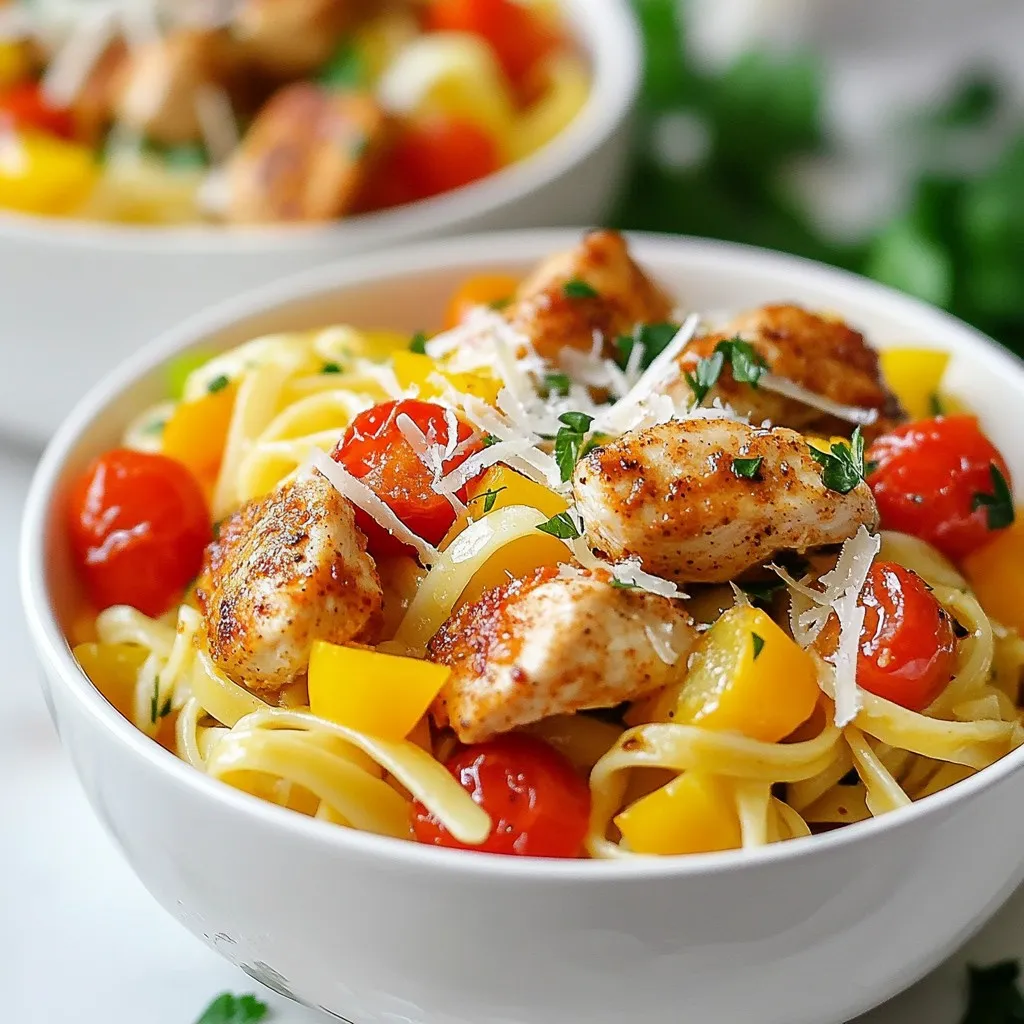
Cajun Chicken Pasta Flavorful and Simple Dinner Idea
Are you craving a dinner that’s both flavorful and easy to make? Look no further! Cajun Chicken Pasta is the perfect dish to satisfy your
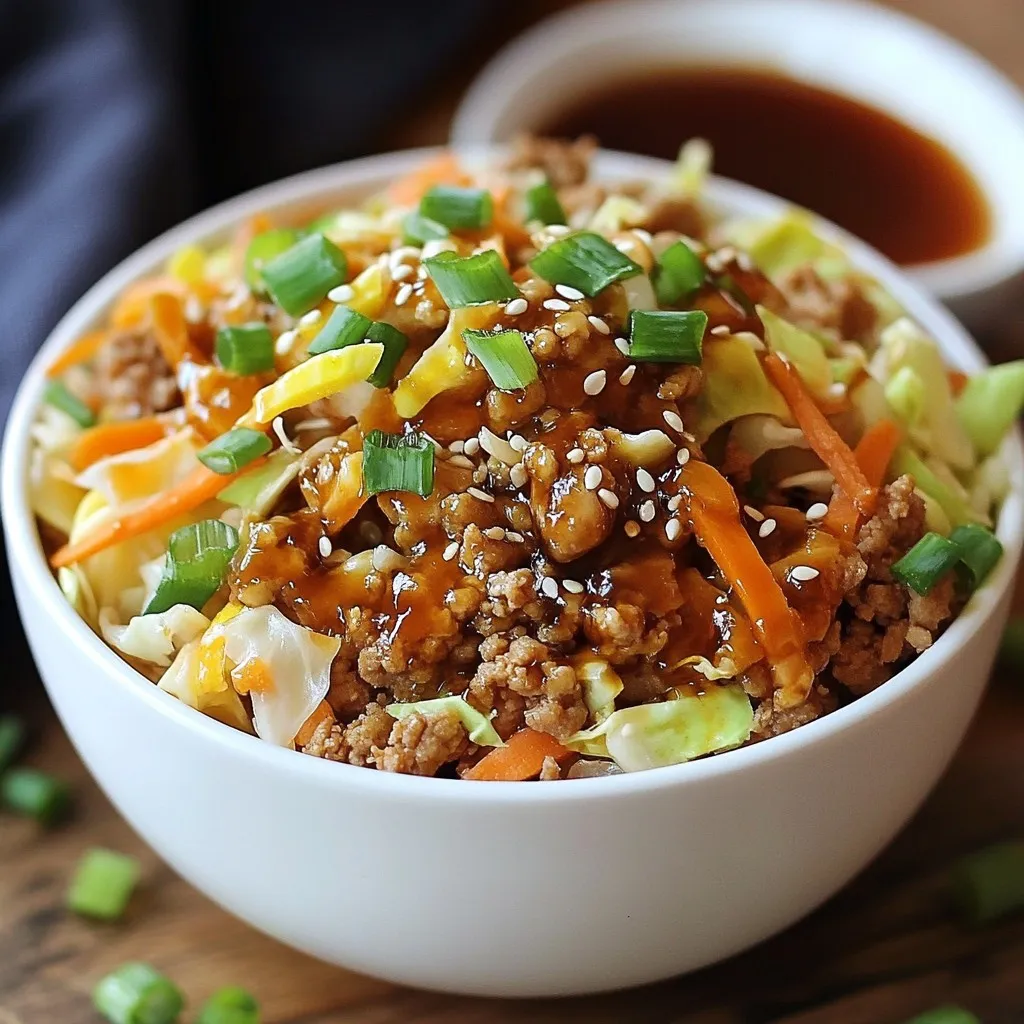
Egg Roll in a Bowl Simple and Flavorful Dish
Craving a tasty, quick meal? Look no further! Egg Roll in a Bowl is your answer. This dish packs all the comforting flavors of traditional
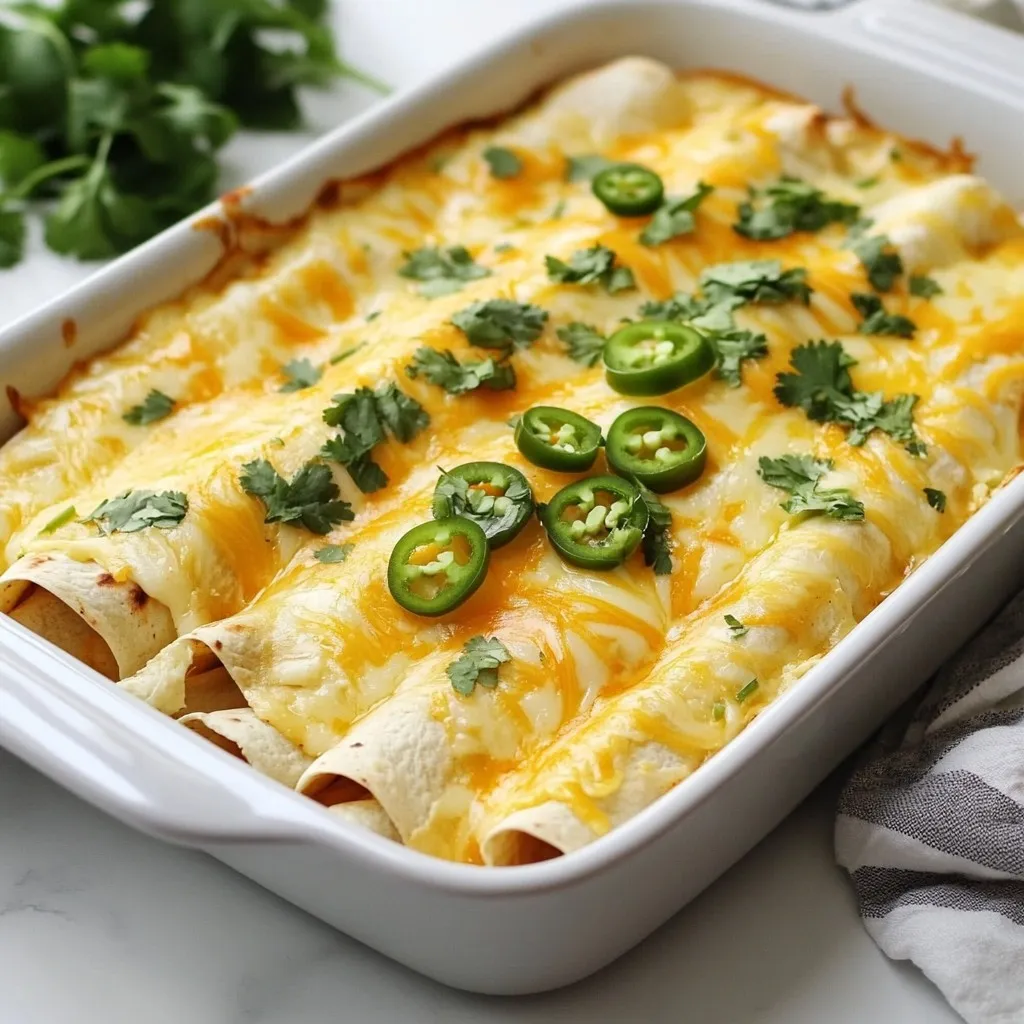
White Chicken Enchiladas Delightful and Easy Recipe
Craving a tasty dinner that’s simple to make? You’re in the right place! My White Chicken Enchiladas recipe is not only delightful but also easy
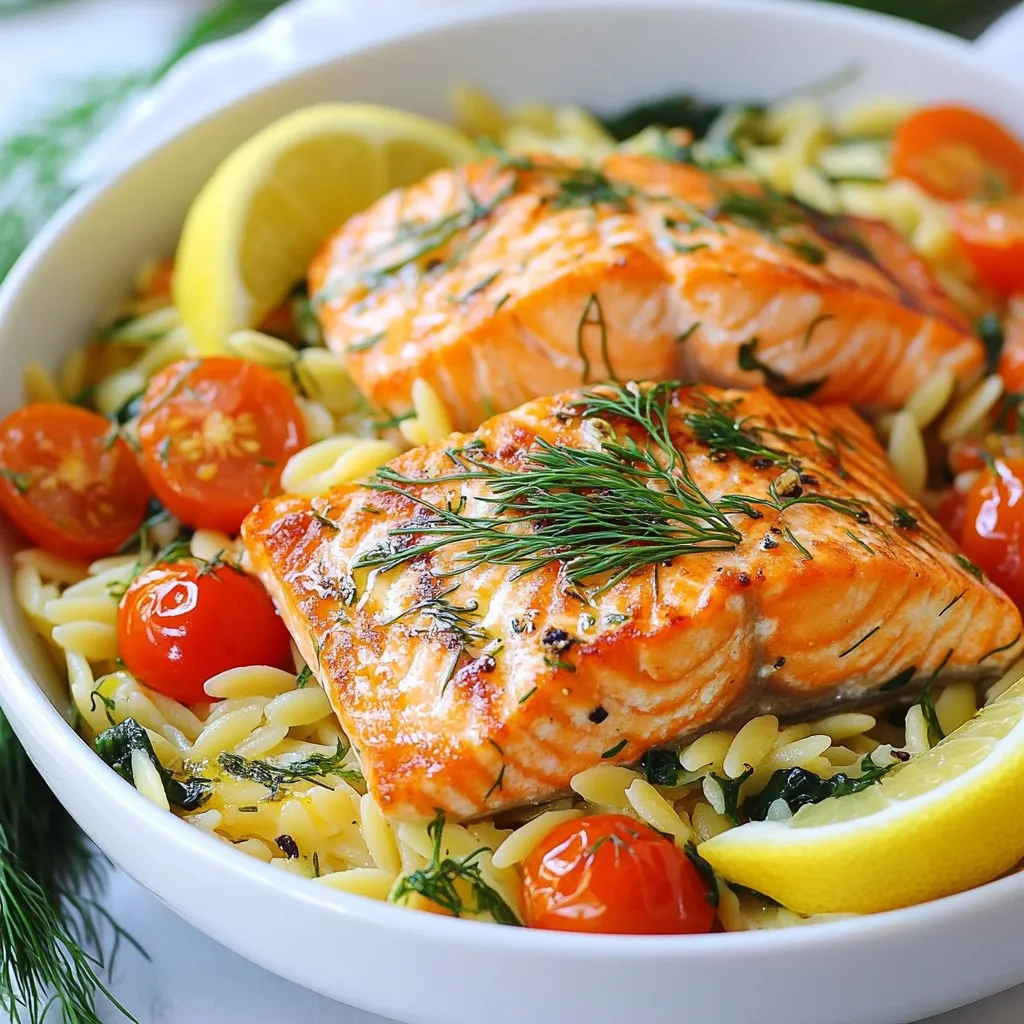
Savory One Skillet Salmon Lemon Orzo Recipe
Looking for a quick and delicious meal? Try my Savory One Skillet Salmon Lemon Orzo! This easy recipe combines flaky salmon, zesty lemon, and tender
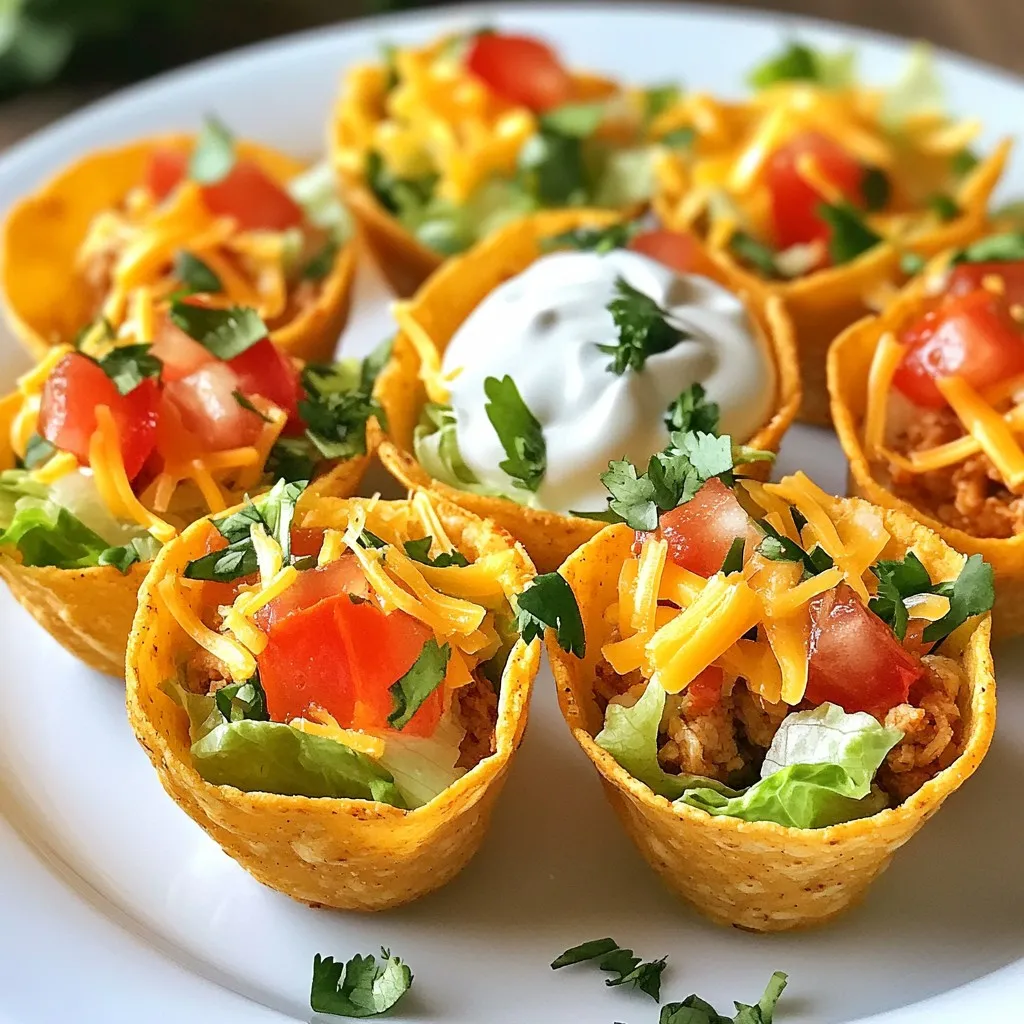
Mini Baked Chicken Tacos Quick and Tasty Treat
Looking for a quick and tasty treat? Mini baked chicken tacos are the answer! With crunchy shells and savory filling, they are a hit for
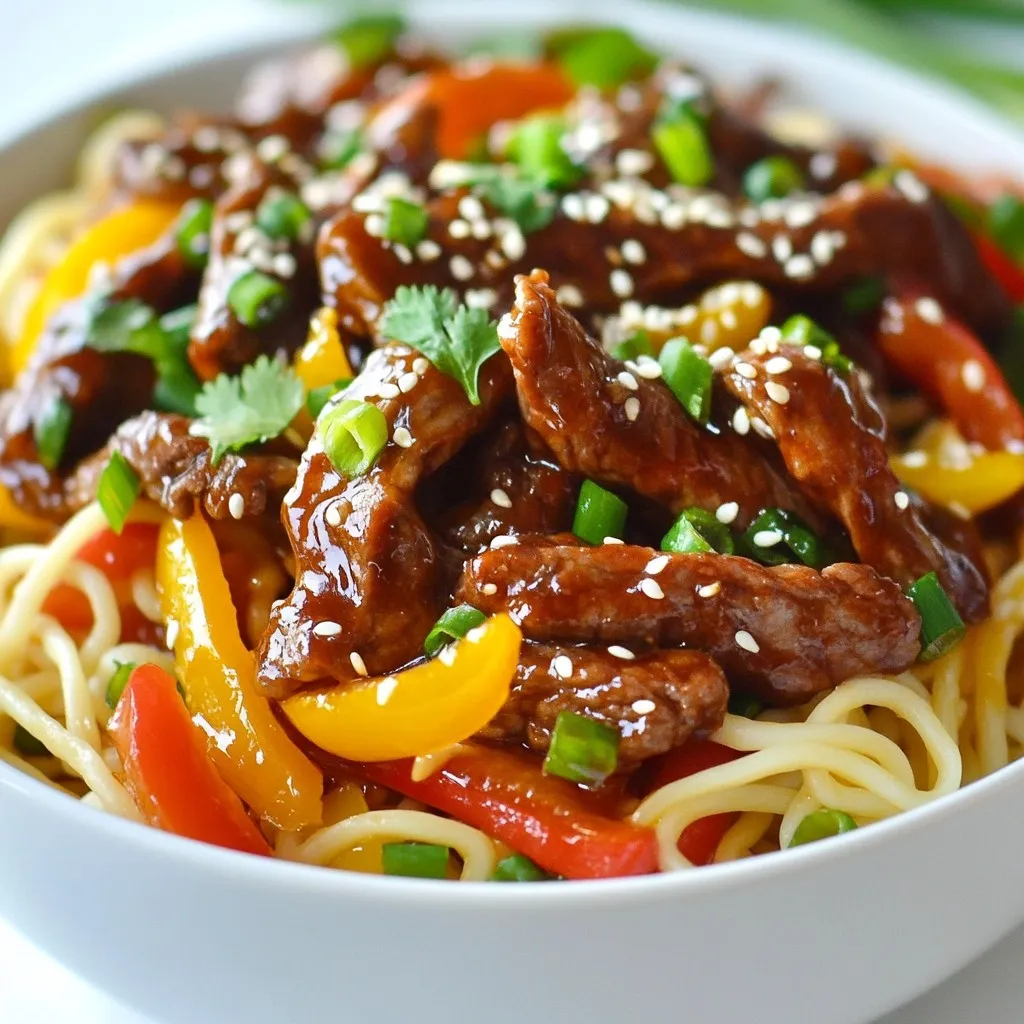
Mongolian Beef Noodles Tasty Dinner Recipe to Try
Looking for a tasty dinner that’s quick and satisfying? You’re in the right place! This Mongolian Beef Noodles recipe is easy to follow and packed
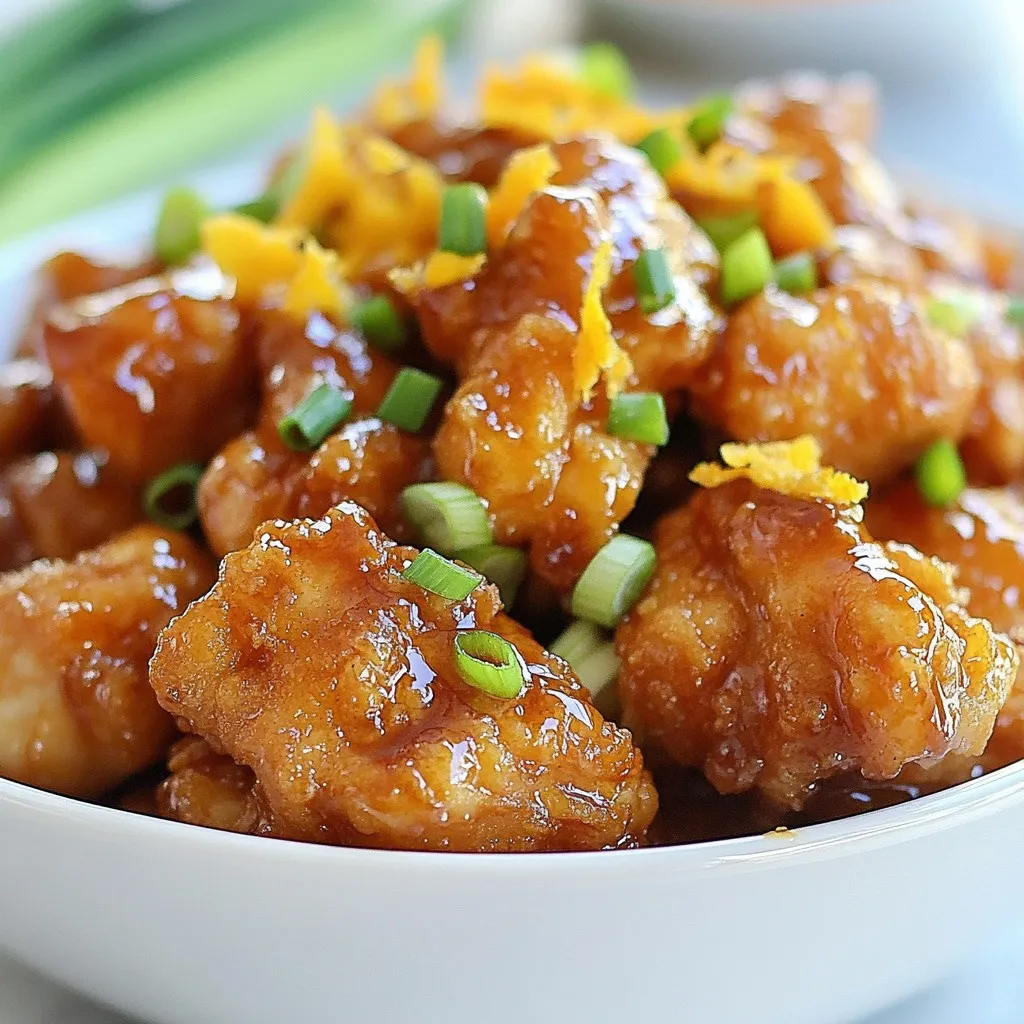
Gluten Free Orange Chicken Flavorful and Easy Meal
Craving a quick and tasty meal? This Gluten Free Orange Chicken is the answer! With a crunchy coating and a sweet, tangy sauce, it’s easy
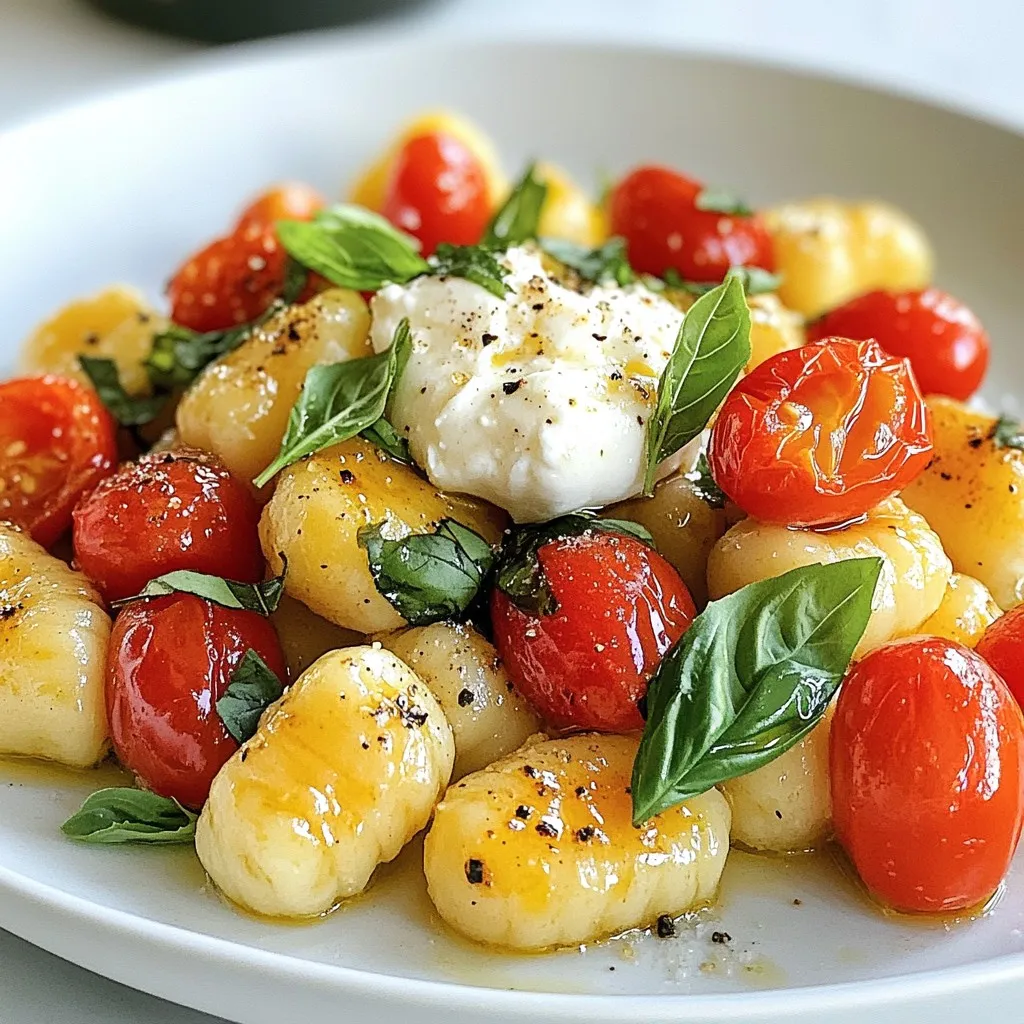
Minute Tomato Burrata Gnocchi Quick and Tasty Meal
Ready for a quick, delicious meal? You’ll love this Minute Tomato Burrata Gnocchi! With fresh tomatoes, soft burrata, and pillowy gnocchi, it’s a feast in