Desserts
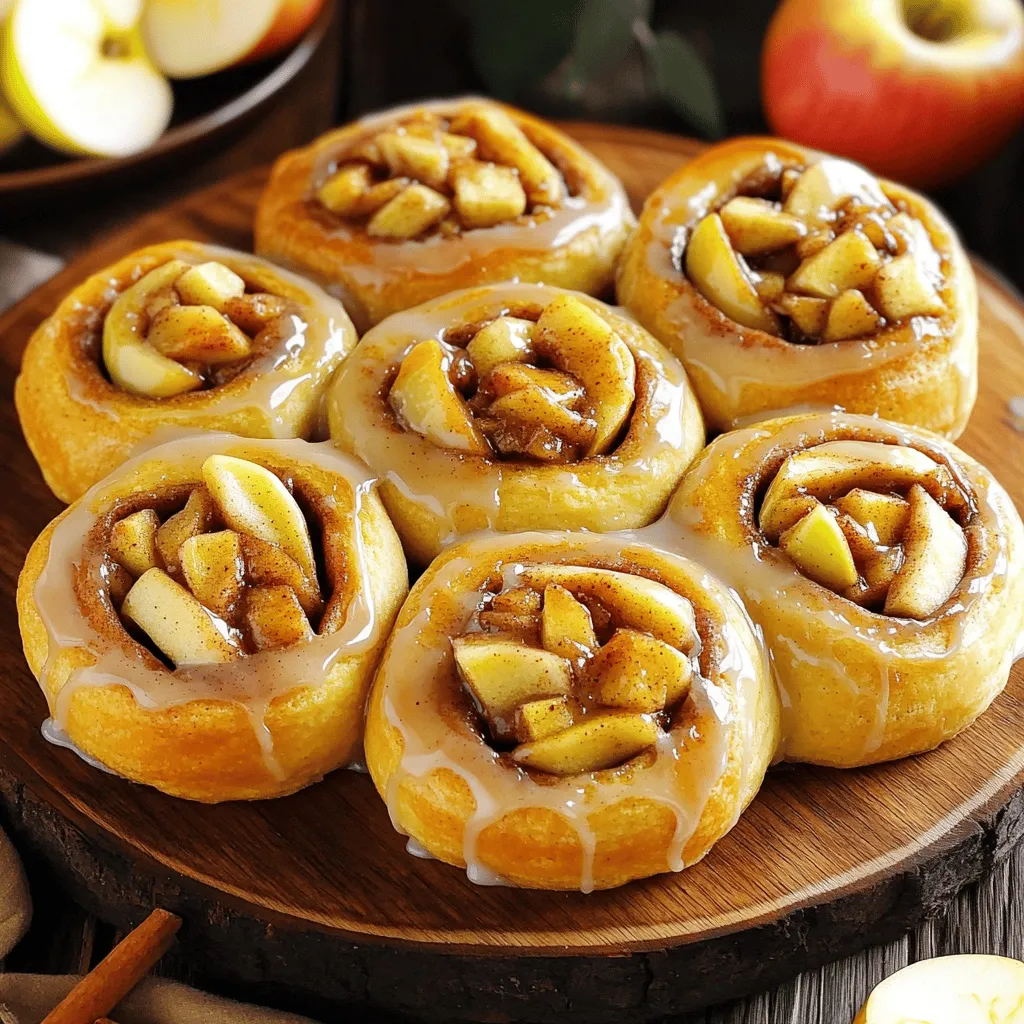
Irresistible Apple Pie Cinnamon Rolls Easy Recipe
Who doesn’t love the warm, sweet smell of fresh cinnamon rolls? Today, I’m excited to share my easy recipe for irresistible Apple Pie Cinnamon Rolls.
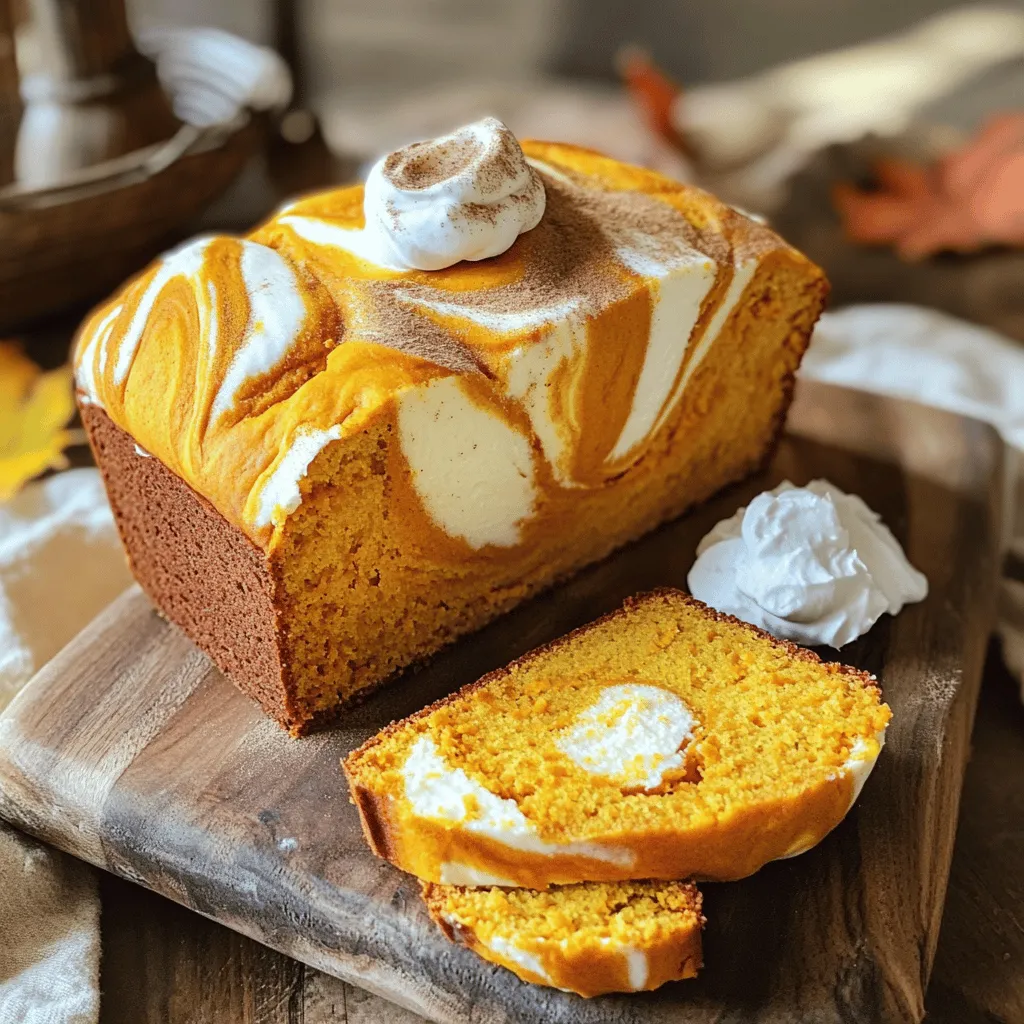
Pumpkin Cream Cheese Bread Delightful Fall Recipe
Are you ready to embrace the cozy flavors of fall? This Pumpkin Cream Cheese Bread will fill your kitchen with warmth and deliciousness. With a
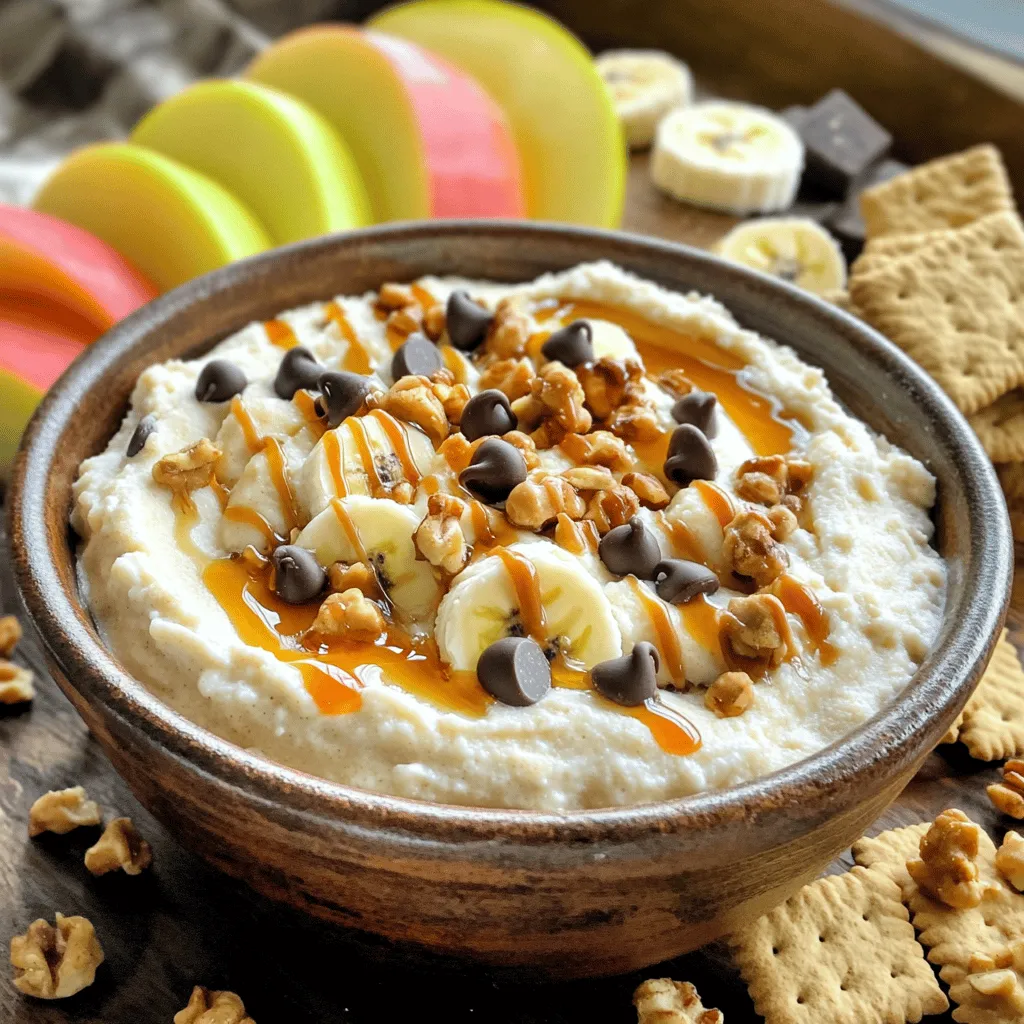
Cottage Cheese Cookie Dough Dip Simple and Tasty Treat
Looking for a fun and tasty treat? You’ll love this Cottage Cheese Cookie Dough Dip! It’s easy to make, loaded with flavor, and perfect for
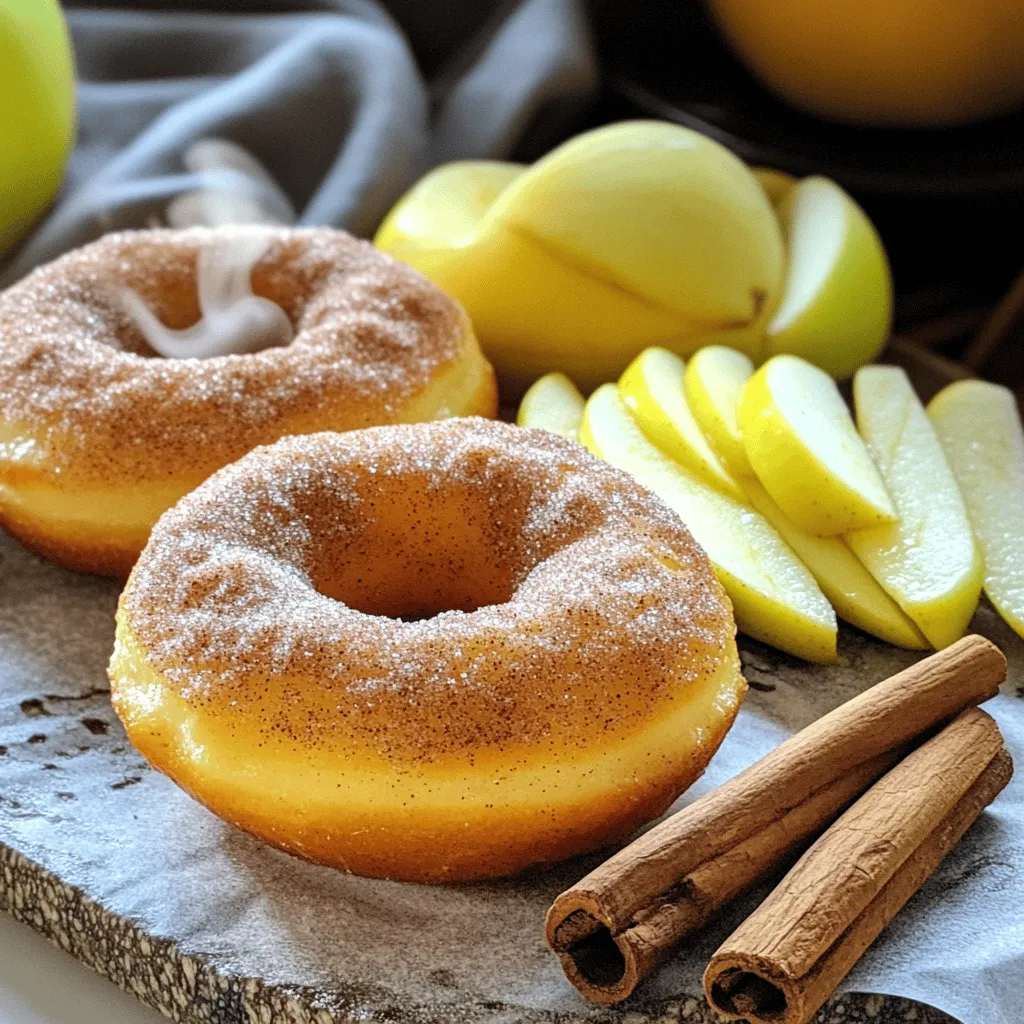
Cinnamon Apple Cider Doughnuts Simple and Delicious Treat
Cinnamon Apple Cider Doughnuts are a tasty treat you’ll love! With warm spices and rich apple flavor, they are perfect for fall or any time
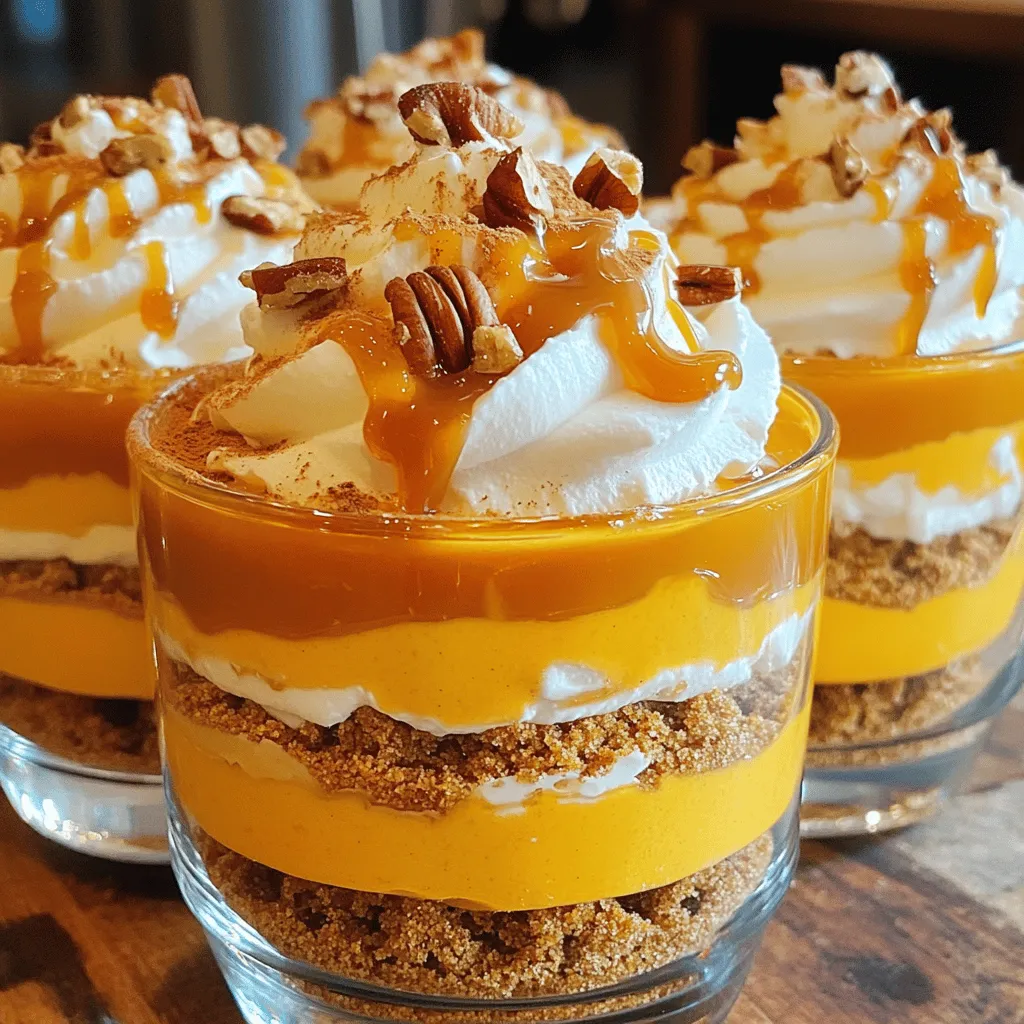
Pumpkin Caramel Cheesecake Trifles Delightful Treat
If you love fall flavors, pumpkin caramel cheesecake trifles are a must-try! These sweet treats combine creamy pumpkin goodness with rich caramel, creating a dessert
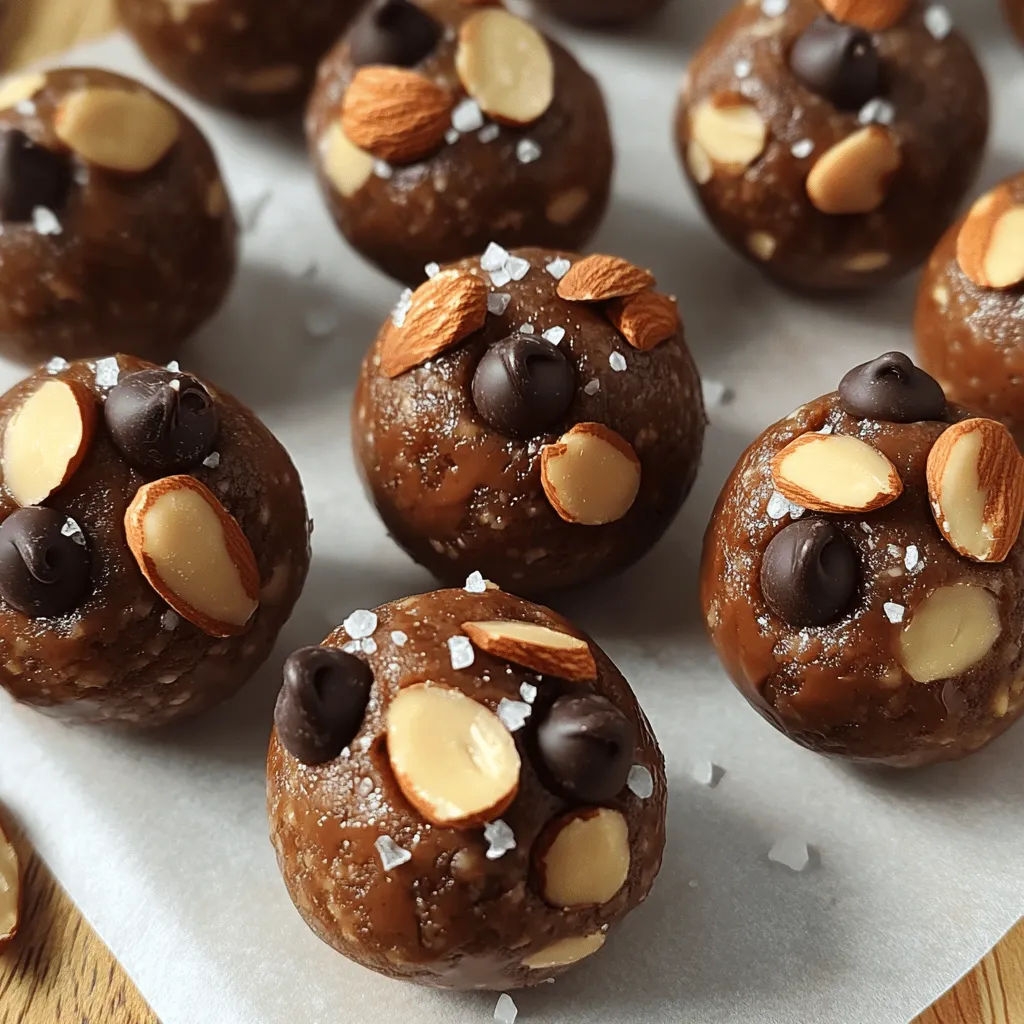
Chocolate Almond Butter Energy Balls Simple Snack Treat
Looking for a quick and tasty snack that fuels your day? You’ll love these Chocolate Almond Butter Energy Balls! With simple ingredients and easy steps,
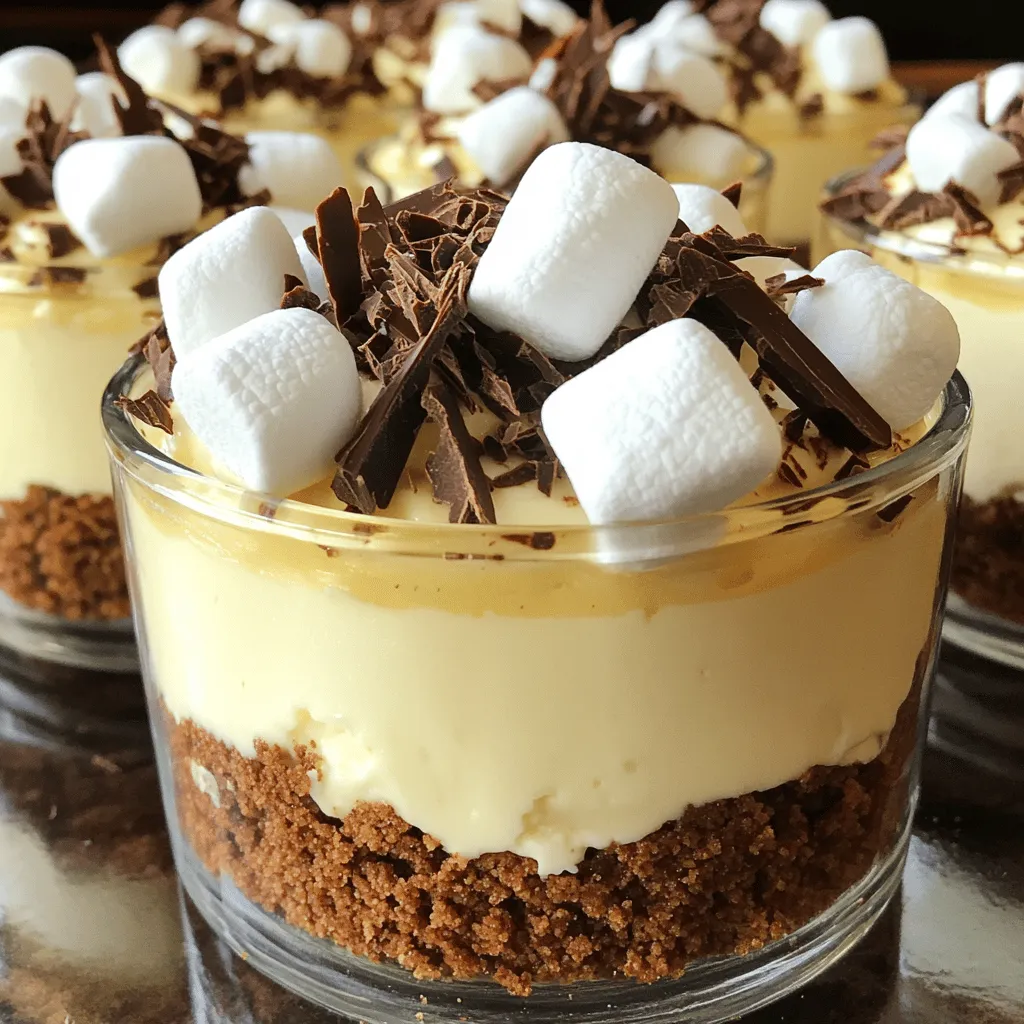
No-Bake S’mores Cheesecake Cups Simple and Delicious
Craving a sweet treat without the heat? You’ll love these No-Bake S’mores Cheesecake Cups! They’re simple, fun, and packed with all the classic s’mores flavors.
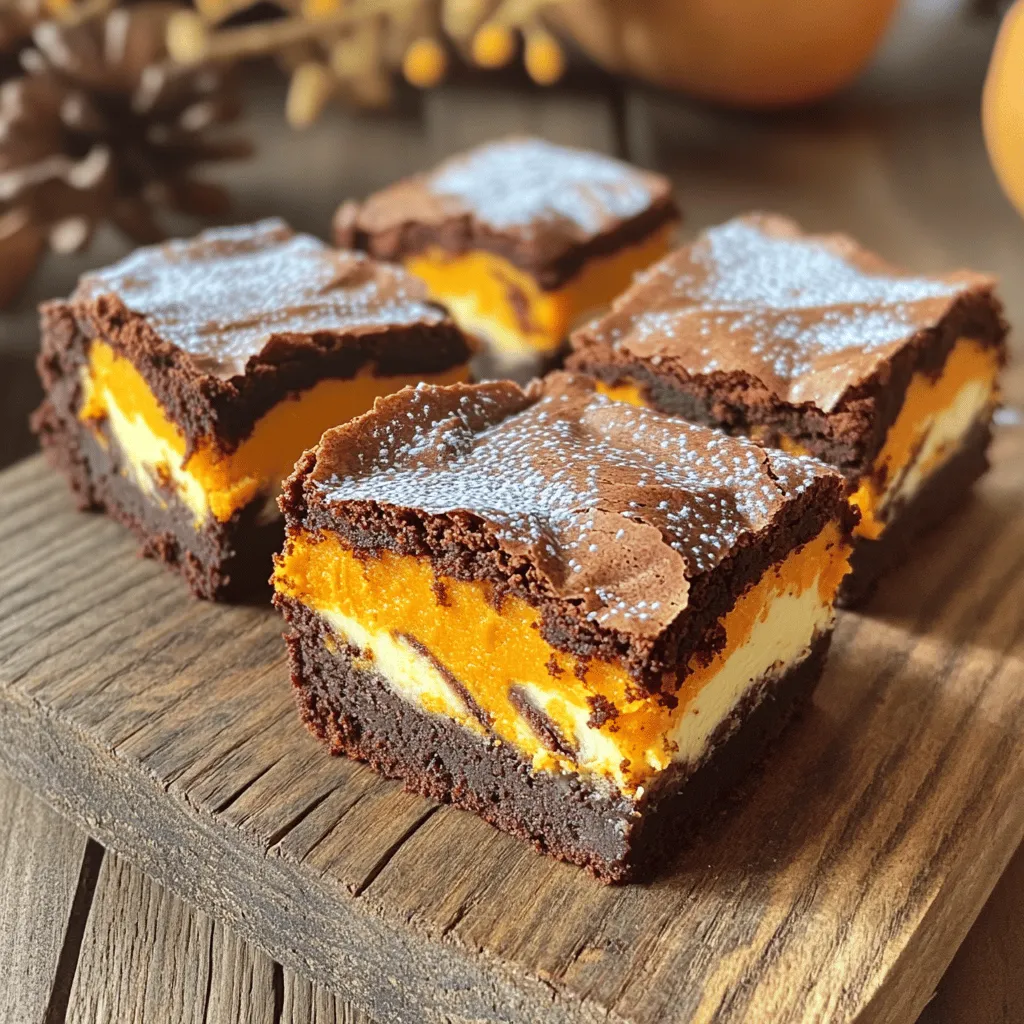
Pumpkin Cream Cheese Swirl Brownies Delightful Treat
If you love fall flavors, you’ll adore these Pumpkin Cream Cheese Swirl Brownies! This sweet treat pairs rich chocolate with creamy pumpkin and spices, creating
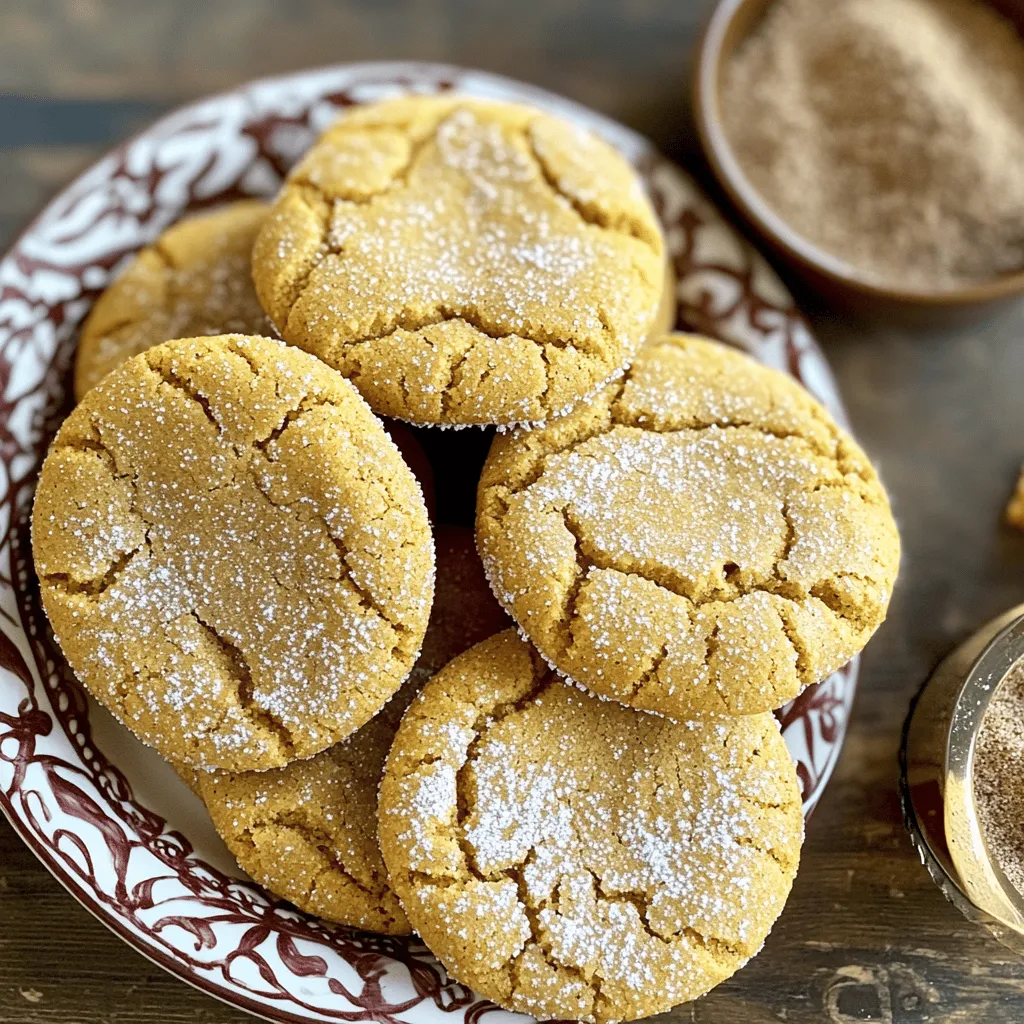
Soft Ginger Molasses Cookies Irresistible Treats
If you’re craving a warm, sweet treat, you’ve come to the right place! Soft ginger molasses cookies are a perfect blend of spice and sweetness.
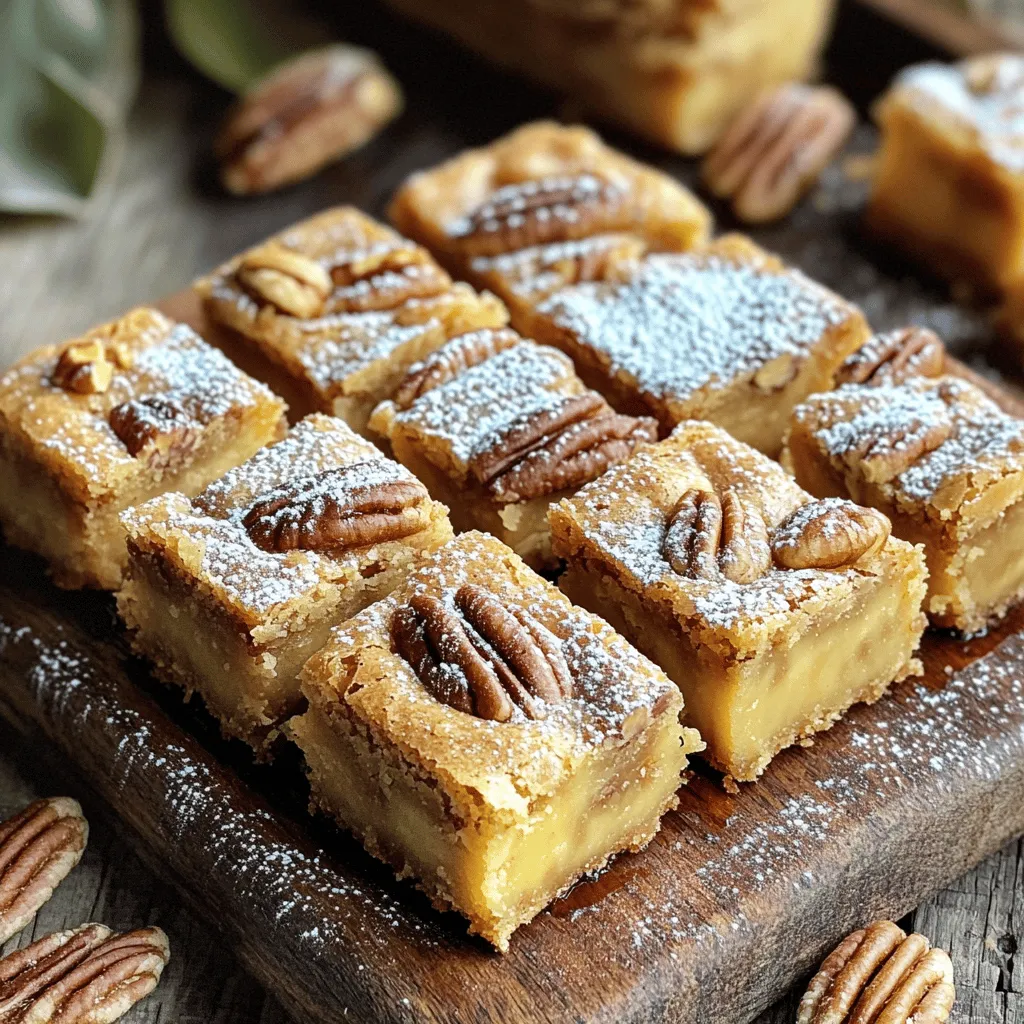
Brown Butter Maple Blondies Delightful Sweet Treat
If you love sweet treats, you’re in for a real treat! These Brown Butter Maple Blondies will wow your taste buds. With a rich, nutty