Desserts

Pumpkin Pie Oatmeal Energy Balls Simple and Tasty Treat
Looking for a tasty snack that packs a punch of flavor and energy? Let me introduce you to Pumpkin Pie Oatmeal Energy Balls! These simple
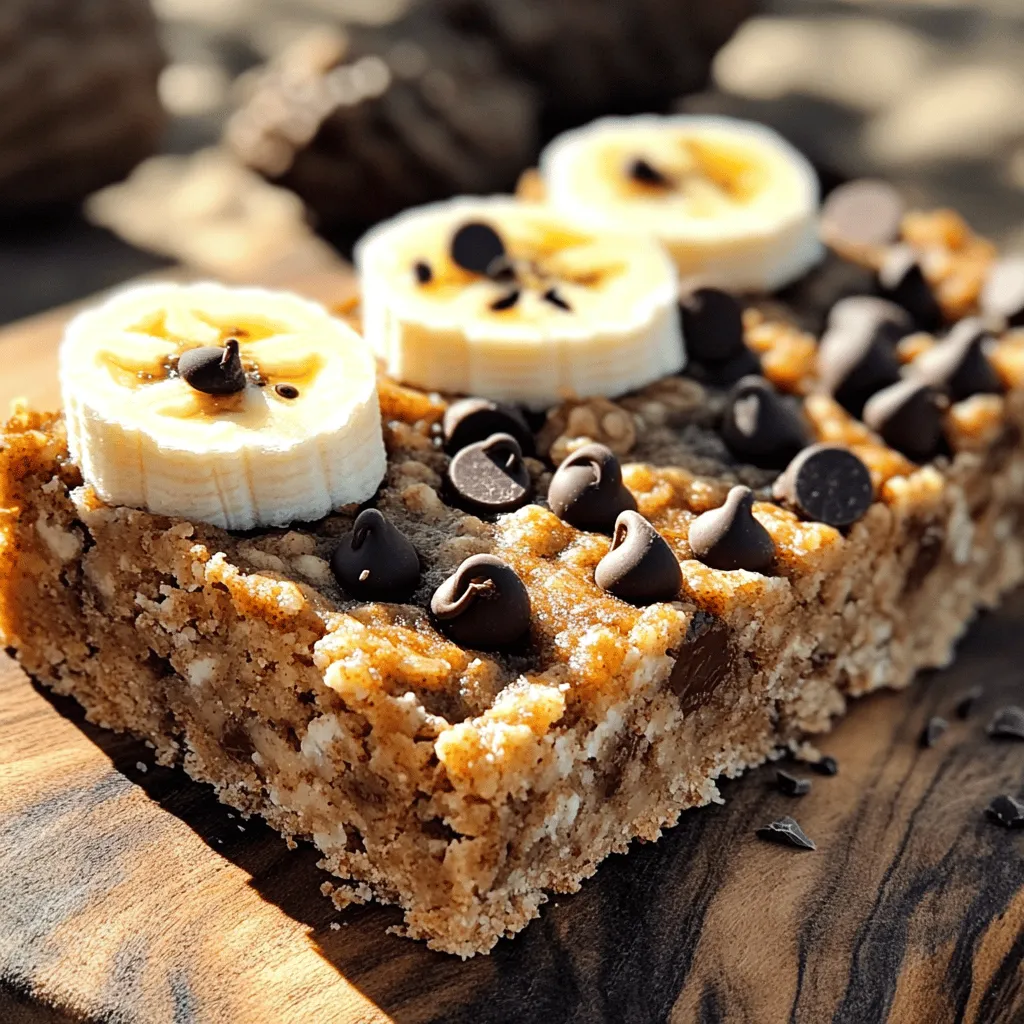
Chocolate Chip Banana Oatmeal Bars Simple and Tasty
Looking for a quick and tasty snack? These Chocolate Chip Banana Oatmeal Bars are your answer! In just a few steps, you can whip up
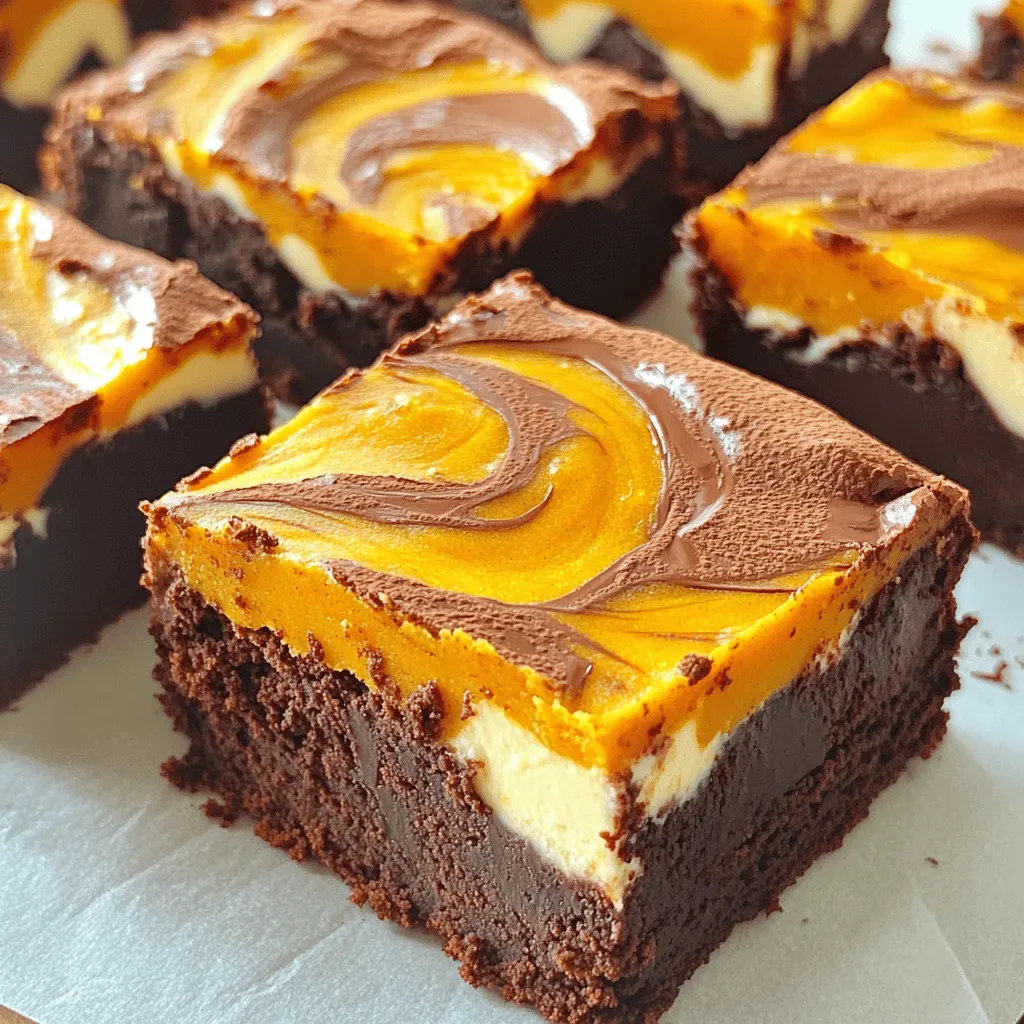
Pumpkin Cream Cheese Brownies Rich and Decadent Treat
If you’re craving a rich and decadent treat, these Pumpkin Cream Cheese Brownies are for you. Imagine biting into a fudgy brownie layered with creamy,
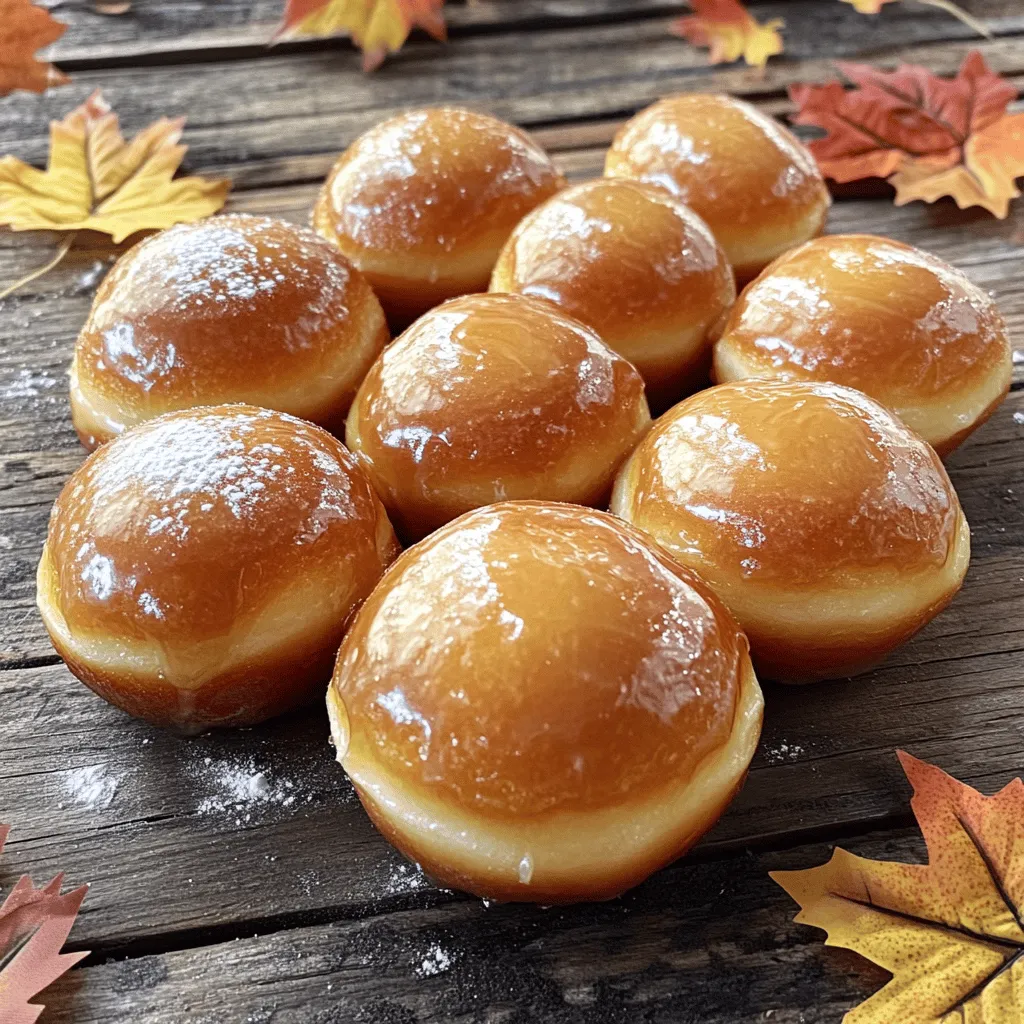
Maple Glazed Donut Holes Tasty Bite-sized Treats
Get ready to indulge in Maple Glazed Donut Holes, the perfect bite-sized treat for any occasion! These warm, fluffy delights combine a sweet maple glaze
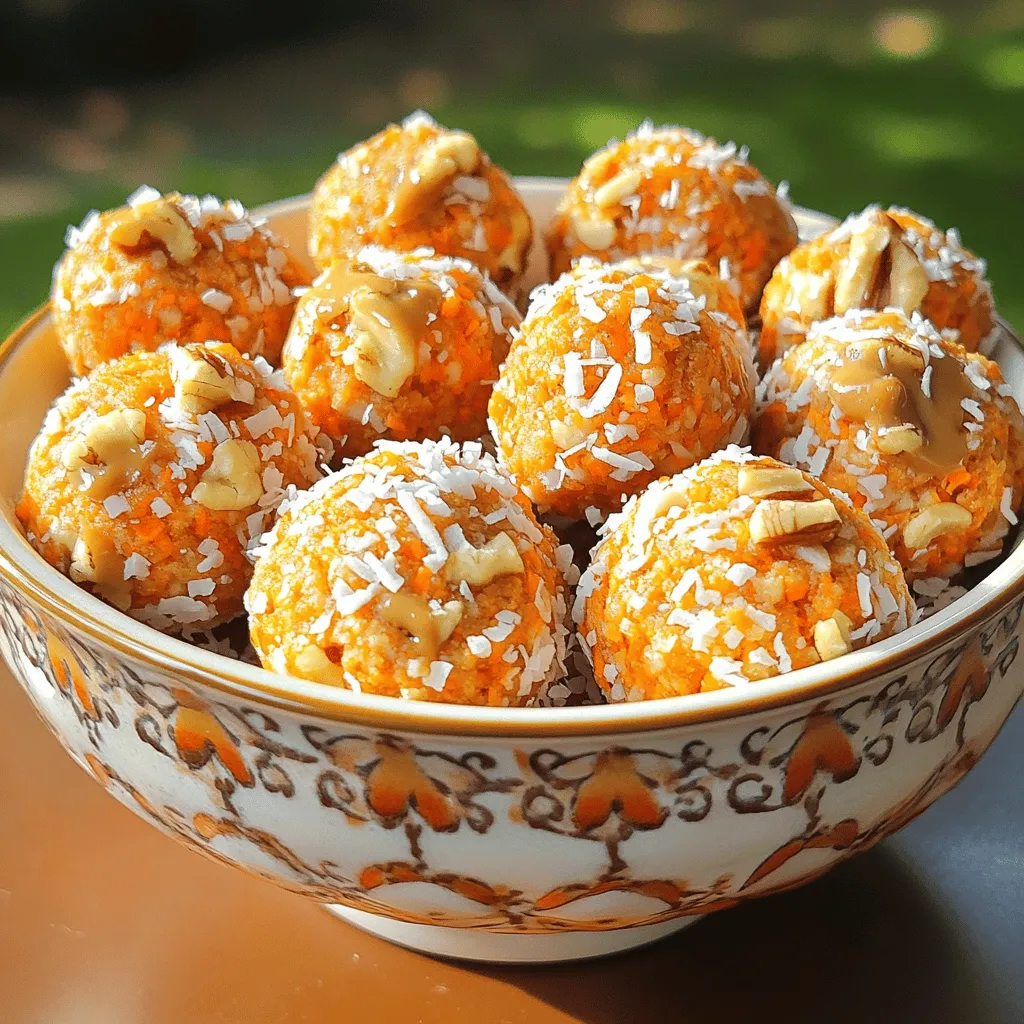
Carrot Cake Energy Bites Tasty and Healthy Snack
Looking for a quick, tasty snack that packs a healthy punch? Carrot Cake Energy Bites are the answer! These little treats are perfect for any
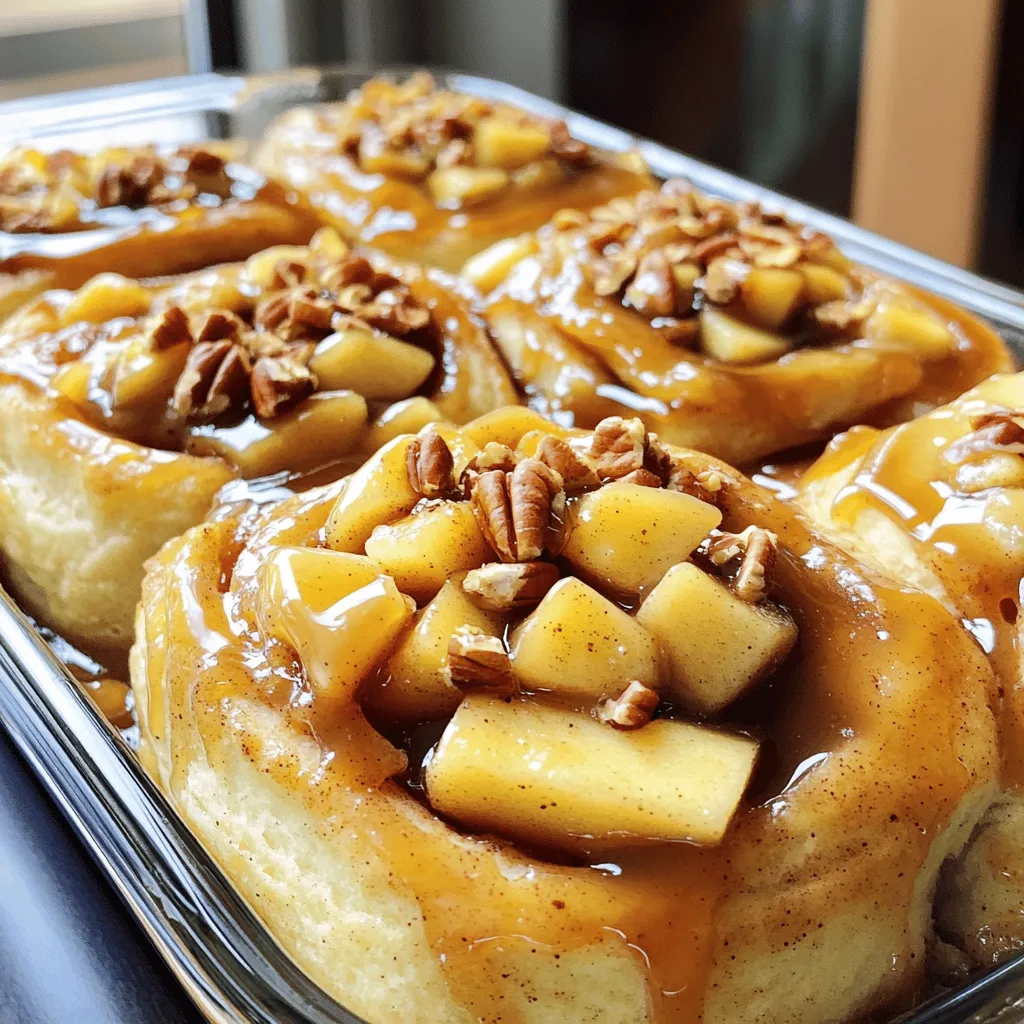
Caramel Apple Cinnamon Roll Bake Delightful Treat
Looking for a sweet treat that’s perfect for any occasion? You’re in for a delight! My Caramel Apple Cinnamon Roll Bake combines warm, gooey cinnamon
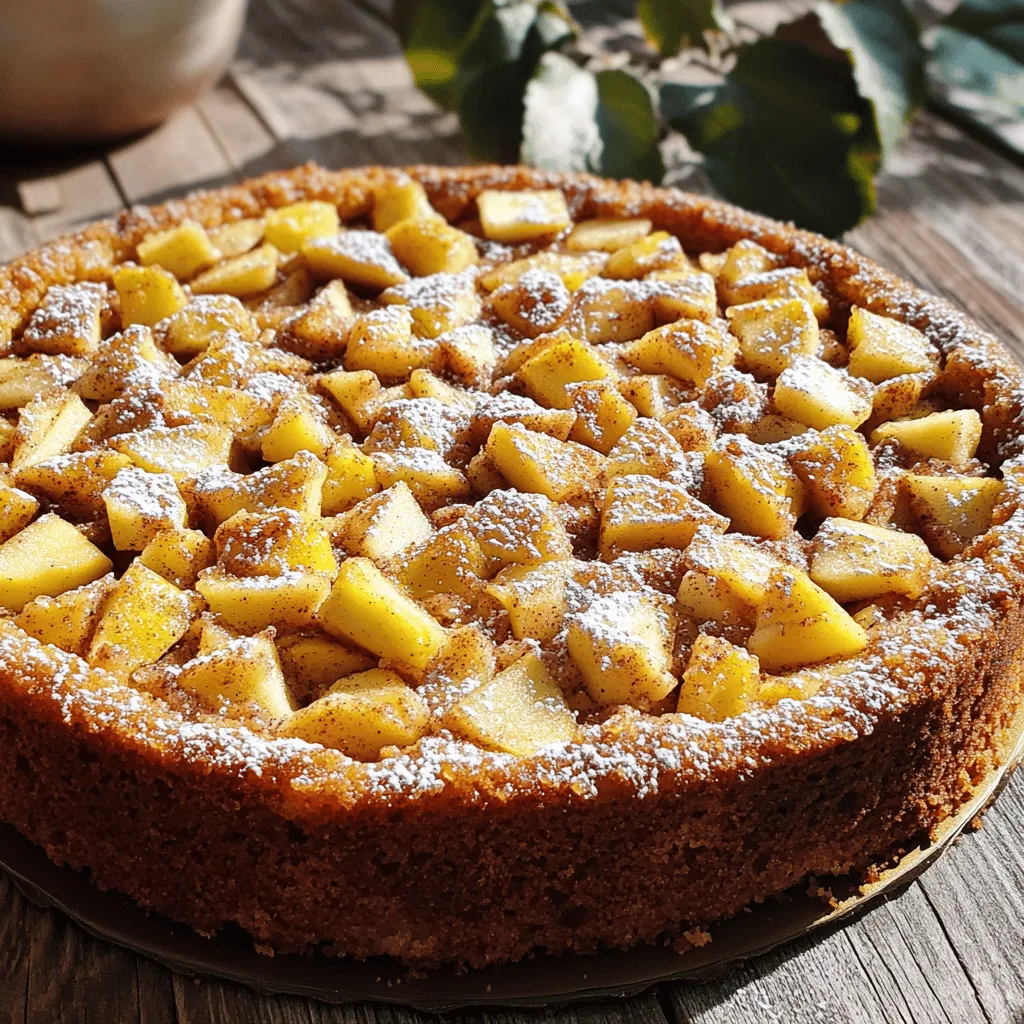
Cinnamon Apple Cake Delightful Recipe to Try Today
If you love the warm, comforting flavor of cinnamon and apple, you’re in for a treat! This Cinnamon Apple Cake is moist, delicious, and easy
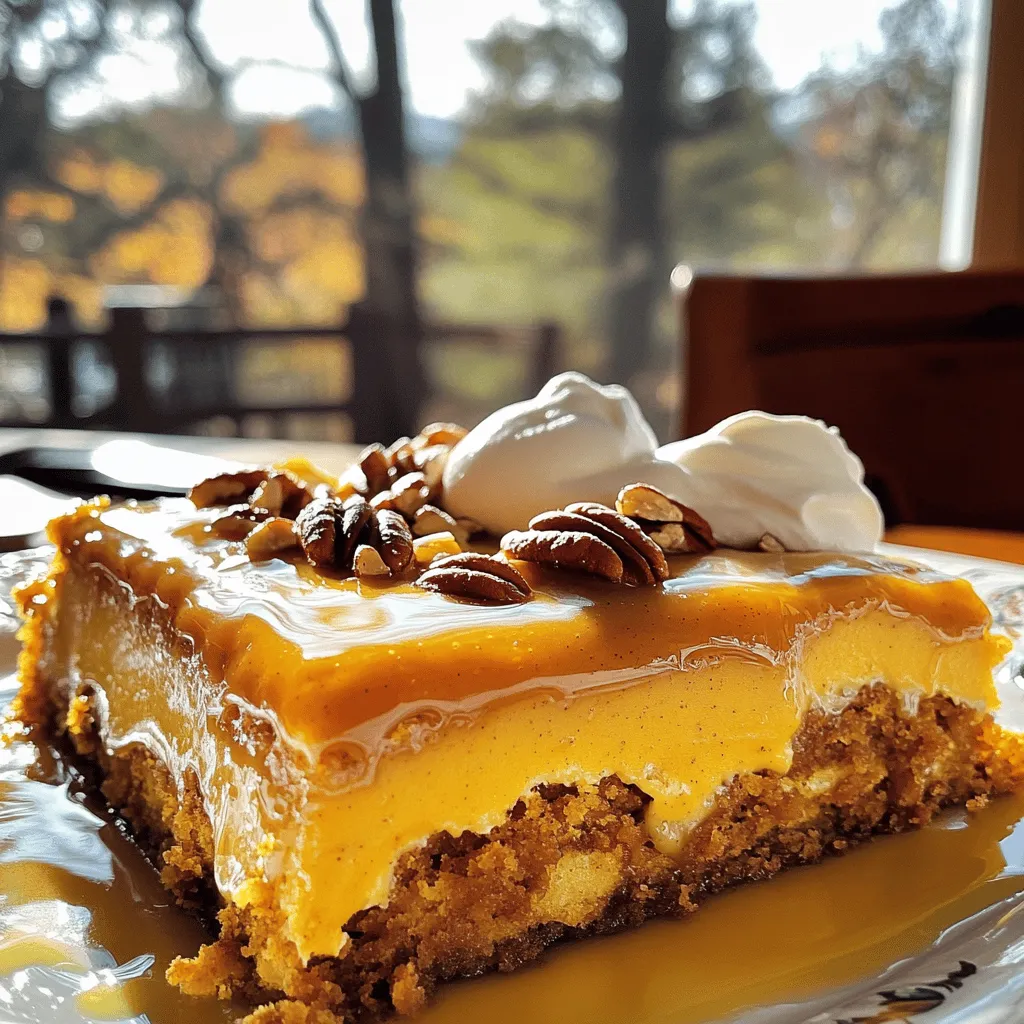
Pumpkin Spice Dump Cake Easy and Delicious Dessert
Fall is the perfect time to indulge in warm, cozy flavors, and there’s no better way to celebrate than with a Pumpkin Spice Dump Cake.
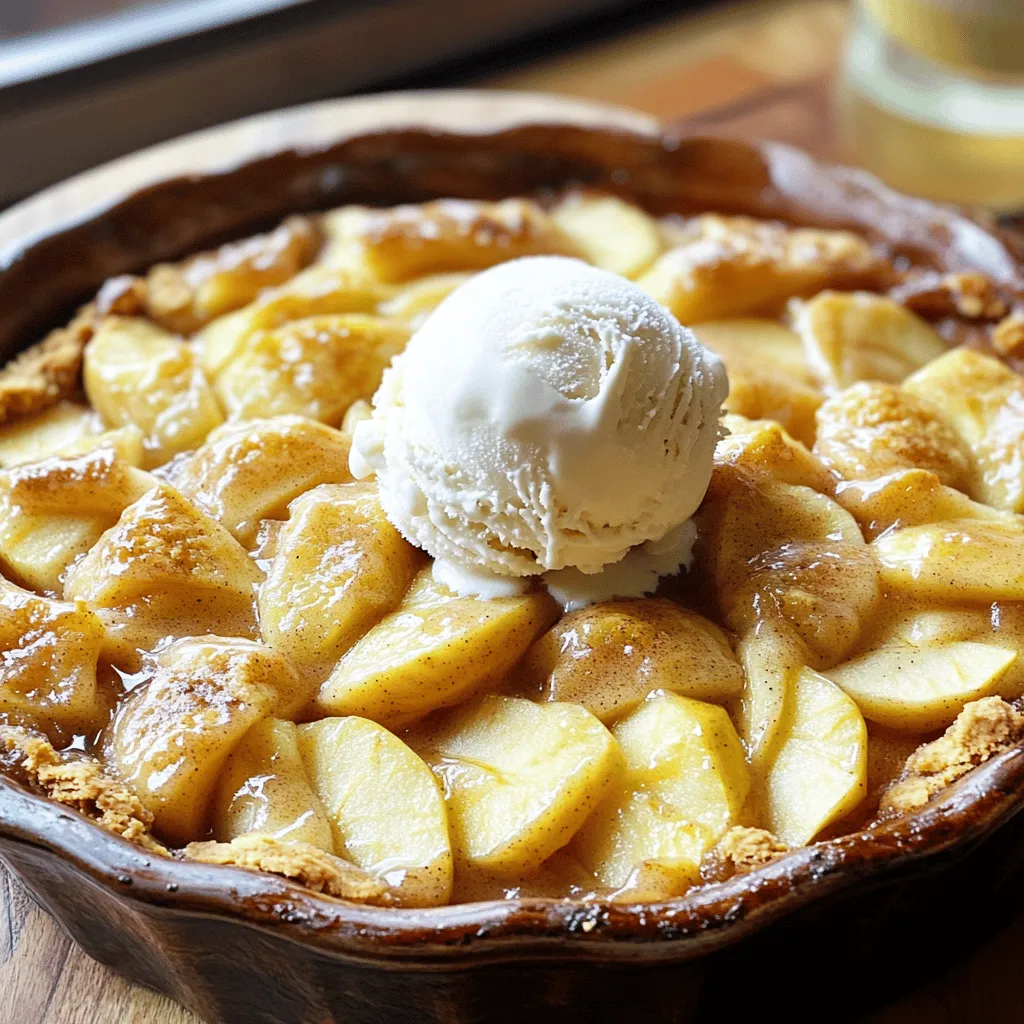
Old-Fashioned Apple Cobbler Simple and Tasty Treat
Craving a warm, sweet treat that’s easy to make? Look no further! This Old-Fashioned Apple Cobbler is your perfect answer. You’ll love the simple ingredients
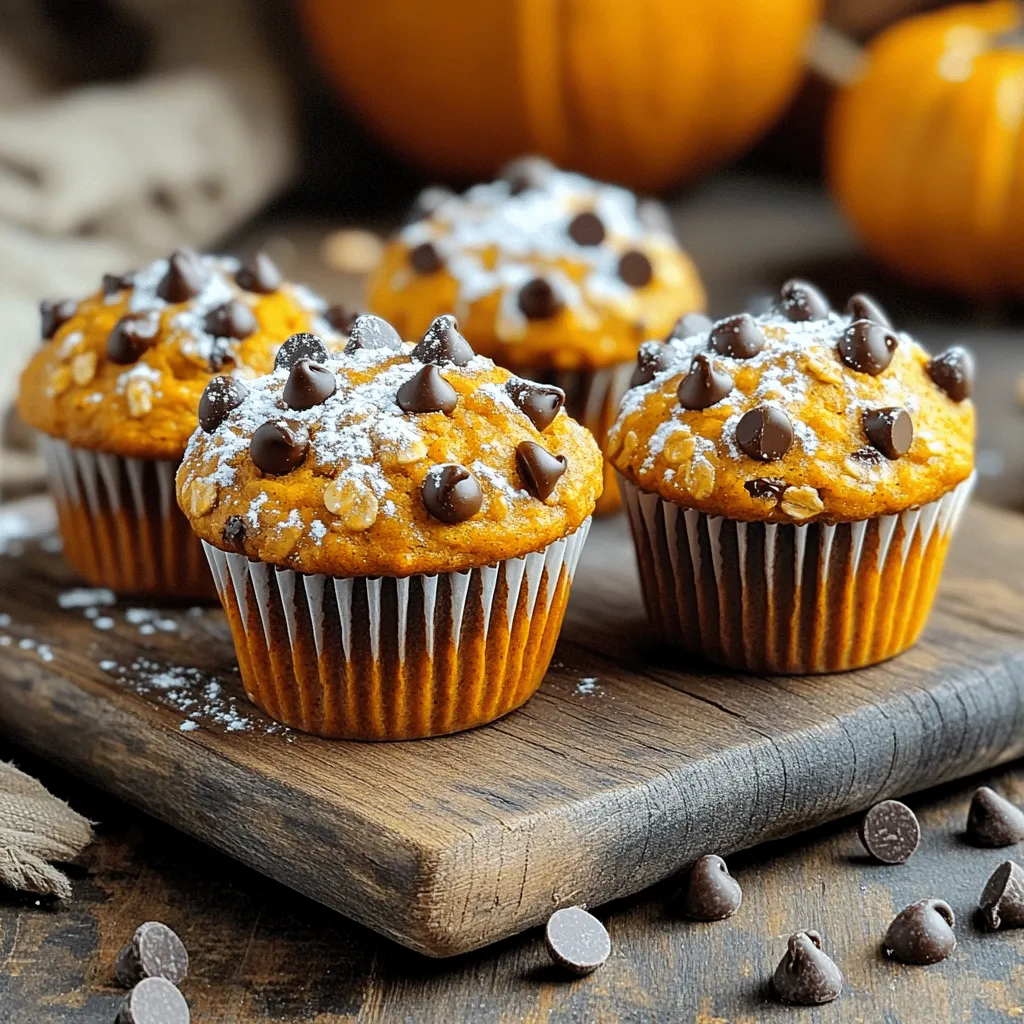
Pumpkin Chocolate Chip Oatmeal Muffins Delightful Treat
Are you ready to indulge in a warm, sweet treat that’s packed with flavor? These Pumpkin Chocolate Chip Oatmeal Muffins are not just any muffins—they’re