Desserts
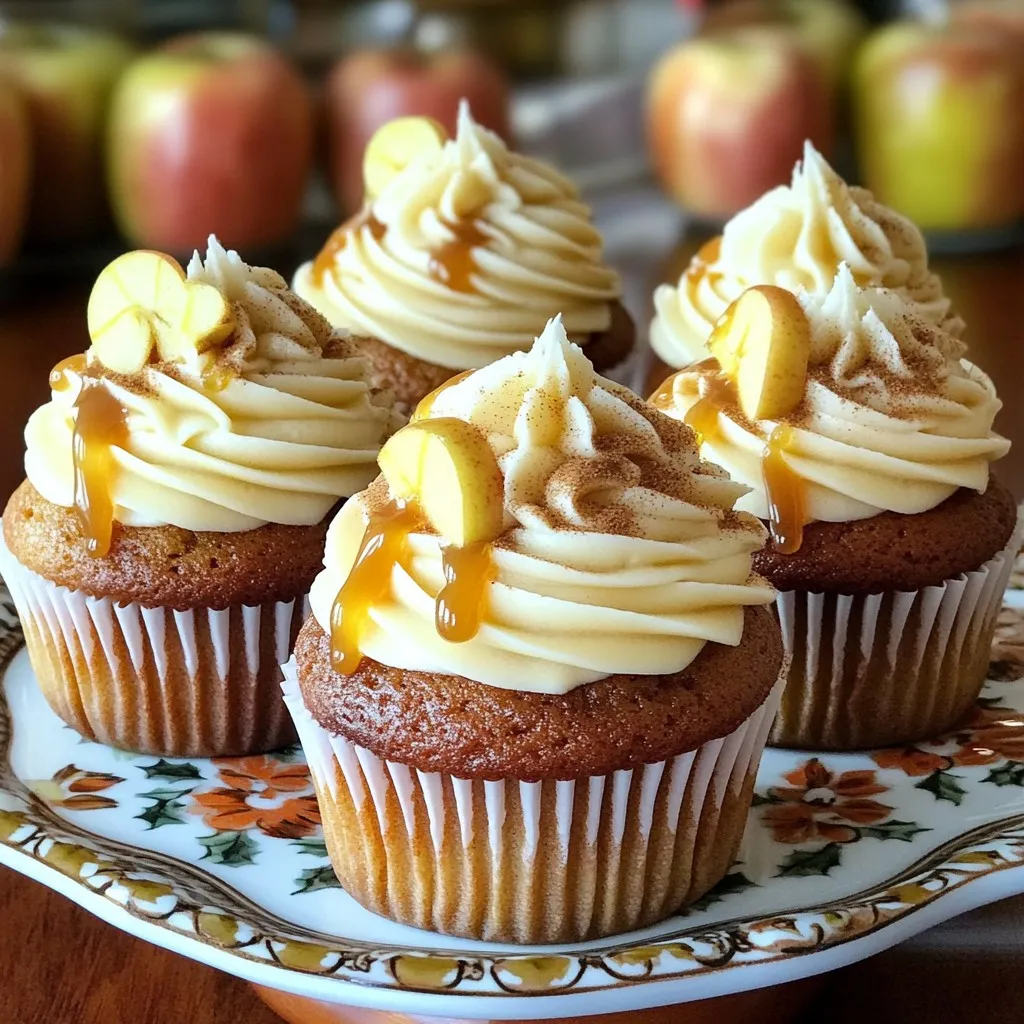
Spiced Caramel Apple Cupcakes with Buttercream Delight
Get ready to indulge in a treat that’s bursting with fall flavors! My Spiced Caramel Apple Cupcakes with Buttercream Delight will amaze your taste buds
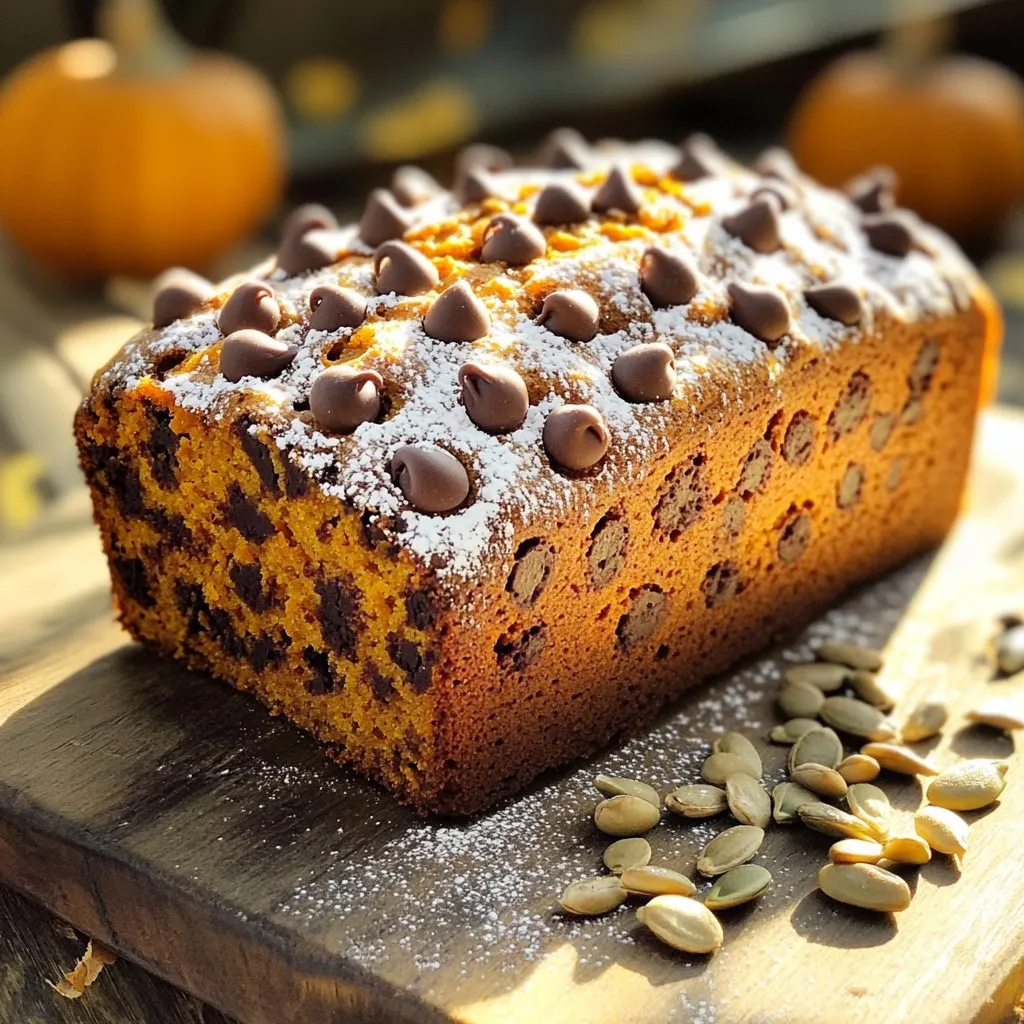
Chocolate Chip Pumpkin Bread Bakery Style Delight
Are you ready to bake something that smells like fall? My Chocolate Chip Pumpkin Bread Bakery Style Delight is the perfect blend of sweet and
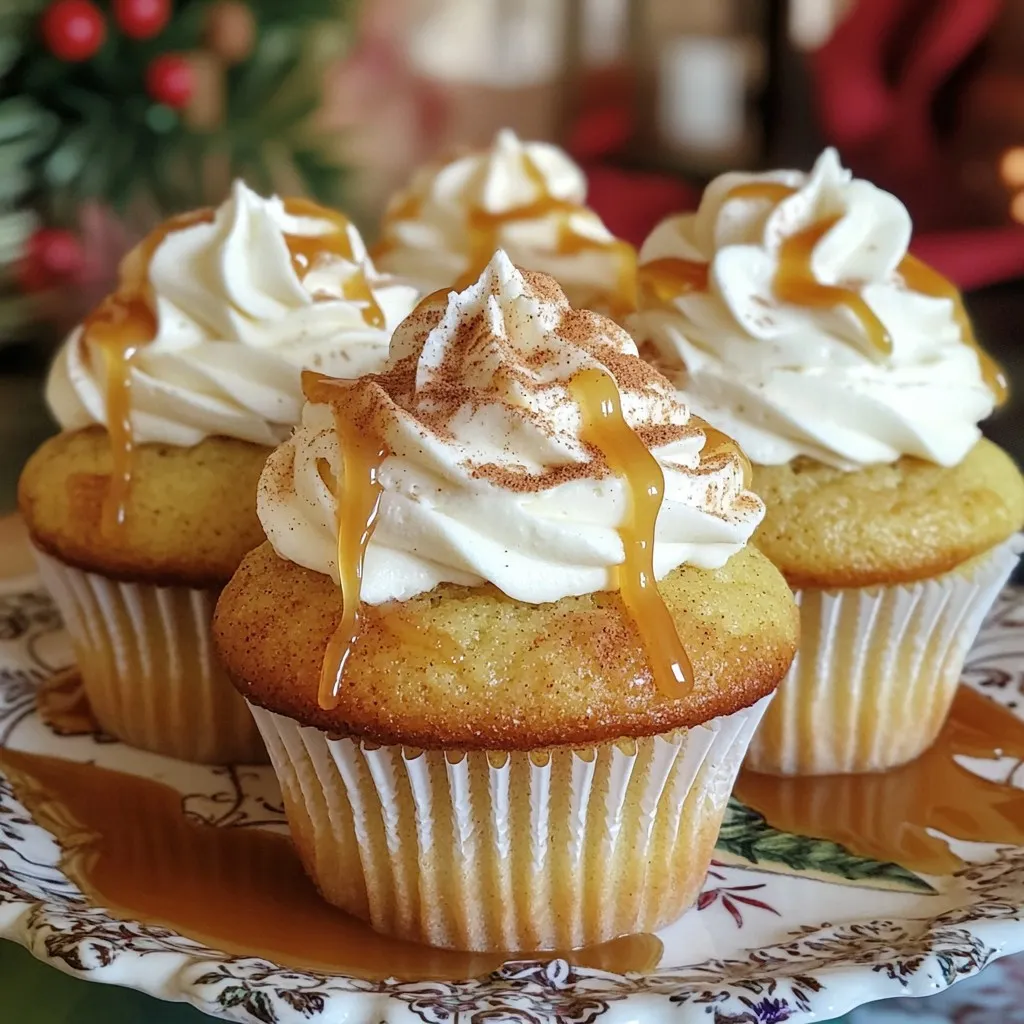
Spiced Caramel Latte Cupcakes Irresistible Delight
Get ready to delight your taste buds with my Spiced Caramel Latte Cupcakes! These treats combine rich coffee, warm spices, and sweet caramel in every
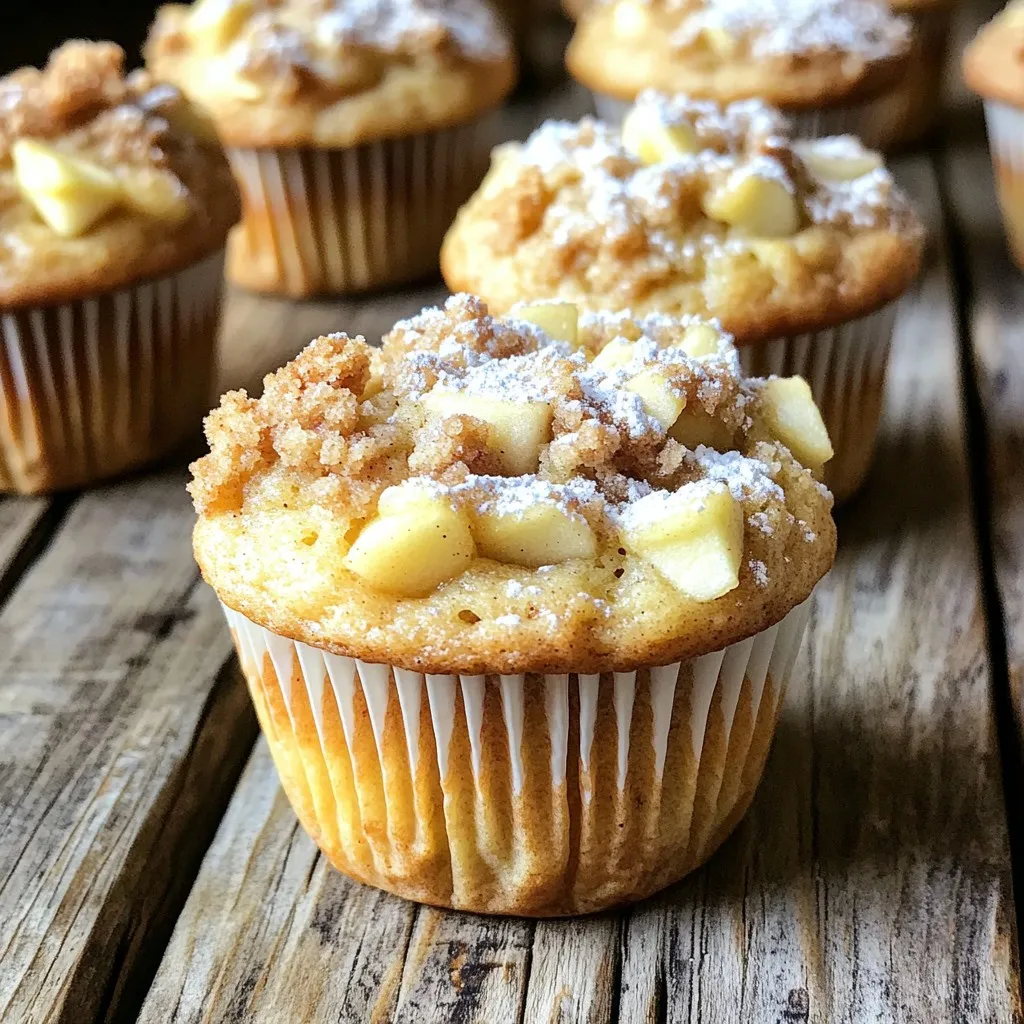
Bakery Style Apple Streusel Muffins Delightful Treat
Are you ready to indulge in a delightful treat? These Bakery Style Apple Streusel Muffins are just what you need! With a soft, fluffy texture
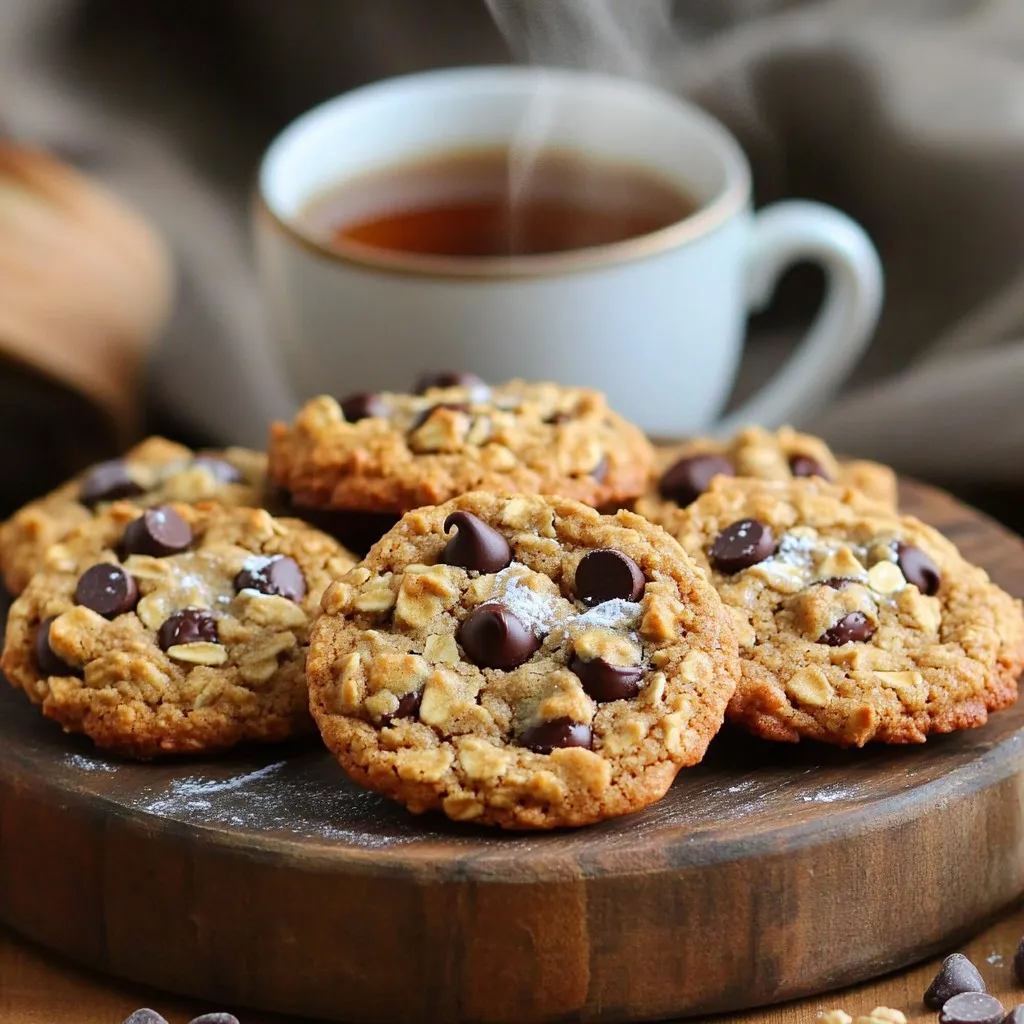
Chai-Spiced Oatmeal Chocolate Chip Cookies Delight
Are you ready to bring a warm, spicy twist to your cookie game? In this post, I’ll show you how to create Chai-Spiced Oatmeal Chocolate
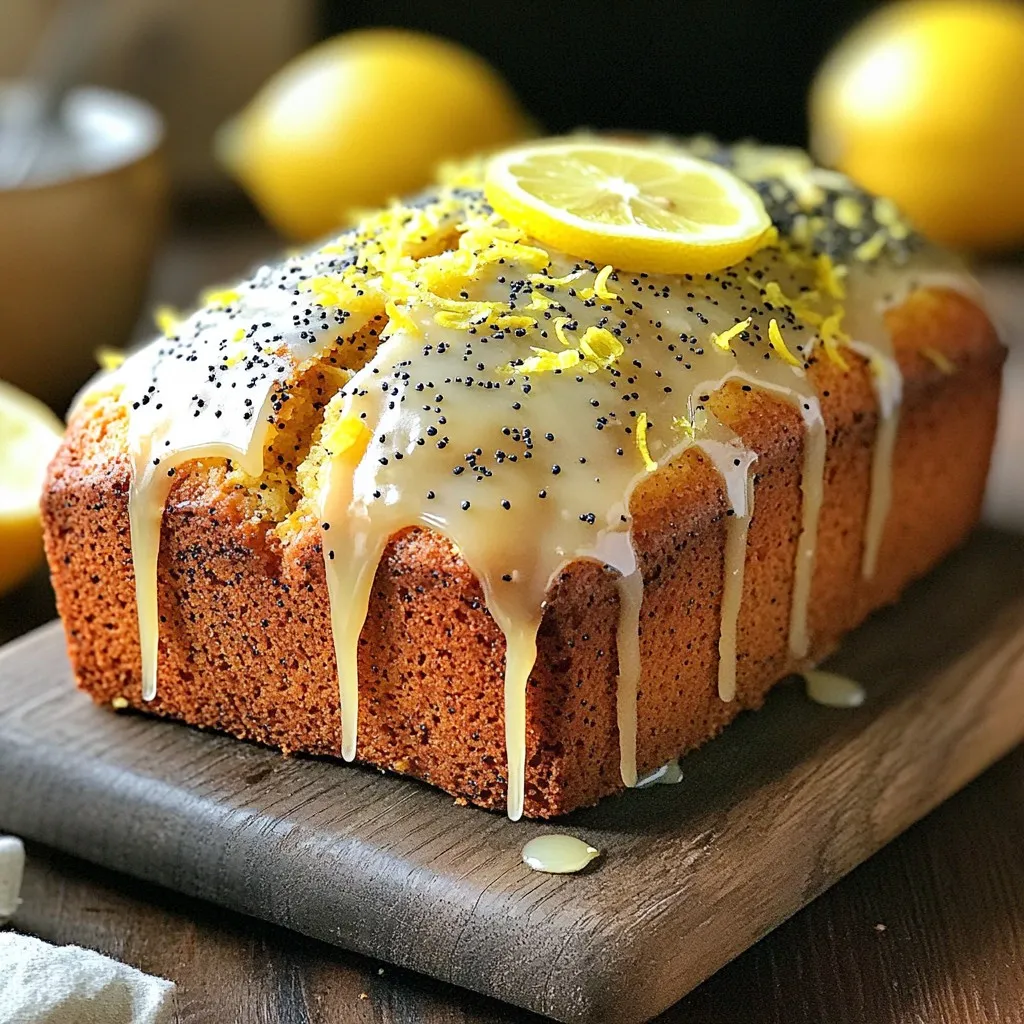
Bakery-Style Lemon Poppy Seed Loaf Fresh and Flavorful
If you love fresh, zesty flavors, then you’re in for a treat! This Bakery-Style Lemon Poppy Seed Loaf is bright, rich, and easy to make.
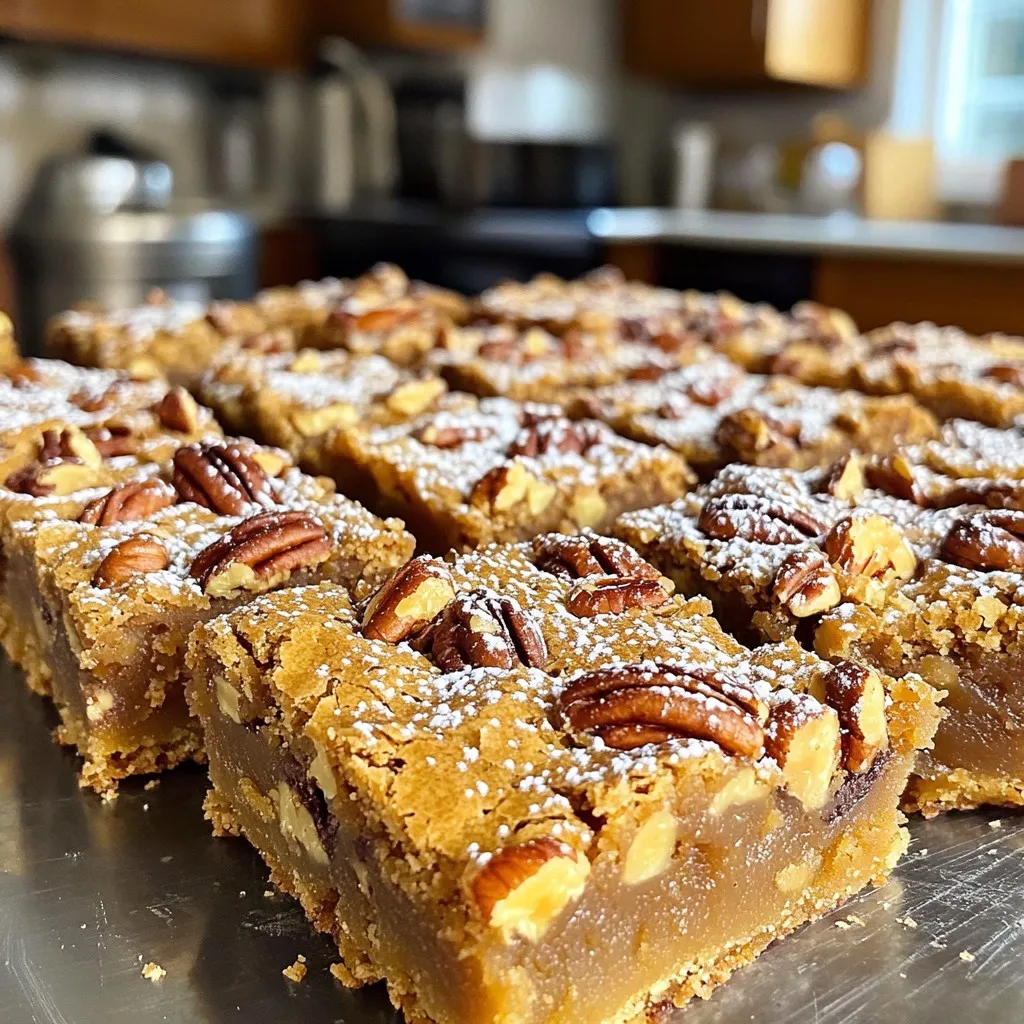
Brown Sugar Pecan Pie Blondies Decadent Dessert Recipe
If you love rich, chewy desserts, you’ll adore these Brown Sugar Pecan Pie Blondies. They mix the sweet flavors of classic pecan pie with the
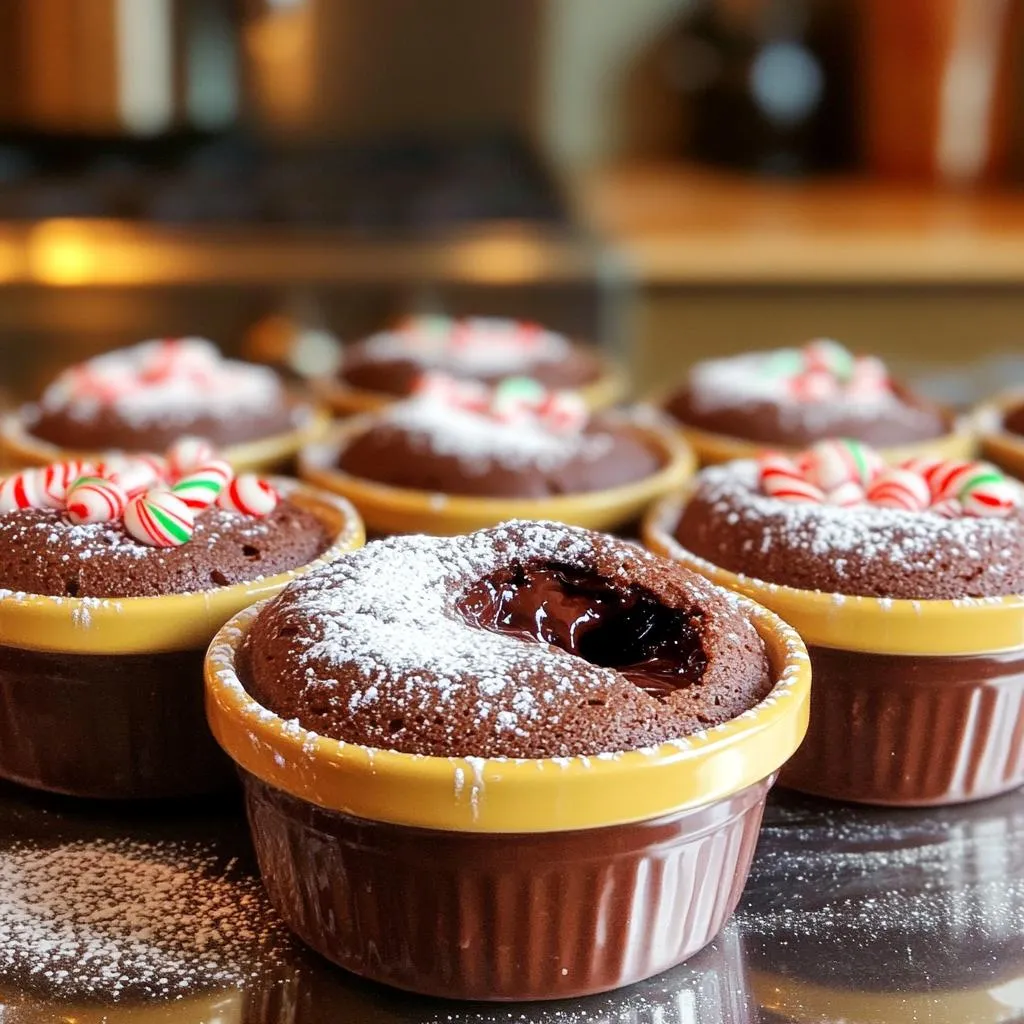
Warm Chocolate Peppermint Lava Cakes Decadent Delight
Indulge in the rich, warm joy of chocolate with my Warm Chocolate Peppermint Lava Cakes. This decadent delight will impress your guests and make you
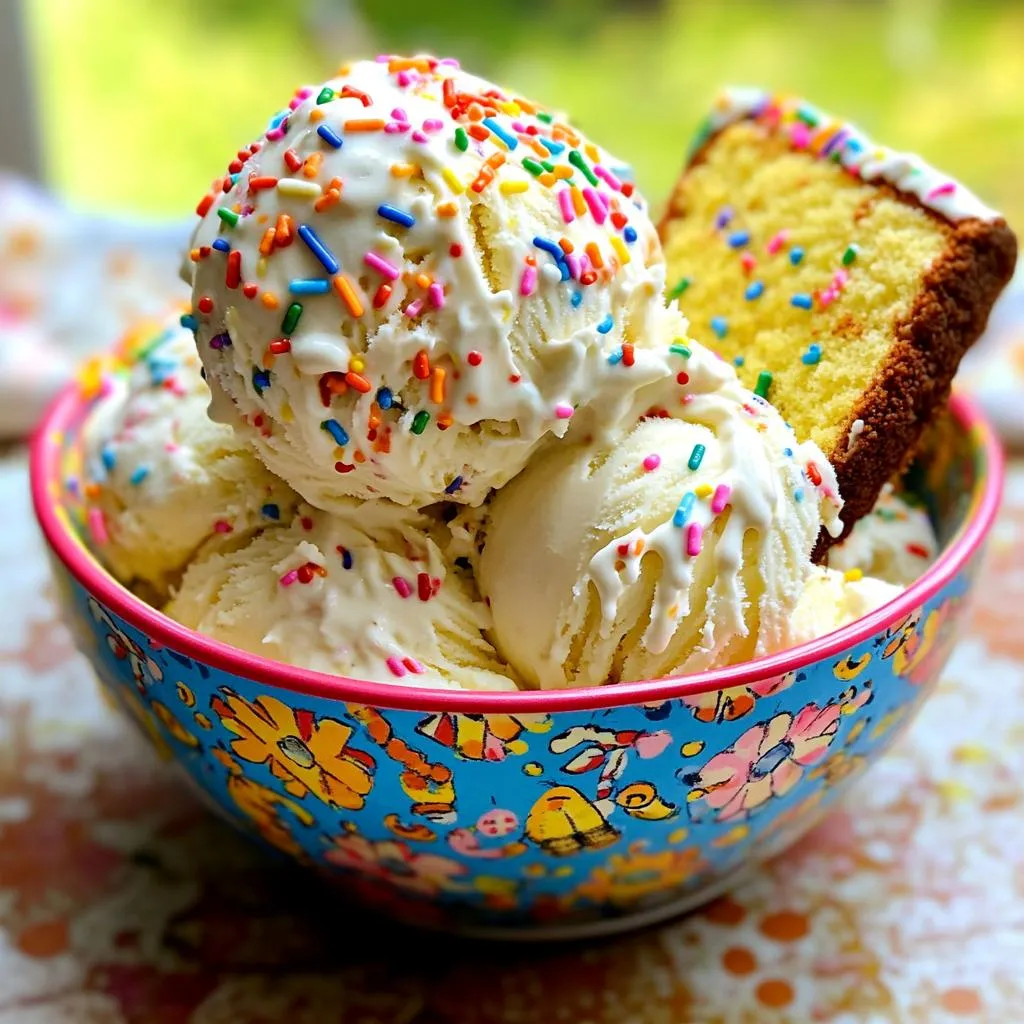
No-Churn Birthday Cake Ice Cream Delight Easy Recipe
Are you ready to whip up a sweet treat without an ice cream maker? I’m excited to share my No-Churn Birthday Cake Ice Cream Delight
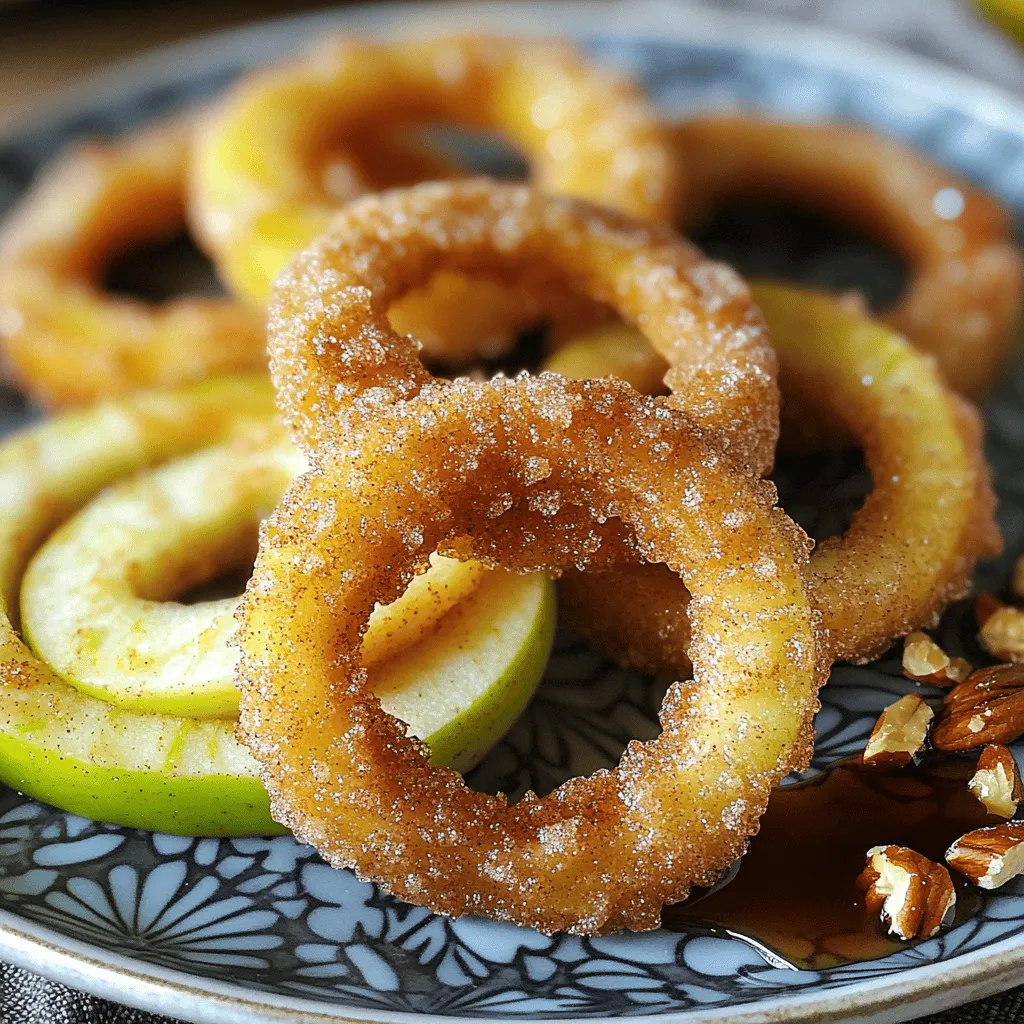
Air Fryer Cinnamon Sugar Apple Rings Delightful Snack
Looking for a tasty treat that’s quick and easy? Try my Air Fryer Cinnamon Sugar Apple Rings! These delightful snacks are a perfect blend of