Desserts

The Best Peach Cobbler Recipe Simple and Tasty Delight
Are you ready to wow your guests with a dessert that’s as easy as it is delicious? My Best Peach Cobbler Recipe is a simple
Zucchini Bread Deliciously Moist and Easy Recipe
If you’re seeking the ultimate comfort food, look no further than this moist zucchini bread recipe! Packed with fresh zucchini and delightful spices, it’s a

Peaches and Cream Pie Delightful Simple Recipe
Are you ready to elevate your dessert game? This Peaches and Cream Pie is the perfect blend of fresh peaches and creamy goodness. With easy

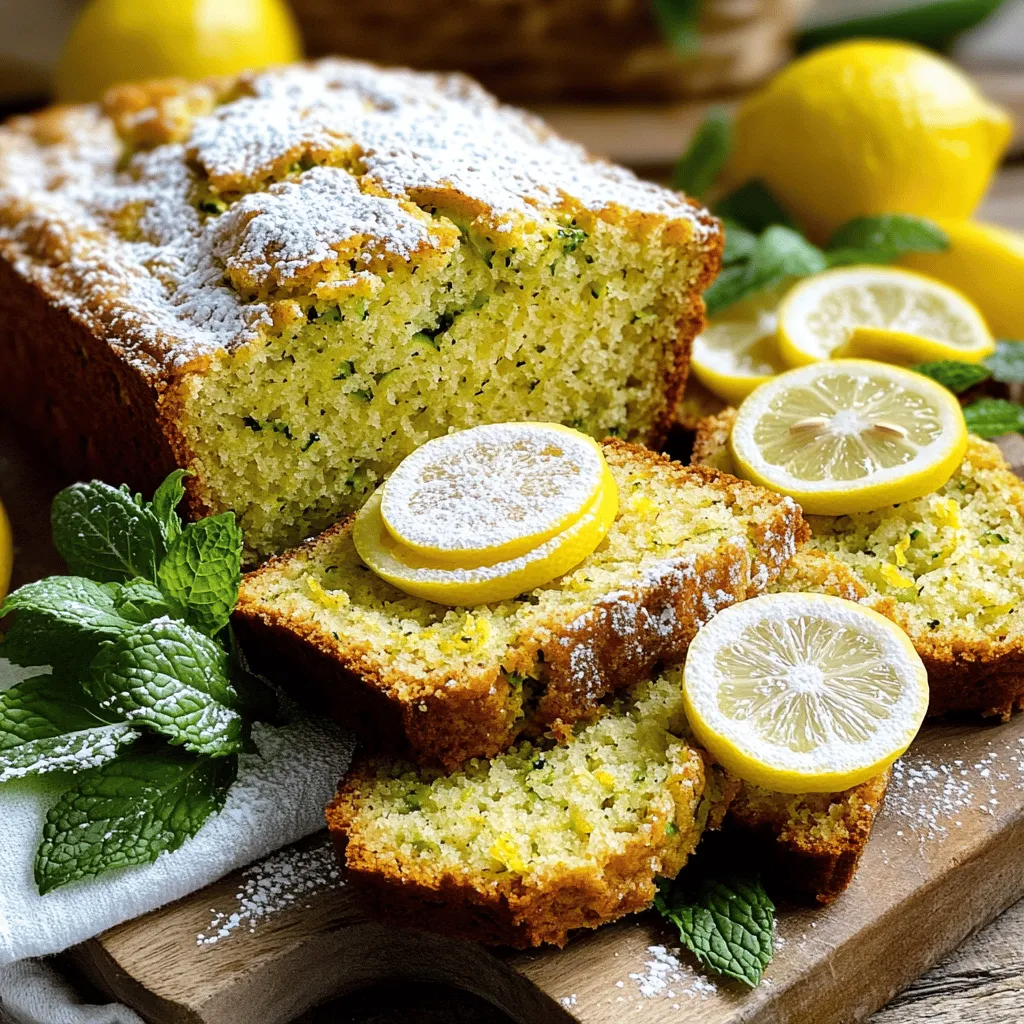
Easy Zucchini Bread Tasty and Simple Recipe Guide
Are you ready to whip up a tasty treat with ease? My Easy Zucchini Bread recipe is your go-to solution! You’ll need just a few

Fresh Peach Cobbler Delightful Summer Dessert Recipe
Summer is the perfect time to enjoy sweet, ripe peaches, and what better way to celebrate than with a fresh peach cobbler? This delightful dessert
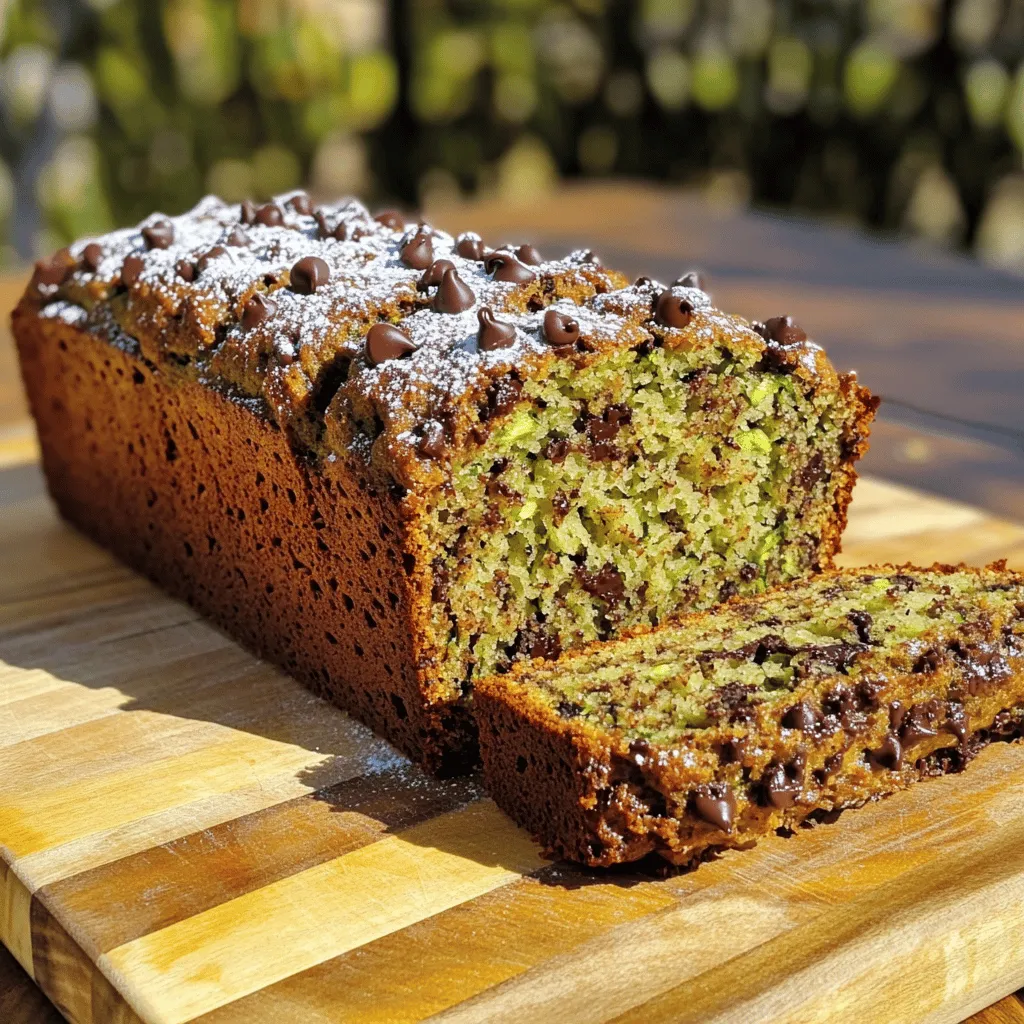
The BEST Chocolate Chip Zucchini Bread Delight
Are you ready to elevate your baking game? This is more than just a recipe; it’s a guide to making the best chocolate chip zucchini
. To keep your zucchini bread fresh, store it in an airtight container. Place a piece of wax paper between slices to avoid sticking. This method helps retain moisture and flavor. If you have leftovers, refrigerate them for up to one week. Enjoy your bread cold or warm it slightly in the microwave. Freezing zucchini bread is a great way to save it for later. Wrap the bread tightly in plastic wrap and then in aluminum foil. This keeps out air and moisture. It can last in the freezer for about three months. To thaw, leave it in the fridge overnight or at room temperature for a few hours. Avoid microwaving it directly from the freezer. This keeps the texture nice and soft. Homemade zucchini bread can last up to a week in the fridge or three months in the freezer. Check for signs of spoilage, like a sour smell or mold. If the bread feels very dry or crumbly, it’s best to toss it. Always trust your senses. Freshness is key to enjoying the best zucchini bread! Yes, you can use other squash in your bread. Yellow squash works well. You can also try butternut squash for a sweet taste. Just remember to prepare them like zucchini. Grate them and remove excess moisture. This step keeps your bread from being too wet. If you need an egg substitute, you have options. Use 1/4 cup of applesauce for each egg. You can also use mashed banana or yogurt. Flaxseed meal is another great choice. Mix one tablespoon of flaxseed with three tablespoons of water. Let it sit for a few minutes until it thickens. To check if your zucchini bread is done, use a toothpick. Insert it into the center of the loaf. If it comes out clean, your bread is ready. You can also look for a golden-brown crust. The bread should spring back when gently pressed. Yes, mini loafs are a fun option! Adjust your baking time to about 25-30 minutes. Check for doneness with a toothpick as well. Mini loaves are great for sharing or freezing. They bake up nice and cute, too! Zucchini bread brings together simple ingredients and methods for a delicious treat. We covered key ingredients, including how to prepare zucchini and choose sugars. You learned about the steps to mix, bake, and check for doneness. I shared tips to avoid common mistakes and enhance flavor and texture. With variations for gluten-free and vegan options, there's something for everyone. Storing your bread correctly ensures you enjoy it longer. Embrace these techniques and enjoy baking your perfect zucchini bread every time.](https://therecipehatch.com/wp-content/uploads/2025/06/2f102920-2925-4b6e-9e1a-4c000d629c82.webp)
The Best Zucchini Bread Easy to Bake at Home
Are you ready to bake the best zucchini bread right at home? This easy recipe will turn your garden-fresh zucchini into a moist and flavorful

Super Easy Peach Cobbler Simple and Delicious Dessert
If you’re craving a sweet, comforting dessert that takes little time to whip up, my Super Easy Peach Cobbler is the answer! With just a
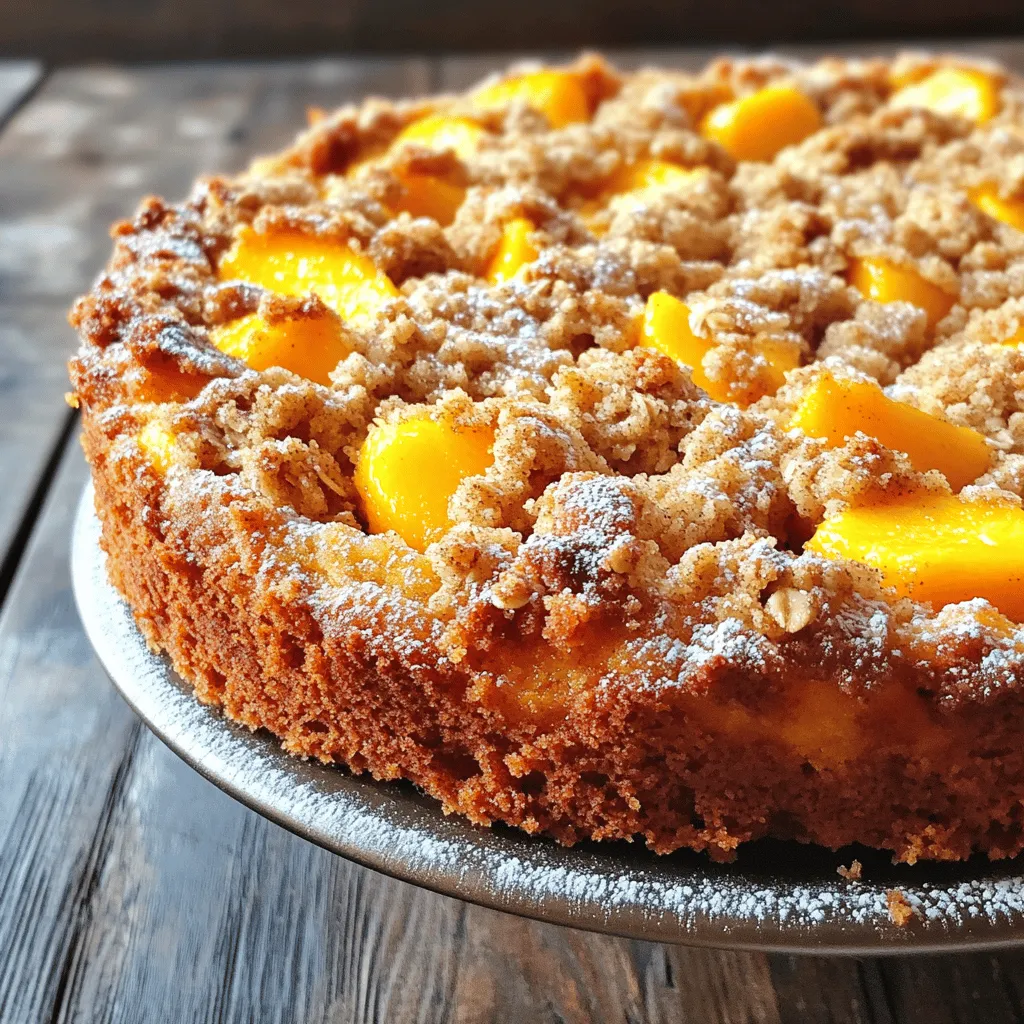
Easy Italian Peach Crumb Cake Delicious Dessert Recipe
Are you ready to indulge in a scrumptious dessert? My Easy Italian Peach Crumb Cake will make your taste buds dance. This recipe blends sweet
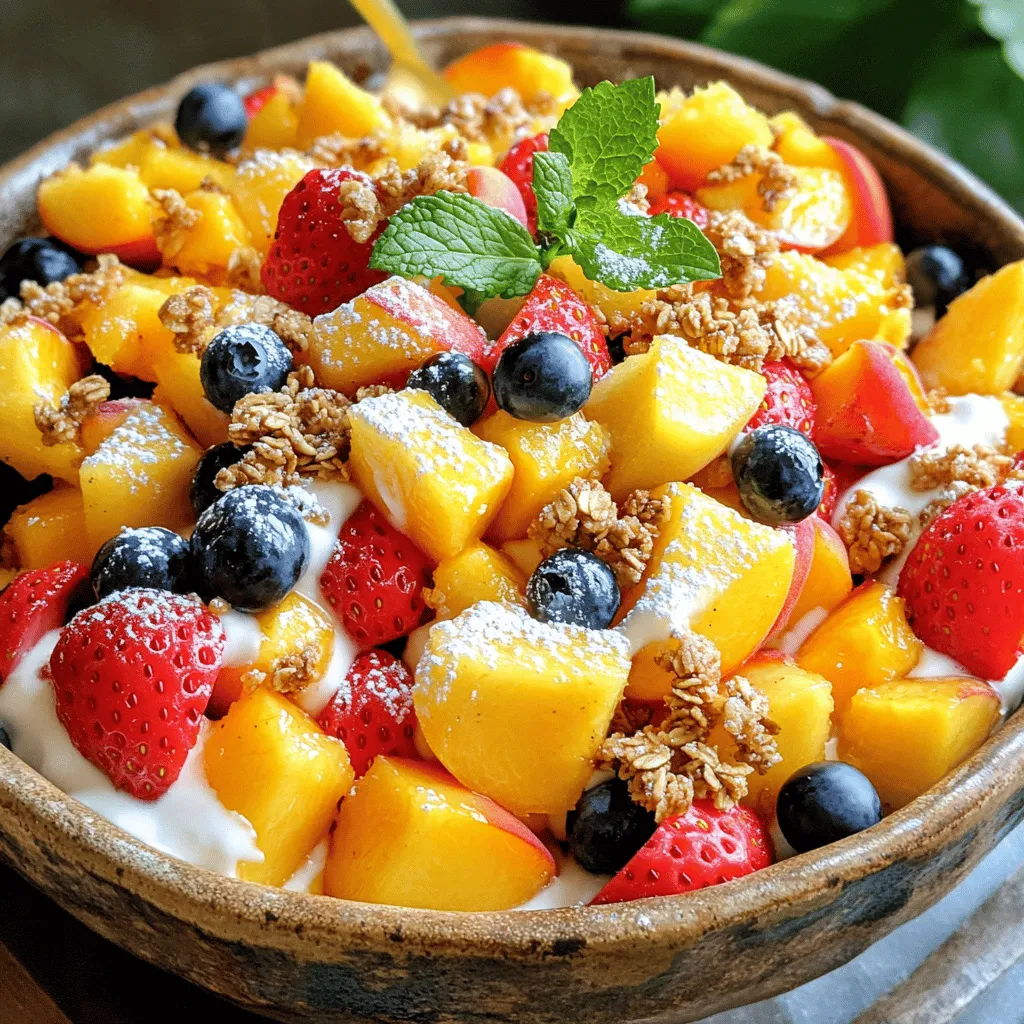
Peach Cobbler Cheesecake Fruit Salad Delightful Treat
If you love bold flavors that celebrate fresh fruit, you’re in for a treat! My Peach Cobbler Cheesecake Fruit Salad is a delightful mix of