Desserts
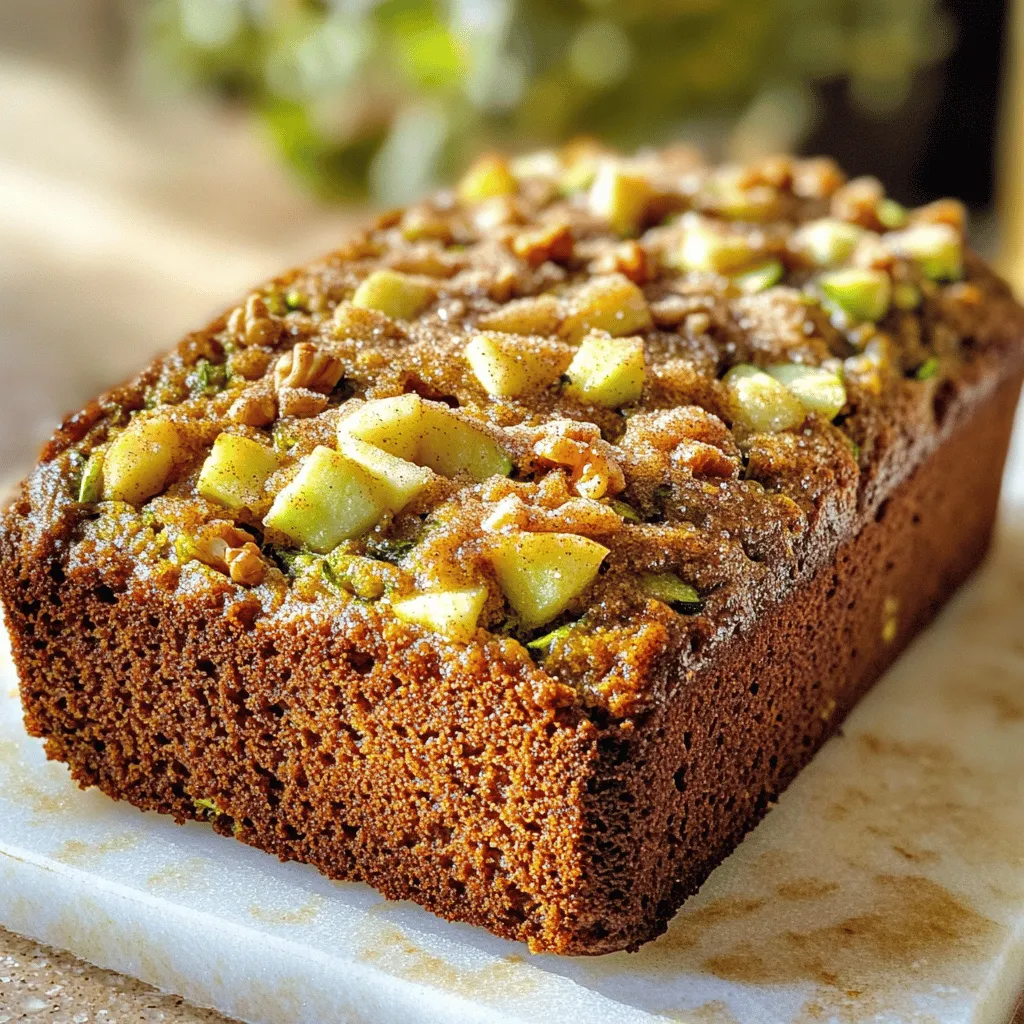
Cinnamon Apple Zucchini Bread Delicious and Simple Recipe
Looking for a new twist on classic quick bread? My Cinnamon Apple Zucchini Bread is sure to delight. It’s simple to make, packed with flavor,
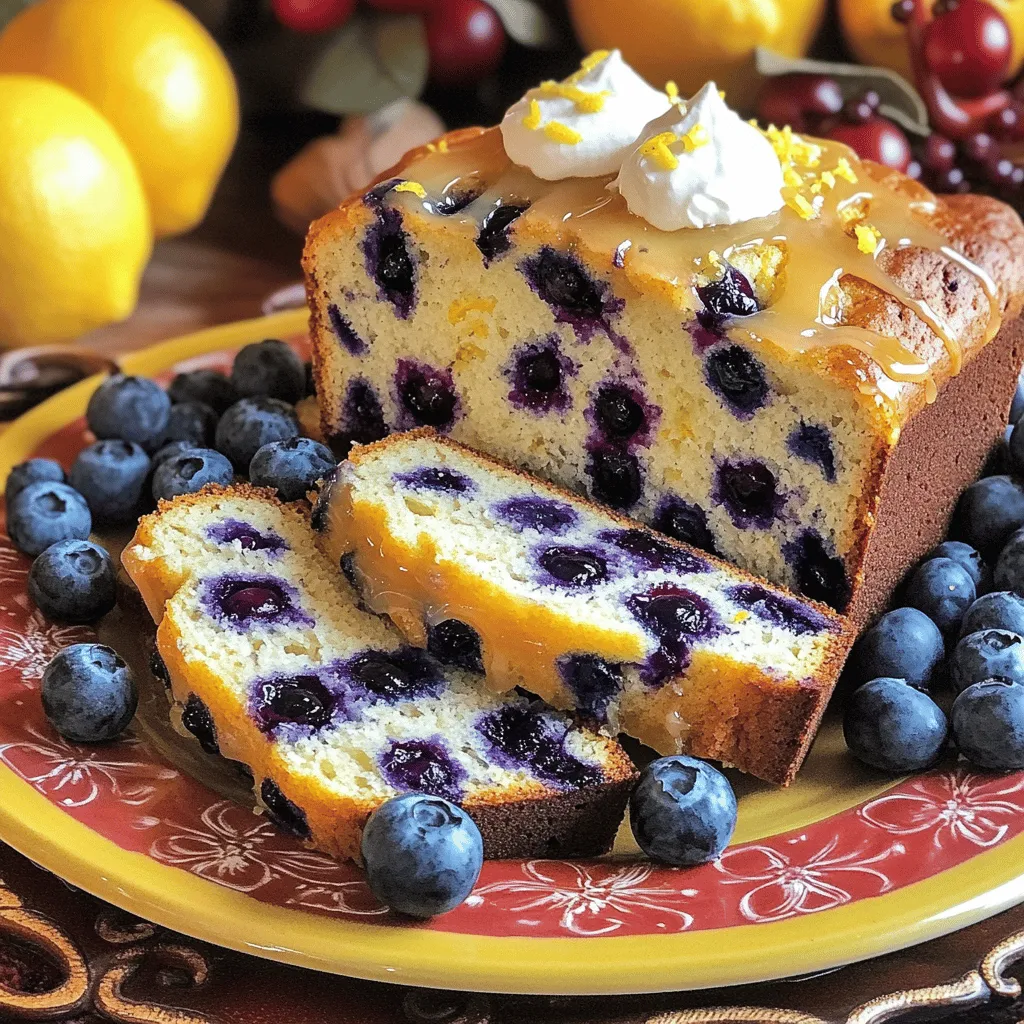
Lemon Blueberry Bread Delightful and Easy Recipe
Are you ready to bake something delightful? This Lemon Blueberry Bread is a vibrant treat that combines tangy lemon and sweet blueberries in every bite.
![- 2 cups rolled oats - 1 cup whole wheat flour - 1/2 cup almond butter (or any nut butter) These key ingredients form the base of your bars. Rolled oats provide fiber and a chewy texture. Whole wheat flour adds heartiness. Almond butter brings healthy fats and a creamy touch. - 1/2 cup honey or maple syrup - 1 teaspoon cinnamon - 1/4 teaspoon salt Sweeteners like honey or maple syrup give natural sweetness. Cinnamon adds warmth and flavor. A pinch of salt enhances all the tastes. - 1/2 cup unsweetened applesauce - 1 cup fresh or frozen blueberries - 1 teaspoon baking powder - 1/4 cup chopped nuts (optional, such as walnuts or almonds) Applesauce keeps the bars moist and adds more natural sweetness. Blueberries burst with flavor and nutrition. Baking powder helps the bars rise. Nuts add crunch and extra nutrients. You can find the complete recipe at [Full Recipe]. - Preheat your oven to 350°F (175°C). - Prepare the baking pan with parchment paper. Leave some overhang for easy lifting. - Combine dry ingredients in a bowl. This includes rolled oats, whole wheat flour, baking powder, cinnamon, and salt. Mix them well. - In a separate bowl, mix wet ingredients. Use almond butter, honey (or maple syrup), and applesauce. Stir until smooth and creamy. - Pour the wet mixture into the dry mixture. Stir until just combined. Gently fold in blueberries and nuts if you like. - Pour and spread the mixture into the baking pan. Make sure it is even and press down firmly to compact it. - Bake for 25-30 minutes. Look for golden edges and a clean toothpick when you check. For the full recipe, refer to the section above. Enjoy these wholesome blueberry oatmeal bars as a tasty snack! To make perfect blueberry oatmeal bars, use a toothpick to check for doneness. Stick it into the center of the bars. If it comes out clean, your bars are ready. If not, give them a few more minutes. This simple check takes the guesswork out of baking. Next, ensure even distribution of ingredients. When mixing, add the blueberries gently. This keeps them from breaking and helps spread the flavor. If you add nuts, mix them in last. This way, they stay whole and add crunch. For a great presentation, serve the bars on a wooden cutting board. You can also wrap them in parchment paper. This makes them look nice and easy to grab. Drizzle a little honey over the top before serving. This adds sweetness and makes them more appealing. Pair these bars with yogurt or a scoop of ice cream. They also go well with a cup of tea or coffee. This creates a delightful snack time. One mistake is overmixing the batter. This can make your bars tough instead of soft. Mix just until everything is combined. Another mistake is skipping the cooling step. Let the bars cool in the pan for about ten minutes. This helps them hold their shape when you cut them. If you cut them too soon, they may crumble. Enjoy making these wholesome blueberry oatmeal bars from the Full Recipe! {{image_2}} You can change the fruit to make these bars unique. Raspberries or cranberries work well. Their tartness adds a nice contrast to the sweet base. You can also add spices for more flavor. A dash of nutmeg or a splash of vanilla extract can enhance the taste. Experimenting with these options keeps things fun and fresh. If you need a gluten-free option, you can use gluten-free oats. You can also swap whole wheat flour for almond flour or coconut flour. For those on a vegan diet, replace the honey with maple syrup. You can also use flax eggs instead of regular eggs if a recipe calls for them. These changes make the bars fit many diets. Nut butters change the flavor and texture of these bars. Peanut butter gives a rich, nutty taste, while sunflower seed butter is great for nut-free diets. Keep in mind that some nut butters are thicker. If you use a thicker nut butter, you might need to add a bit more applesauce or liquid to keep the right consistency. To keep your wholesome blueberry oatmeal bars fresh, store them in an airtight container. This helps prevent them from drying out. Place the container in a cool, dark spot, like a pantry or cupboard. Avoid direct sunlight or heat, as this can spoil the bars quicker. For long-term storage, you can freeze the bars. First, cut them into squares. Next, wrap each square in plastic wrap. Then, place the wrapped bars in a freezer bag. They can last up to three months in the freezer. When you are ready to eat them, remove a square and let it thaw in the fridge overnight. You can also warm it in the microwave for 10-15 seconds for a fresh taste. At room temperature, these bars last about a week. Keep an eye on them. If you notice any mold or an off smell, it’s best to throw them away. Always trust your senses; if it looks or smells funny, don’t eat it. Enjoy your snacks safe and tasty! You can easily make these bars ahead of time. Just follow these tips: - Prep in advance: Mix the dry and wet ingredients the night before. - Bake and store: Bake the bars and let them cool completely. - Wrap and store: Cut them into squares and wrap each one in parchment paper. - Use an airtight container: Store the wrapped bars in an airtight container. - Refrigerate or freeze: These bars can last up to a week in the fridge or three months in the freezer. Yes, you can use different nuts or seeds. Here are some great options: - Walnuts: They add a nice crunch and healthy fats. - Almonds: Slice them or chop them for texture. - Pecans: They bring a sweet, buttery flavor. - Sunflower seeds: Great for nut-free options. - Pumpkin seeds: They add a fun crunch and are healthy too. These bars are healthy and filling. Here’s a basic breakdown per serving (1 bar): - Calories: About 150-200 calories, depending on nut butter used. - Fats: Around 6-10 grams, mostly from nut butter and optional nuts. - Carbohydrates: About 20-25 grams, coming from oats and fruit. - Fiber: Approximately 3 grams, thanks to oats and blueberries. These values make them a wholesome snack for energy throughout the day. For the full recipe, check out the [Full Recipe]. You now have a simple guide to make tasty blueberry oatmeal bars. We covered key ingredients, step-by-step instructions, and tips for great results. I shared variations for different diets and flavors too. Remember, storing them well keeps your bars fresh longer. Enjoy these healthy snacks! You'll impress friends and family every time. Dive into making your own delicious bars soon!](https://therecipehatch.com/wp-content/uploads/2025/07/e8792934-5af3-407d-9721-63b27bb9872d.webp)
Wholesome Blueberry Oatmeal Bars Healthy Snack Option
Looking for a healthy snack that’s both tasty and easy to make? Wholesome Blueberry Oatmeal Bars are your answer! Packed with oats, blueberries, and natural
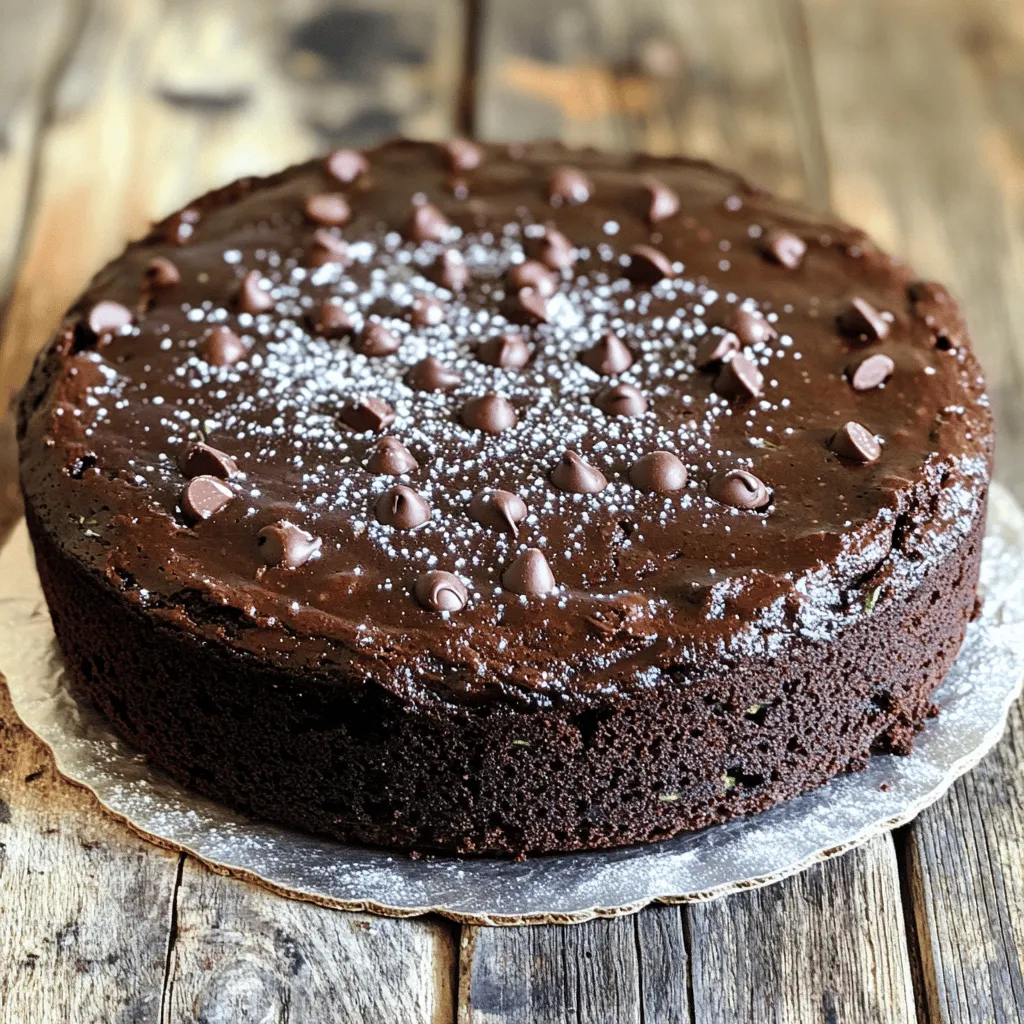
Chocolate Zucchini Cake with a Cake Mix Simple Recipe
Looking for a cake that’s both delicious and sneaky healthy? You’re in for a treat! This Chocolate Zucchini Cake with a Cake Mix is a
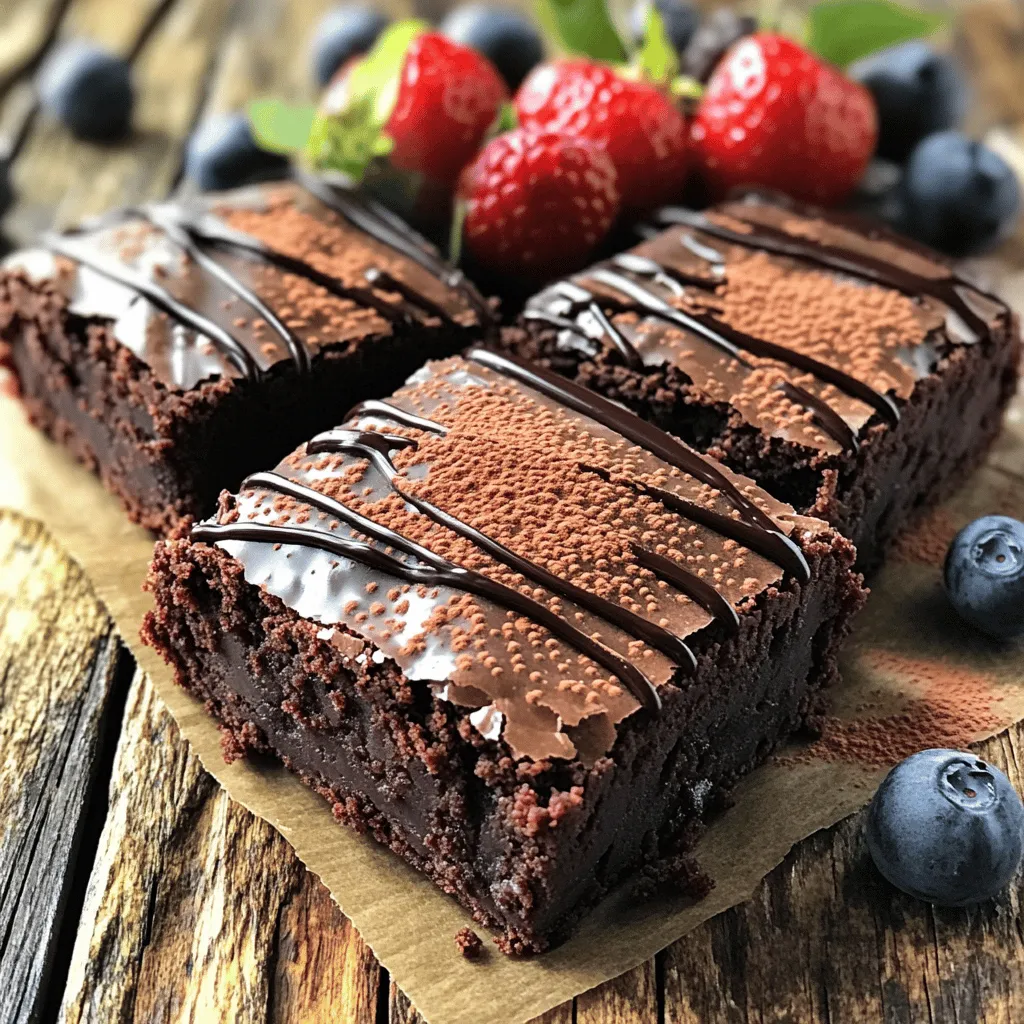
Fudgy Cottage Cheese Protein Brownies Delightful Treat
If you’re craving a sweet treat that’s both delicious and full of protein, you’re in for a treat! I’ll show you how to make Fudgy
![When I create Chocolate Chip Zucchini Bread, I love to use fresh ingredients. Here’s what you need: - 1 cup grated zucchini (about 1 medium zucchini) - 1 cup all-purpose flour - 1 cup whole wheat flour - 1 teaspoon baking powder - 1 teaspoon baking soda - 1/2 teaspoon salt - 1 teaspoon ground cinnamon - 1/2 cup brown sugar, packed - 1/2 cup granulated sugar - 1/2 cup vegetable oil - 2 large eggs - 1 teaspoon vanilla extract - 1 cup semi-sweet chocolate chips - 1/2 cup chopped walnuts (optional) Zucchini adds moisture and a subtle flavor. You don’t taste it, but it makes the bread soft. The mix of all-purpose and whole wheat flour gives a nice texture. The sugars balance the rich chocolate chips well. You can skip walnuts if you don’t like nuts, but they add crunch. I highly recommend using fresh zucchini. Its moisture makes the bread fluffy. When you grate it, make sure to squeeze out some water. This keeps the bread from being too wet. For the chocolate chips, I prefer semi-sweet. They melt perfectly and add sweetness. You can also use dark chocolate for a richer taste. This recipe makes a lovely, warm loaf. If you want to see the full recipe, check out the details above! - Preheat to 350°F (175°C). - Grease or line a 9x5-inch loaf pan. First, we need to get our oven nice and warm. Set it to 350°F (175°C). This step helps the bread bake evenly. While the oven warms up, prepare your loaf pan. You can grease it with some oil or line it with parchment paper. This makes it easier to remove the bread later. - Combine flours, baking powder, baking soda, salt, and cinnamon. In a medium bowl, mix the dry ingredients. You will need all-purpose flour, whole wheat flour, baking powder, baking soda, salt, and ground cinnamon. Whisk them together well. This helps to distribute the baking powder and baking soda evenly. - Mix sugars, oil, eggs, and vanilla extract. In another bowl, combine the sugars, oil, eggs, and vanilla extract. Use a whisk to blend these ingredients until smooth. This mixture adds moisture and sweetness to your bread. - Stir in grated zucchini. - Fold in dry ingredients and chocolate chips. Now, it is time to add the star ingredient: grated zucchini. Stir it into the wet mix until it is well combined. Next, gently fold in the dry ingredients you prepared earlier. Be careful not to overmix; a few lumps are okay. Finally, add the chocolate chips, folding them in until they are evenly spread throughout the batter. - Pour batter into the pan. - Bake for 55-65 minutes. Pour the batter into your prepared loaf pan. Smooth the top with a spatula to make it even. Place it in the oven and bake for 55 to 65 minutes. To check if it’s done, insert a toothpick into the center. If it comes out clean or with a few moist crumbs, it’s ready. - Let cool in the pan, then transfer to a wire rack. Once baked, remove the bread from the oven. Let it cool in the pan for about 10 minutes. After that, transfer it to a wire rack to cool completely. This step is vital to keep the bread from getting soggy. Enjoy your Chocolate Chip Zucchini Bread! For the full recipe, check out the earlier section. When making Chocolate Chip Zucchini Bread, leave lumps in the batter. This step is key. If you mix too much, the bread can become tough. A few lumps are fine. They help keep the bread tender and moist. The zucchini adds moisture too, so don’t worry! To check if your bread is done, use a toothpick. Insert it into the center of the loaf. If it comes out clean or with a few moist crumbs, it's ready. Don't worry if it has a few crumbs; that means it's still soft. If the toothpick comes out wet, bake for a few more minutes. You can boost the flavor of your bread with spices. Try adding nutmeg or ginger for warm notes. You can also mix in some chocolate chips or even dried fruit. Walnuts add crunch and richness too. Feel free to experiment with flavors. Each addition can make your bread unique! For the full recipe, check out the instructions above. {{image_2}} I love making my Chocolate Chip Zucchini Bread healthier. One easy swap is using coconut oil instead of vegetable oil. Coconut oil adds a nice flavor and keeps the bread moist. Just melt the coconut oil before mixing it in with the wet ingredients. Another great alternative is to substitute the sugar with a natural sweetener. You can use honey, maple syrup, or agave nectar. They add sweetness without refined sugar. If you use liquid sweeteners, you may need to reduce the amount of other liquids in the recipe. Adding extras can really boost your bread's flavor. I often toss in chopped nuts, like walnuts or pecans, for a nice crunch. Dried fruits, such as raisins or cranberries, also work well. They add sweetness and chewiness. You can also get creative with chocolate. Instead of semi-sweet chocolate chips, try dark chocolate or even white chocolate. Each option gives a new twist to the classic recipe. If you need a gluten-free version, it's simple! You can easily swap all-purpose flour with a gluten-free flour blend. Make sure the blend has xanthan gum, which helps with the texture. You can also use almond flour for a nutty flavor. Just remember, almond flour will change the bread's texture, making it denser. Always check for a gluten-free label on your flour to avoid any issues. For the full recipe, check the link. To keep your Chocolate Chip Zucchini Bread fresh, store it in an airtight container. This will stop air from drying it out. Place it at room temperature for up to three days. If you want it to last longer, the fridge is a good option. Just remember, it can get a bit dry in there. You can also wrap it in plastic wrap or foil for better freshness. Freezing your Chocolate Chip Zucchini Bread is easy. Here’s how to do it: 1. Let the bread cool completely. 2. Slice the bread, if you prefer. This makes it easier to thaw only what you need. 3. Wrap each slice in plastic wrap or foil tightly. 4. Place the wrapped slices in a freezer-safe bag or container. 5. Label the bag with the date. It can last up to three months in the freezer. When you’re ready to enjoy your bread again, reheating it is simple. Here are some methods: - Oven Method: Preheat your oven to 350°F (175°C). Unwrap the bread and place it on a baking sheet. Heat for about 10-15 minutes or until warm. - Microwave Method: Place a slice on a microwave-safe plate. Heat for 10-15 seconds. Check it, and keep heating in short bursts until warm. - Toaster Method: You can even toast individual slices in a toaster. This gives a nice crispy edge while warming up the inside. For the full recipe, check the details above and get baking! To check if your bread is done, use a toothpick. Insert it into the center of the loaf. If it comes out clean or with a few moist crumbs, it is ready. You should also look for a golden-brown top. The edges might pull away from the pan slightly when baked properly. Yes, you can use yellow squash in this recipe. The texture is similar to zucchini. However, the taste is slightly different. Yellow squash may make your bread a bit sweeter. Feel free to experiment and see what you like best! Chocolate chip zucchini bread stays fresh for about 3 to 4 days when stored properly. Keep it in an airtight container at room temperature. For longer storage, you can freeze it for up to 3 months. Just wrap it tightly in plastic wrap and then in foil. Absolutely! You can add toppings like cream cheese or butter. A sprinkle of powdered sugar can also add a sweet touch. If you want, try adding nuts or even a drizzle of chocolate on top. Get creative and make it your own! For the full recipe, check out the [Full Recipe]. This recipe for chocolate chip zucchini bread combines simple ingredients and easy steps. You learned how to mix dry and wet ingredients and the importance of not overmixing. Tips for storage and freezing keep your bread fresh. Remember, you can tweak this recipe with nuts or natural sweeteners for added flavor. Enjoy your baking journey! Each slice not only tastes great but also packs in hidden veggies! This bread is a delightful blend of health and indulgence.](https://therecipehatch.com/wp-content/uploads/2025/07/ba32dc48-1d1b-4061-a4ea-376ff77e17fb.webp)
Chocolate Chip Zucchini Bread Fresh and Light Delight
Are you ready to bake something truly scrumptious? Chocolate Chip Zucchini Bread is a delightful mix of sweet and healthy. With its light texture and
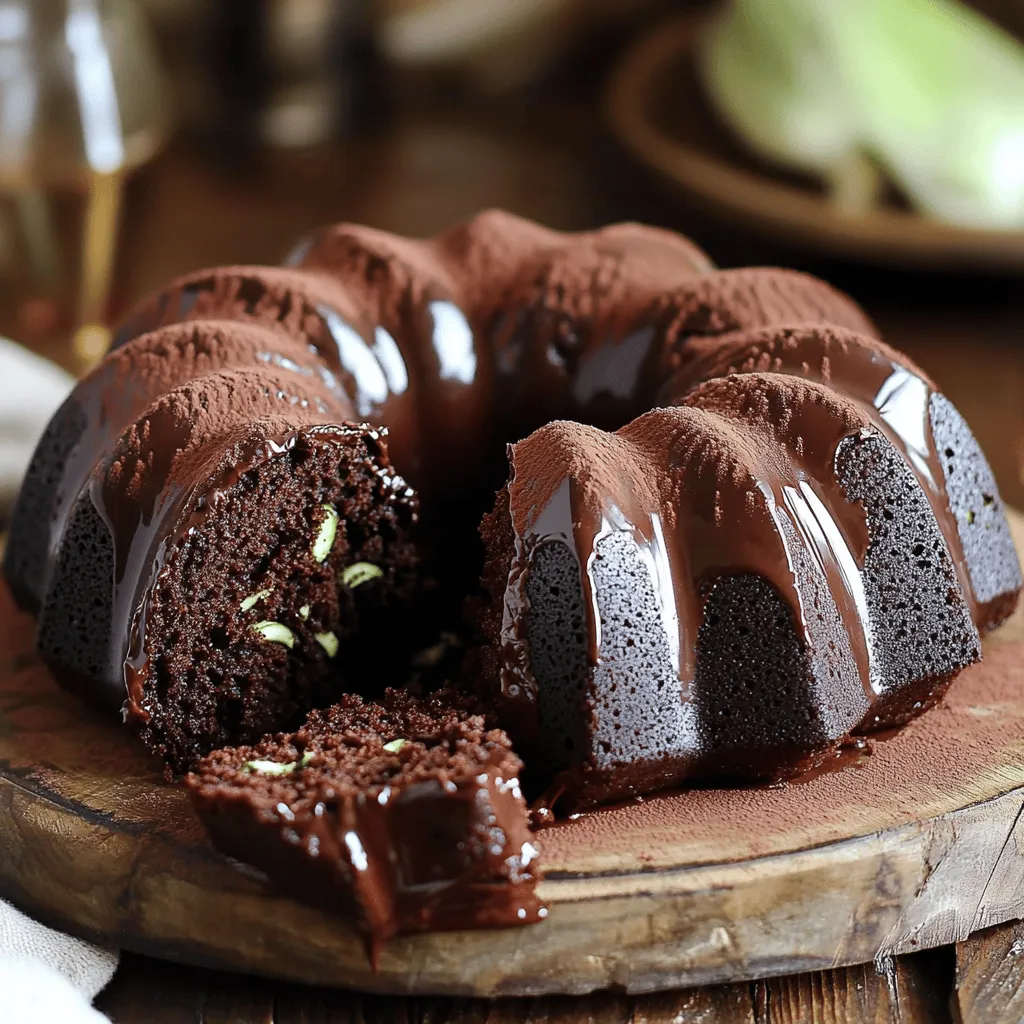
Keto Chocolate Zucchini Bundt Cake Rich and Moist Recipe
If you’re craving a sweet treat that fits your keto lifestyle, look no further! Our Keto Chocolate Zucchini Bundt Cake is rich, moist, and packed
![- 2 cups butternut squash, cooked and mashed - 1 cup cottage cheese - 3 large eggs - 1/2 teaspoon cinnamon - 1/4 teaspoon nutmeg - 1/4 cup maple syrup - 1/2 cup shredded cheddar cheese - Chopped fresh parsley for garnish To make a delicious crustless squash pie, start with the main ingredients. Butternut squash is key. Cook it until soft and mash it well. The cottage cheese adds creaminess. Eggs help bind it all together. Next, we have flavor enhancers. Cinnamon and nutmeg bring warmth and depth. Maple syrup adds a touch of sweetness. These flavors blend perfectly. For optional additions, I love adding shredded cheddar cheese. It gives a nice twist to the pie. Fresh parsley works well as a garnish. It adds color and a fresh taste. You can find the full recipe with instructions to make this tasty dish. Enjoy creating your own crustless squash pie! First, you need to preheat your oven to 350°F (175°C). This makes sure the pie cooks evenly. While the oven heats up, grease a 9-inch pie dish. You can use cooking spray or butter. This step keeps the pie from sticking. In a large bowl, combine the key components. Start with 2 cups of cooked and mashed butternut squash, 1 cup of cottage cheese, and 3 large eggs. Mix these well until they blend smoothly. Next, add in 1/2 teaspoon of cinnamon, 1/4 teaspoon of nutmeg, and 1/4 cup of maple syrup. Pour in 1 tablespoon of vanilla extract and sprinkle 1/4 teaspoon of salt. Stir until everything is well mixed. If you want, fold in 1/2 cup of shredded cheddar cheese for extra flavor. Now it’s time to bake! Pour the mixture into your prepared pie dish. Spread it out evenly. Place it in the preheated oven and bake for 40-45 minutes. You’ll know it’s done when the edges are set, and the center is slightly jiggly. Let the pie cool for at least 10 minutes before slicing. This cooling helps it firm up. For a nice touch, garnish with chopped fresh parsley before serving. Enjoy your delicious crustless squash pie! For the complete recipe, see [Full Recipe]. To get a great texture, cook your squash well. Steam or roast the butternut squash until it is soft. This makes it easy to mash. After baking, let the pie cool for at least 10 minutes. This cooling time helps it set and slice better. Always check your oven’s temperature. An oven that is too hot can burn the pie. If the top browns too fast, cover it with foil. This keeps the pie from getting too dark while it bakes. Serve the pie warm or at room temperature. It pairs well with a salad or roasted veggies. For a nice touch, garnish with fresh parsley. It adds color and flavor to your dish. You can also drizzle a bit of maple syrup on top for extra sweetness. {{image_2}} You can easily change the taste of your crustless squash pie. Adding spices can give it a new twist. Try ginger or cloves for a warm, spicy kick. These spices work well with the sweet squash. You can also switch up the sweeteners. Instead of maple syrup, use honey or agave. These options add their own unique flavors. If you want a dairy-free pie, look for non-dairy cheese options. Almond or soy cheese works great in this recipe. They melt well and keep the texture creamy. You can also swap out eggs if needed. Use silken tofu or flaxseed meal mixed with water. These substitutes bind the pie without changing the flavor much. Garnishing can elevate your dish’s look and taste. Fresh herbs like thyme or basil can add a nice touch. They brighten the flavor and make the pie look fancy. You can also add toppings for extra texture. Chopped nuts like walnuts or pecans give a nice crunch. A dollop of whipped cream can add richness and sweetness. These little details make your crustless squash pie stand out. For the full recipe, check the section above. To store leftovers of crustless squash pie, let it cool to room temperature. Cover the pie dish with plastic wrap or foil. You can also transfer slices to an airtight container. This way, it stays fresh for later meals. Store it in the fridge for up to 3 days. Using glass or plastic containers works best for keeping the pie moist and tasty. If you want to freeze the pie, first let it cool completely. Cut the pie into individual slices. Wrap each slice tightly in plastic wrap. Then, place them in a freezer-safe container or a heavy-duty freezer bag. This prevents freezer burn. You can freeze the pie for up to 2 months. To thaw, move the slices to the fridge overnight. To reheat, you can use a microwave or an oven. Heat at 350°F (175°C) for about 15 minutes until warm. In the fridge, the pie lasts about 3 days. In the freezer, it stays good for 2 months. Keep an eye out for signs of spoilage. If you see mold or smell an off odor, it's best to throw it away. Enjoy your crustless squash pie fresh, but know it can be stored well for future meals. Crustless squash pie is a savory dish made with squash, cheese, and eggs. Unlike traditional squash pie, it has no crust, making it lighter and easier to prepare. The texture is creamy and rich, thanks to the cottage cheese and eggs. This pie is perfect for those who want a healthier meal option without losing flavor. Yes, you can easily make this recipe gluten-free. All the ingredients listed are naturally gluten-free. Just ensure that any additional items, like shredded cheese or seasoning blends, are also gluten-free. This way, you can enjoy this delicious pie without worry. To adjust the sweetness, you can change the amount of maple syrup. If you prefer a sweeter pie, add more syrup. For less sweetness, reduce the amount. You can also try different sweeteners, like honey or agave syrup, to suit your taste. This lets you create a dish that matches your personal preference. This blog post covered how to make a delicious crustless squash pie. We explored key ingredients like butternut squash, cottage cheese, and spices that boost flavor. You learned step-by-step instructions for baking, plus tips for the best texture and storage. In conclusion, this pie is versatile. You can adjust it to suit your taste. Enjoy making it for yourself or to share with others.](https://therecipehatch.com/wp-content/uploads/2025/07/80d05992-b60b-4905-8c1d-34d869f49b4e.webp)
Crustless Squash Pie Flavorful and Easy Recipe
Looking for a flavorful yet easy dish? Let me introduce you to Crustless Squash Pie! This tasty recipe uses butternut squash, cottage cheese, and eggs,

Savory Summer Squash Cake Easy and Delicious Recipe
Looking to impress your friends at your next summer gathering? This Savory Summer Squash Cake is not only easy to make, but it’s also a

Zucchini Apple Crumb Bread Delightful and Simple Recipe
If you’re looking for a cozy, comforting treat, you’ve found it! This Zucchini Apple Crumb Bread blends fresh zucchini and apples for a sweet, moist