Desserts

No-Bake Chocolate Espresso Cheesecake Delight
Craving a dessert that excites your taste buds? Try my No-Bake Chocolate Espresso Cheesecake Delight! This rich treat blends chocolate and espresso for a flavor
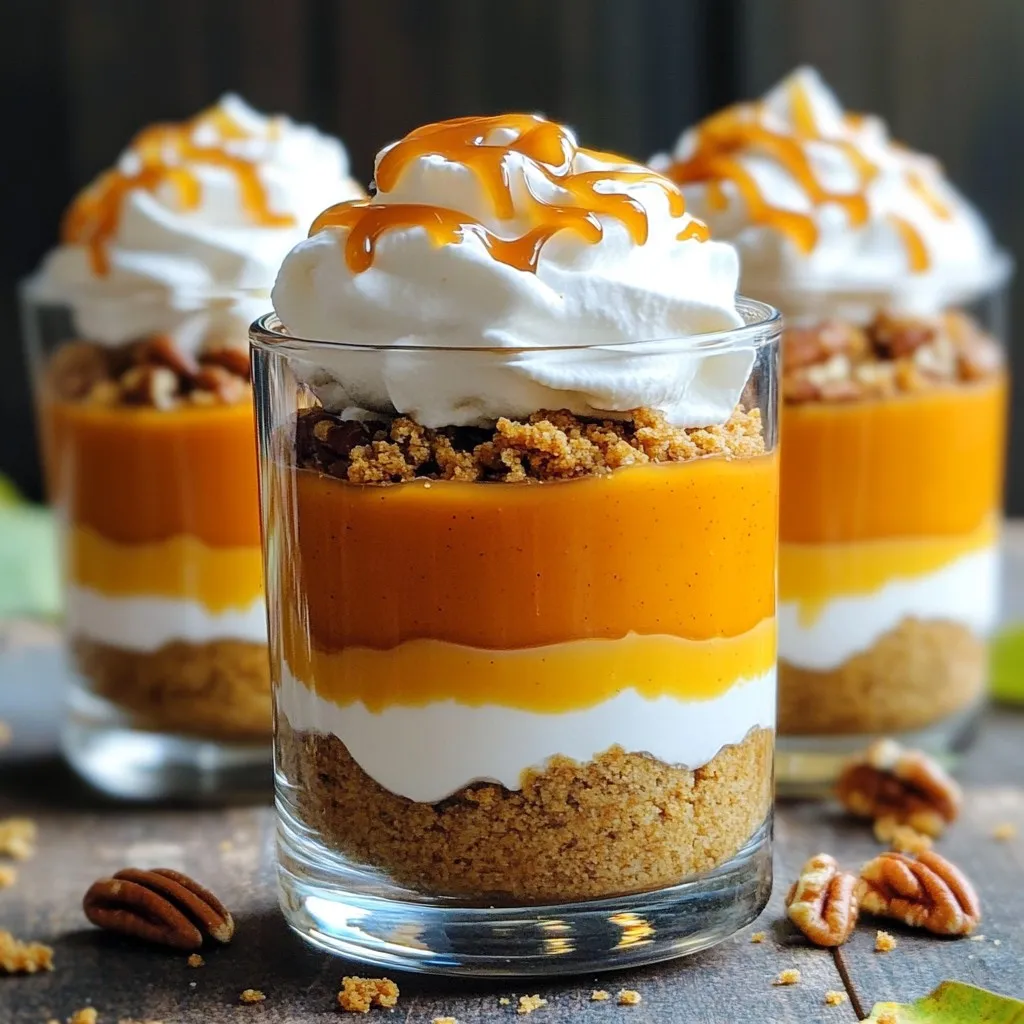
Caramel Pumpkin Pie Parfaits Irresistible Fall Treat
Fall is the perfect time for a sweet treat, and what could be better than Caramel Pumpkin Pie Parfaits? Imagine creamy pumpkin goodness layered with
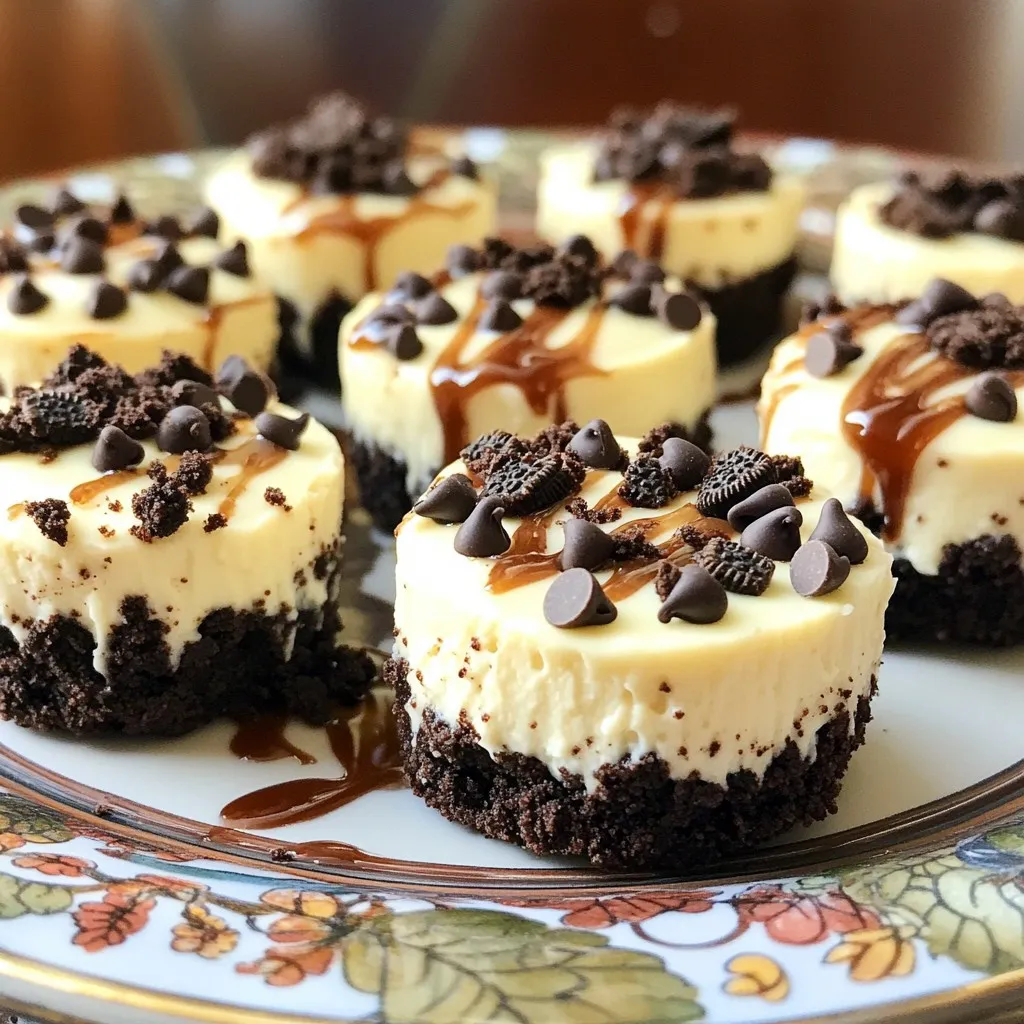
No-Bake Oreo Cheesecake Bites Simple and Delicious Treat
Craving a sweet treat that’s simple to make? Look no further! My No-Bake Oreo Cheesecake Bites are fun, easy, and delicious. With a few ingredients
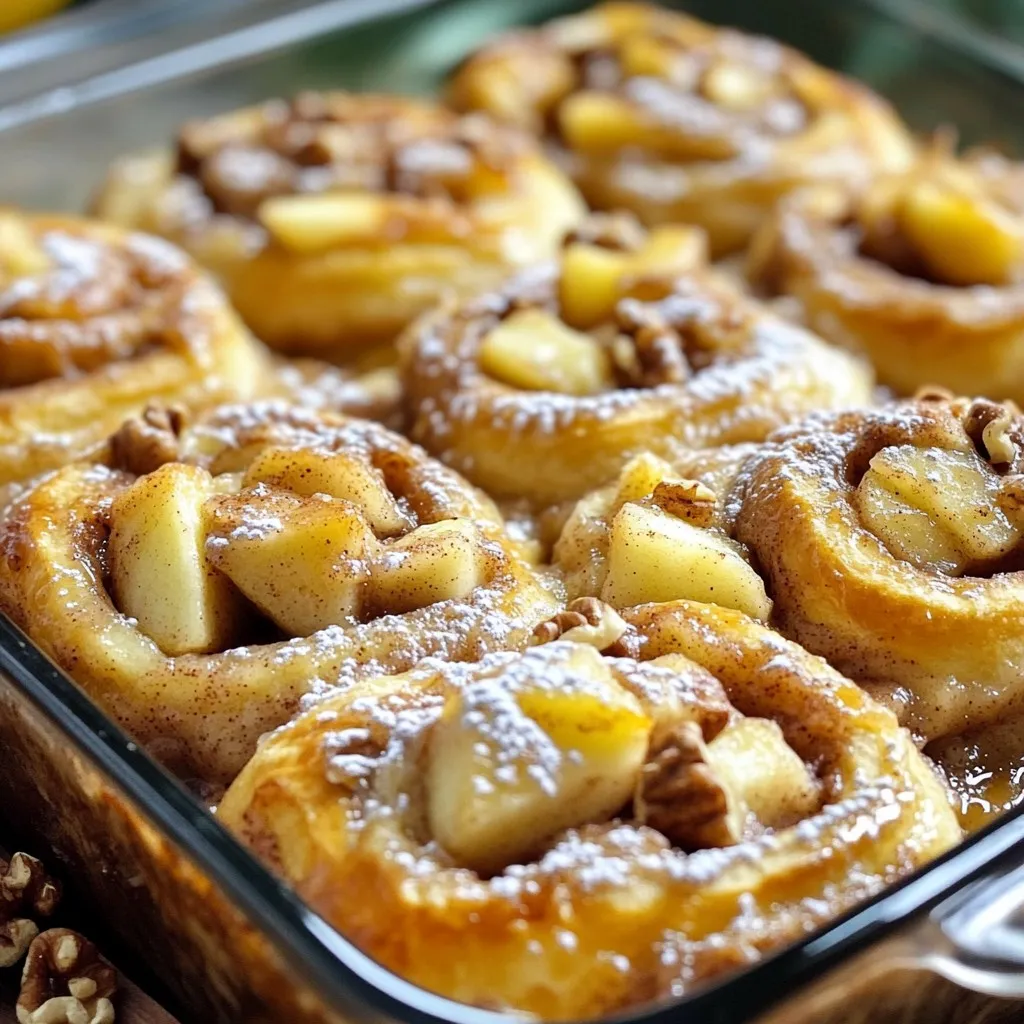
Apple Pie Cinnamon Roll Bake Irresistible Dessert Delight
If you’re ready for a dessert that combines two favorites into one mouthwatering treat, you’ve come to the right place! This Apple Pie Cinnamon Roll
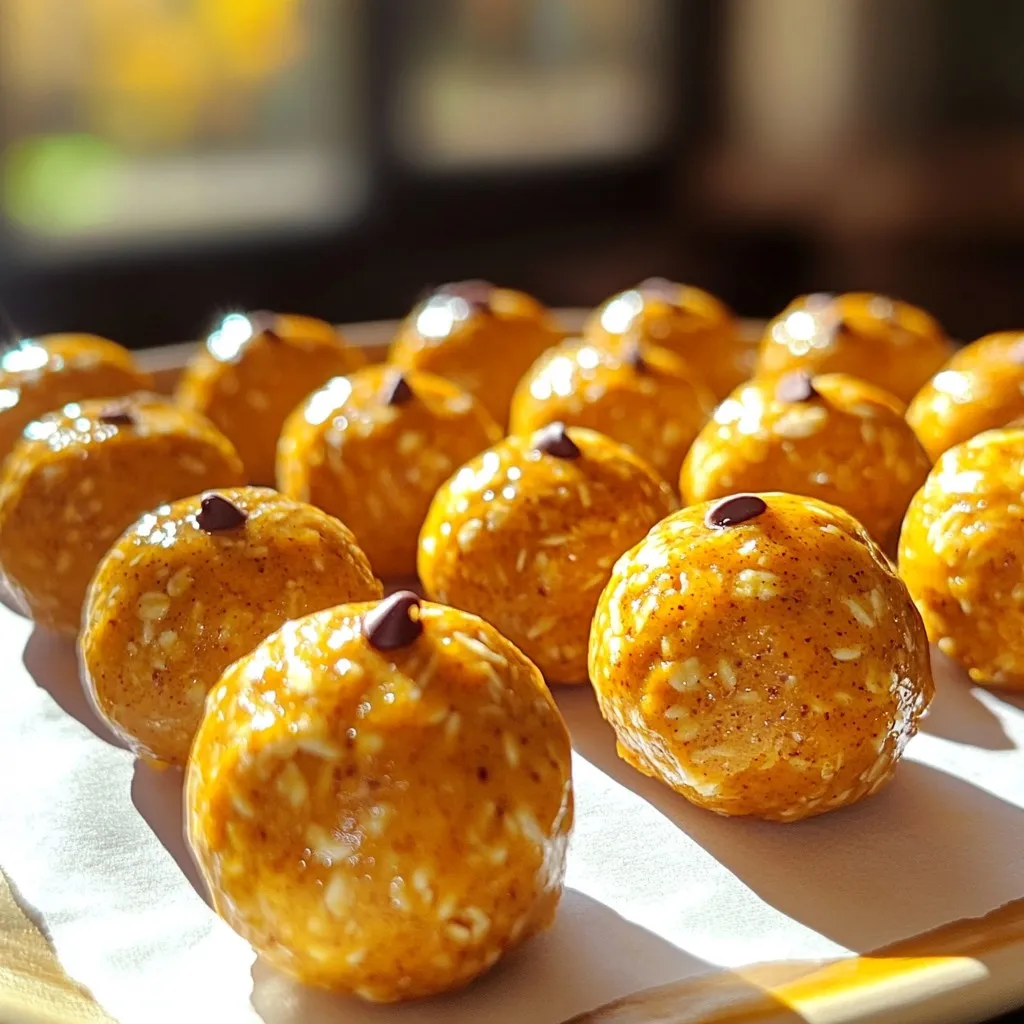
No-Bake Pumpkin Pie Energy Balls Healthy Snack Option
Looking for a healthy snack that’s quick, easy, and packed with flavor? Say hello to No-Bake Pumpkin Pie Energy Balls! These tasty treats are perfect
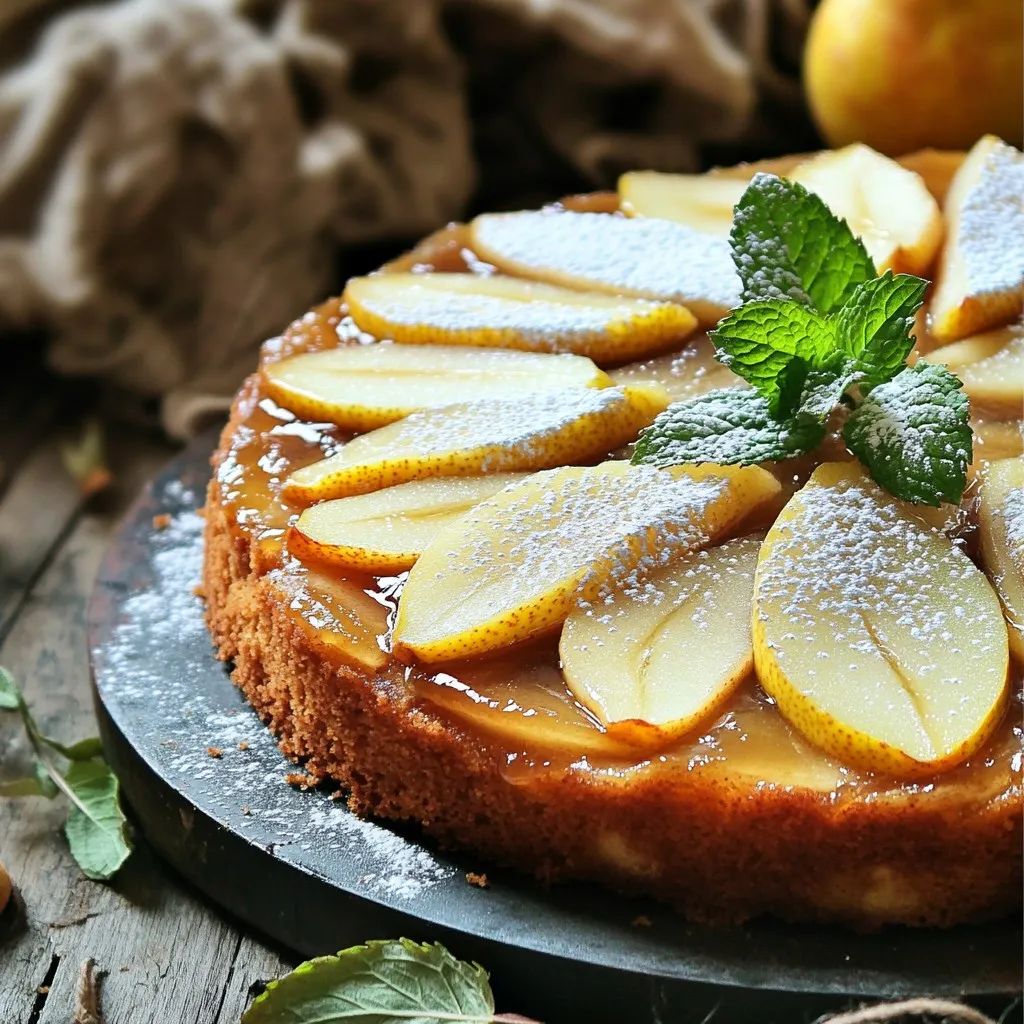
Spiced Pear Upside-Down Cake Delightful and Easy Bake
Are you ready to bake something truly delightful and easy? My Spiced Pear Upside-Down Cake will amaze you with its warm flavors and beautiful presentation.
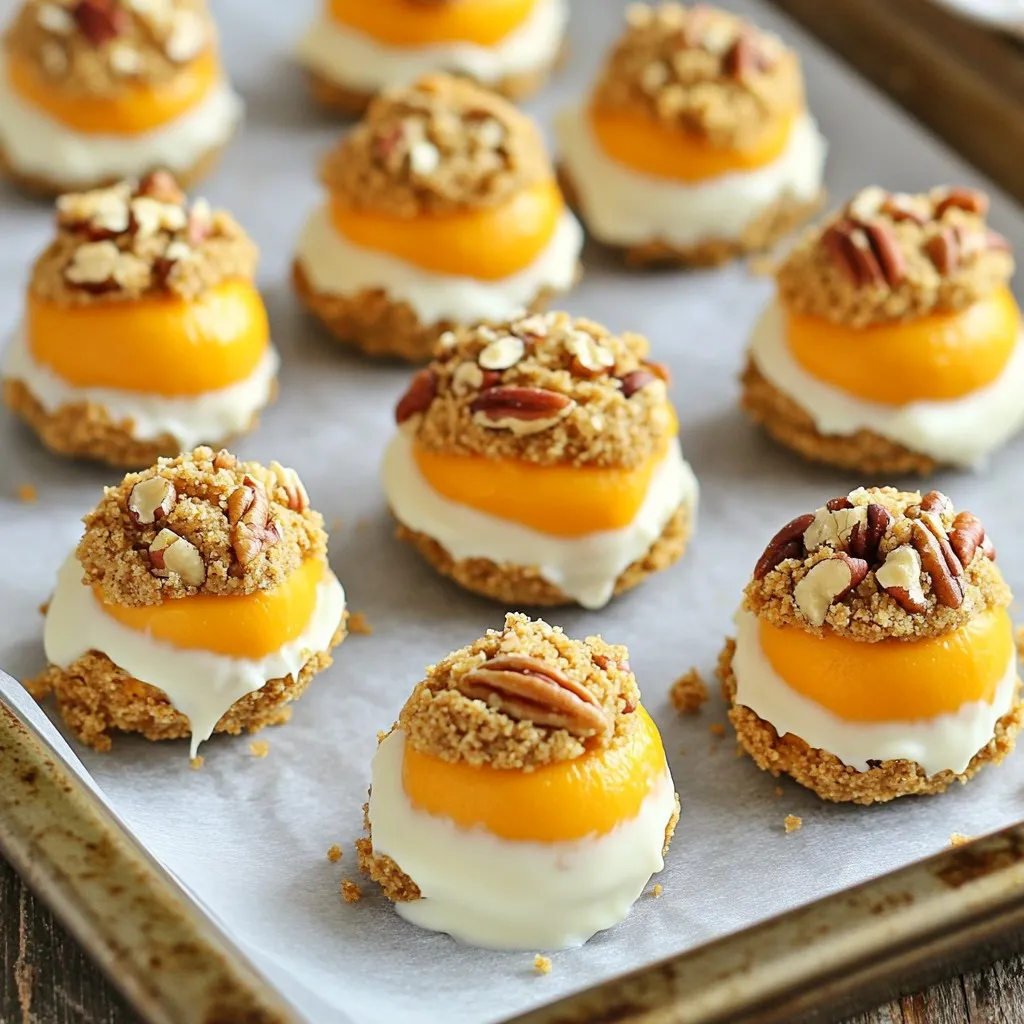
No-Bake Pumpkin Cheesecake Truffles Delicious Dessert
Get ready to indulge in a sweet treat that captures the essence of fall! No-bake pumpkin cheesecake truffles combine creamy pumpkin flavors with the perfect

Cozy Caramel Apple Cider with Whipped Cream Delight
Warm up your fall evenings with my cozy caramel apple cider topped with whipped cream! This sweet and spicy drink combines rich apple cider, creamy
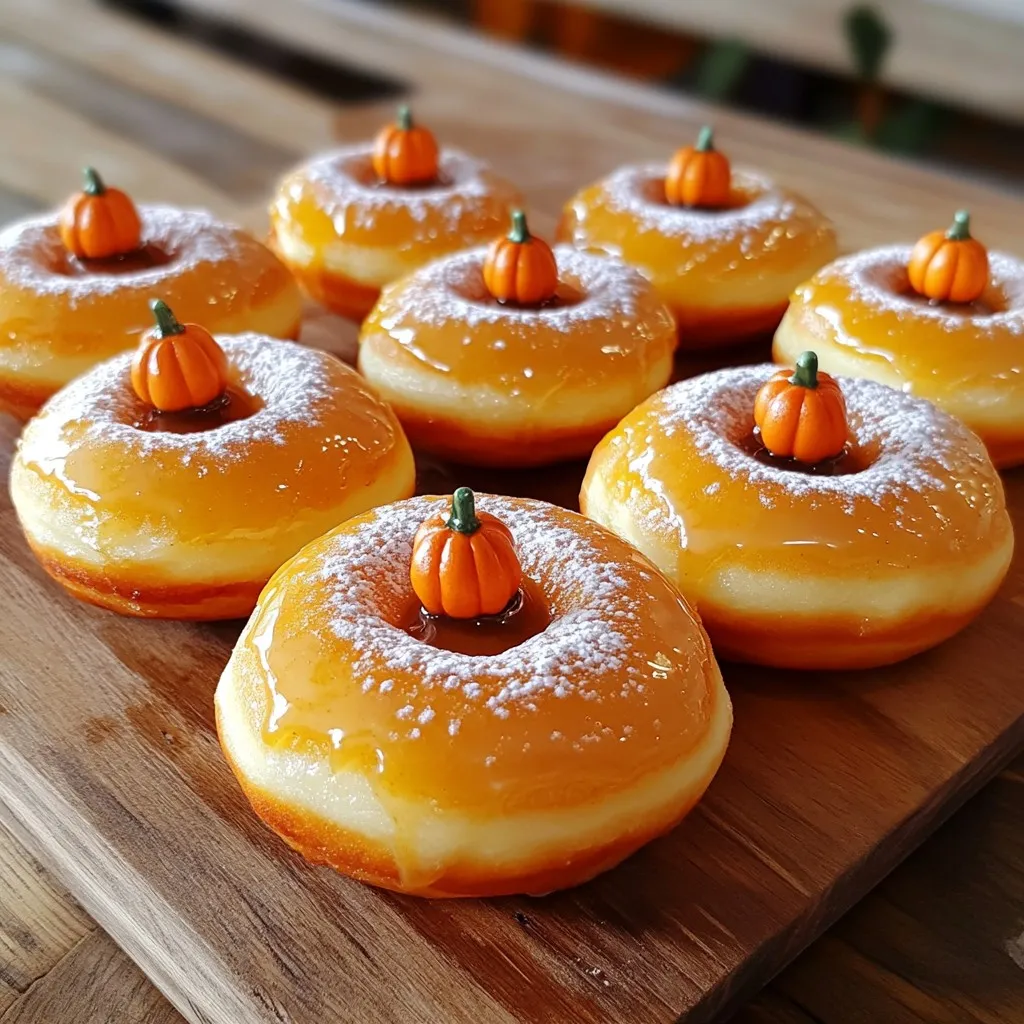
Bakery Style Pumpkin Spice Donuts Irresistible Treat
Do you love warm, cozy flavors? Then you’ll adore my Bakery Style Pumpkin Spice Donuts! These sweet treats are soft, moist, and packed with fall
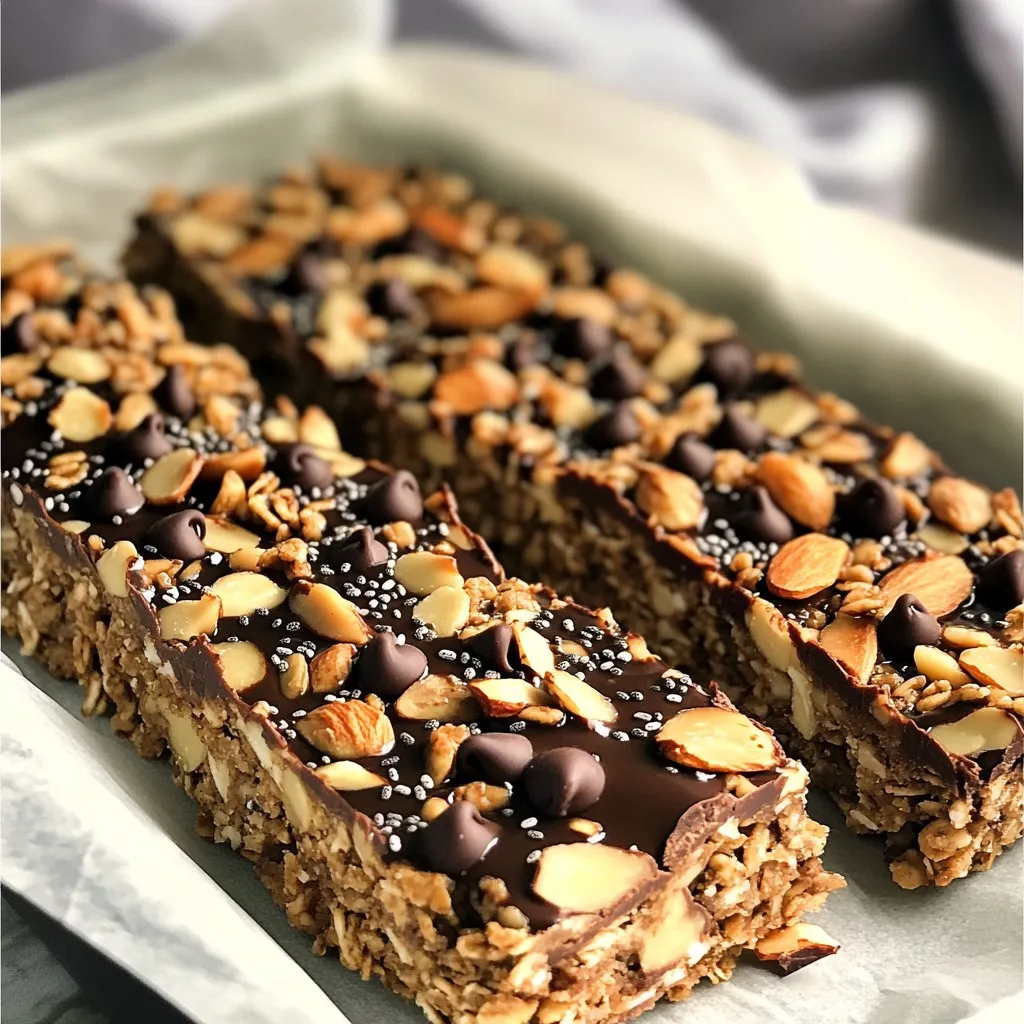
No Bake Chocolate Almond Butter Granola Bars Delight
Looking for a quick, tasty snack without the oven? My No Bake Chocolate Almond Butter Granola Bars are perfect for you! Packed with healthy ingredients