Desserts
. To keep your cookies soft and chewy, use room temperature butter. Cream it well with sugars until fluffy. This step adds air and helps make them soft. Use fresh pumpkin puree, not the canned pie filling. It gives a rich taste and keeps them moist. Avoid overmixing your dough. Mix just until combined. Overmixing can make the cookies tough. Store your cookies in an airtight container. This keeps them soft and fresh longer. You can add a slice of bread to the container. The bread helps keep the cookies moist. Keep them at room temperature for up to a week. If you want them to last longer, freeze them. Place them in a freezer bag and remove as much air as possible. One common mistake is skipping the chilling step. Chilling the dough for 30 minutes helps the flavors blend. It also makes the cookies less spread out while baking. Another mistake is using old spices. Fresh spices enhance the flavor of your cookies. Lastly, don’t bake them too long. Slightly underbaked cookies will firm up as they cool. Follow the [Full Recipe] for best results! {{image_2}} You can easily change the flavor of these cookies. Add-ins make them fun! Try mixing in dried cranberries or raisins for a fruity twist. You might also add a cup of chopped apples for a fresh crunch. If you like nuts, swap pecans for walnuts. You can even add spices like cardamom for a unique flavor profile. If you’re not a fan of white chocolate, consider dark chocolate or even butterscotch chips. Toppings can elevate your cookie game. A simple glaze made from powdered sugar and milk adds sweetness. Drizzle this over the cooled cookies for a nice touch. You can also sprinkle crushed graham crackers on top for a pie-like texture. For a festive look, add candy corn or fall-themed sprinkles right before baking. This makes each cookie a delight in every bite! These cookies fit any season with a few tweaks. For Halloween, add orange and black sprinkles. For Thanksgiving, top them with a dollop of whipped cream to mimic pumpkin pie. In winter, mix in peppermint extract for a refreshing twist. You can even shape the cookies into festive forms, like leaves or pumpkins, during the fall. Whatever the occasion, these cookies can shine! For more on making these delicious treats, check out the Full Recipe. To keep your cookies fresh, store them in an airtight container. Line the container with a paper towel. This helps absorb moisture and keeps cookies from getting soggy. Place a layer of cookies in the container, then add another paper towel on top. This method helps maintain their soft texture and keeps them tasty for days. You can freeze these cookies for later. First, let them cool completely. Then, place them in a single layer on a baking sheet. Freeze them for about an hour. After that, transfer the cookies to a freezer bag or container. Make sure to remove as much air as possible. They can last up to three months in the freezer. When stored well, the cookies last about one week at room temperature. If you freeze them, they stay good for about three months. Always check for any signs of spoilage. If they look dry or smell off, it’s best to toss them. Enjoy the best Crumbl pumpkin pie cookies fresh for a delightful treat! For the full recipe, check out [Full Recipe]. The Best Crumbl Pumpkin Pie Cookies stand out due to their rich flavor. They have a moist texture thanks to the pumpkin puree. The blend of spices adds warmth and comfort. These cookies also feature white chocolate chips for a sweet touch. This mix of flavors brings the essence of fall into each bite. Yes, you can make these cookies gluten-free! Just swap the all-purpose flour for a gluten-free blend. Make sure the blend has a good texture and flavor. You can also use almond flour or oat flour as alternatives. These options work well and keep the cookies soft and tasty. To get the best texture, cream the butter and sugars well. This helps create air pockets, making the cookies light. Be careful not to overmix the dough when adding dry ingredients. Let the cookies cool on the baking sheet before moving them. This helps them set properly. For a chewy result, slightly underbake them. They will firm up as they cool. For the full recipe, you can check the section above. You now have all you need to bake perfect Crumbl Pumpkin Pie Cookies. Start with the right ingredients and tools, and follow the step-by-step instructions. Remember the tips for soft, chewy cookies and avoid common mistakes. Explore fun variations and toppings to make each batch unique. Store them well so they stay fresh and tasty. With practice, your cookies will impress everyone. Baking can be fun and rewarding, so enjoy the process. Happy baking!](https://therecipehatch.com/wp-content/uploads/2025/08/7ed5b253-5638-49a2-9ba2-94806acd1500.webp)
The Best Crumbl Pumpkin Pie Cookies Delicious Treat
If you love cookies and pumpkin pie, you’re in for a treat! I’m excited to share my recipe for the best Crumbl pumpkin pie cookies.
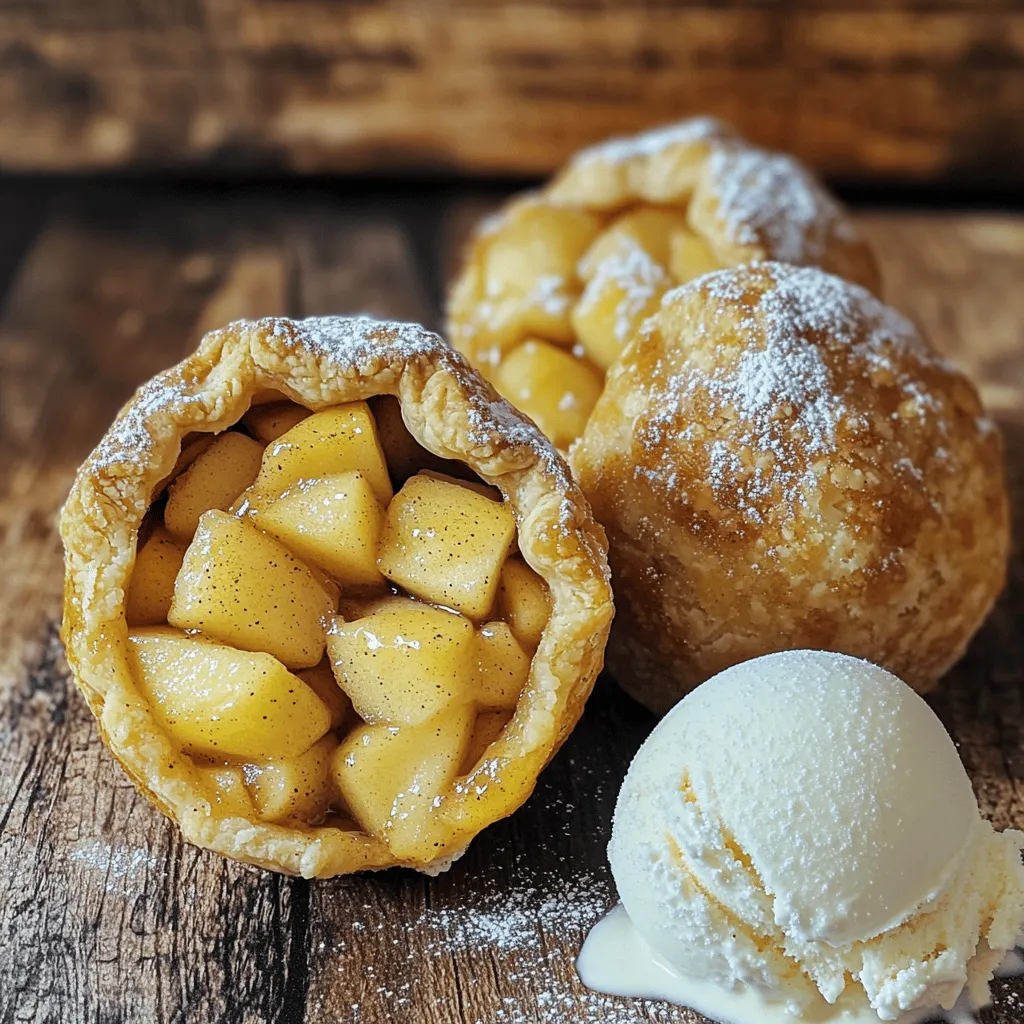
Air Fryer Apple Pie Bombs Easy and Delicious Treat
Are you ready to make a tasty treat? Air Fryer Apple Pie Bombs are easy and fun! With just a few simple ingredients, you can
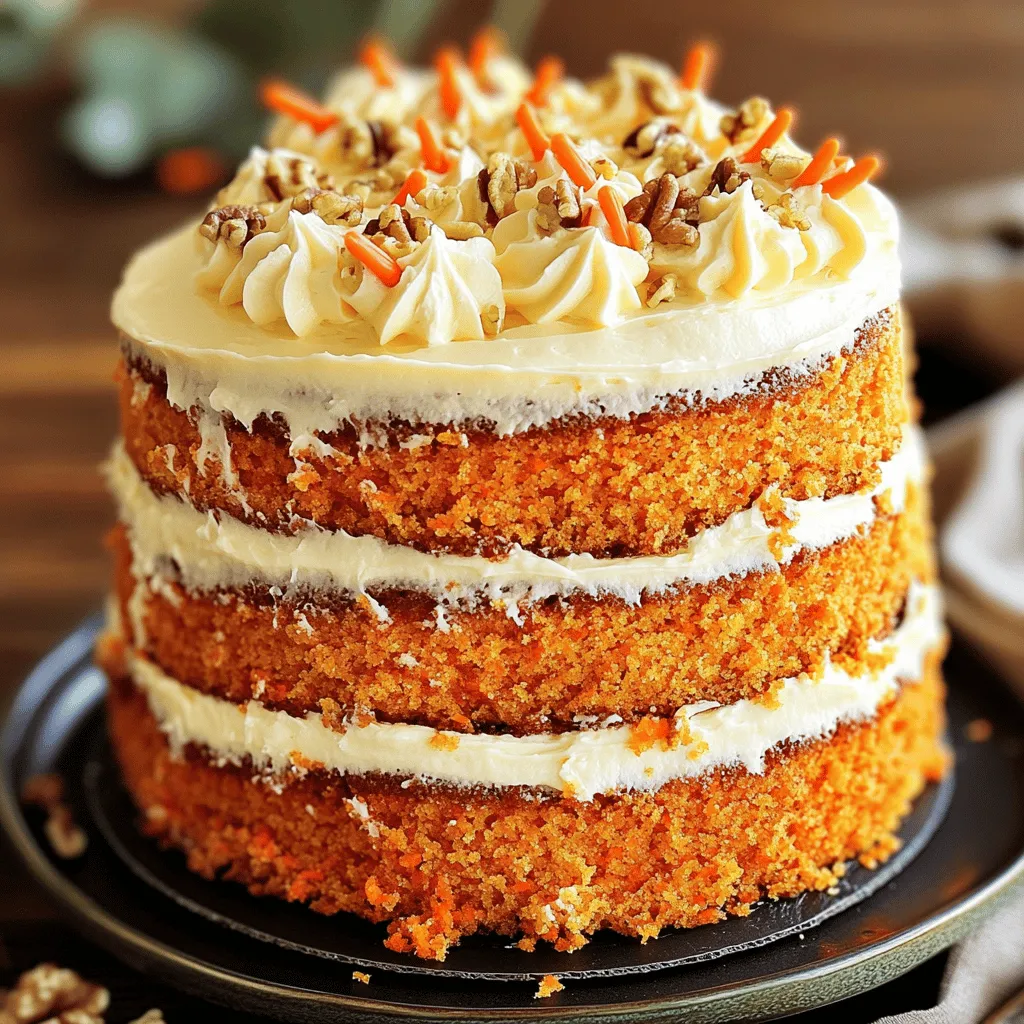
Gordon Ramsay’s Carrot Cake Irresistible and Easy Recipe
Are you ready to bake something truly special? Gordon Ramsay’s Carrot Cake is not only delicious, but it’s also easy to make! In this guide,
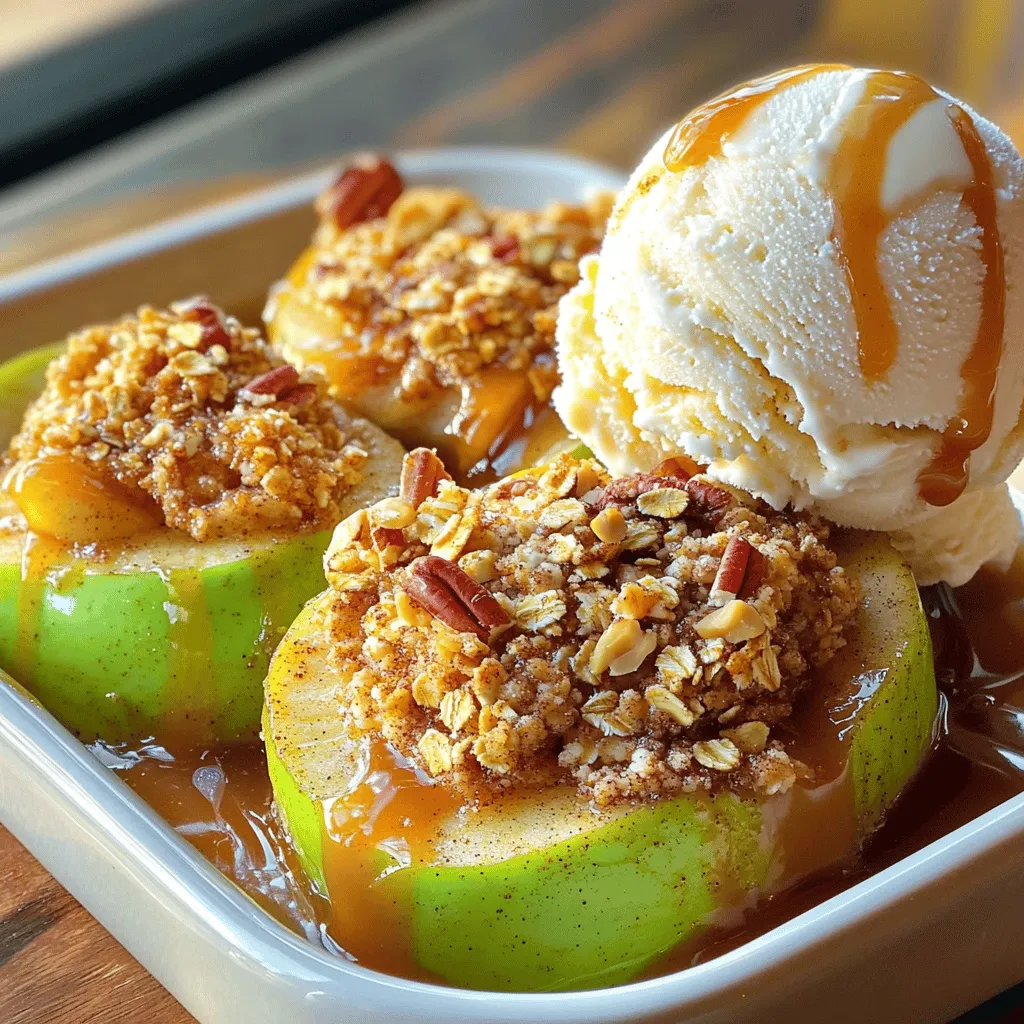
Old-Fashioned Baked Apple Slices with Vanilla Ice Cream
Looking for a sweet and simple dessert that will warm your heart? My Old-Fashioned Baked Apple Slices with Vanilla Ice Cream delivers cozy comfort in
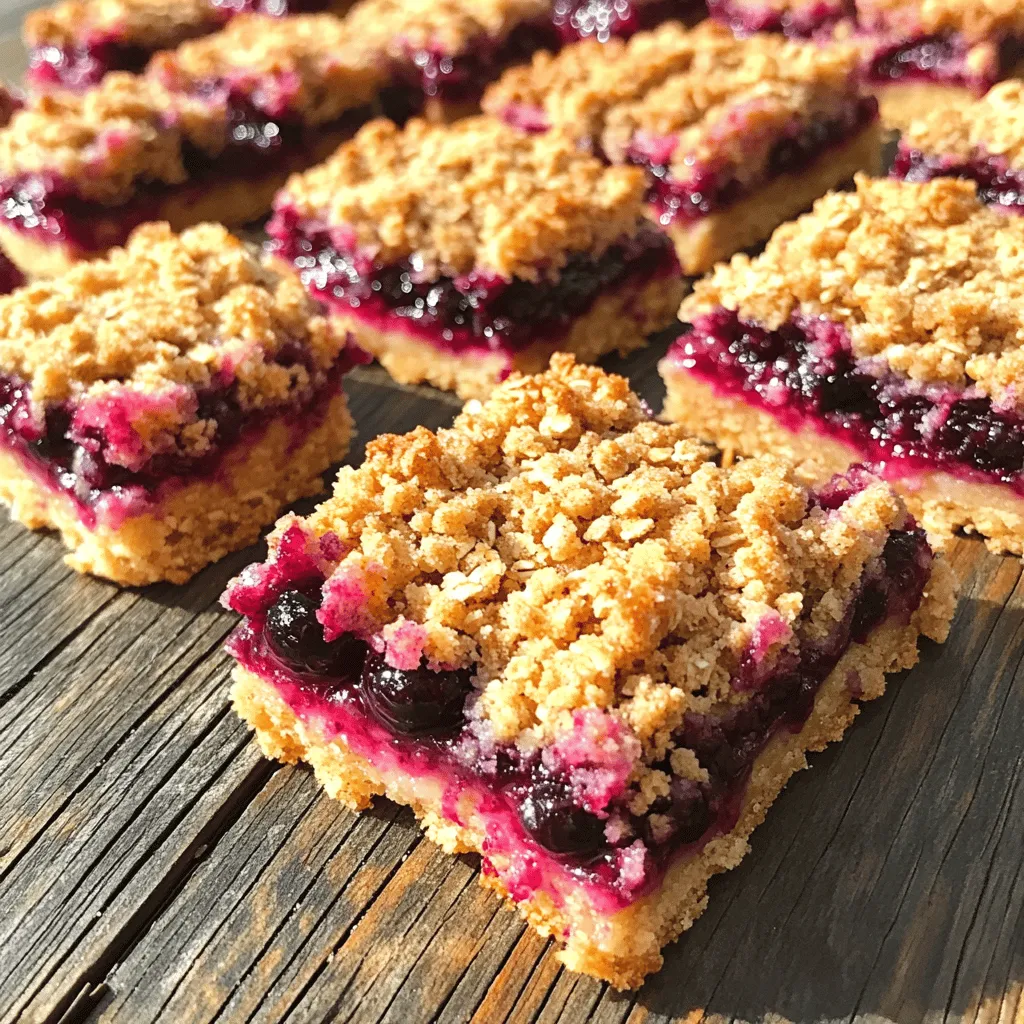
Huckleberry Crumb Bars Simple and Tasty Treat
Craving a sweet and fruity treat? Try my Huckleberry Crumb Bars! These simple bars combine the tangy flavor of huckleberries with a crunchy topping, making
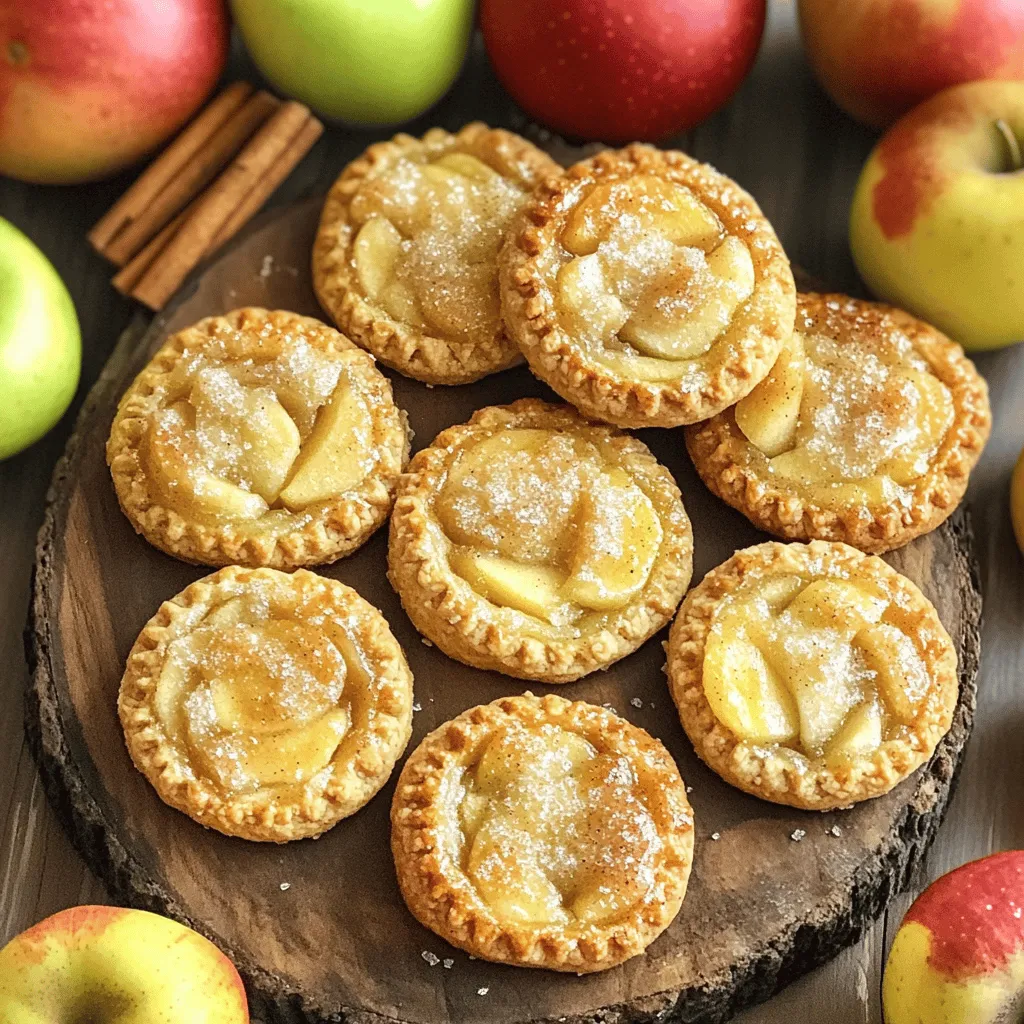
Perfect Apple Pie Cookies Irresistible and Easy Recipe
Are you craving the warm, comforting taste of apple pie but want a fun twist? Look no further! I’m excited to share my easy recipe
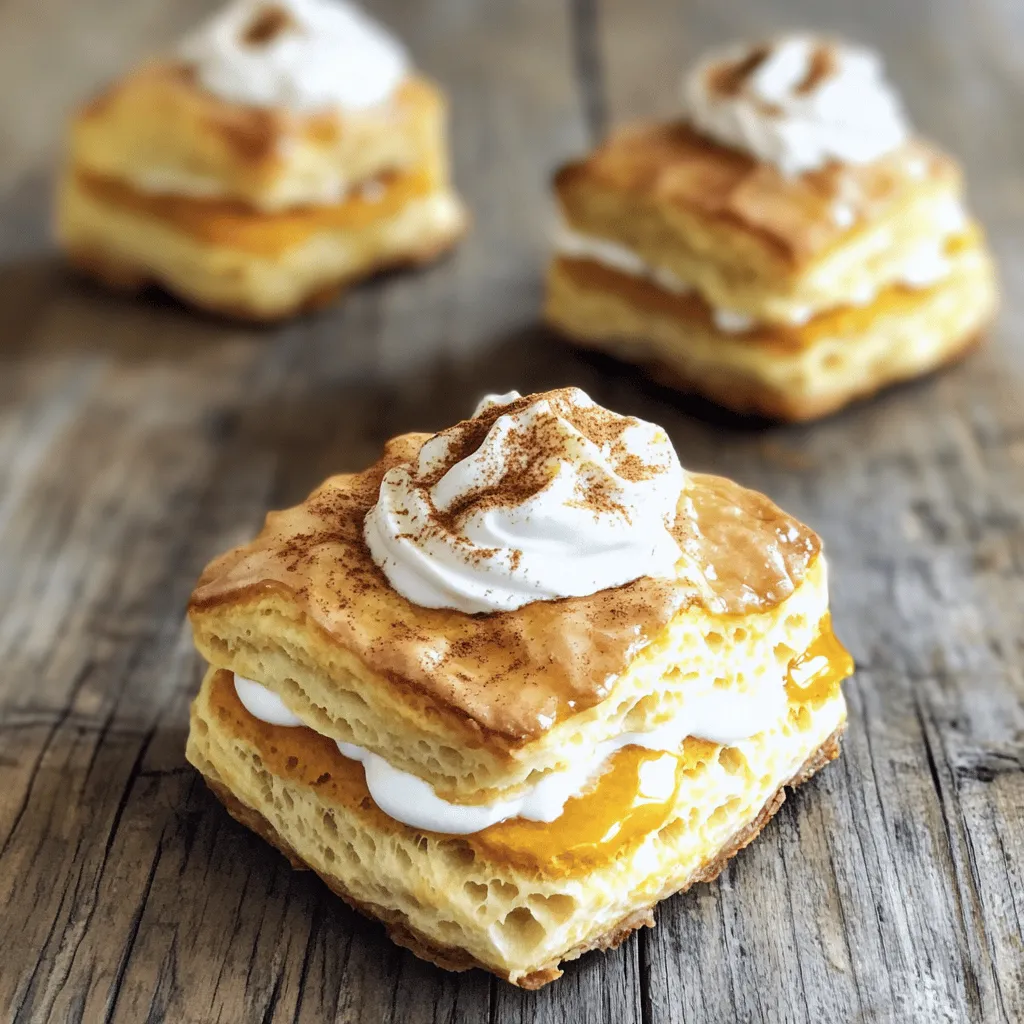
Pumpkin Biscuits Flaky and Flavorful Homemade Treat
Are you ready to delight your taste buds with warm, flaky pumpkin biscuits? These homemade treats are perfect for fall gatherings or cozy evenings at
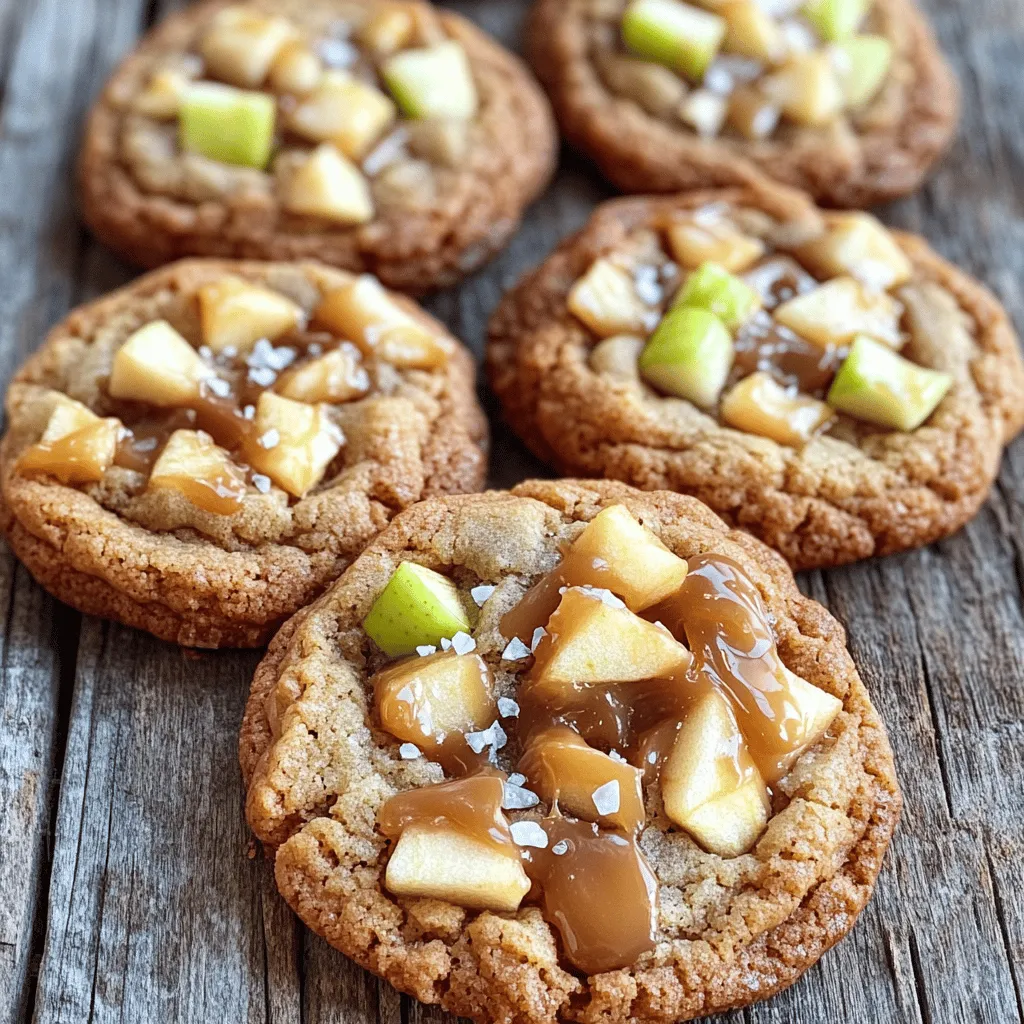
Gooey Caramel and Crisp Apple Cookies Delightful Treat
Get ready to indulge in a sweet treat that combines gooey caramel and crisp apples! In this article, I’ll guide you through making delightful cookies
![- 1 cup unsalted butter, softened - 1 cup granulated sugar - 1/2 cup packed brown sugar - 2 large eggs - 1 cup pumpkin puree (not pumpkin pie filling) - 3 1/2 cups all-purpose flour - 2 teaspoons cream of tartar - 1 teaspoon baking soda - 1/2 teaspoon salt - 1 tablespoon ground cinnamon - 1 teaspoon ground nutmeg - 1 teaspoon vanilla extract - 1 cup white chocolate chips - 1/4 cup granulated sugar (for rolling) - 1 tablespoon ground cinnamon (for rolling) Each ingredient plays a key role in the flavor and texture of the cookies. The unsalted butter gives a rich, creamy base. Using both granulated and brown sugar adds sweetness and depth. Brown sugar also helps keep the cookies soft. Eggs are crucial for binding the dough. Pumpkin puree adds moisture and a hint of fall flavor. When selecting pumpkin, remember to choose pure pumpkin puree, not the spiced pie filling. All-purpose flour gives structure to the cookies. Cream of tartar and baking soda work together to create a soft, chewy texture. I love using ground cinnamon and nutmeg for that warm, cozy taste. Don’t forget the white chocolate chips! They melt beautifully and add a sweet contrast to the pumpkin spice. Finally, rolling the cookies in cinnamon sugar gives them a lovely finish. For the complete recipe, check out the Full Recipe section. 1. Preheat the oven and prepare baking sheets: Start by preheating your oven to 350°F (175°C). This step is key for even baking. Line two baking sheets with parchment paper. This helps the cookies not stick and makes cleanup easy. 2. Cream the butter and sugars: In a large mixing bowl, add 1 cup of softened unsalted butter. Then, mix in 1 cup of granulated sugar and 1/2 cup of packed brown sugar. Use a hand mixer or a whisk to blend them until the mixture is light and fluffy. This takes about 3-4 minutes. Creaming adds air and makes your cookies soft. 1. Add eggs and pumpkin puree: Next, beat in 2 large eggs and 1 cup of pumpkin puree. Don't use pumpkin pie filling; it has extra sugars and spices. Also, add 1 teaspoon of vanilla extract. Mix until the mixture is smooth. This adds moisture and flavor to your dough. 2. Mix dry ingredients separately: In another bowl, whisk together 3 1/2 cups of all-purpose flour, 2 teaspoons of cream of tartar, 1 teaspoon of baking soda, 1/2 teaspoon of salt, 1 tablespoon of ground cinnamon, and 1 teaspoon of ground nutmeg. Mixing dry ingredients first helps distribute the baking soda evenly. 1. Combine wet and dry mixtures: Gradually add the dry mixture into the wet mixture. Mix gently until just combined. Be careful not to overmix; this keeps your cookies soft. Then, fold in 1 cup of white chocolate chips. 2. Prepare and roll the cookie dough: In a small bowl, mix 1/4 cup of granulated sugar with 1 tablespoon of ground cinnamon for rolling. Scoop tablespoon-sized portions of dough and roll them into balls. Roll each ball in the cinnamon sugar mixture until fully coated. 3. Bake and cool the cookies: Place the dough balls on the prepared baking sheets, leaving about 2 inches of space between them. Bake for 10-12 minutes, until the edges are lightly golden. Remove from the oven and let them cool on the baking sheets for about 5 minutes. Then, transfer the cookies to a cooling rack to cool completely. For the full recipe, visit [Full Recipe]. Enjoy these warm and delightful treats! To make your White Chocolate Pumpkin Snickerdoodles perfect, start with room temperature ingredients. This helps butter and sugar blend well, giving your cookies a soft texture. Cold butter can make your dough hard to mix and lead to uneven baking. Next, don't overmix the dough. Mix until just combined. Overmixing can make your cookies tough instead of soft and chewy. Remember, some lumps are okay! Check your cookies for doneness at 10 minutes. They should look slightly golden around the edges but still soft in the center. If the edges are too dark, your cookies may be overbaked. Once baked, cool the cookies on a wire rack. This lets air circulate around them, keeping them soft. If you leave them on the baking sheet too long, they may get soggy. Enjoy these tips and make the best snickerdoodles with the full recipe! {{image_2}} To make your White Chocolate Pumpkin Snickerdoodles even better, consider adding spices. A touch of ginger or cloves gives them a new twist. These spices blend well with pumpkin and add warmth to each bite. You can also add nuts for extra crunch. Chopped walnuts or pecans work nicely. They add texture and flavor, making your cookies even more delightful. Changing the type of chocolate can also alter the cookie's taste. If you prefer dark chocolate, swap out white chocolate chips. This change adds depth and richness. For those needing gluten-free options, try a gluten-free flour blend. It can yield similar results while accommodating dietary needs. Just ensure your blend includes xanthan gum for structure. These variations let you personalize your cookies. Check out the Full Recipe for all the steps to create these yummy treats! To keep your white chocolate pumpkin snickerdoodles fresh, store them in an airtight container. This will help lock in moisture and prevent them from becoming hard. If you want to keep them longer, consider refrigeration. Just make sure to wrap them well to avoid any fridge odors. You can also freeze these cookies. Place them in a freezer-safe bag with as much air removed as possible. They will last for up to three months in the freezer. At room temperature, these cookies last about five days. Store them in a cool, dry place to maintain their taste and texture. Look out for signs of spoilage, like a hard texture or off-smell. If they become dry or crumbly, it’s time to toss them. Always trust your senses; if they don’t smell or taste right, don’t eat them. Can I use pumpkin pie filling instead of puree? No, you should not use pumpkin pie filling. It has added sugar and spices. This will change the taste and texture of your cookies. Stick with pure pumpkin puree for the best results. What can I substitute for white chocolate chips? You can use dark chocolate chips or milk chocolate chips. If you want a fruity twist, try dried cranberries or raisins. These options will still taste great in your snickerdoodles. How do I make these cookies chewy vs. crispy? To make chewy cookies, use more brown sugar. This adds moisture. For crispy cookies, add a bit more flour. You can also bake them a little longer for a crunchy edge. Can I freeze the cookie dough? Yes, you can freeze the cookie dough. Just scoop the dough into balls and freeze them on a baking sheet. Once frozen, transfer them to a bag. They will last about three months in the freezer. What to do if the dough is too sticky or dry? If the dough is too sticky, add more flour, one tablespoon at a time. If it’s too dry, mix in a little more pumpkin puree or butter. Make sure to mix well after each addition. How to fix cookies that spread too much during baking? If your cookies spread too much, check your oven's temperature. It may be too hot. You can also chill the dough before baking. This helps the cookies hold their shape better in the oven. In this blog post, we explored how to make white chocolate pumpkin snickerdoodles from start to finish. We covered the key ingredients, step-by-step instructions, and helpful tips for the best results. Remember, using room temperature ingredients and not overmixing will help keep your cookies soft. Experiment with flavors and store them properly to enjoy every bite. Baking is fun and this recipe is sure to impress. Now, it's your turn to make delicious cookies that everyone will love!](https://therecipehatch.com/wp-content/uploads/2025/08/6c769cd4-eff4-4dc3-b55a-b08ae5c7b739.webp)
White Chocolate Pumpkin Snickerdoodles Irresistible Treat
Are you ready to fall in love with a new cookie? Imagine soft, chewy Snickerdoodles infused with pumpkin and sweet white chocolate. In this blog
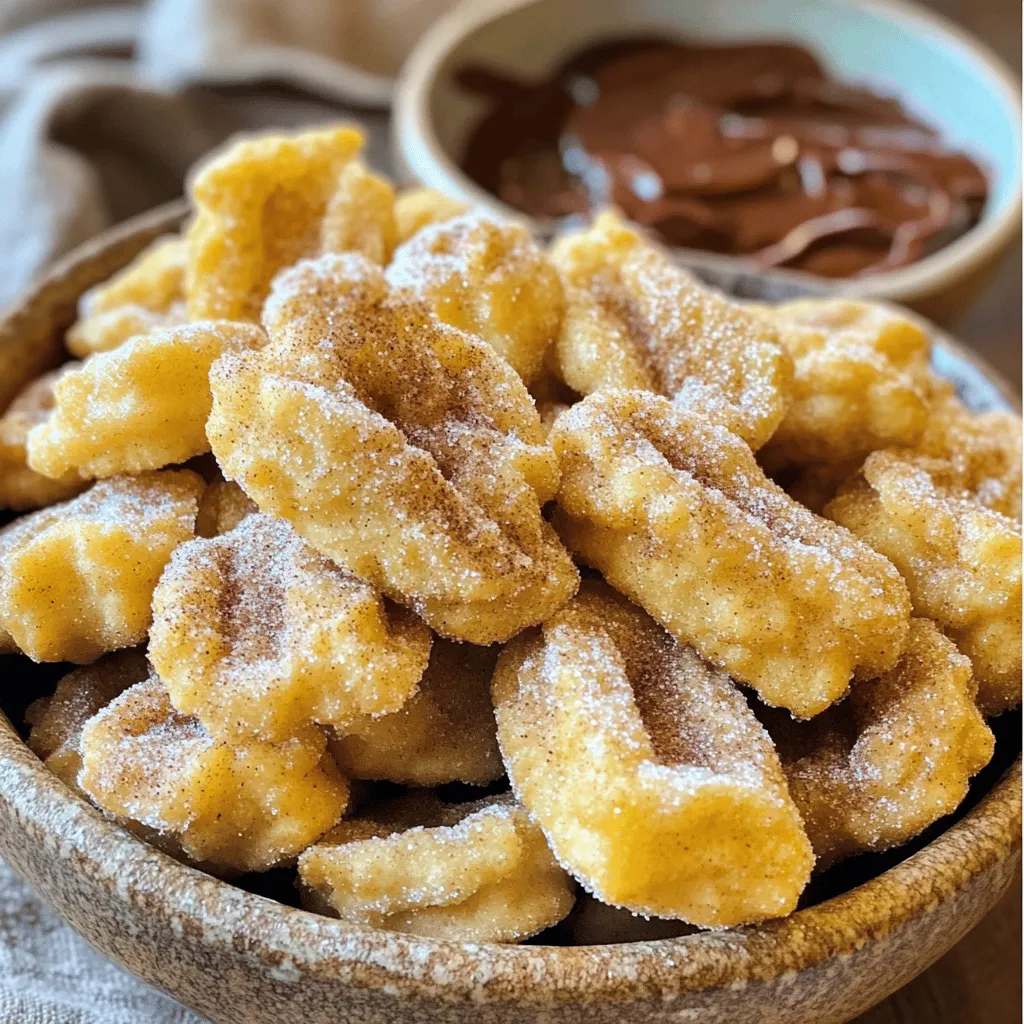
Easy Churro Bites with Nutella Delightfully Simple Snack
Craving a sweet treat? Look no further! These Easy Churro Bites with Nutella are a simple snack that will wow your taste buds. I’ll guide