Desserts
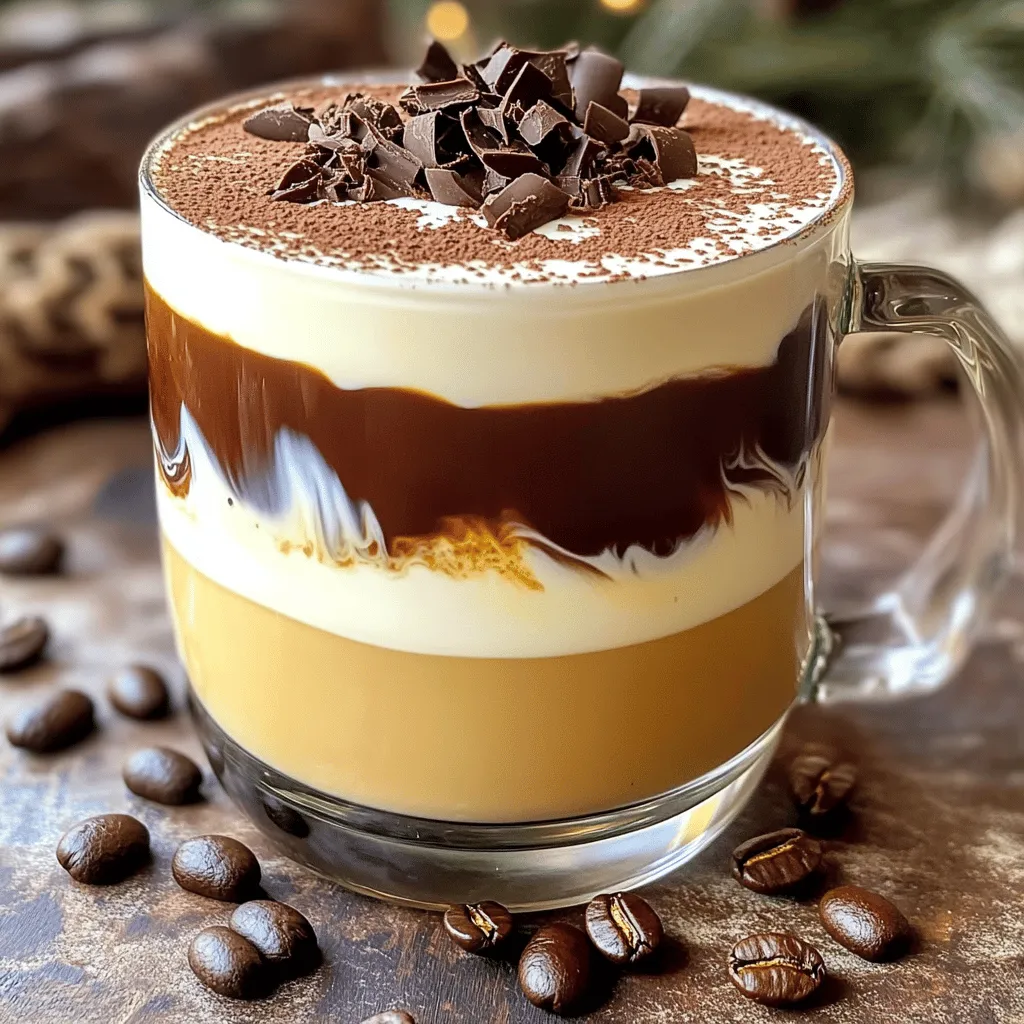
Tiramisu Latte Delightful and Creamy Coffee Drink
Do you crave a rich, creamy coffee drink that adds a touch of dessert to your routine? The Tiramisu Latte might just be your new
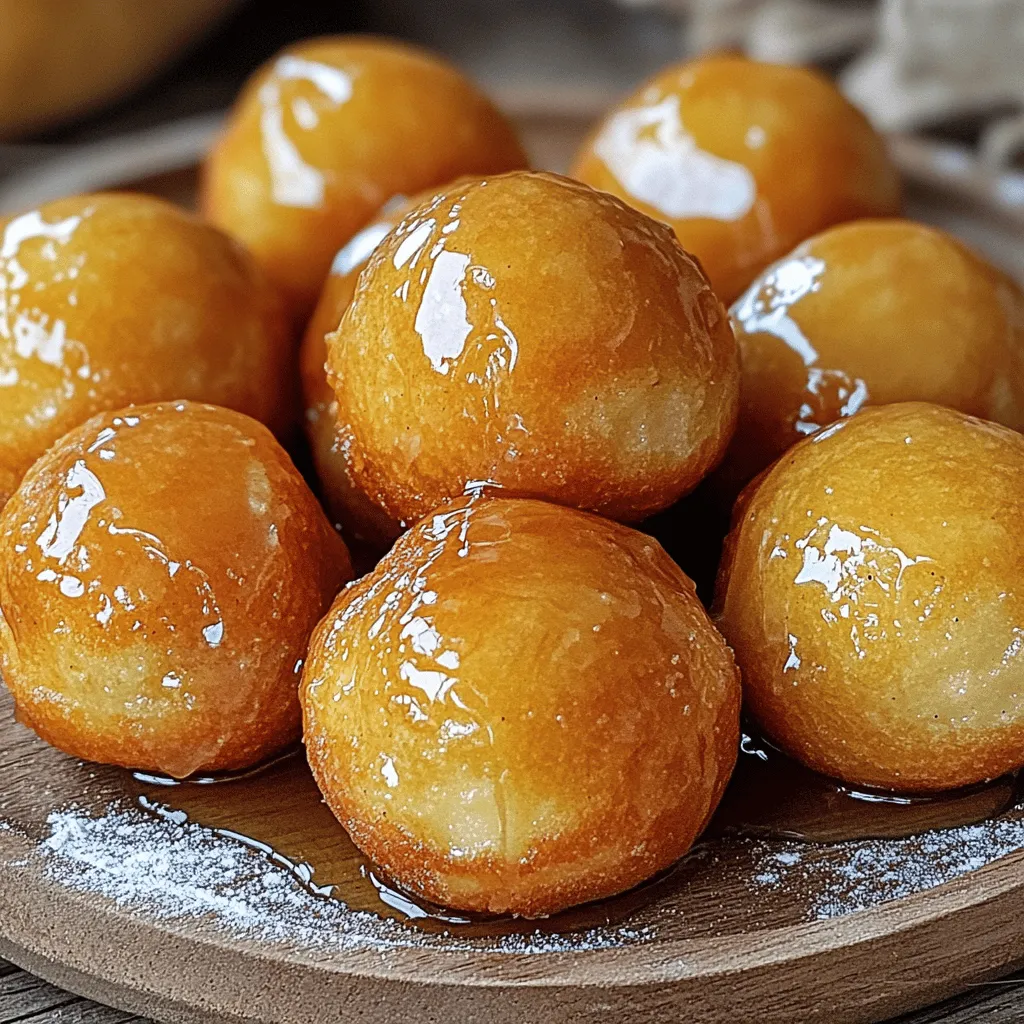
Maple Glazed Donut Holes Irresistible Dessert Recipe
Are you ready to indulge in a treat that will make your taste buds dance? Maple Glazed Donut Holes are the perfect sweet snack, combining
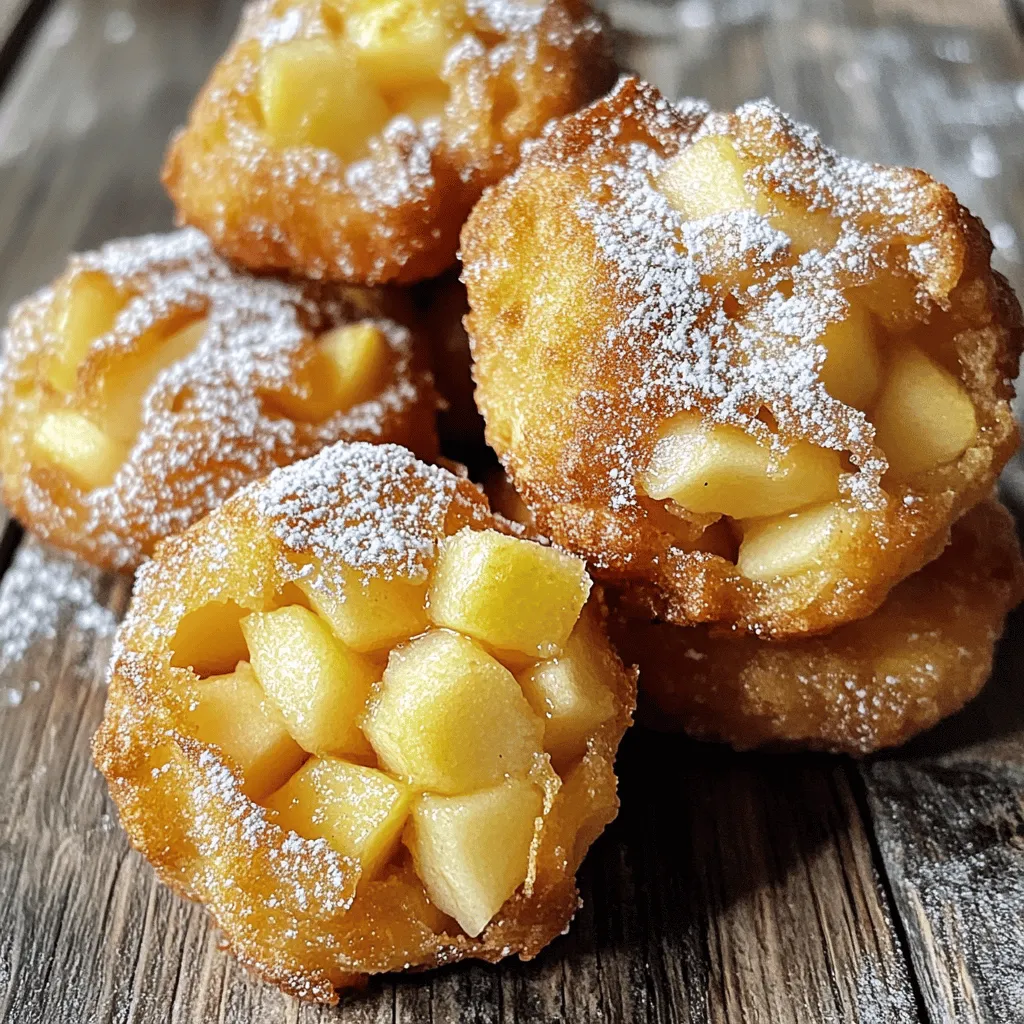
Air Fryer Apple Fritter Bites Quick and Tasty Treat
Craving a sweet treat that’s quick and easy? With my Air Fryer Apple Fritter Bites, you can enjoy a tasty snack in no time! These
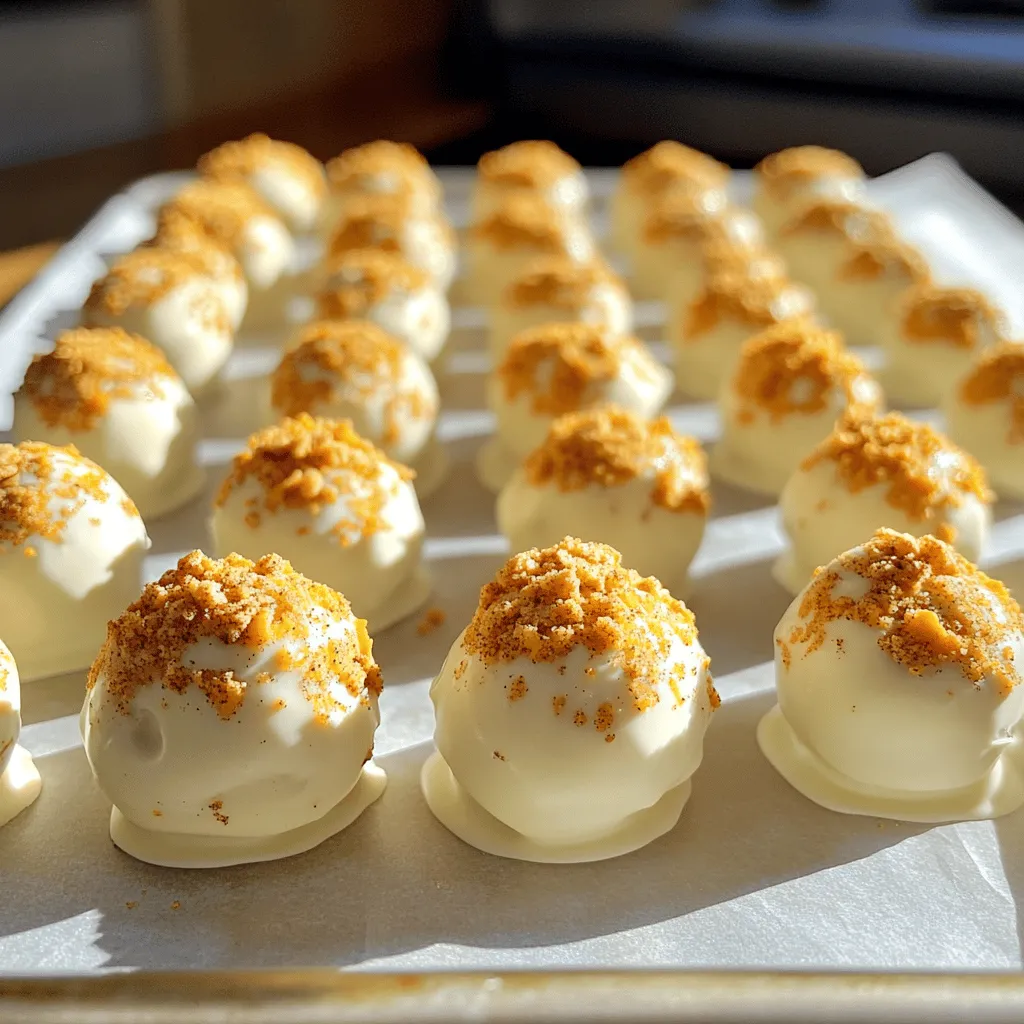
Pumpkin Cheesecake Truffles Tasty and Easy Treat
Love pumpkin and cheesecake? Then you’ll adore these Pumpkin Cheesecake Truffles! With simple ingredients and easy steps, you can create a creamy, spiced treat that’s
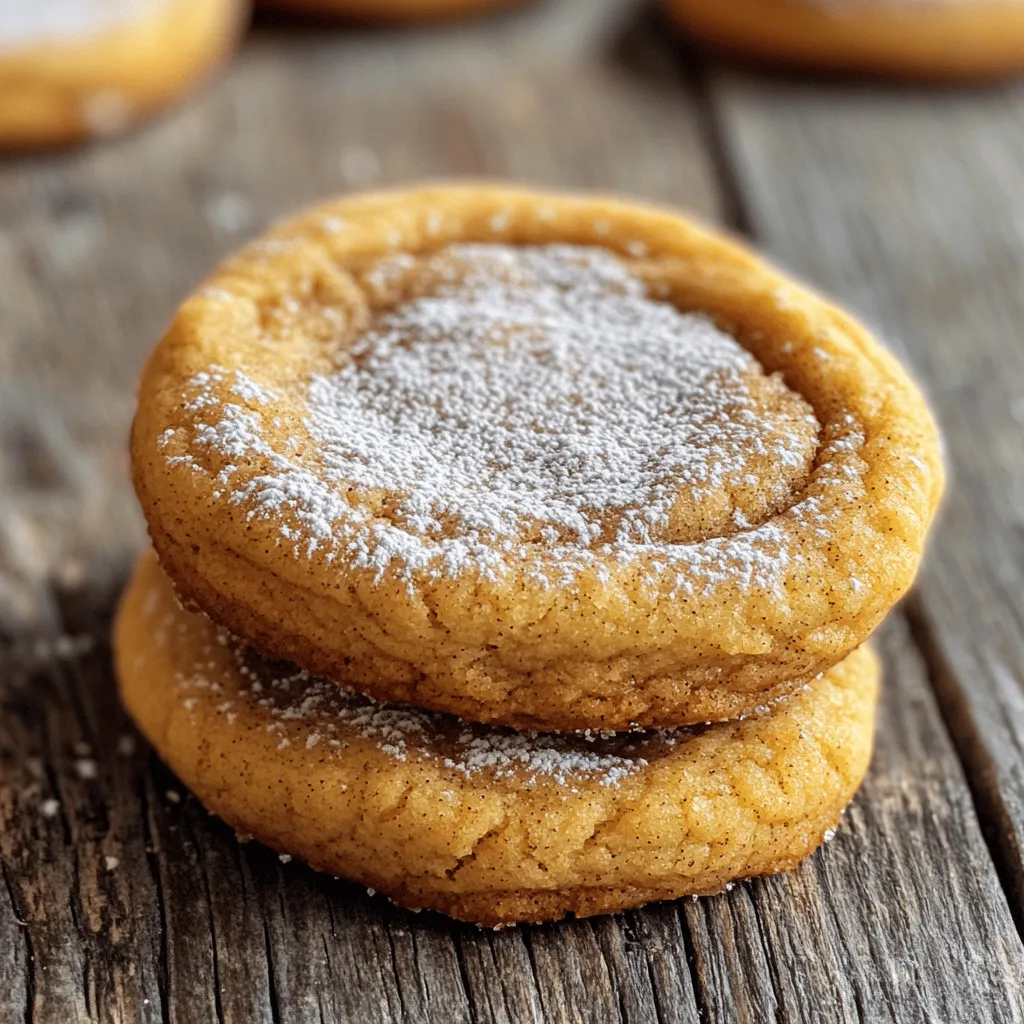
Soft Chai Spice Cookies Delightful and Easy Recipe
If you love warm, spiced treats with a soft bite, you’re in for a treat! These Soft Chai Spice Cookies are a delight to bake
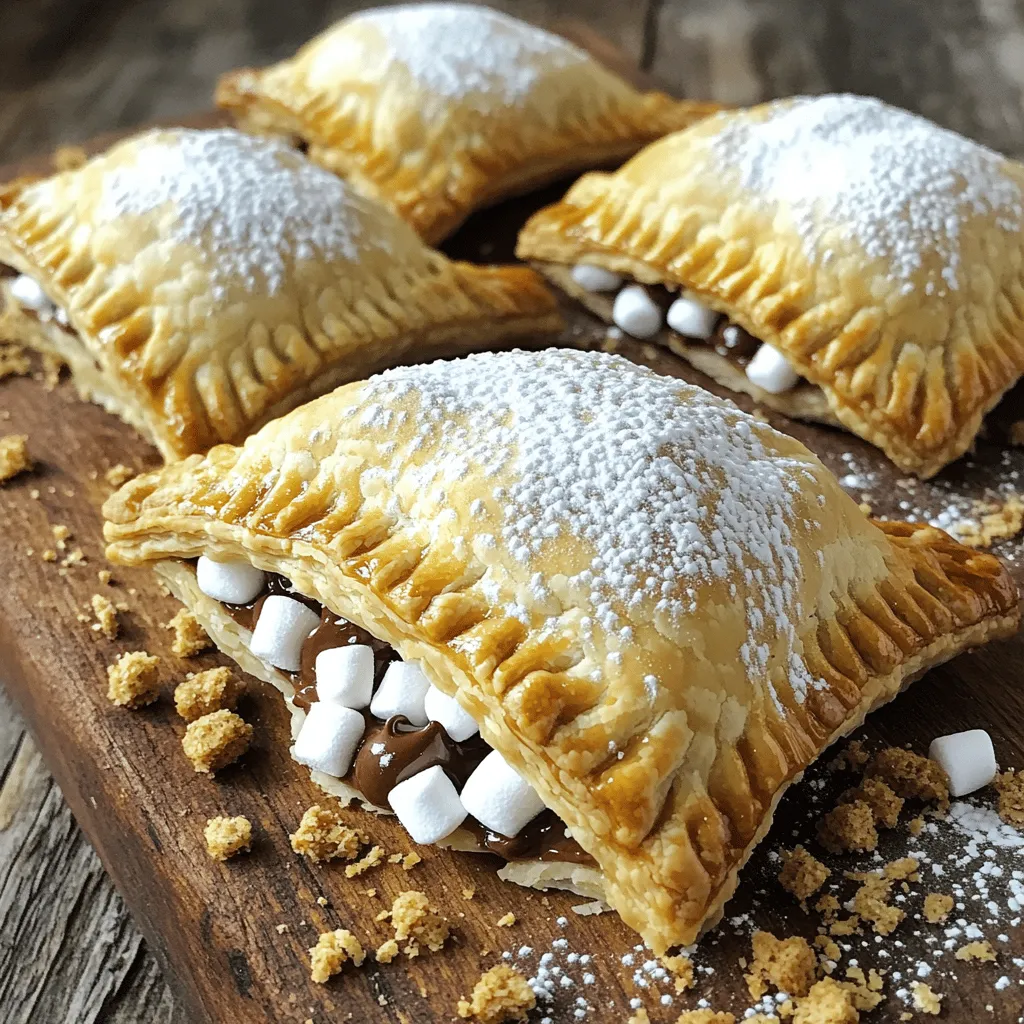
S’mores Hand Pies Tasty Treat for Any Occasion
Who doesn’t love a sweet treat that’s easy to make and delicious? S’mores hand pies are your perfect answer for satisfying a craving or impressing
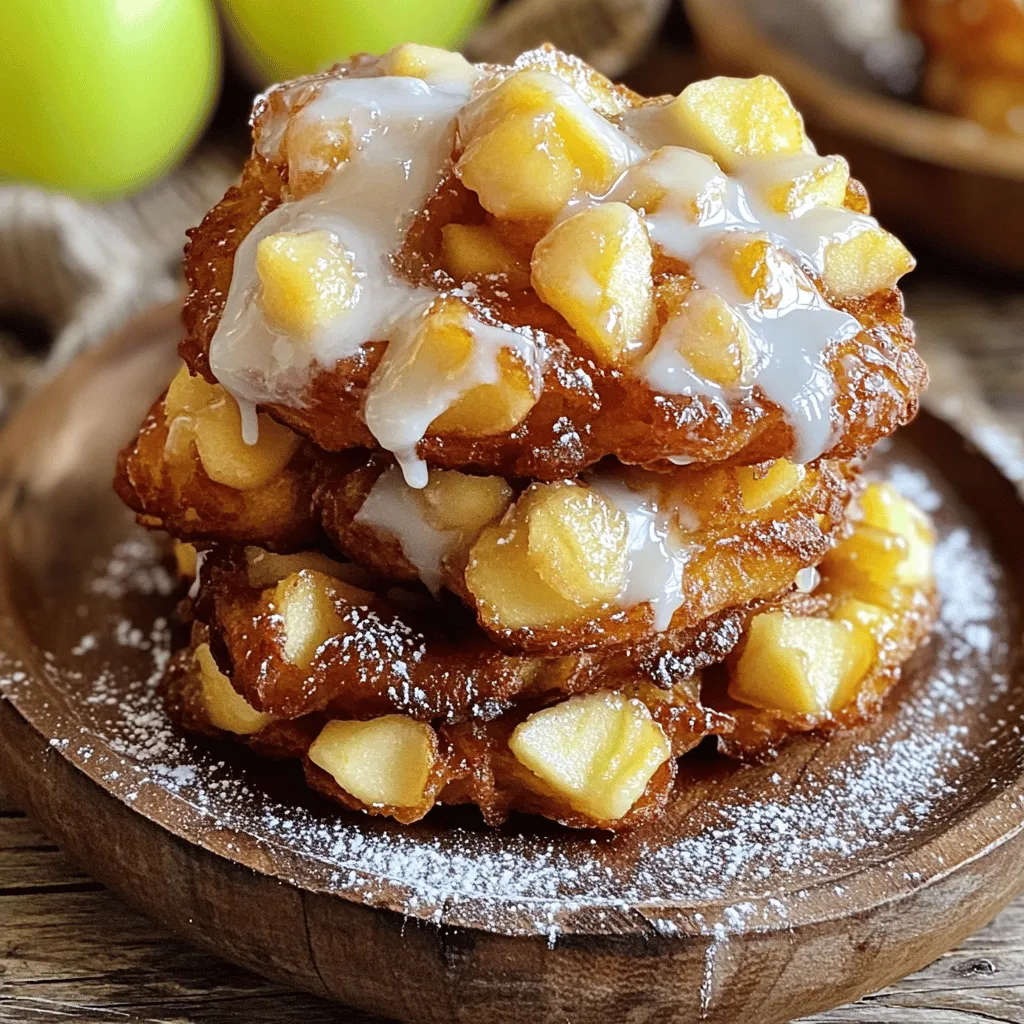
Glazed Baked Apple Fritters Soft and Delicious Treat
Are you ready to indulge in a treat that’s soft, sweet, and bursting with flavor? These Glazed Baked Apple Fritters are the perfect way to
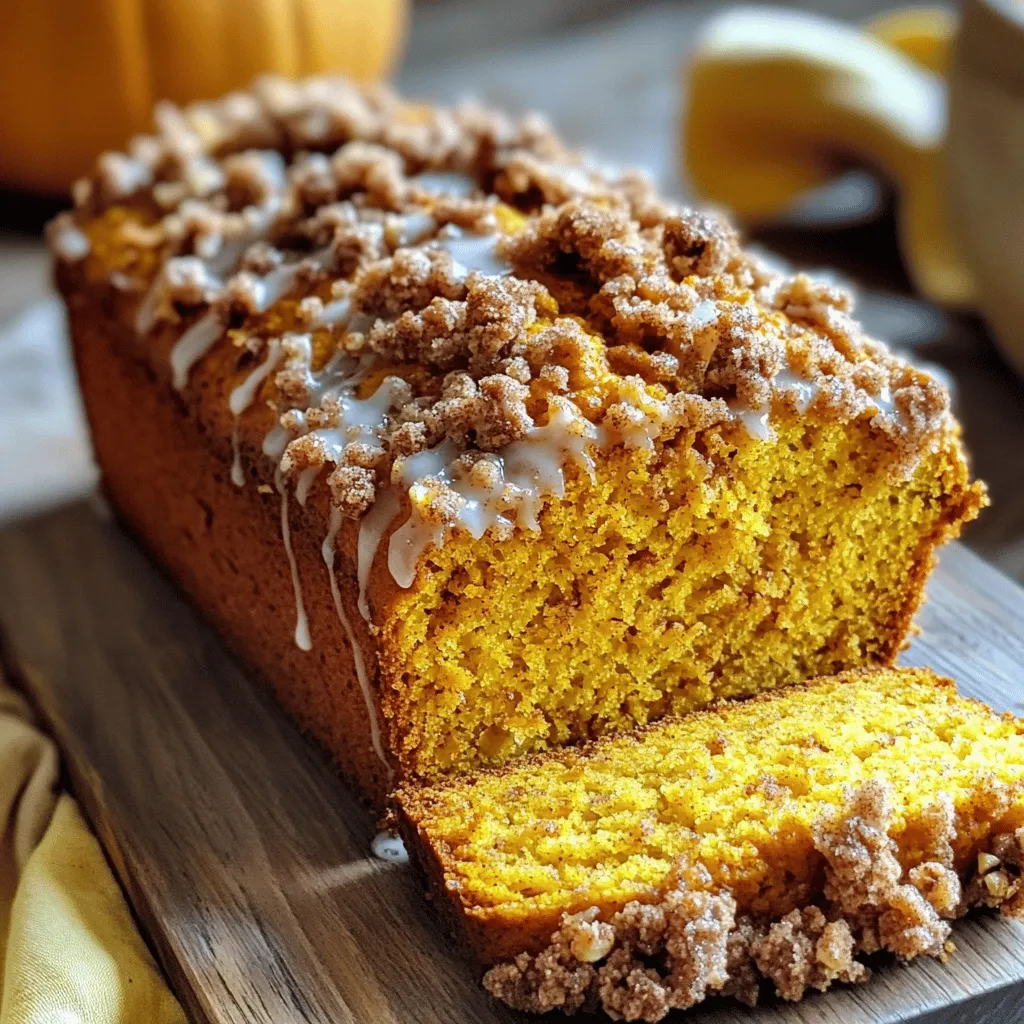
Pumpkin Streusel Bread Simple and Flavorful Recipe
Fall is here, and it’s time to bake something warm and inviting! My Pumpkin Streusel Bread recipe combines the rich taste of pumpkin with a
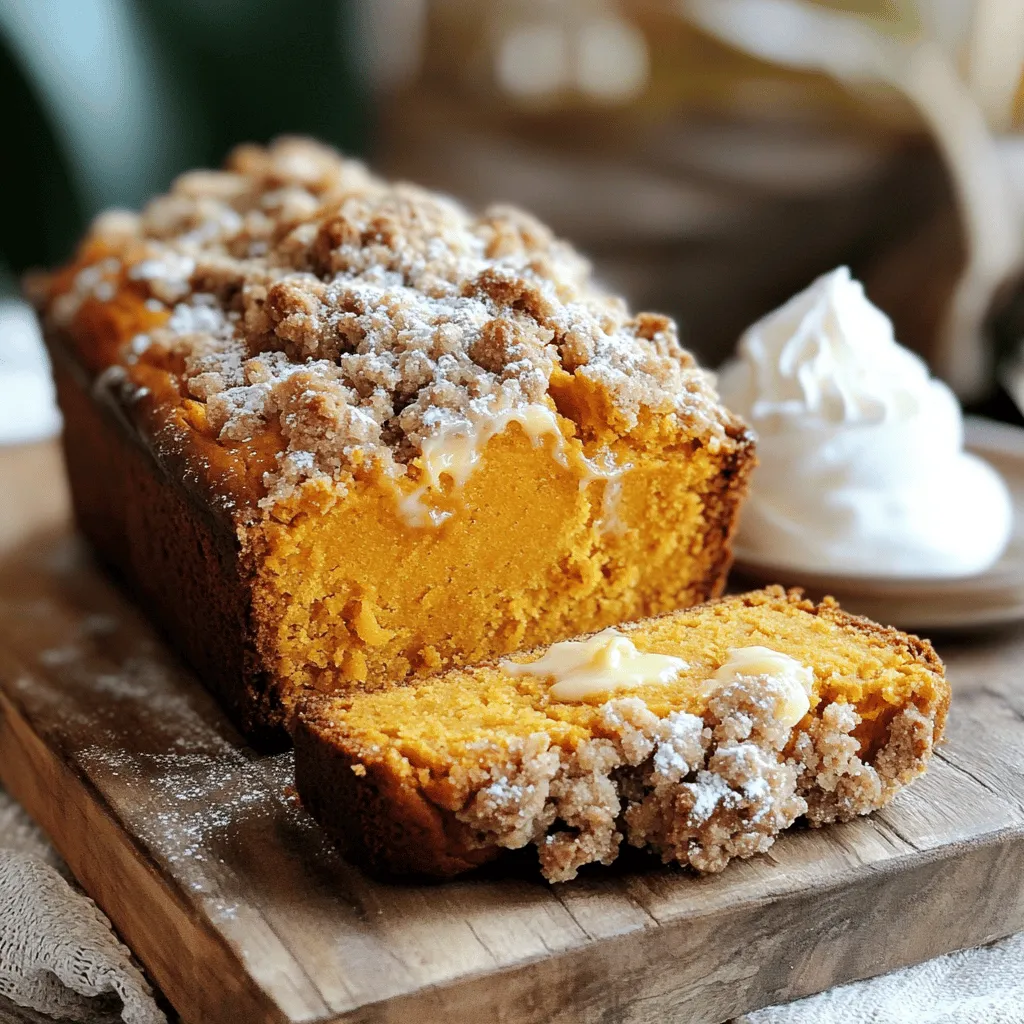
Streusel Pumpkin Loaf Easy and Flavorful Recipe
Fall is here, and it’s time to indulge in a warm slice of Streusel Pumpkin Loaf! This simple recipe packs a punch of flavor, thanks
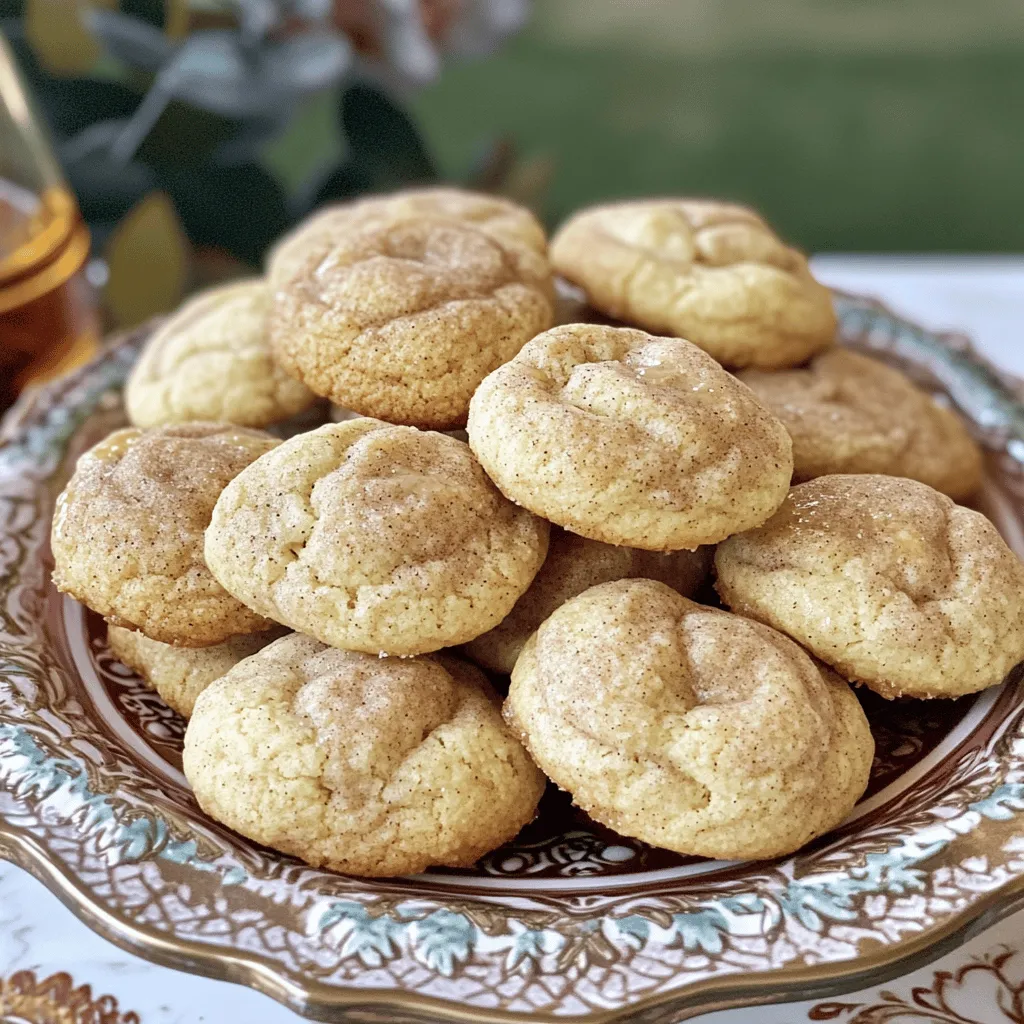
Maple Snickerdoodles Perfectly Soft and Chewy Cookies
Craving a warm, tasty treat? These Maple Snickerdoodles are the answer! With their soft, chewy texture and rich, maple flavor, they will quickly become your