Desserts
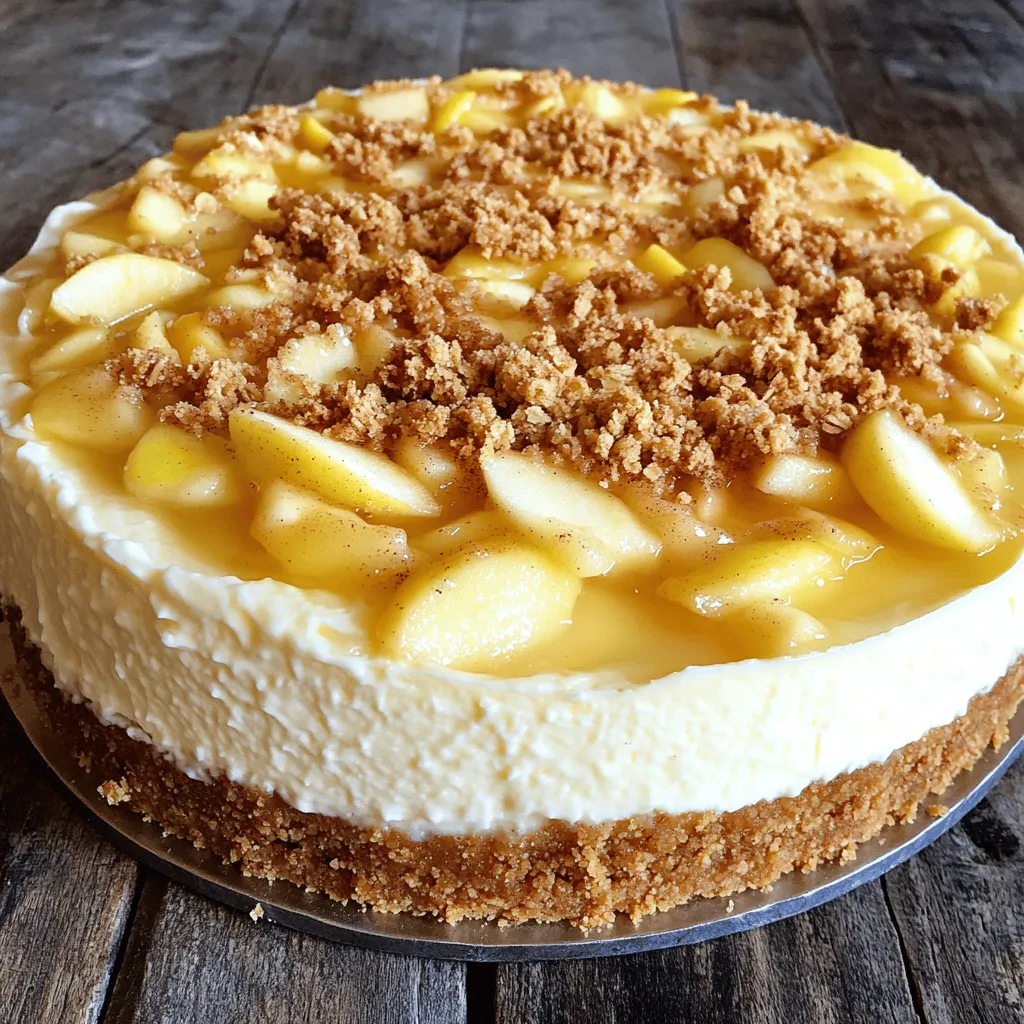
Creamy Apple Crumble Cheesecake Irresistible Delight
If you’re craving something unique and delicious, look no further! My Creamy Apple Crumble Cheesecake combines smooth cream cheese with fresh apples and a crunchy
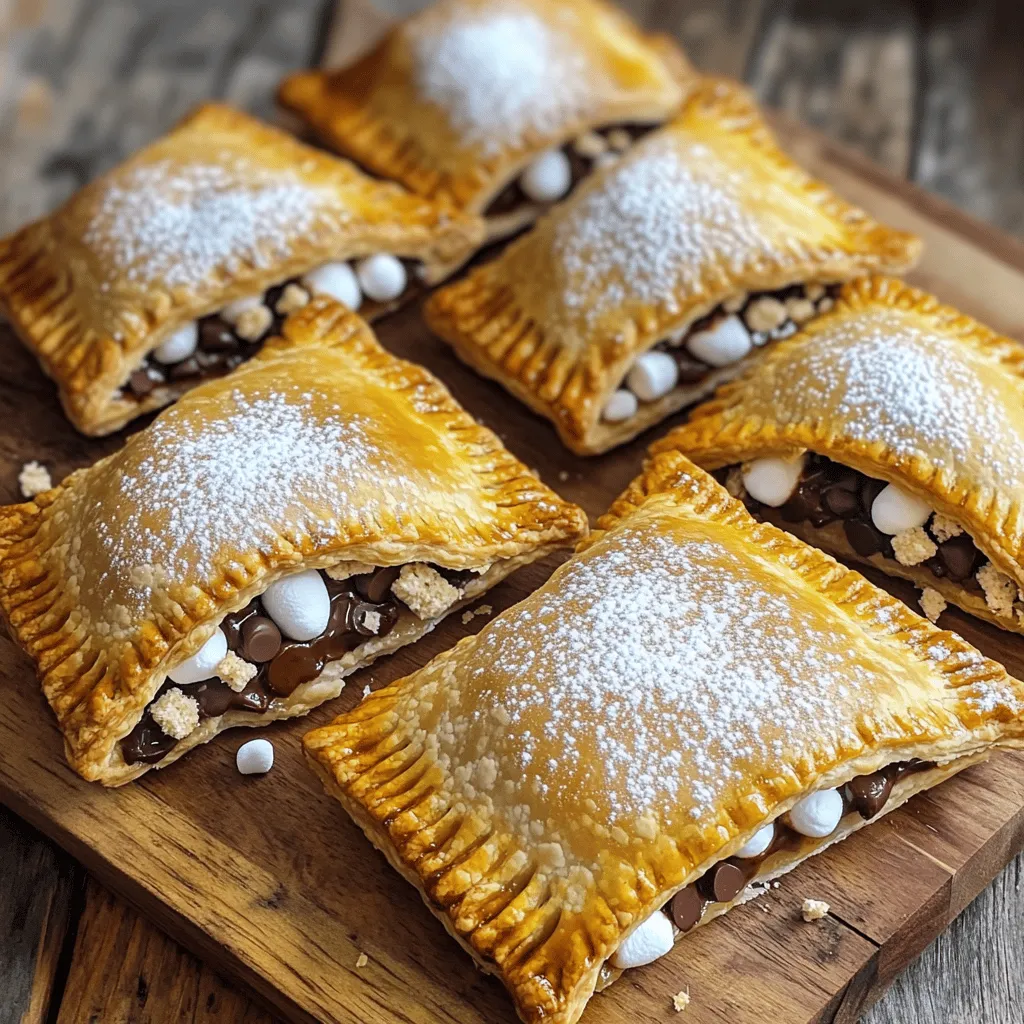
S’mores Hand Pies Irresistible Sweet Treat Delight
S’mores Hand Pies are the perfect treat for anyone who loves sweet snacks. Imagine biting into a warm, flaky crust filled with gooey chocolate, melty
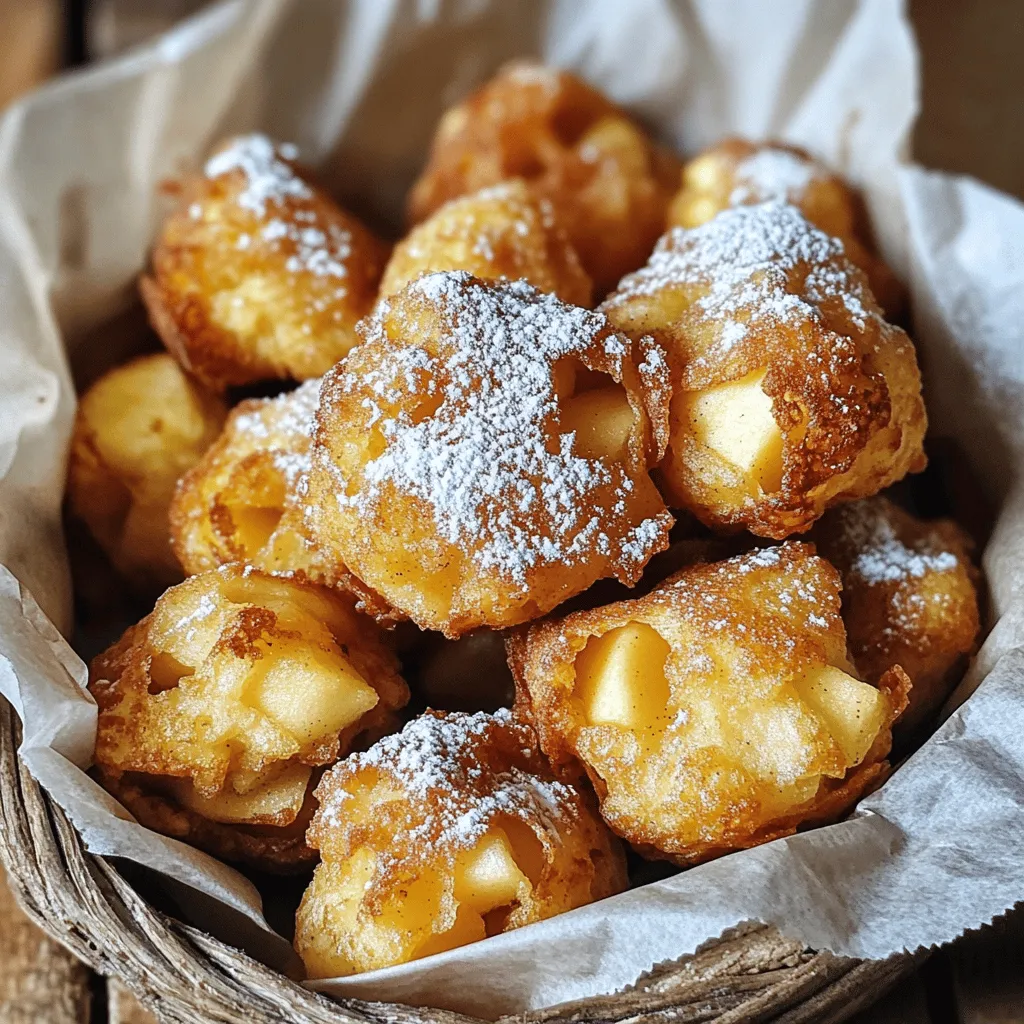
Apple Fritter Bites Delicious and Simple Recipe Guide
Craving a sweet treat that’s easy to make? Look no further! In this guide, I’ll show you how to whip up delicious Apple Fritter Bites
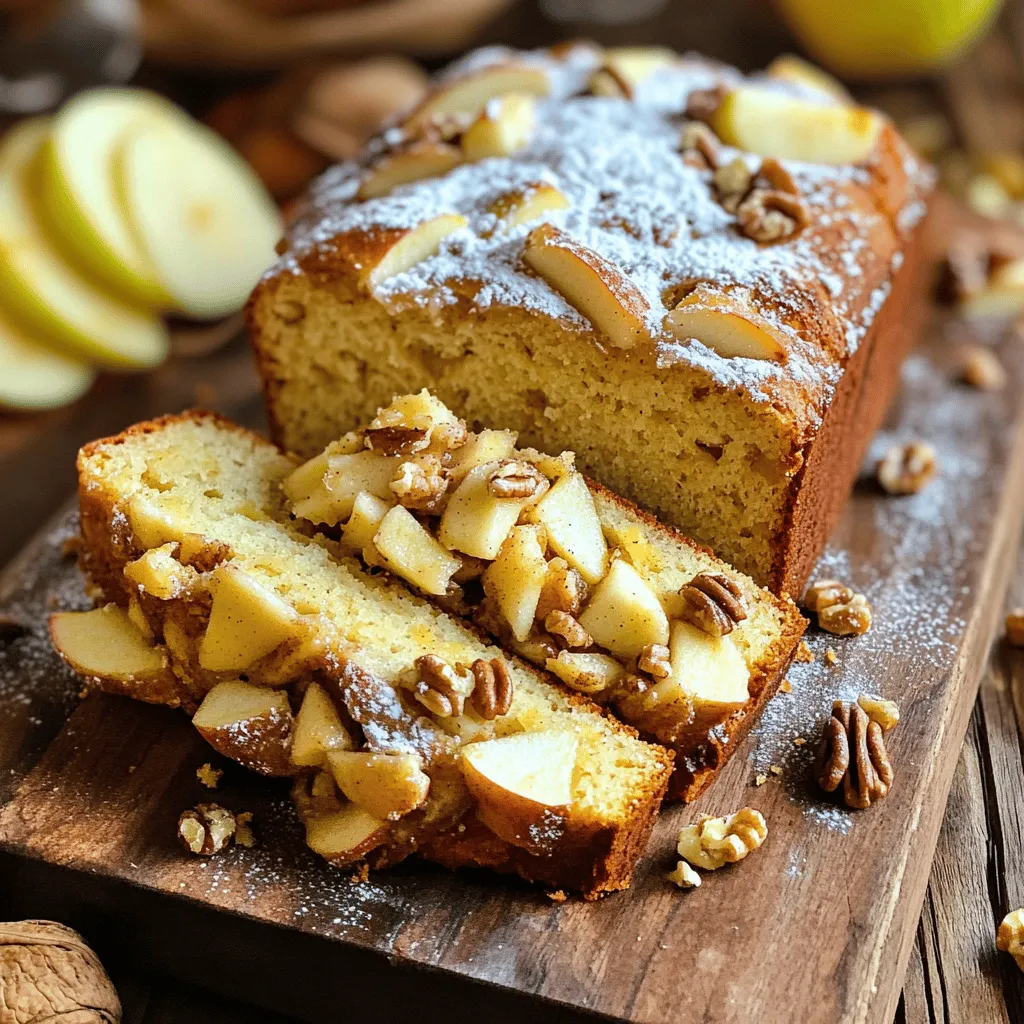
Country Apple Fritter Bread Savory and Simple Recipe
Are you ready to indulge in a warm, sweet delight? This Country Apple Fritter Bread recipe combines juicy apples and warm spices to create a
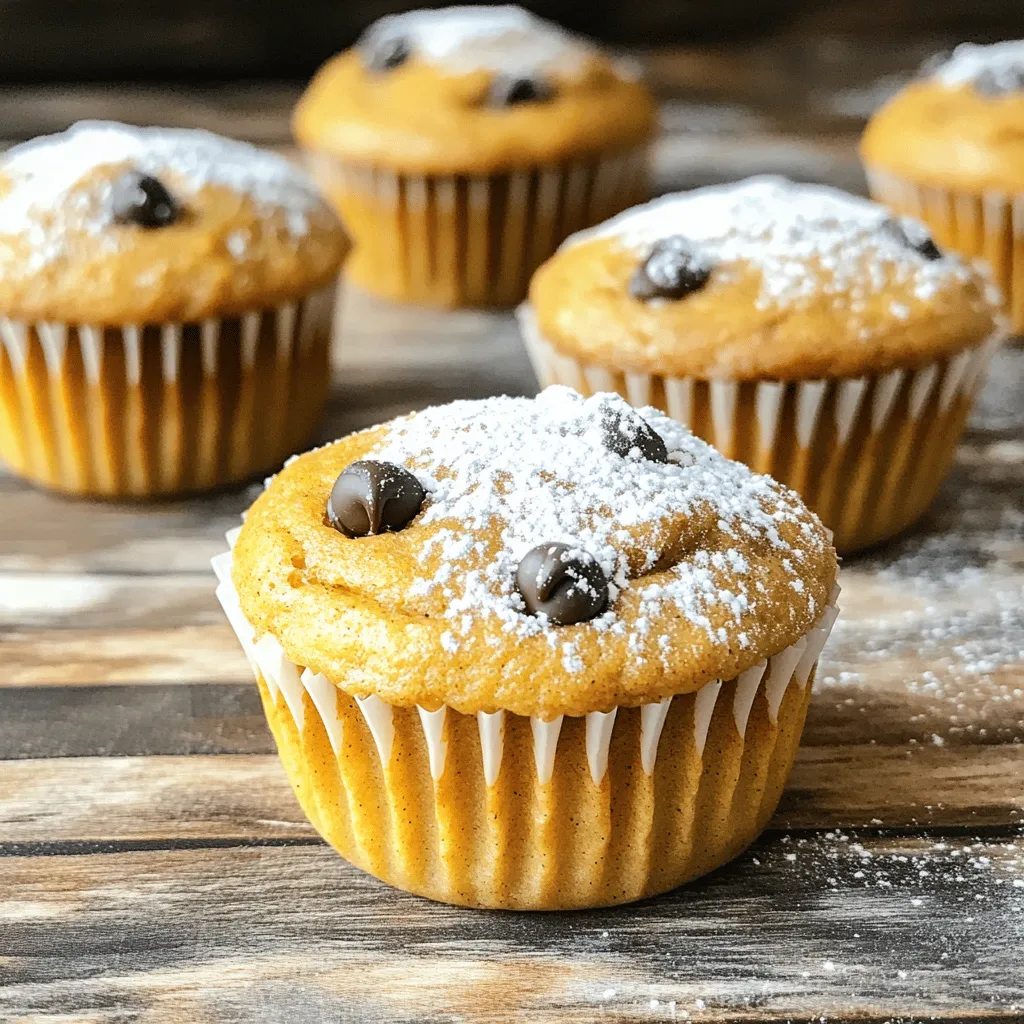
Flourless Pumpkin Muffins Delicious and Simple Recipe
Are you ready to bake a treat that’s both healthy and easy? Flourless pumpkin muffins are a game-changer. They pack in flavor without the flour.
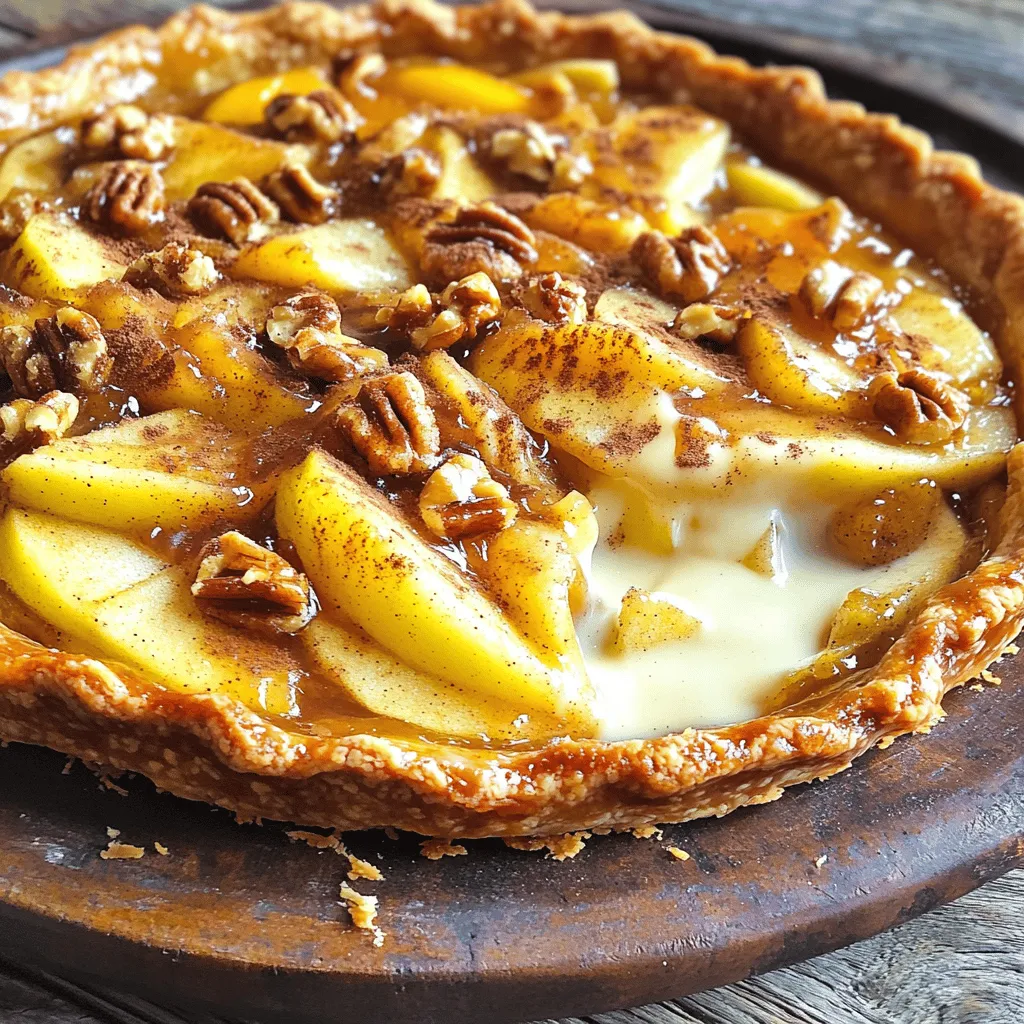
Toffee Apple Pie with Vanilla Custard Delight
Are you ready to treat yourself to something sweet and cozy? This Toffee Apple Pie with Vanilla Custard Delight combines warm, spiced apples and rich
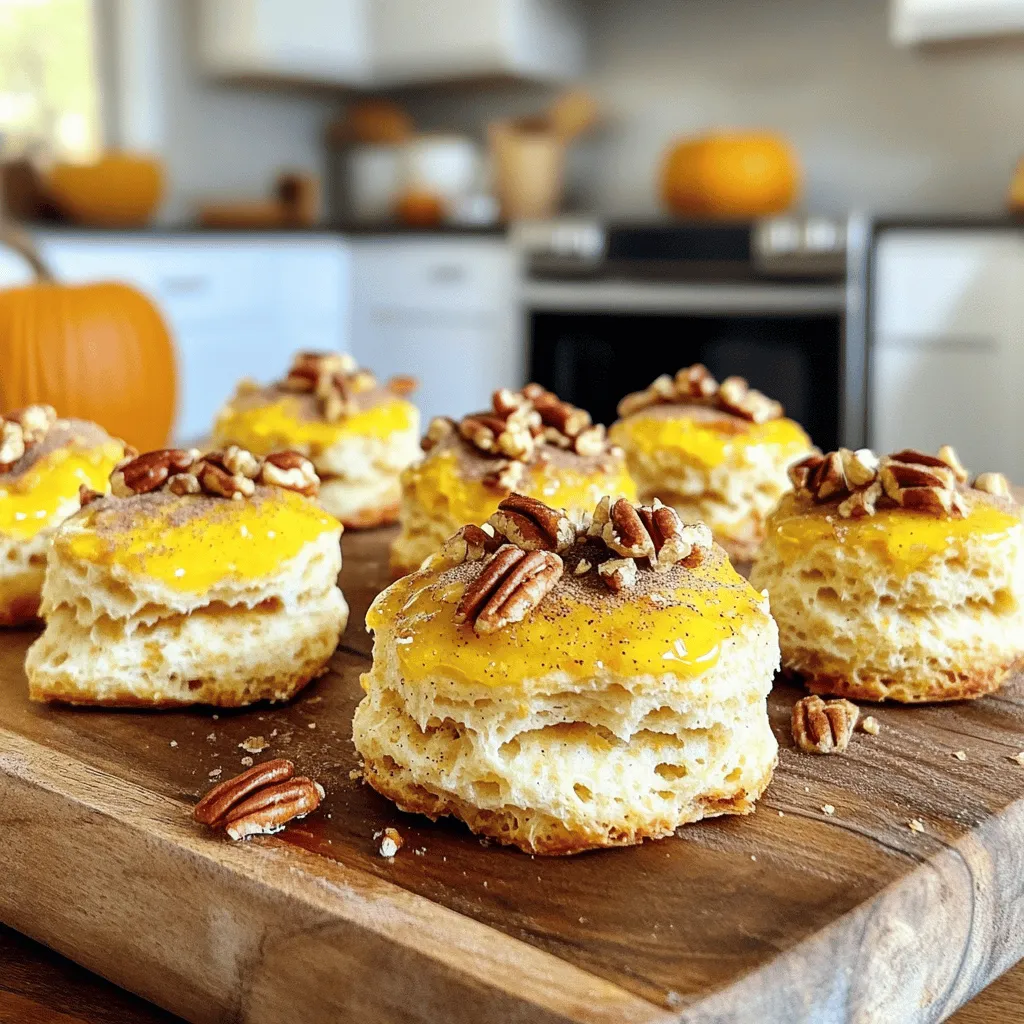
Small Batch Pumpkin Biscuits Tasty Fall Treat
Fall is here, and there’s no better way to celebrate than with small batch pumpkin biscuits! These soft, fluffy treats are easy to make and
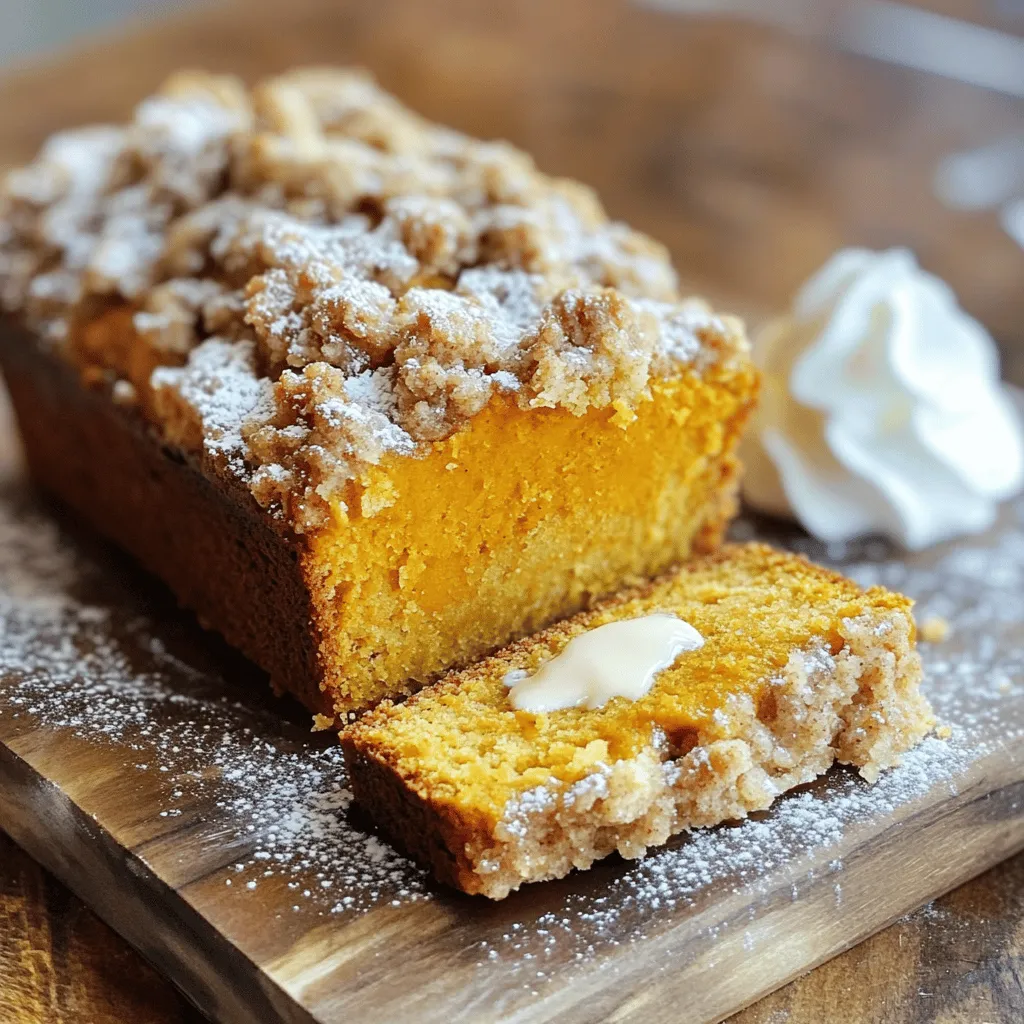
Streusel Pumpkin Loaf Irresistible Fall Delight
If you love fall flavors, you need to try my Streusel Pumpkin Loaf recipe. This loaf is moist, packed with pumpkin goodness, and topped with
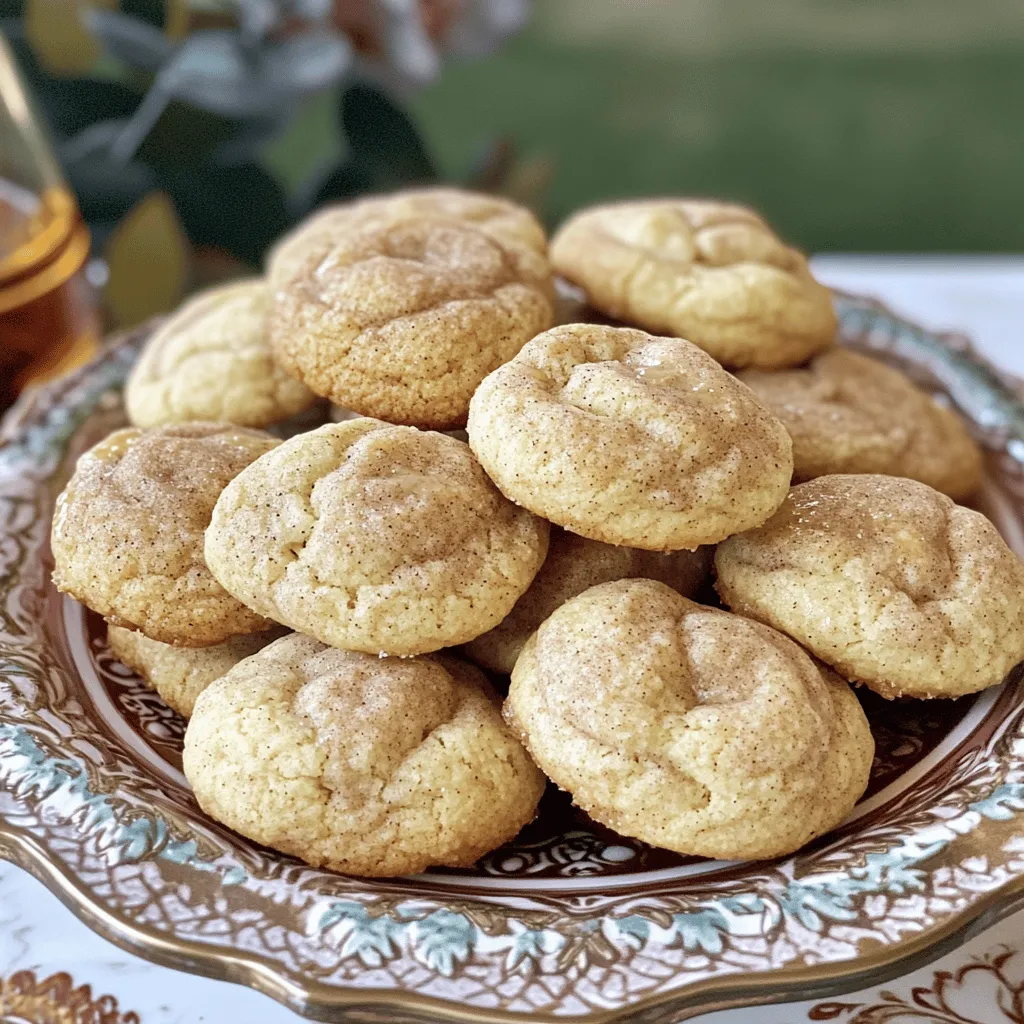
Maple Snickerdoodles Irresistible Comforting Cookies
Craving a sweet treat that feels like a warm hug? Maple Snickerdoodles are just the answer! These cookies blend the cozy flavors of maple and
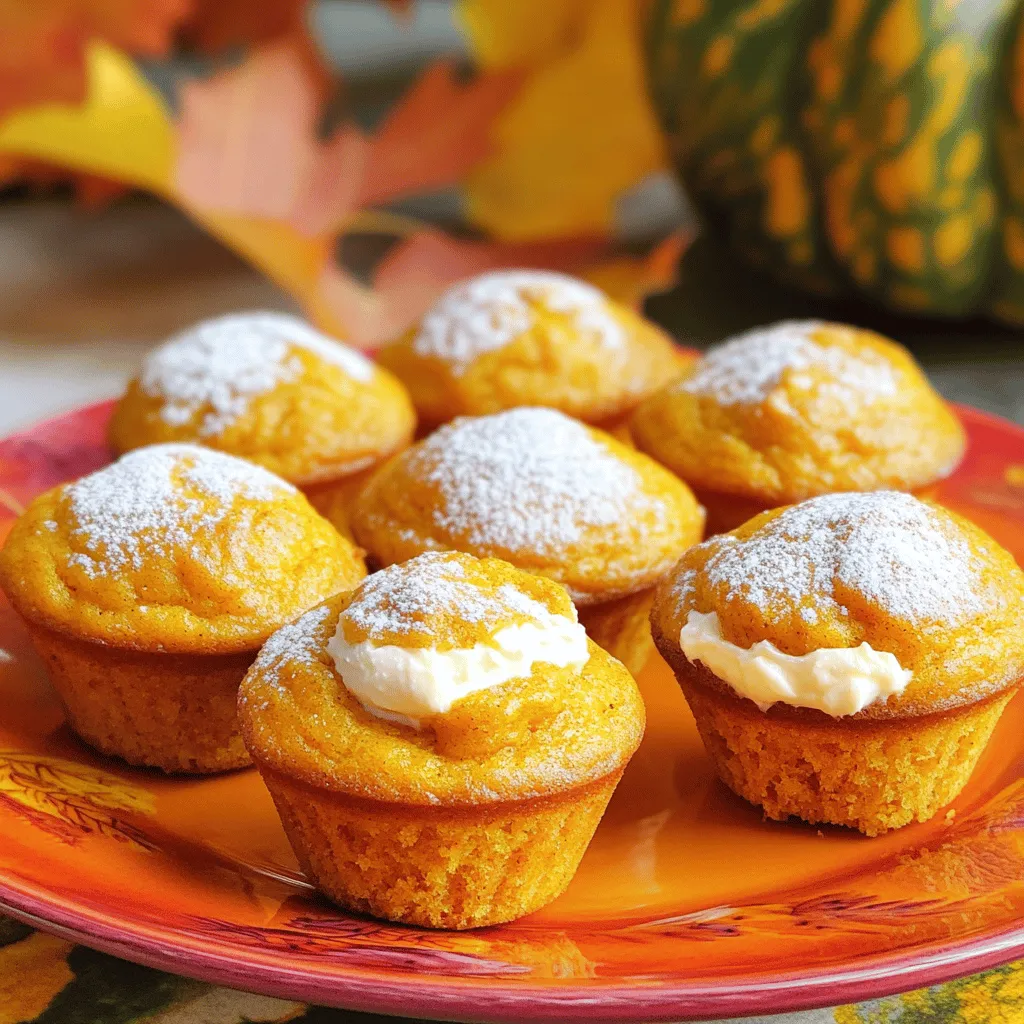
Mini Pumpkin Cream Cheese Muffins Easy and Tasty Recipe
Are you ready to bake a treat that’s perfect for fall? Mini Pumpkin Cream Cheese Muffins are the answer! This easy and tasty recipe mixes