Desserts
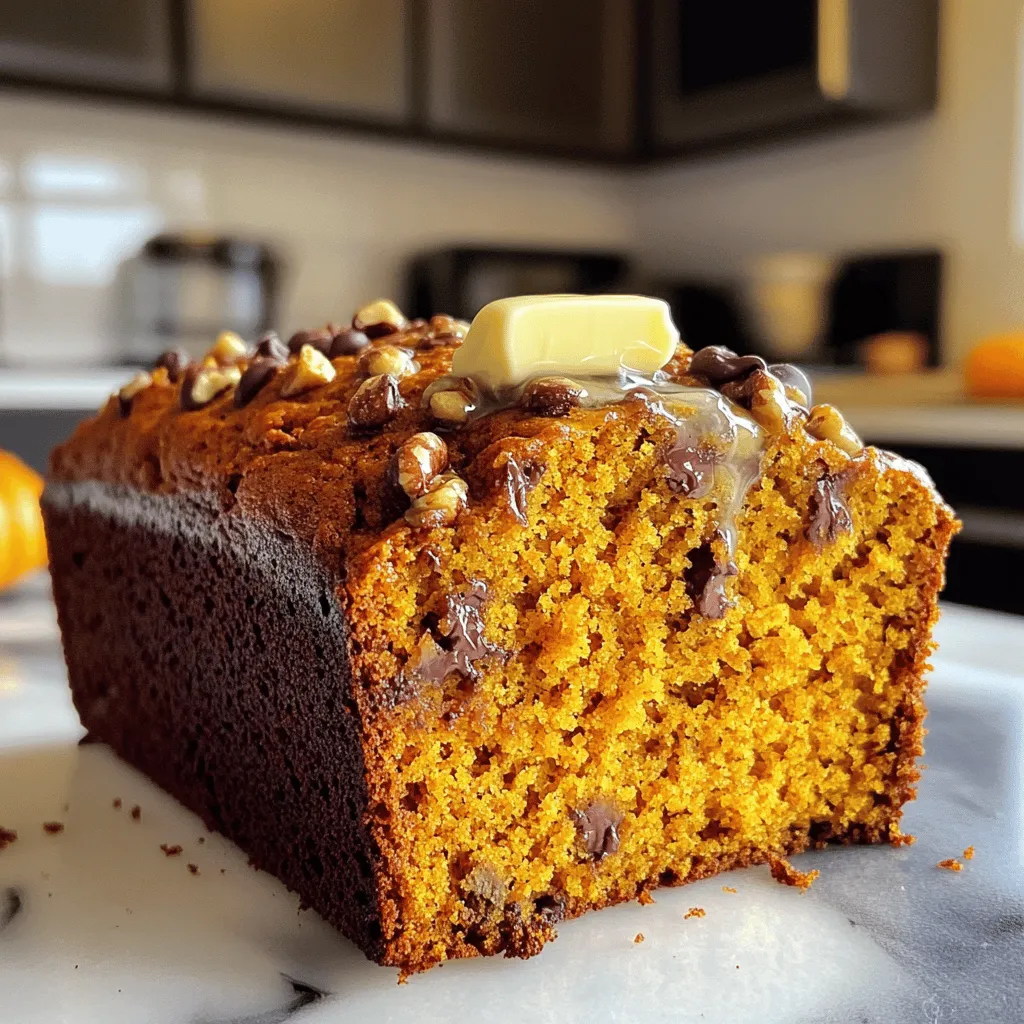
Super Moist Pumpkin Bread Easy and Delicious Recipe
Are you ready to bake the perfect pumpkin bread? This Super Moist Pumpkin Bread recipe is a game changer! With just a few simple ingredients
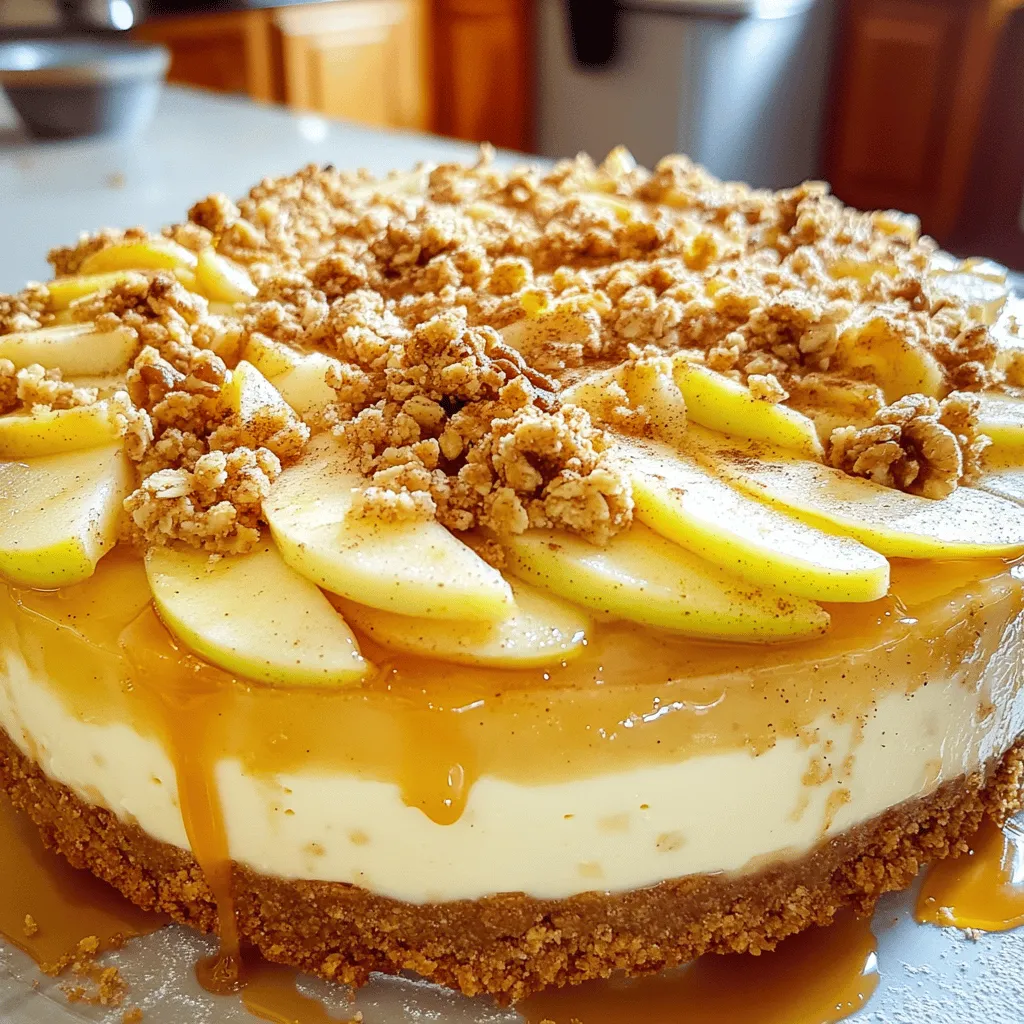
Apple Crumble Cheesecake Heavenly Dessert Delight
Are you ready to take your dessert game to the next level? My Apple Crumble Cheesecake combines creamy cheesecake with a sweet apple filling and
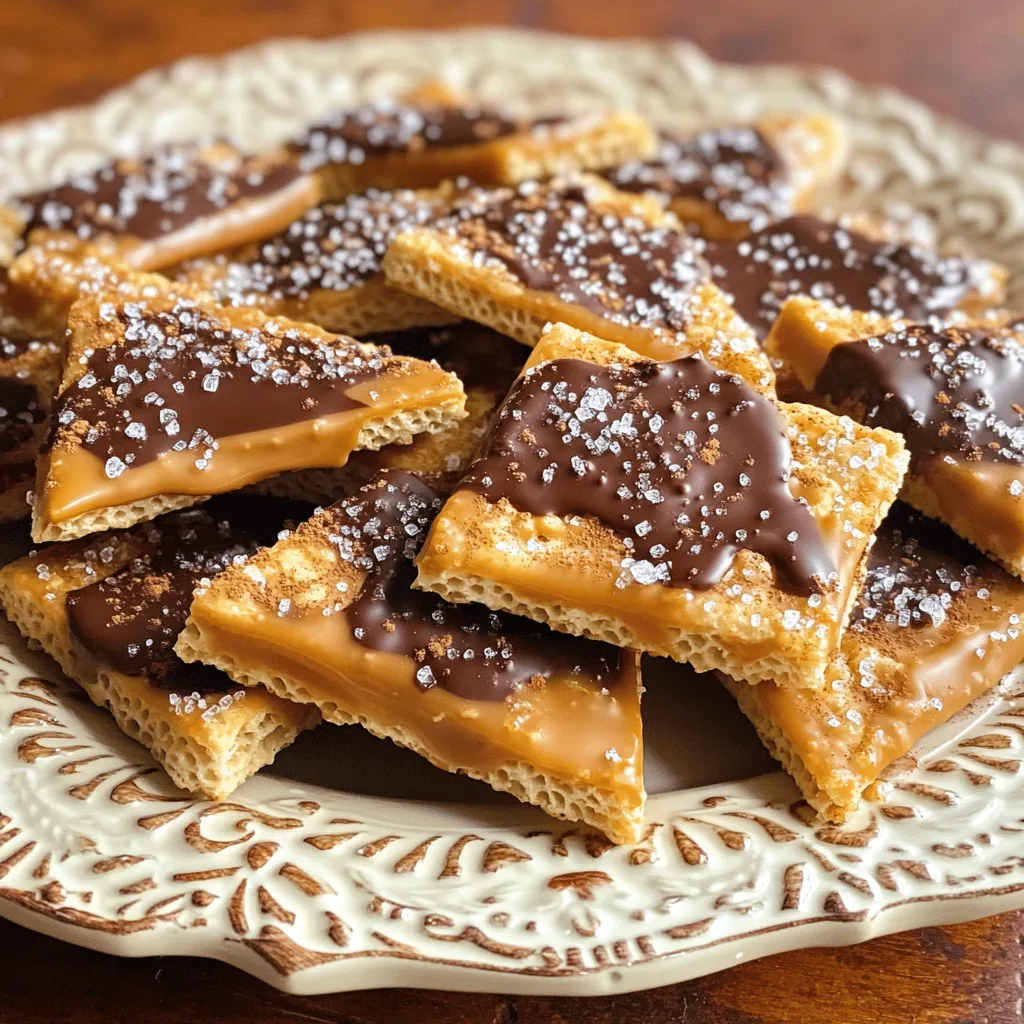
Churro Saltine Toffee Tasty and Easy Dessert Recipe
Get ready for a treat that’s both sweet and salty! Churro Saltine Toffee is an easy dessert that will impress everyone. You don’t need fancy
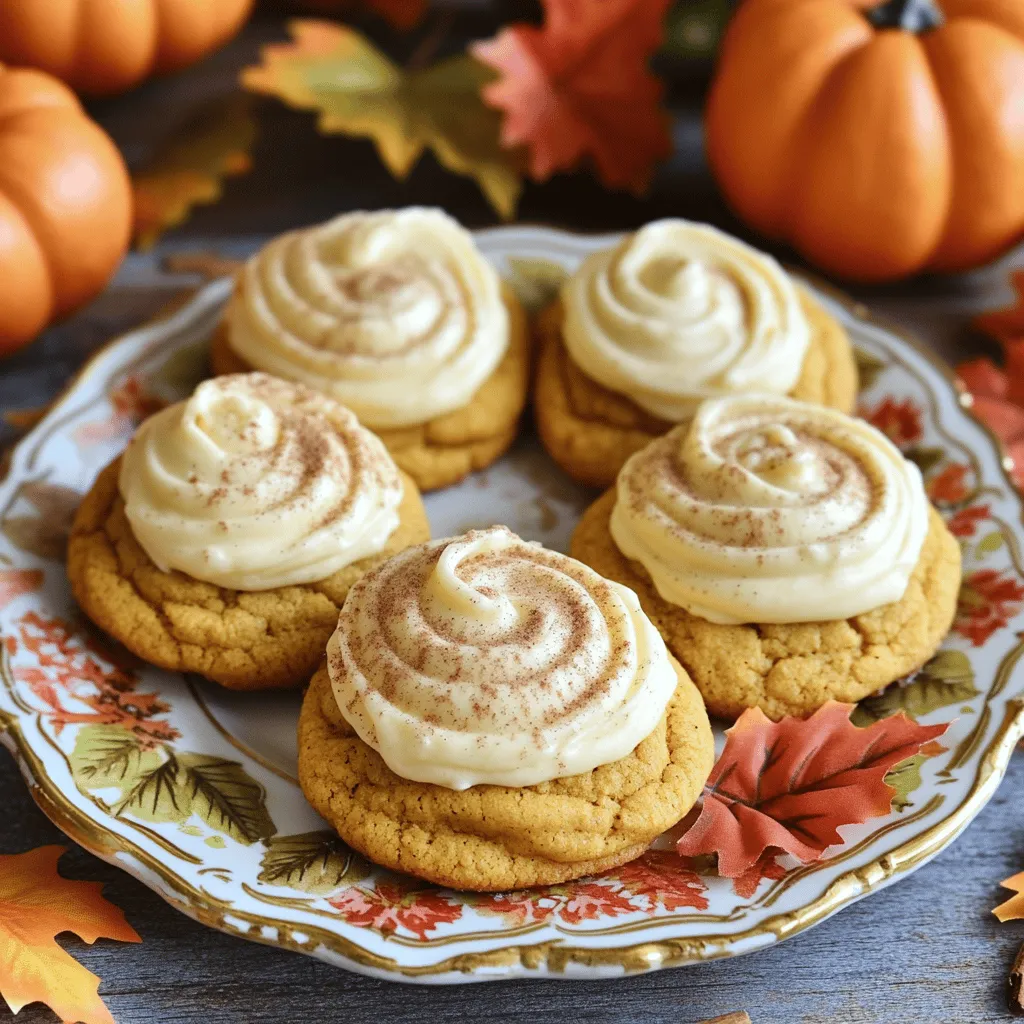
Soft Pumpkin Cookies with Cream Cheese Icing Delight
Get ready to savor the fall with my Soft Pumpkin Cookies topped with creamy icing! These cookies blend warm spices and pumpkin for a tasty
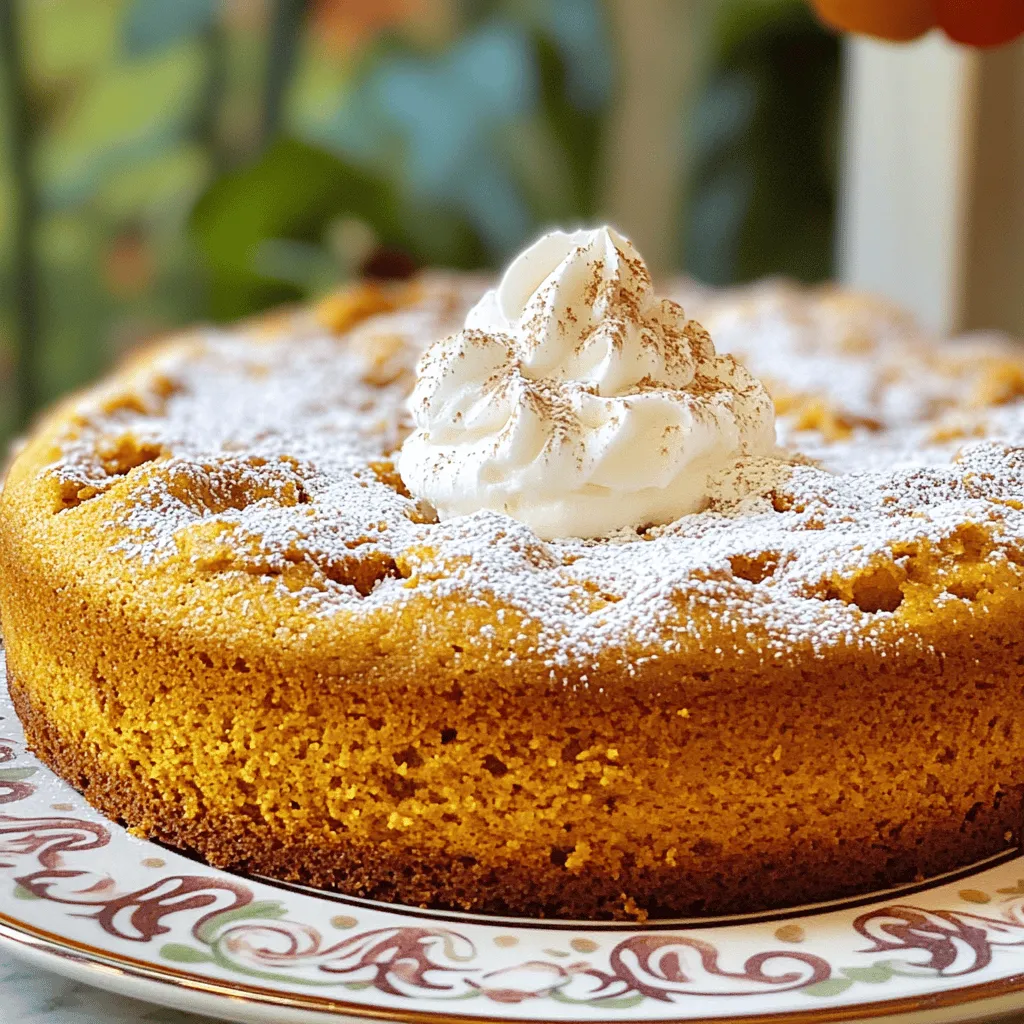
Easy Pumpkin Spice Cake Flavorful and Simple Recipe
If you love pumpkin spice, you’ll adore this easy pumpkin spice cake recipe. It’s flavorful, simple, and perfect for any occasion. With just a few

Apple Crisp Bars Delightful and Simple Recipe Guide
Welcome to the world of Apple Crisp Bars! This delightful recipe combines sweet, tangy apples with a buttery crust. It’s simple to make and perfect
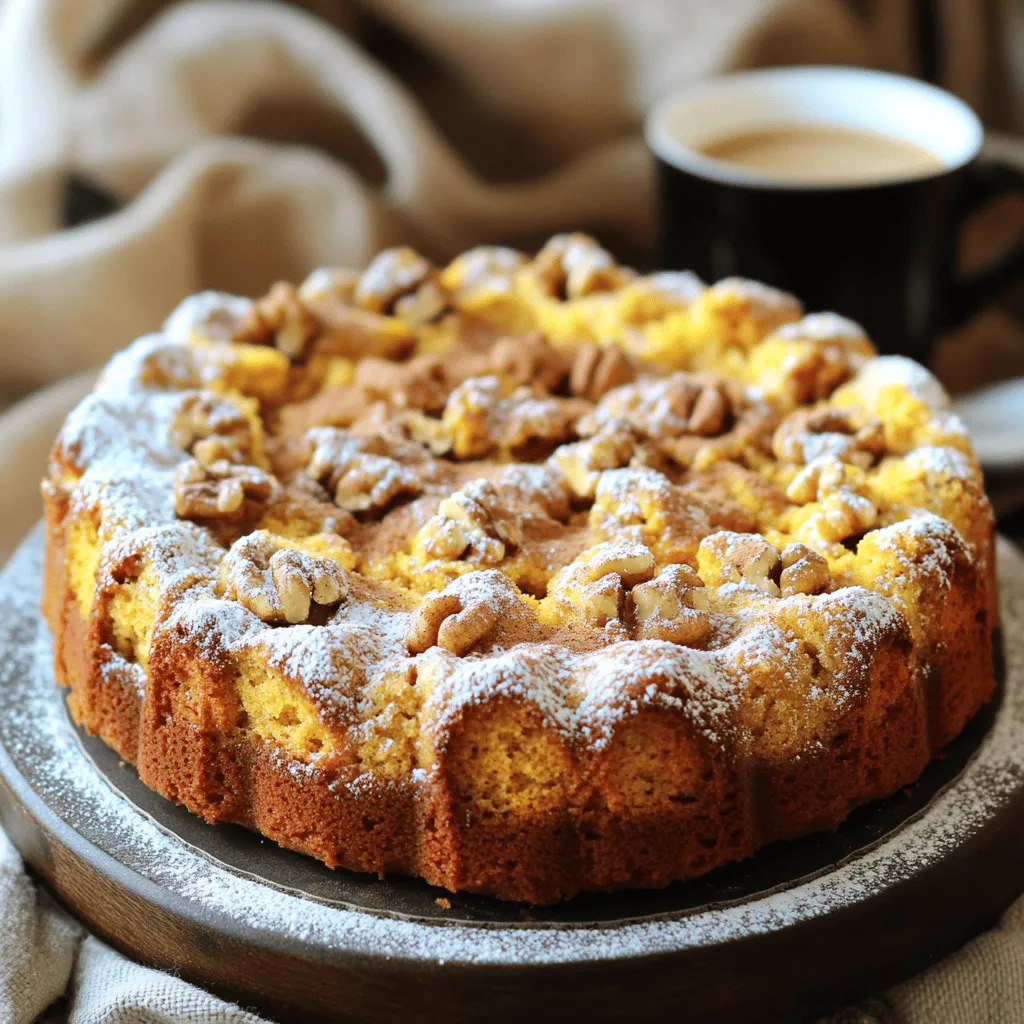
Pumpkin Coffee Cake Delightful and Easy Recipe
If you love cozy flavors and easy recipes, you’re in for a treat. My Pumpkin Coffee Cake combines rich pumpkin spice with a soft, buttery
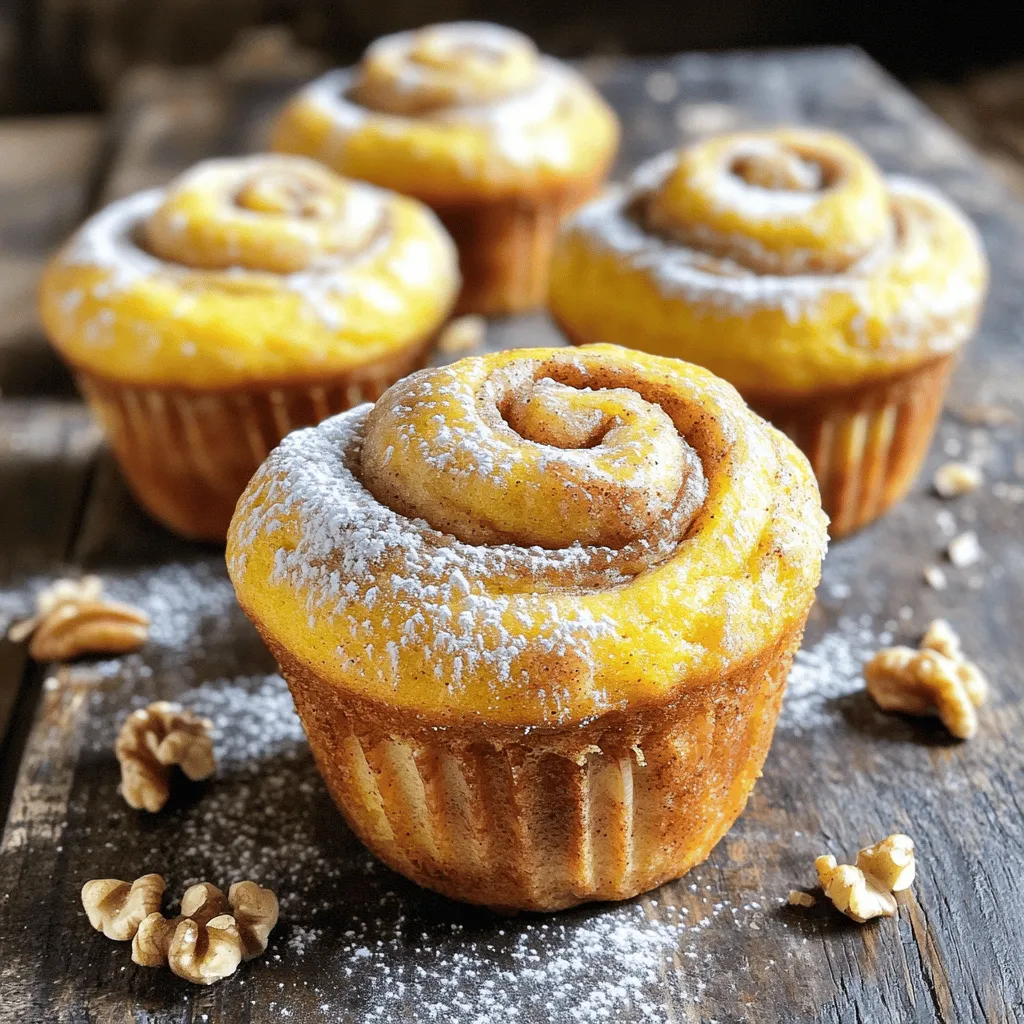
Pumpkin Cinnamon Roll Muffins Irresistible and Easy
Get ready to enjoy the warm flavors of fall with these Pumpkin Cinnamon Roll Muffins! They’re the perfect blend of sweet and spice, and best
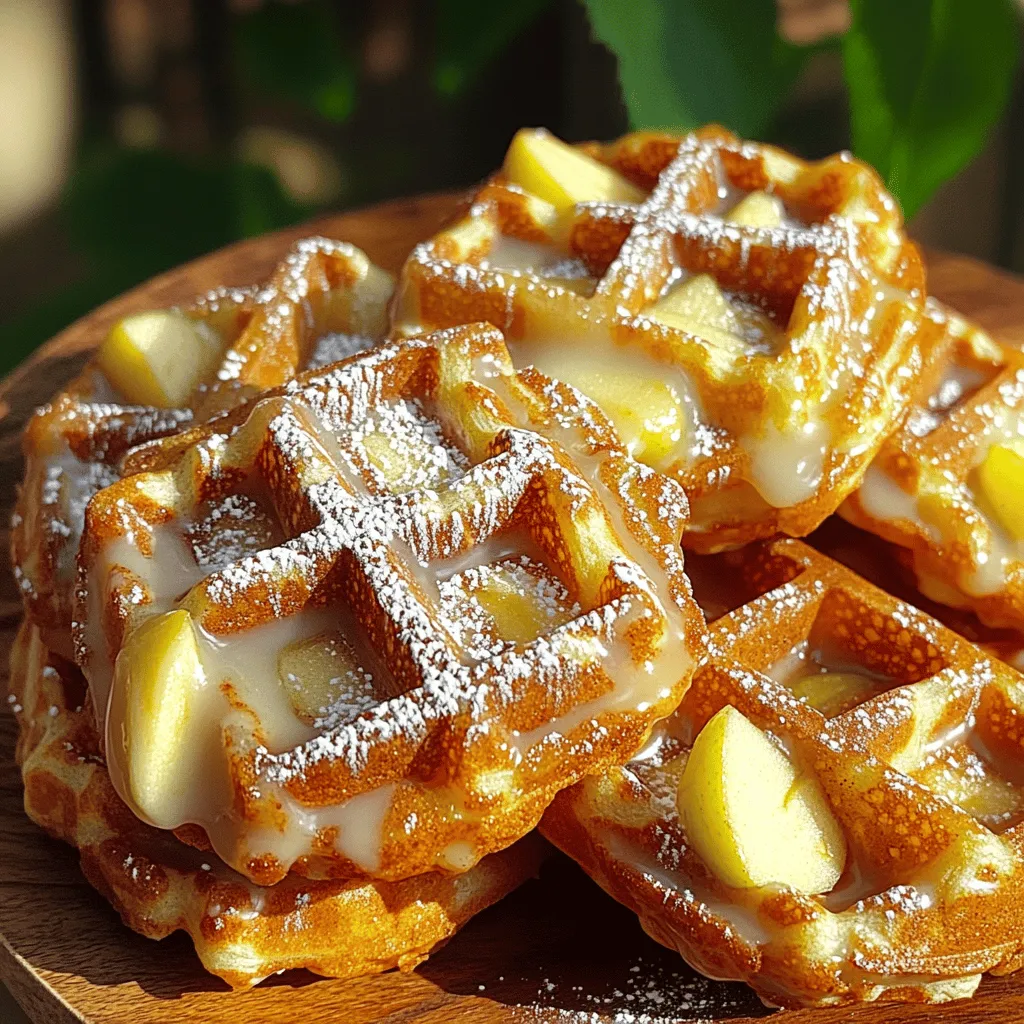
Tasty Apple Fritter Waffle Donuts Recipe to Enjoy
If you’re craving a sweet treat that combines the best of two worlds, you’re in for a delight! My Tasty Apple Fritter Waffle Donuts recipe
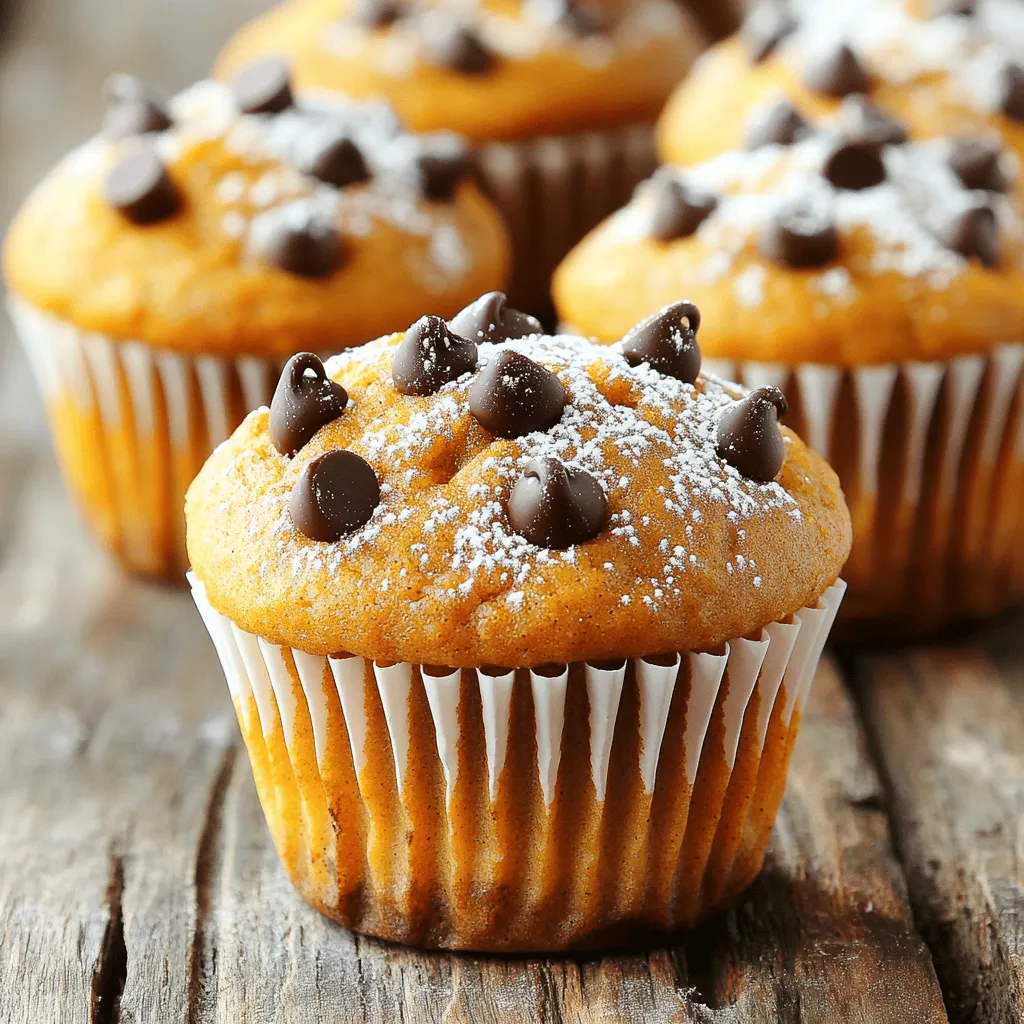
Best Pumpkin Chocolate Chip Muffins Simple and Tasty
If you crave a warm treat that blends autumn’s favorite flavors with sweet chocolate, you’re in for a treat! My Best Pumpkin Chocolate Chip Muffins