Desserts
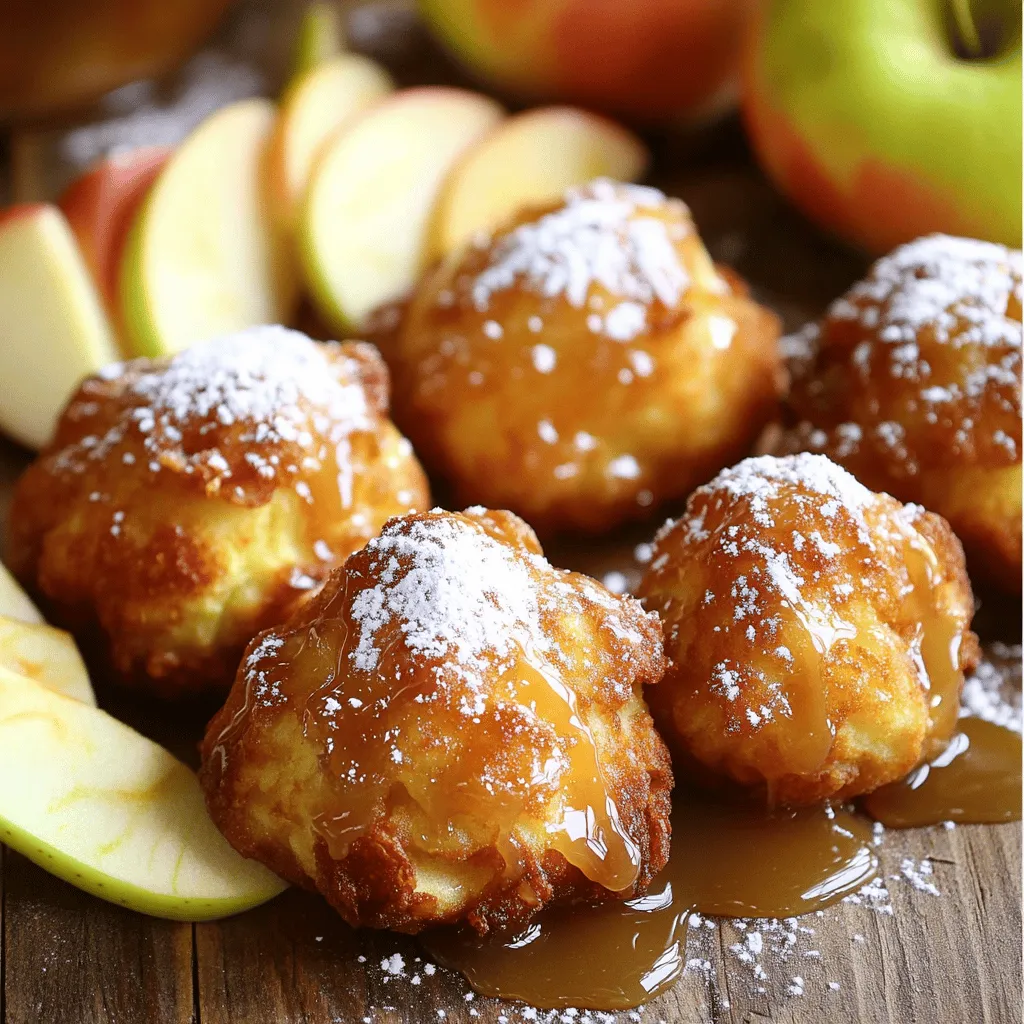
Maple Glazed Apple Fritters Irresistible Sweet Treat
If you crave a sweet treat that’s hard to resist, look no further! My Maple Glazed Apple Fritters are a delicious way to enjoy the

Easy Baked Apples Delightfully Simple Dessert Recipe
Get ready for a sweet treat that’s a breeze to make! This Easy Baked Apples recipe transforms simple ingredients like Honeycrisp or Granny Smith apples
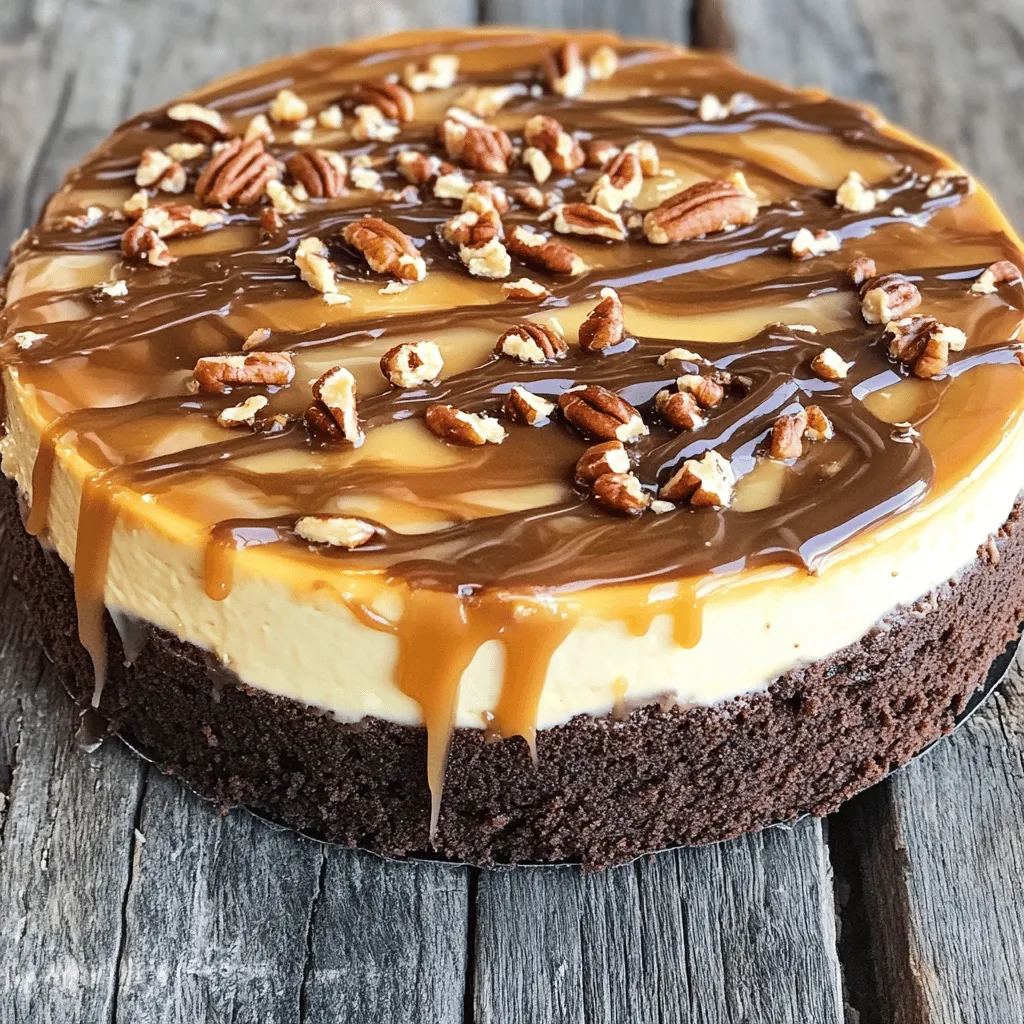
Indulgent Caramel Brownie Cheesecake Recipe to Try
Are you ready to treat yourself? This Indulgent Caramel Brownie Cheesecake is a must-try! It combines rich brownie layers, smooth cheesecake, and sweet caramel topping.
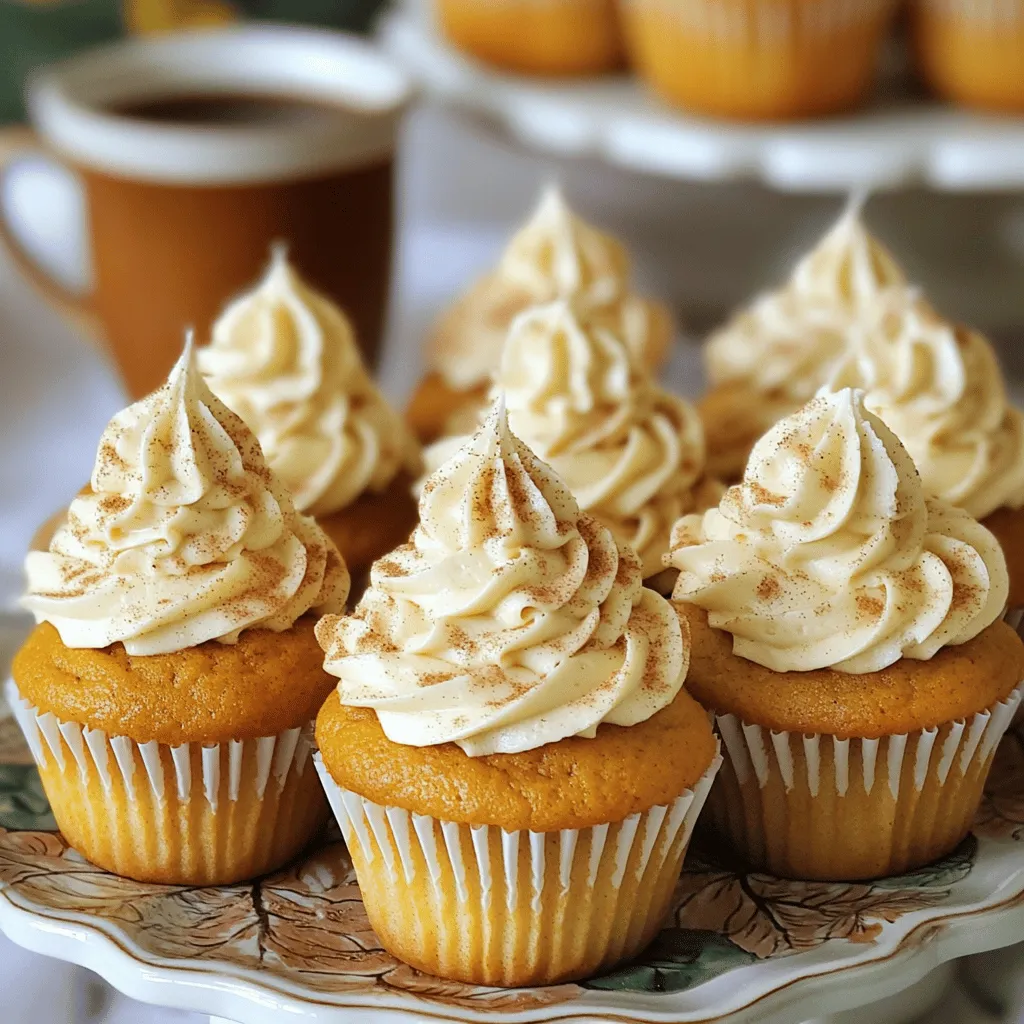
Pumpkin Chai Latte Cupcakes Irresistible Fall Treat
Fall is here, and what better way to celebrate than with Pumpkin Chai Latte Cupcakes? These delicious treats blend warm spices and pumpkin flavor for
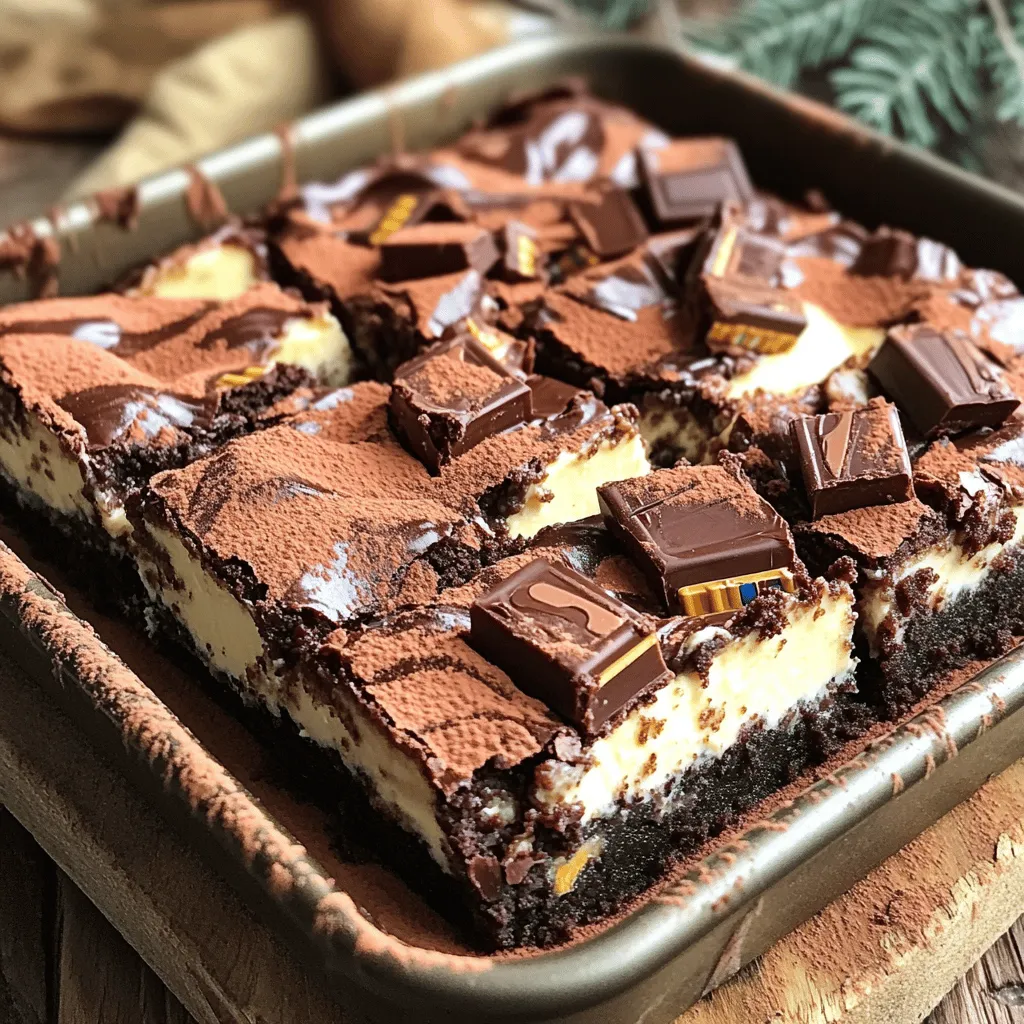
Milky Way Cheesecake Brownies Simple and Tasty Treat
Do you crave a sweet treat that packs a punch? Look no further than Milky Way Cheesecake Brownies! This dessert combines rich chocolate brownies with
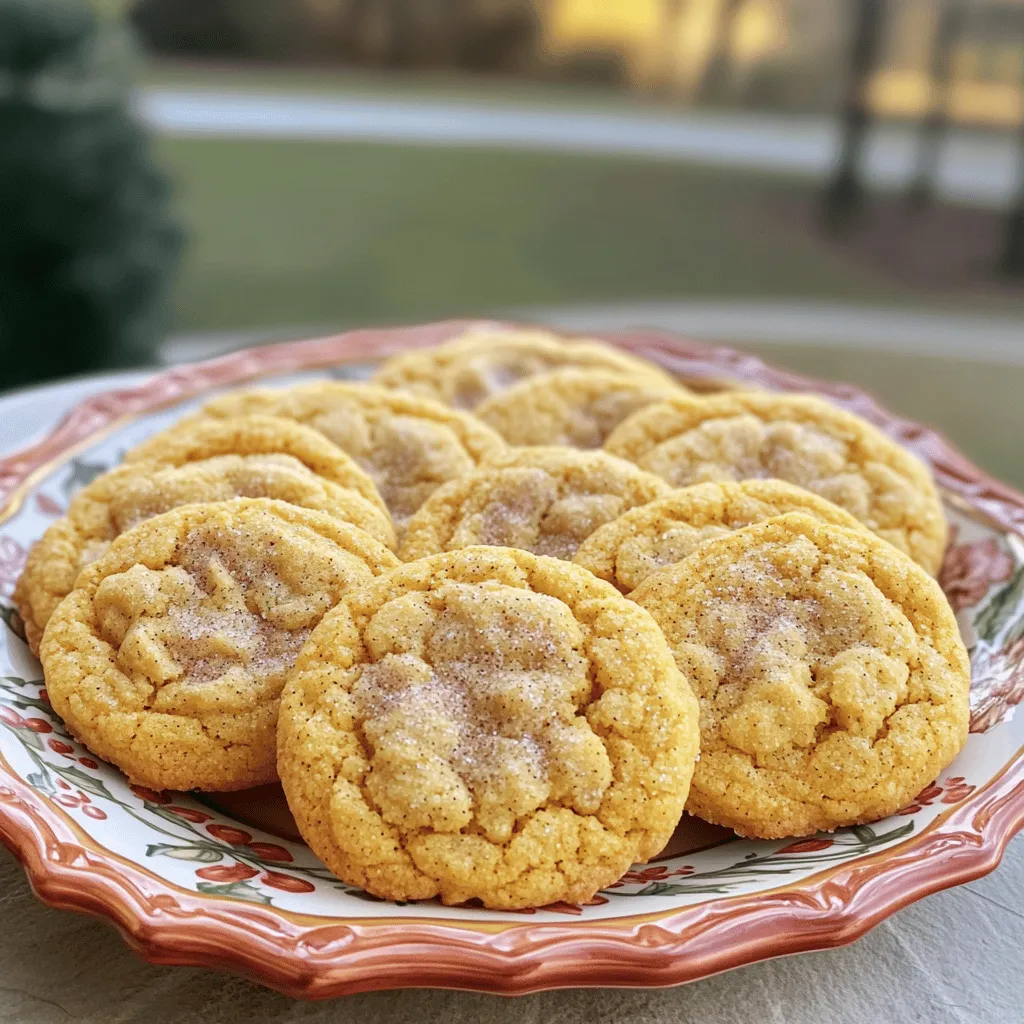
Pumpkindoodle Cookies Delightful Fall Treat Recipe
Fall is the perfect season for cozy treats, and Pumpkindoodle Cookies are a must-try! This delightful recipe combines warm pumpkin flavors with a hint of
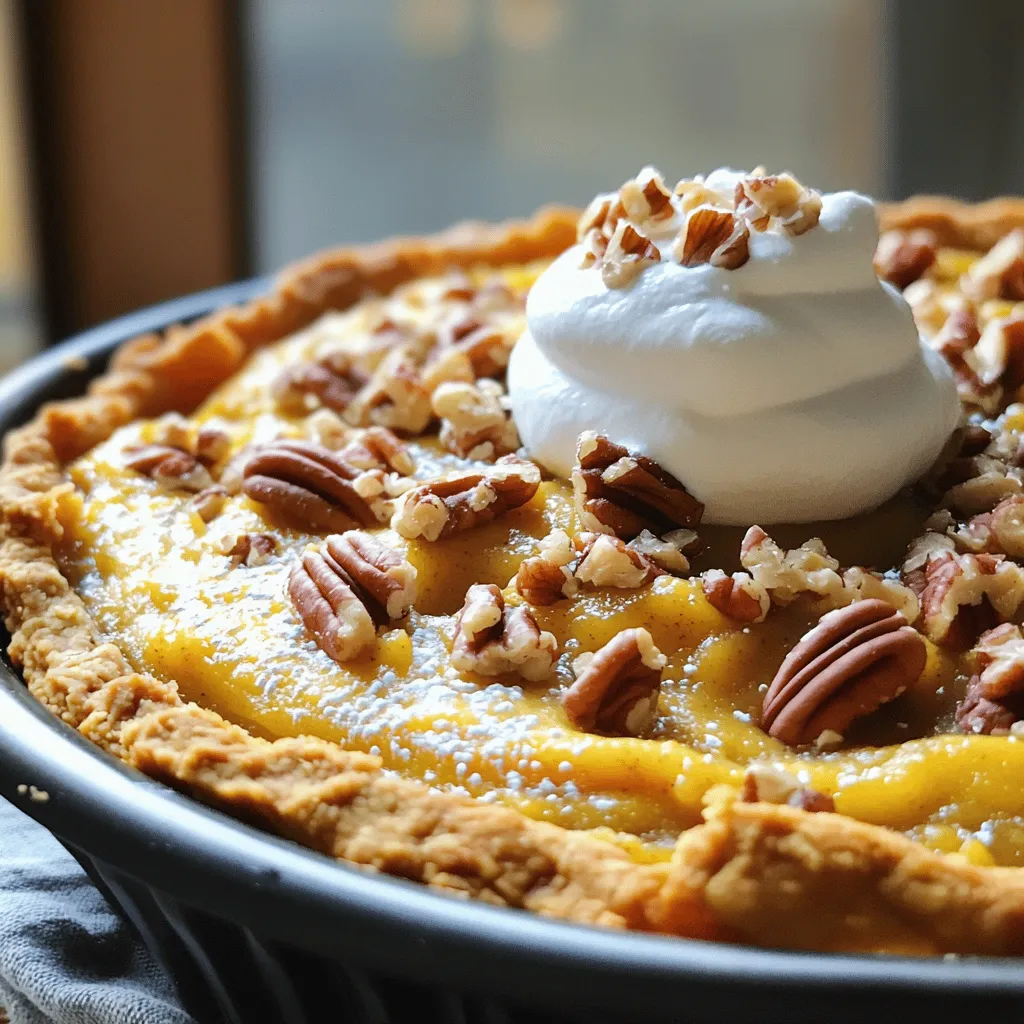
Pumpkin Pecan Cobbler Irresistible Fall Dessert Delight
Fall is here, and it’s time to delight in the warmth of home-baked treats! If you love the flavors of pumpkin and pecan, this Pumpkin
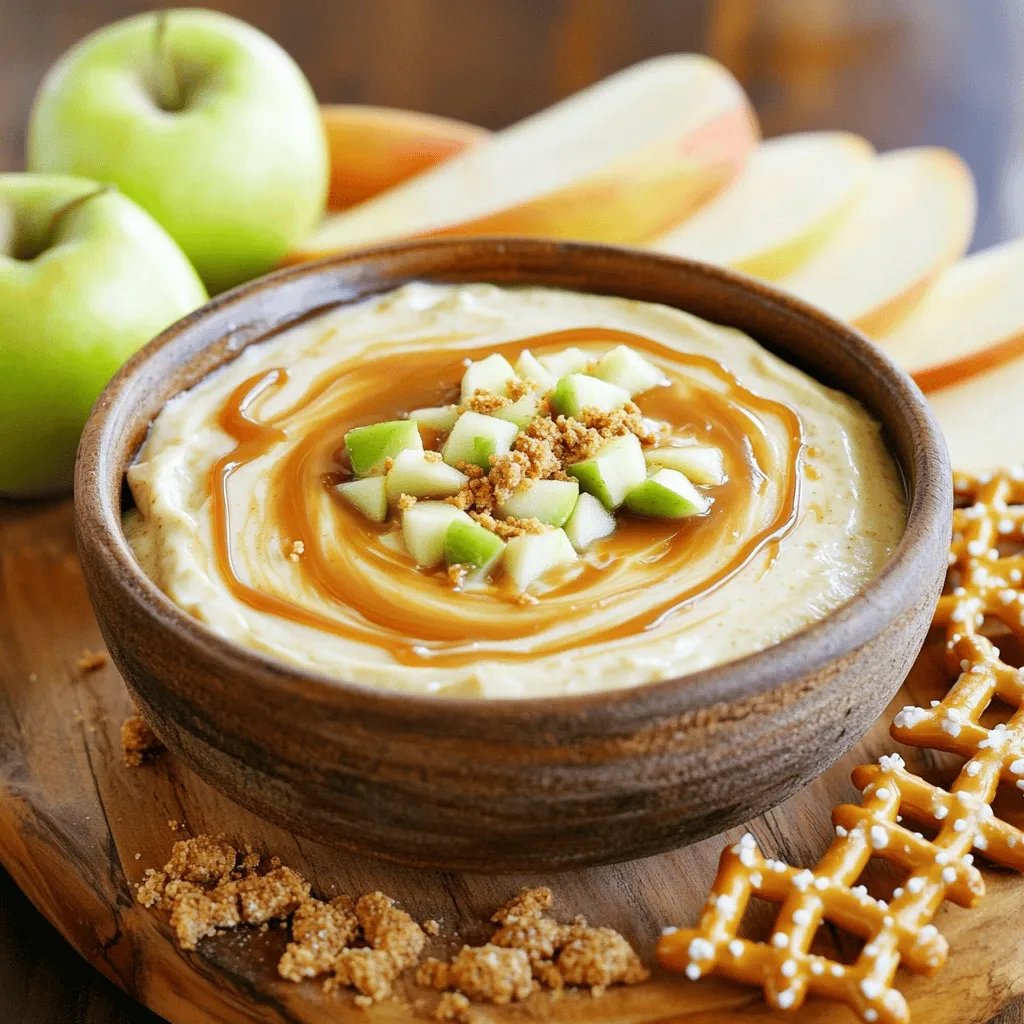
Caramel Apple Cheesecake Dip Delicious Fall Treat
Fall is here, and that means it’s time for cozy treats! Imagine creamy cheesecake mixed with apples and caramel—sounds amazing, right? In this blog post,
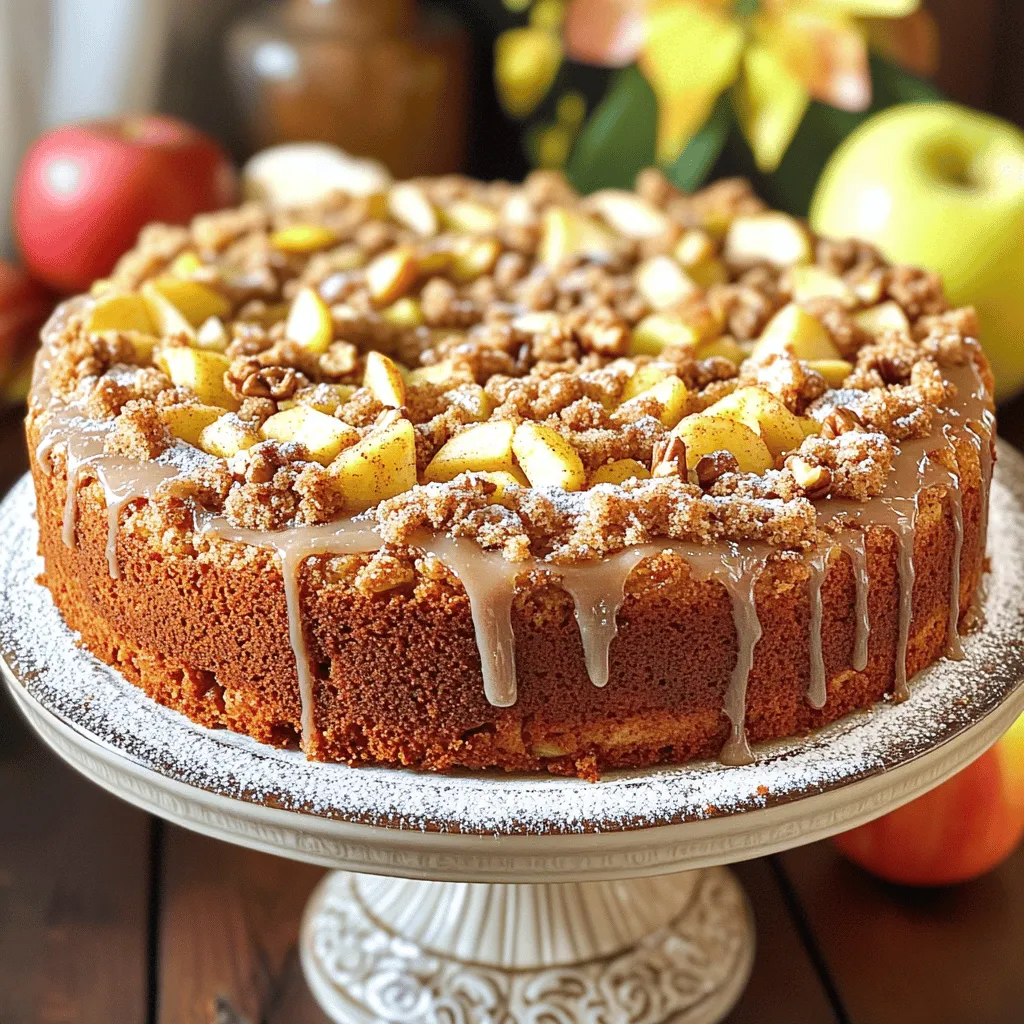
Apple Crumb Cake with Cinnamon Drizzle Delight
Craving a warm, cozy dessert that perfectly balances sweetness with spice? Look no further than my delightful Apple Crumb Cake with Cinnamon Drizzle! This treat
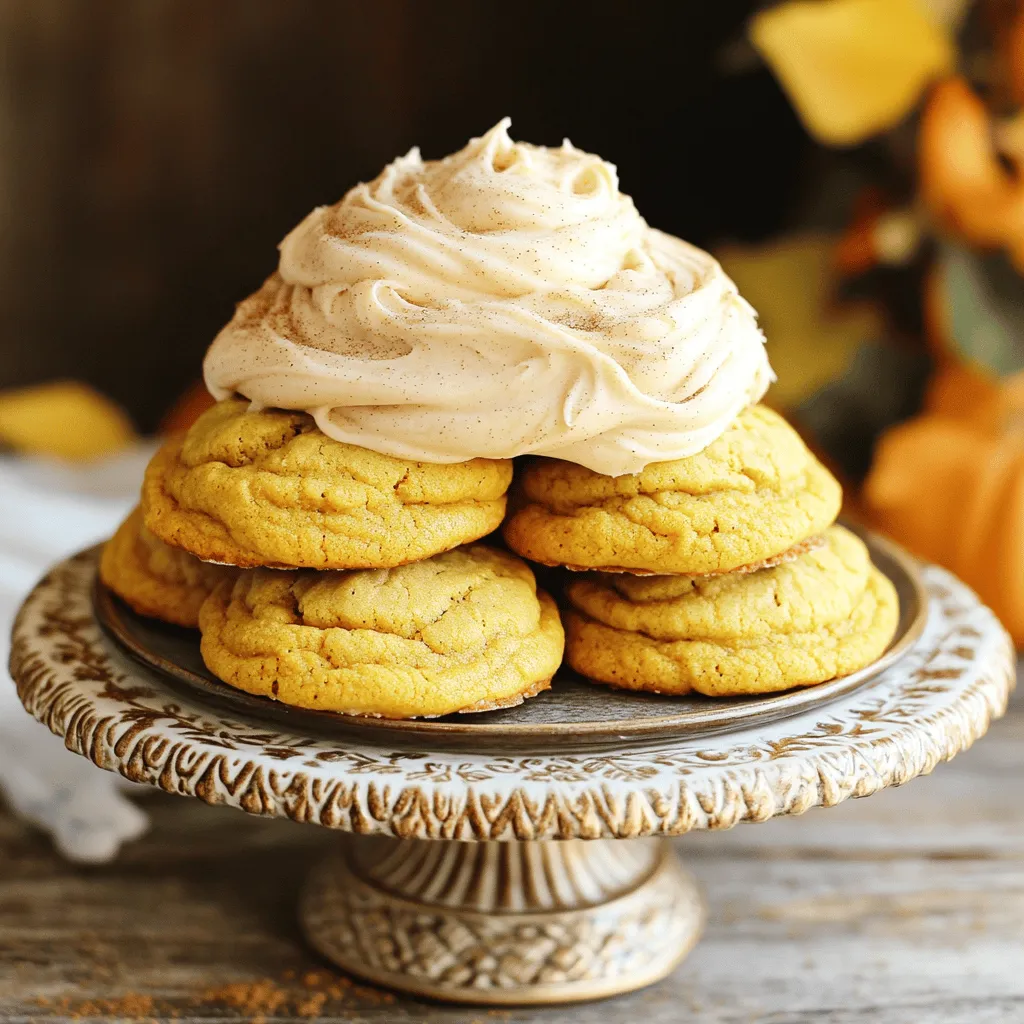
Soft Pumpkin Cookies with Cinnamon Frosting Delight
Welcome to your new favorite fall recipe! Soft pumpkin cookies with a creamy cinnamon frosting will make your taste buds dance. If you love a