Desserts
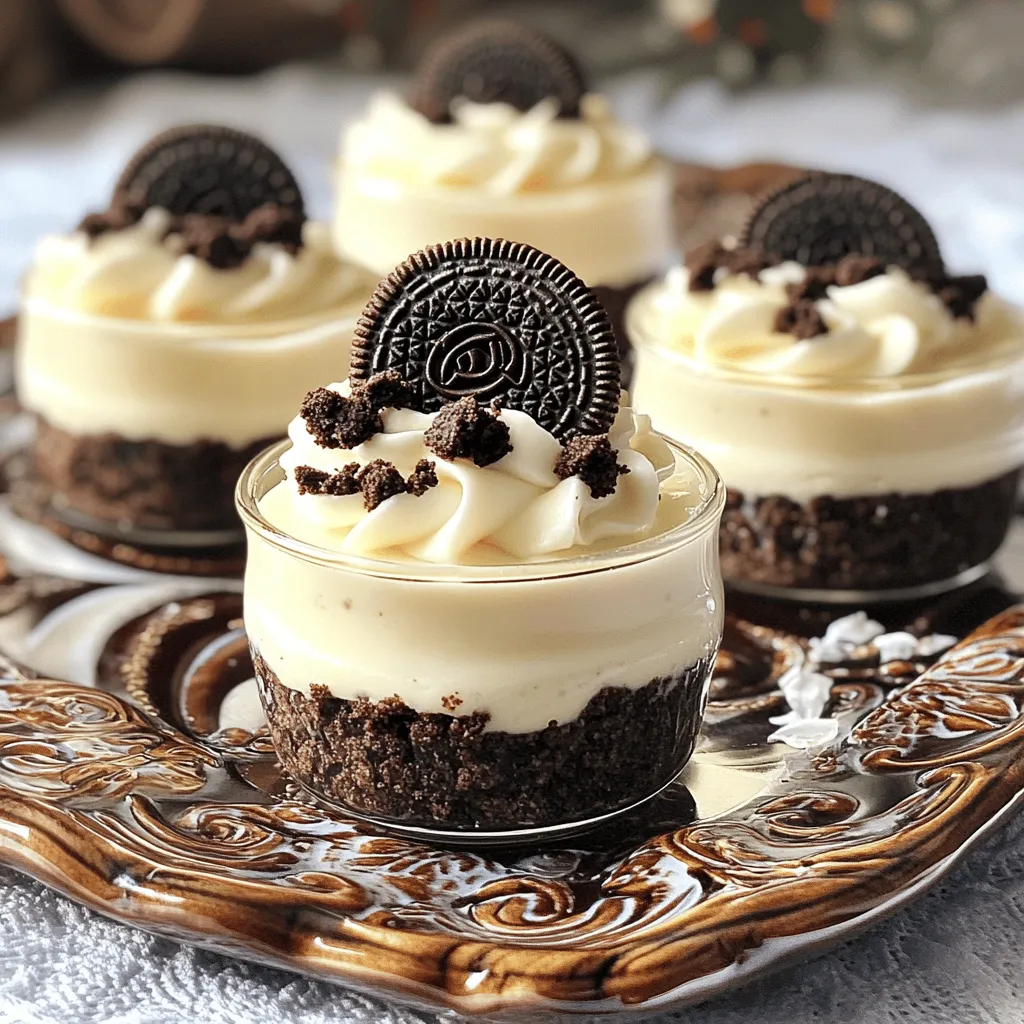
No Bake Oreo Cheesecake Cups Delightfully Simple Treat
Craving a sweet treat without the fuss? I have just the solution! My No Bake Oreo Cheesecake Cups are delightfully simple and perfect for any
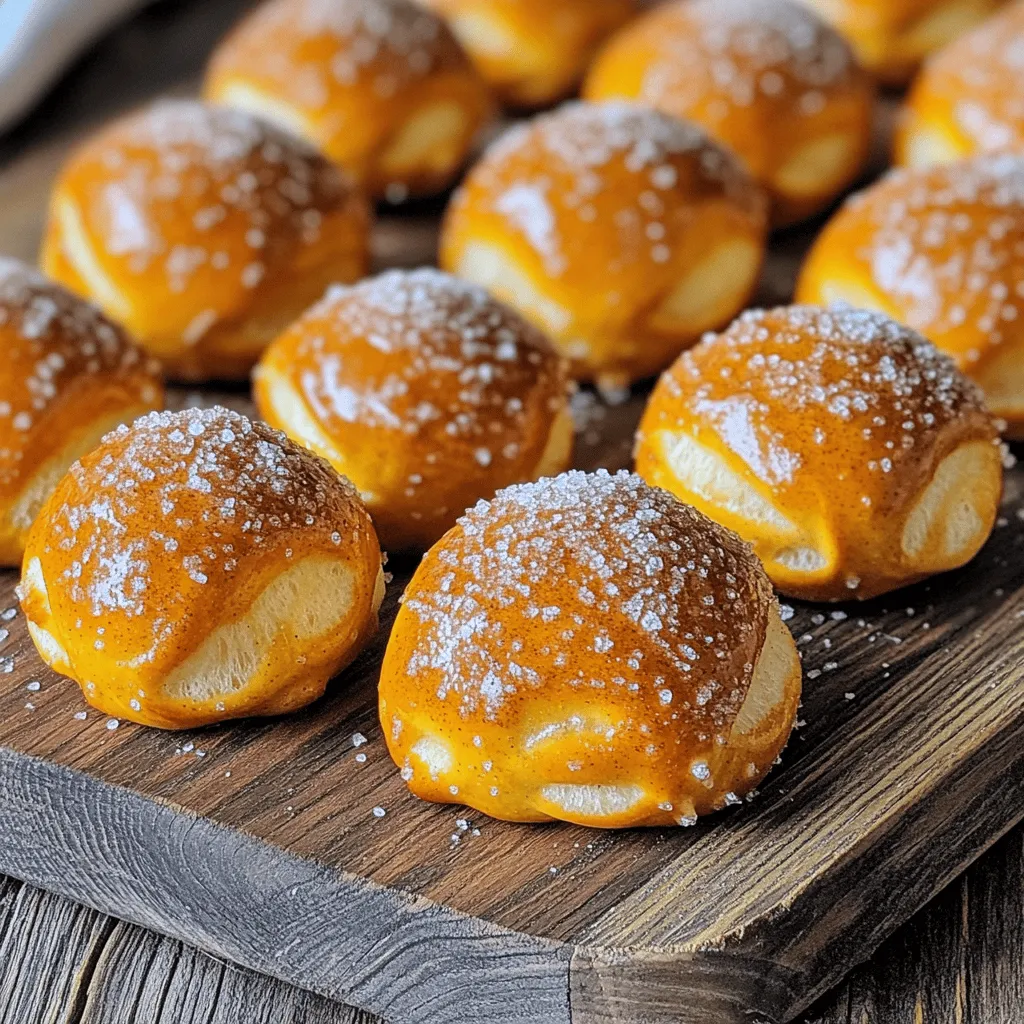
Cinnamon Sugar Pretzel Bites Irresistible Treat Recipe
Get ready to indulge in a simple yet irresistible treat—Cinnamon Sugar Pretzel Bites! This easy recipe transforms basic pizza dough into soft, warm bites coated
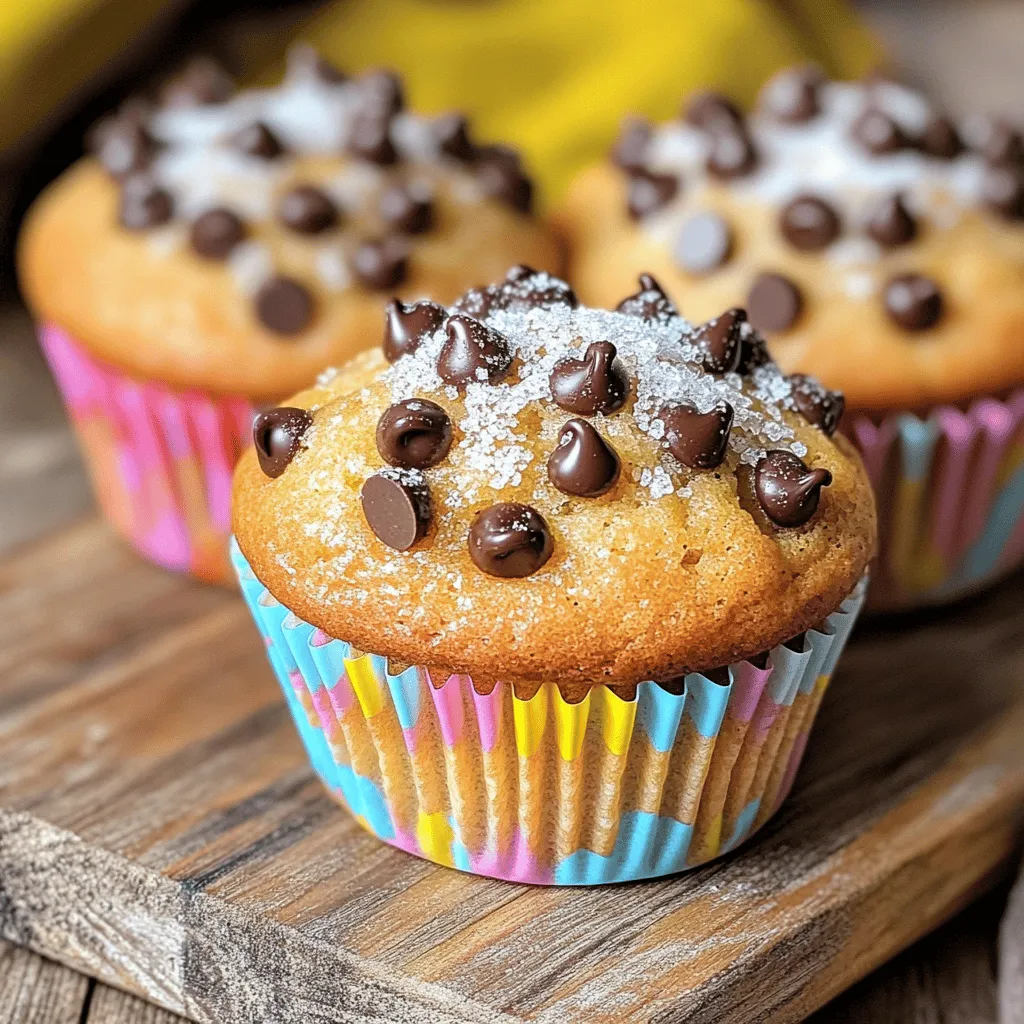
Bakery Style Chocolate Chip Muffins Easy and Tasty
Do you crave those fluffy, rich chocolate chip muffins you find in bakeries? You’re in luck! In this guide, I’ll show you how to make
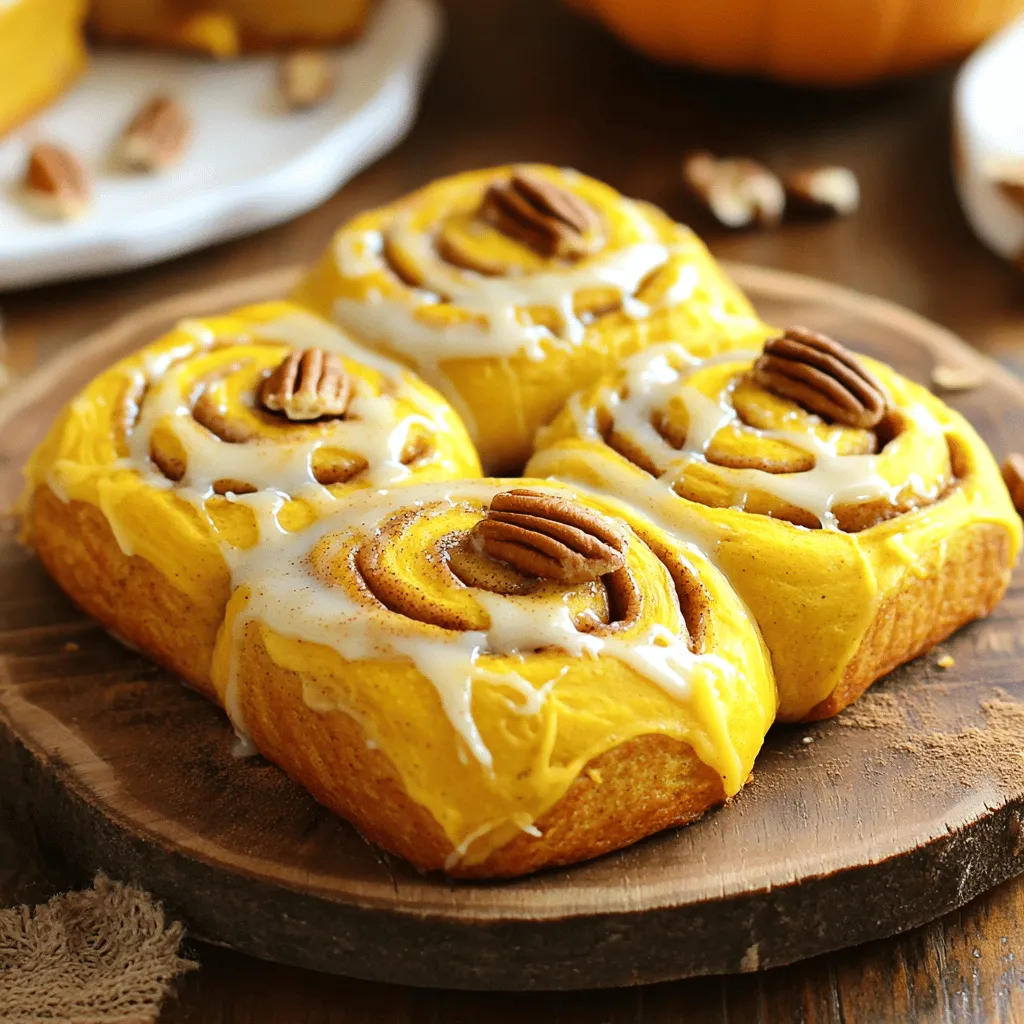
Pumpkin Cinnamon Rolls Soft and Flavorful Treat
Get ready for a fall treat that fills your kitchen with warmth! These Pumpkin Cinnamon Rolls are soft, flavorful, and perfect for cozy mornings. I
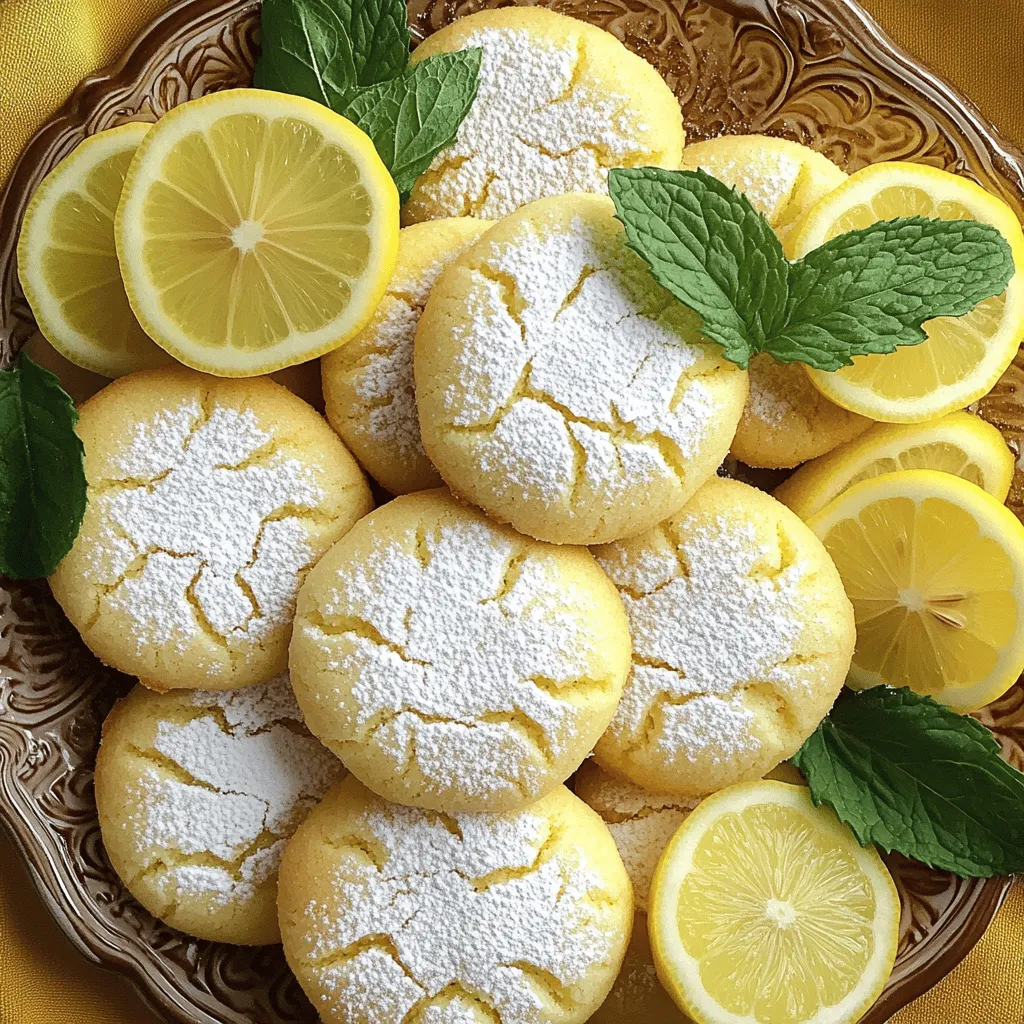
Super Soft Lemon Cookies Delightful and Easy Recipe
If you love cookies that melt in your mouth, you’ll adore my Super Soft Lemon Cookies. This delightful recipe combines zesty lemon with a soft,
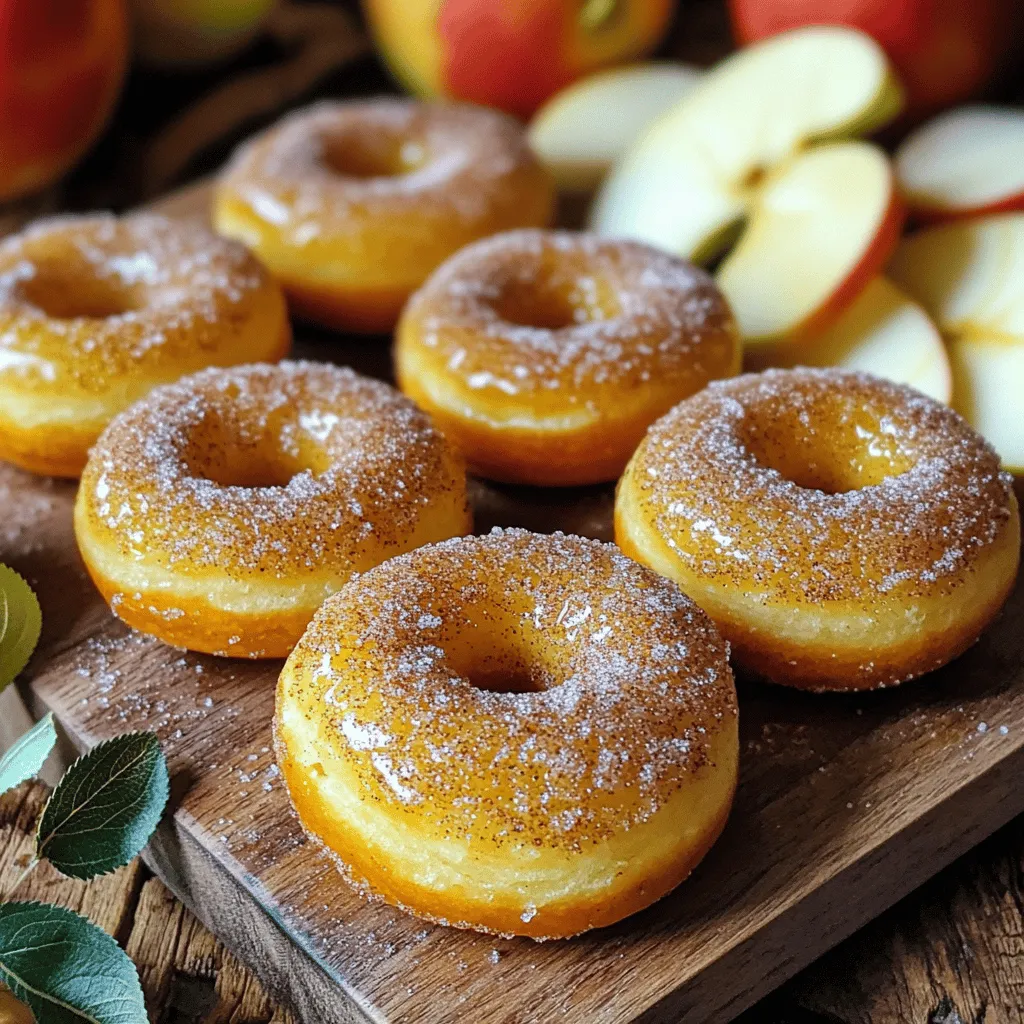
Baked Apple Cider Donuts Fresh and Flavorful Treat
Get ready for a delicious fall treat! These Baked Apple Cider Donuts are easy to make and full of rich flavor. Imagine biting into soft,
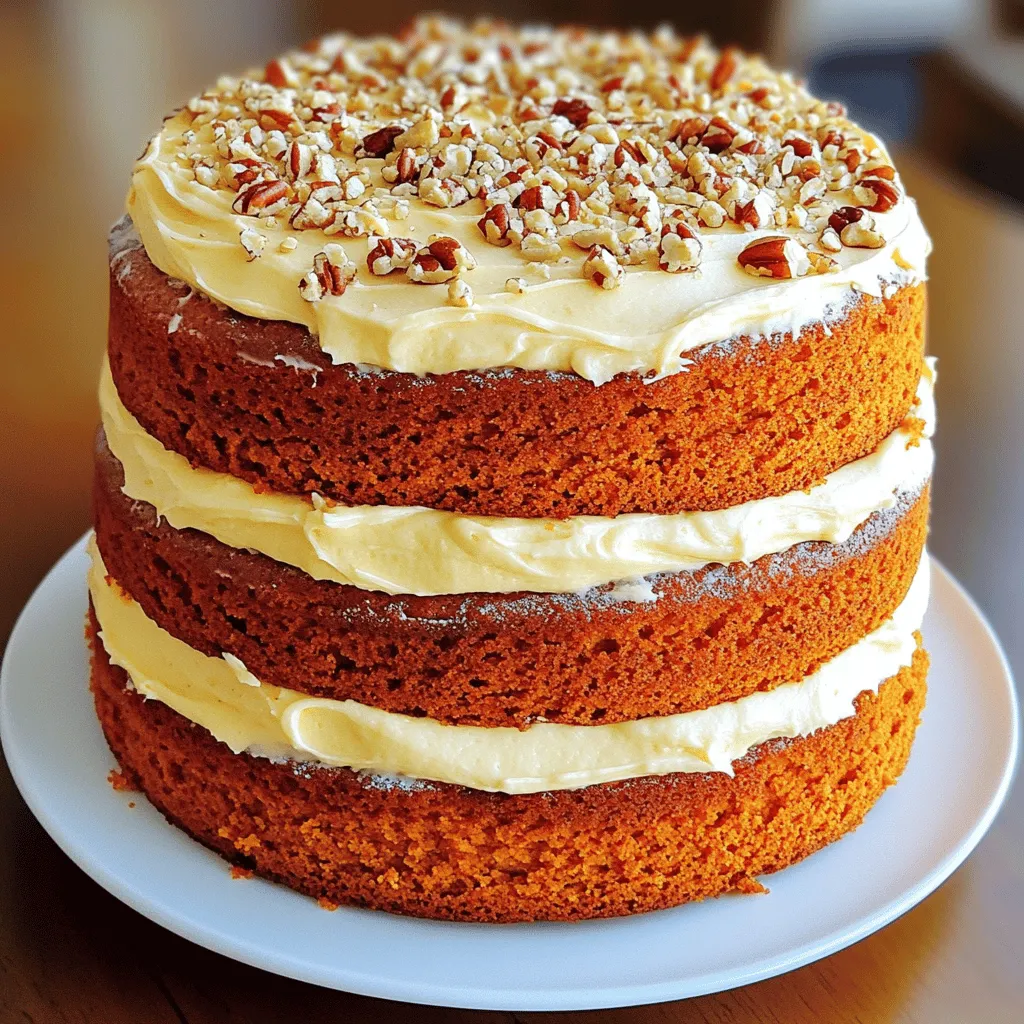
Pumpkin Layer Cake Delightfully Moist and Flavorful Treat
Get ready to dive into the warm, spiced goodness of my Pumpkin Layer Cake! This treat is more than just a dessert—it’s a celebration of
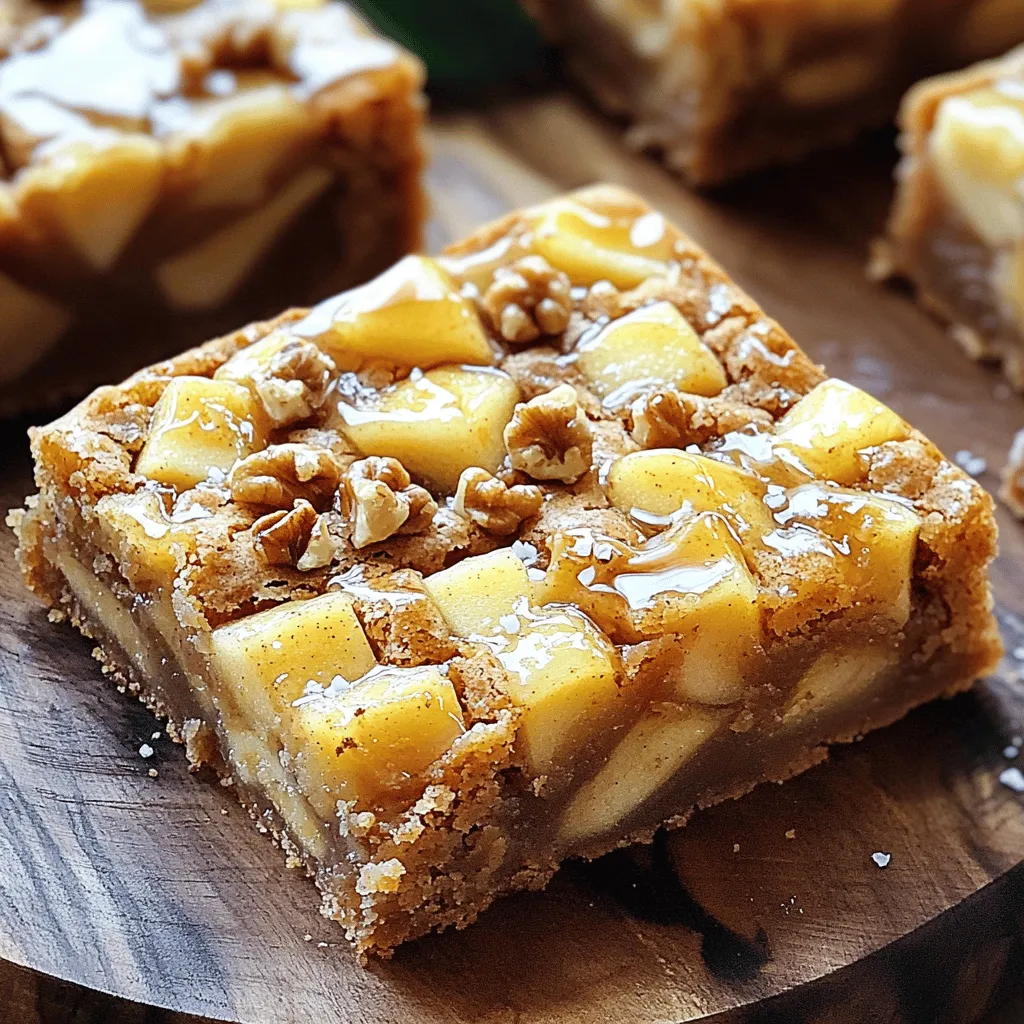
Maple Glazed Apple Blondies Simple and Tasty Treat
Get ready to delight your taste buds with my Maple Glazed Apple Blondies! This sweet treat is simple to make and packed with flavor. In
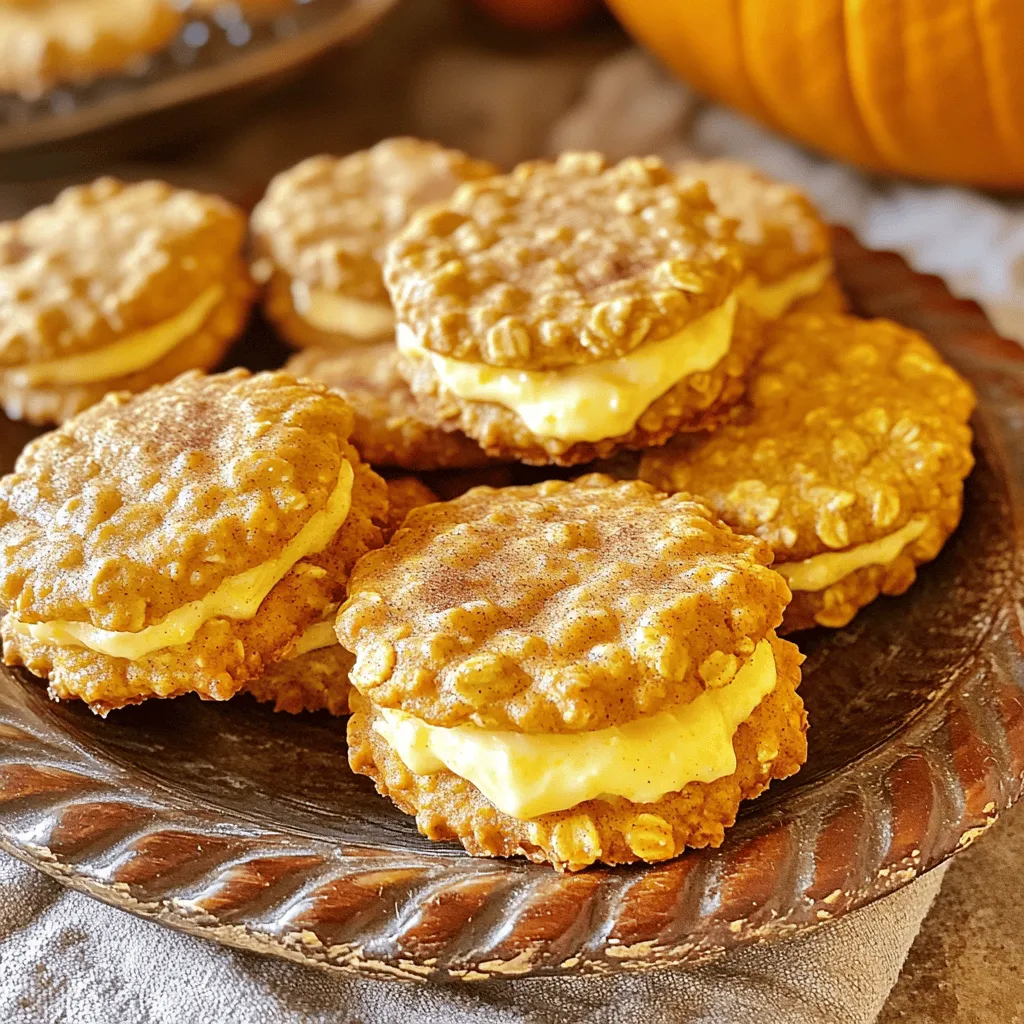
Pumpkin Oatmeal Cream Pies Tasty Fall Delight
Get ready to embrace the cozy flavors of fall with my Pumpkin Oatmeal Cream Pies! These sweet treats are soft, chewy, and stuffed with a
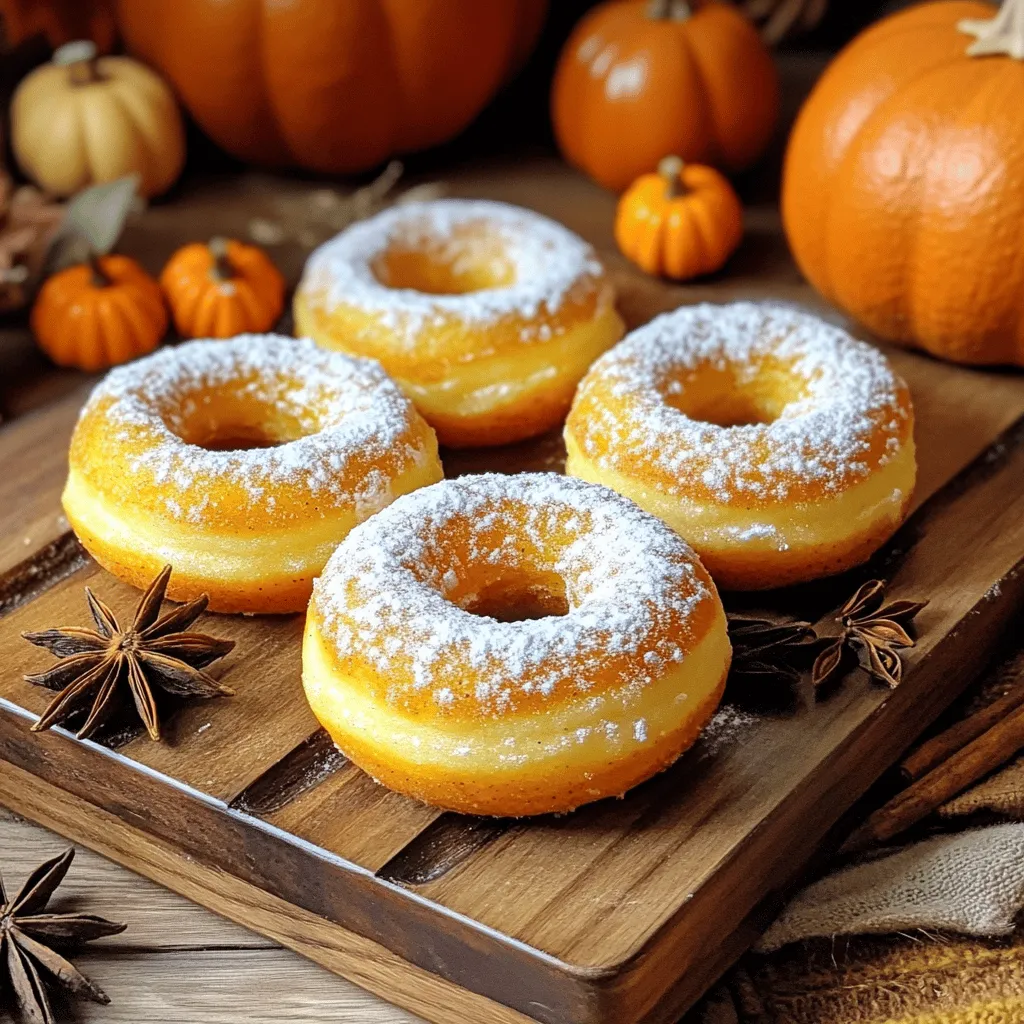
Air Fryer Pumpkin Spice Donuts Easy and Delicious Treat
Are you ready to enjoy a warm batch of Air Fryer Pumpkin Spice Donuts? This easy recipe promises to fill your kitchen with fall flavors