Desserts
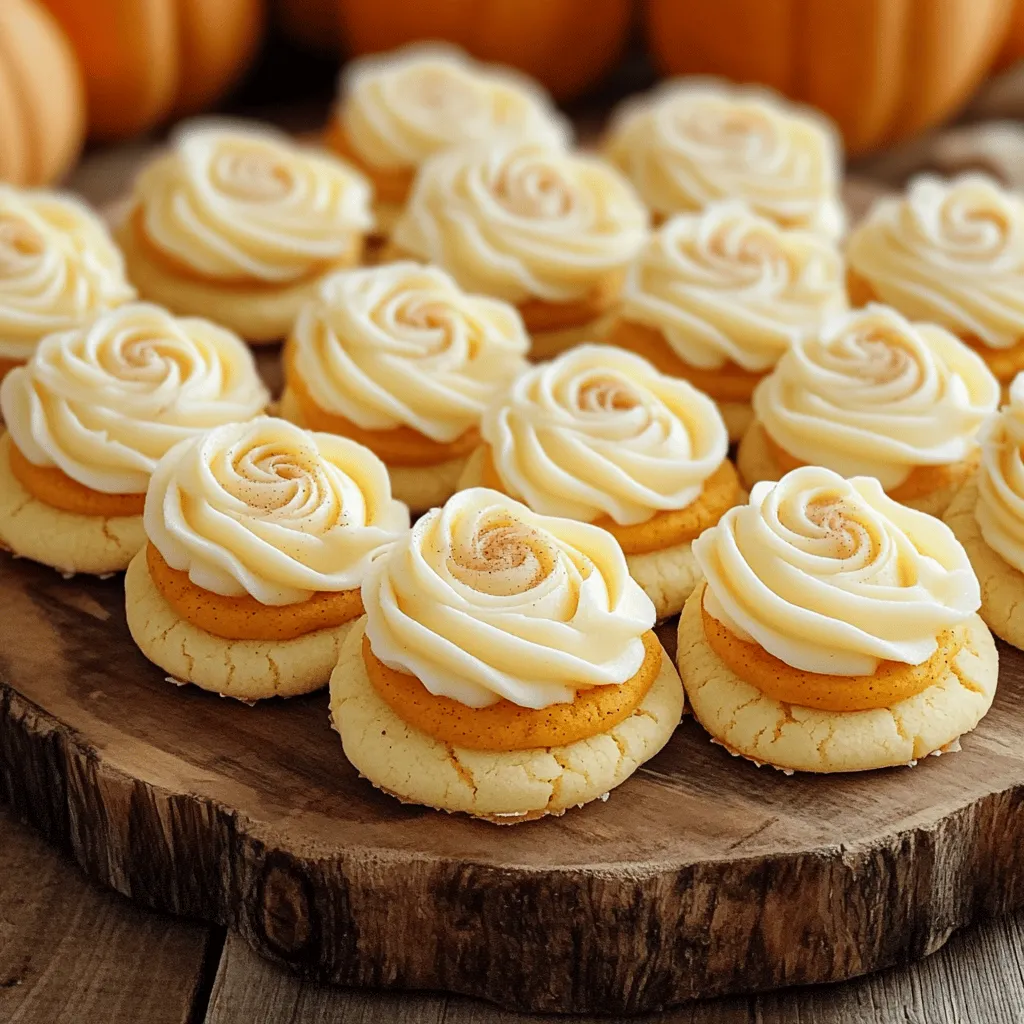
Pumpkin Sugar Cookies with Cream Cheese Frosting Delight
Love the taste of fall? You’ll adore these Pumpkin Sugar Cookies with Cream Cheese Frosting! In this easy guide, I’ll share how to create soft,
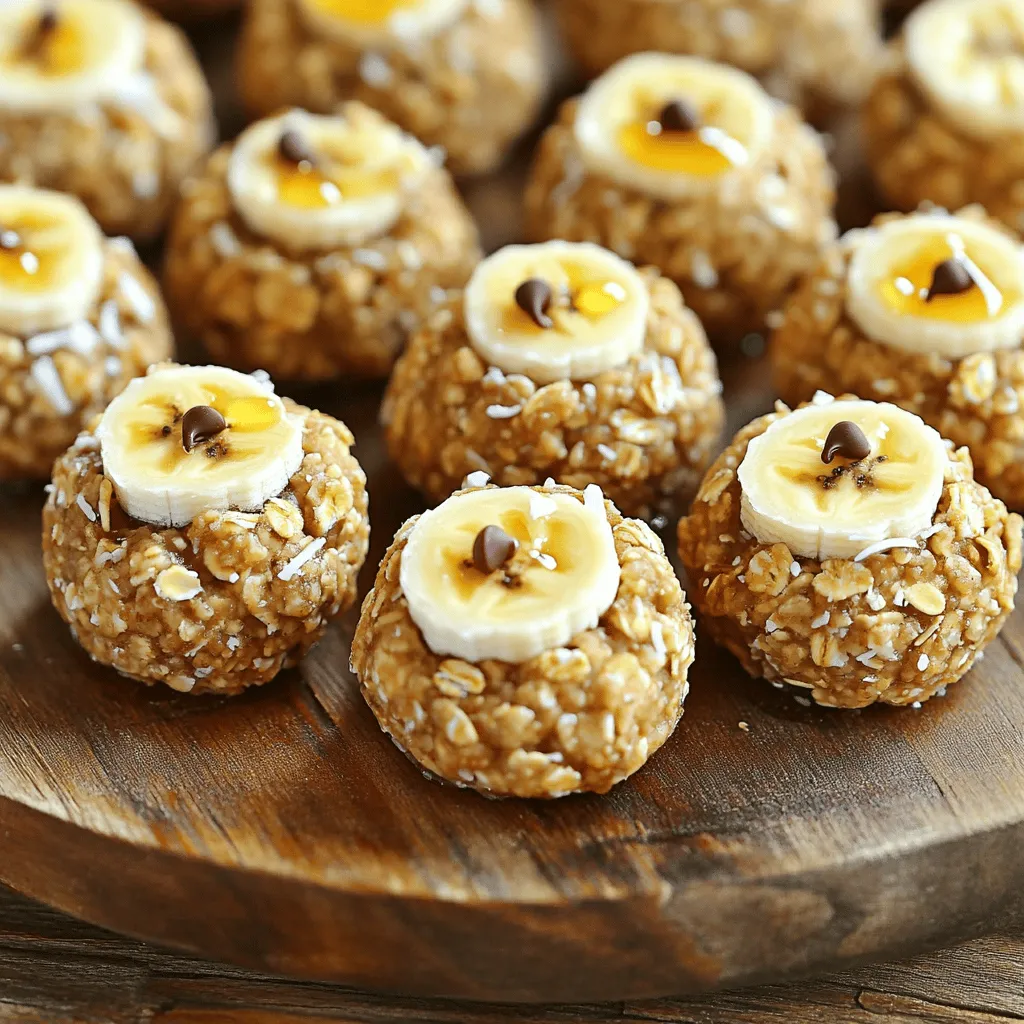
Nut-Free Banana Oat Energy Bites Quick and Easy Recipe
Looking for a quick and easy snack that packs a punch? Try my Nut-Free Banana Oat Energy Bites! These tasty bites are perfect for busy

Pumpkin Cupcakes with Pumpkin Frosting Delightful Treat
Are you ready to elevate your dessert game? My Pumpkin Cupcakes with Pumpkin Frosting are the ultimate fall treat! With warm spices and rich pumpkin

Pumpkin Chocolate Chip Muffins Fresh and Tasty Treat
If you’re looking for a tasty treat that brings fall flavors to your kitchen, these Pumpkin Chocolate Chip Muffins are perfect! I’ll guide you through
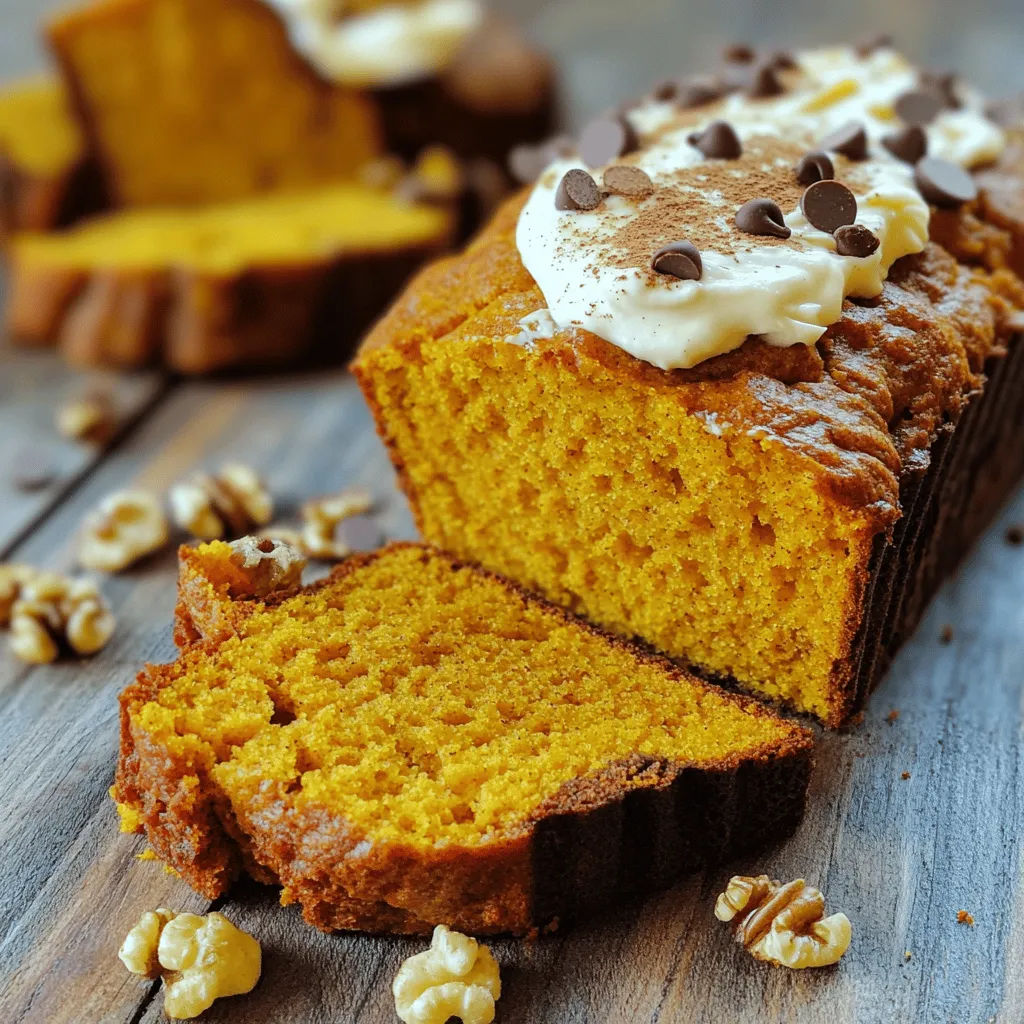
Cake Mix Pumpkin Bread Simple and Delicious Recipe
Looking for a simple and tasty fall treat? You’re in the right place! This Cake Mix Pumpkin Bread recipe is perfect for busy bakers. Using
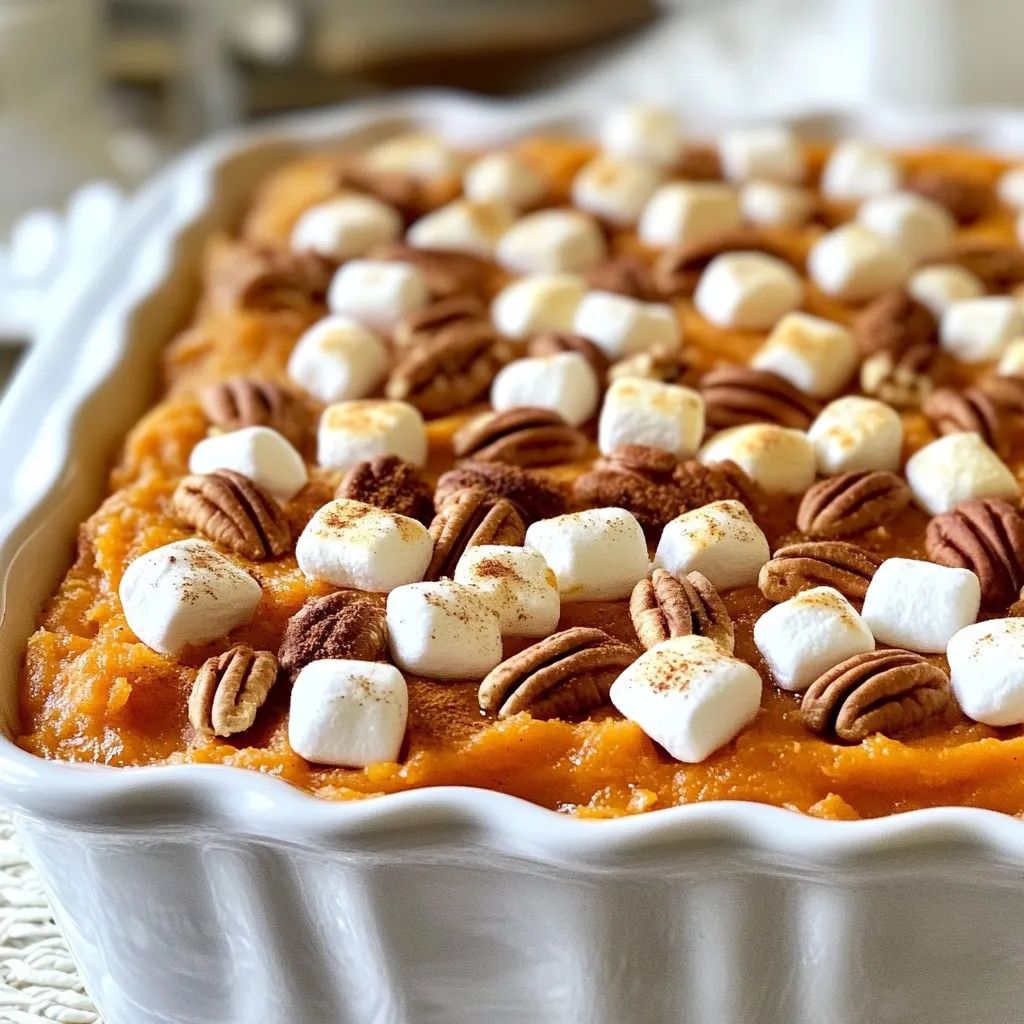
Easy Sweet Potato Casserole Flavorful and Simple Dish
If you’re craving a warm and comforting dish, you’ll love my Easy Sweet Potato Casserole. It’s a simple recipe that delivers big flavor without the
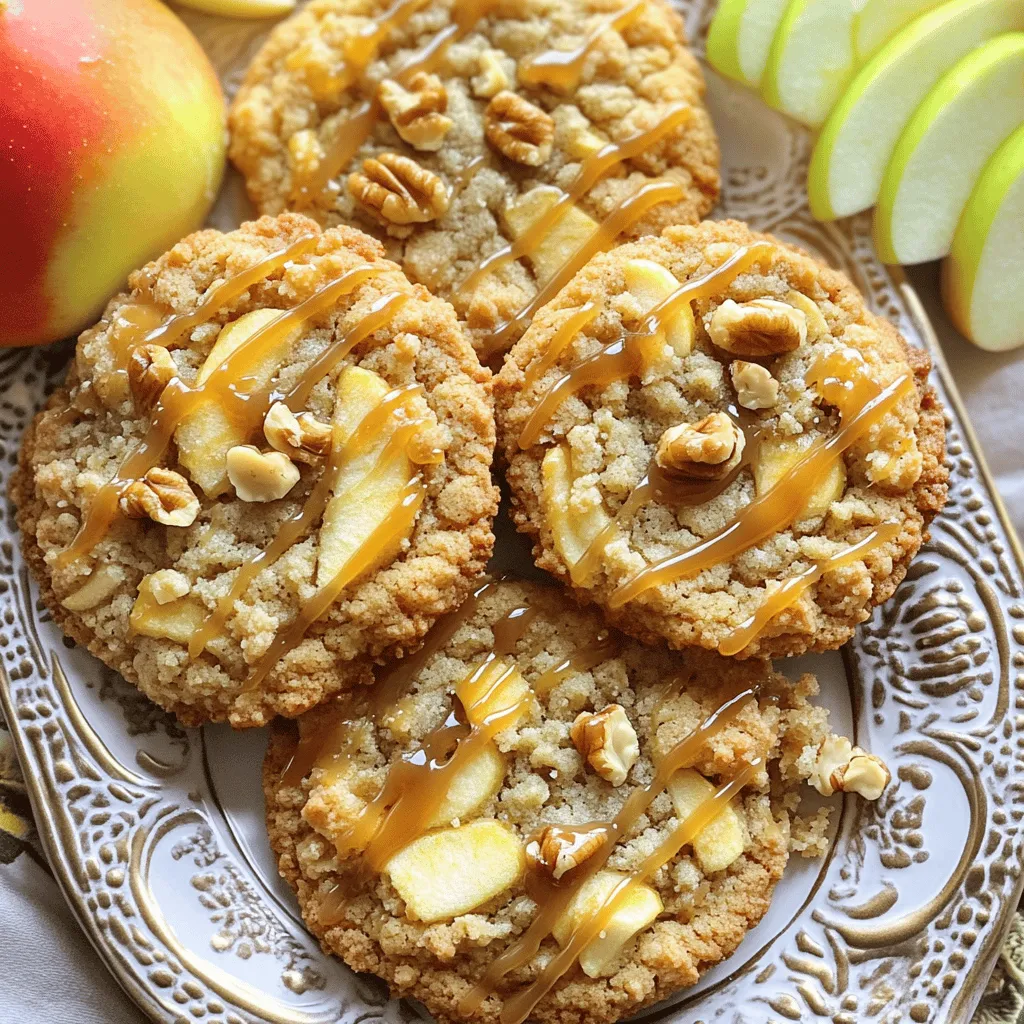
Crumbl Copycat Caramel Apple Cookies Delicious Treat
Are you ready to bake something delicious? These Crumbl copycat caramel apple cookies will impress your friends and family. With sweet caramel and crunchy apple

Pumpkin Cream Cheese Swirl Muffins Rich and Flavorful
Who can resist the warm, inviting aroma of fresh-baked muffins? Today, I’m excited to share my recipe for Pumpkin Cream Cheese Swirl Muffins. These treats

Pumpkin Cream Cheese Bread Cozy and Comforting Delight
There’s nothing quite like the taste of warm, Pumpkin Cream Cheese Bread, especially when the weather turns cool. This cozy treat combines rich pumpkin flavor
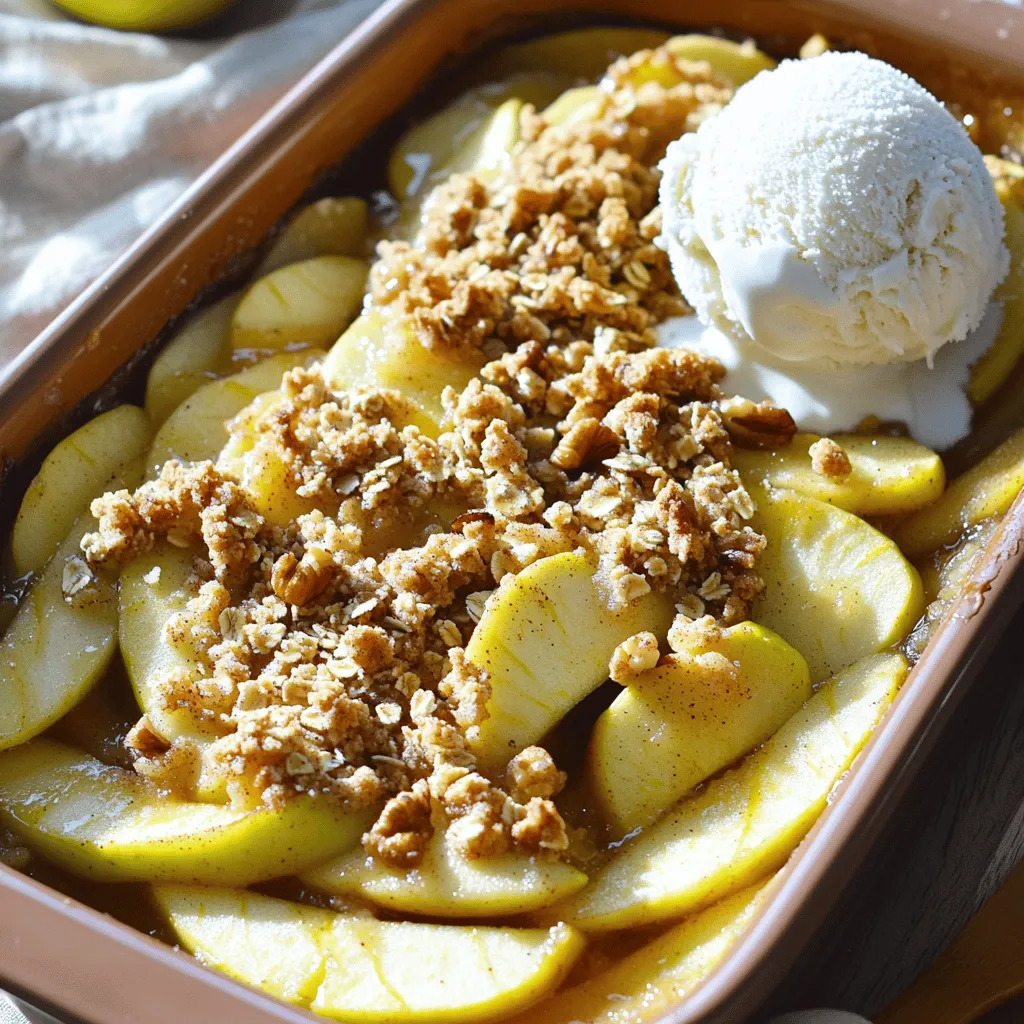
Simple Apple Crisp Delightful and Easy Recipe
Are you ready to whip up a warm, comforting dessert? This Simple Apple Crisp recipe is delicious and takes little time to make. You’ll love