Desserts
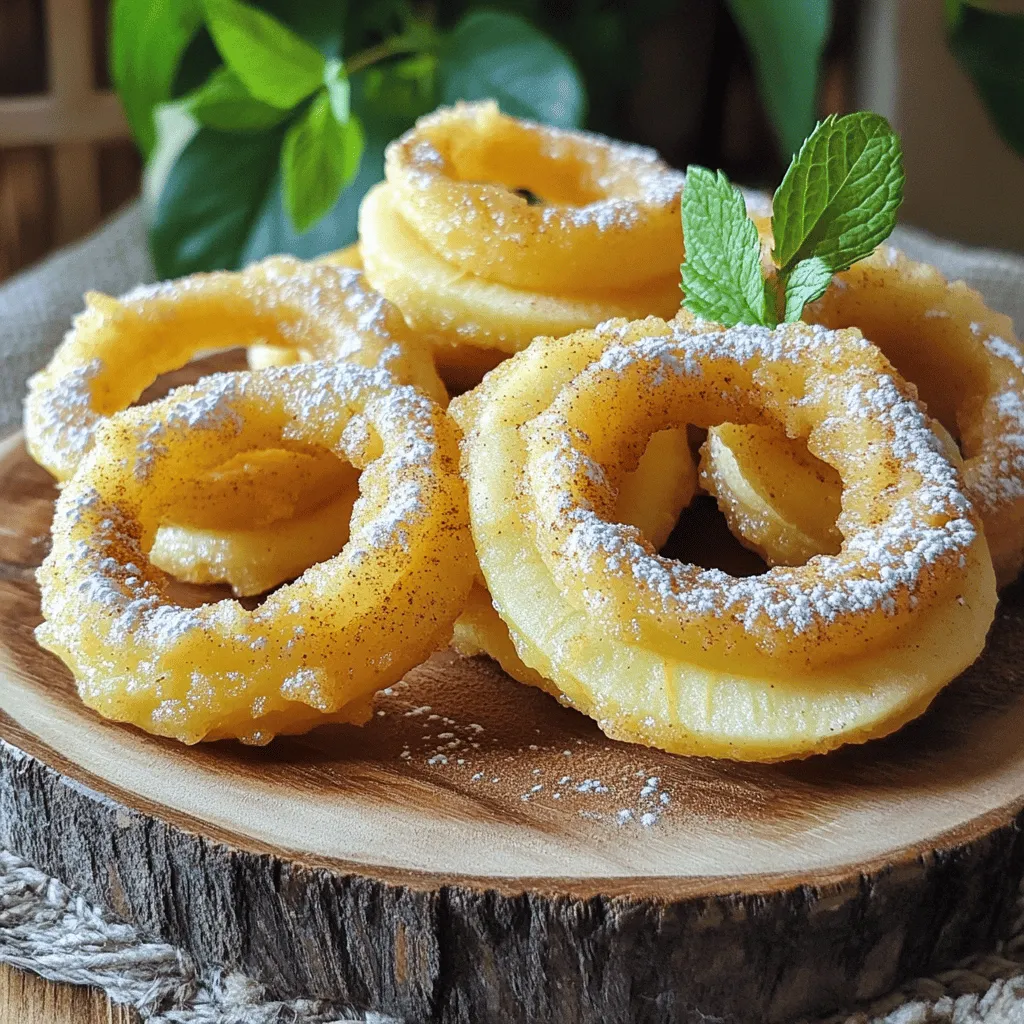
Fried Apple Rings Crispy Treat for Everyone
Are you ready for a treat that sings with flavor? Fried Apple Rings are the perfect crispy snack for everyone! Imagine biting into a sweet,
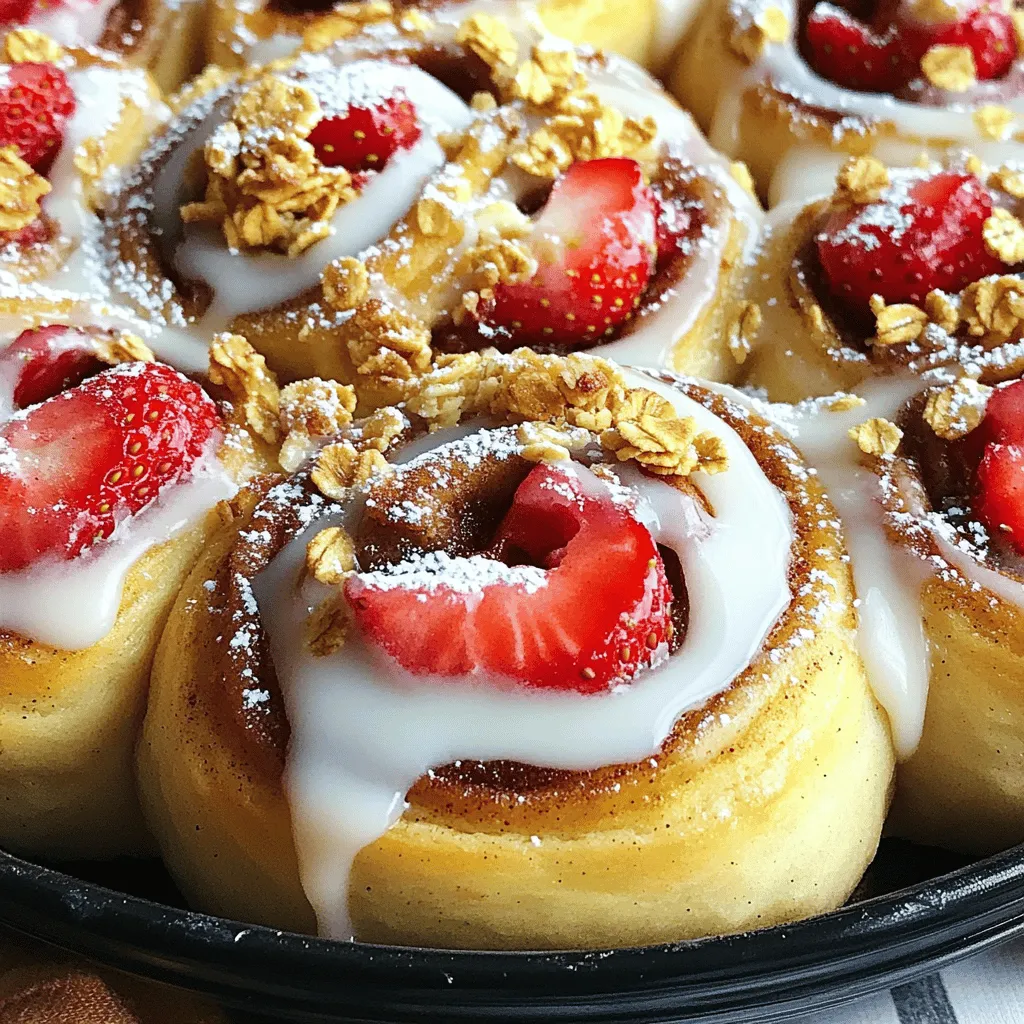
Strawberry Cheesecake Cinnamon Rolls Irresistible Delight
Get ready for a treat that combines two favorites: strawberry cheesecake and cinnamon rolls! In this blog post, I’ll guide you through making Strawberry Cheesecake
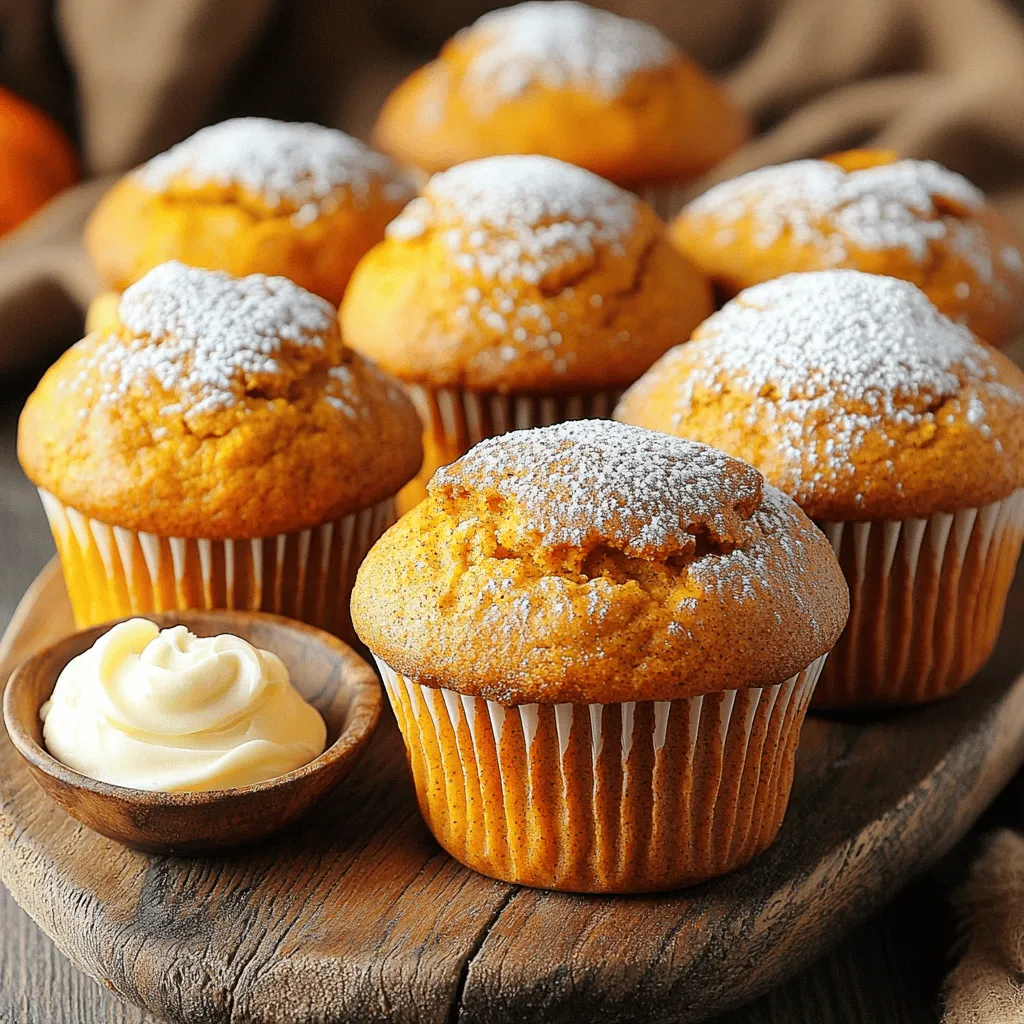
Spiced Pumpkin Muffins Delightful Autumn Treat
As autumn rolls in, there’s nothing better than the warm, fragrant scent of freshly baked spiced pumpkin muffins. These delightful treats are easy to make
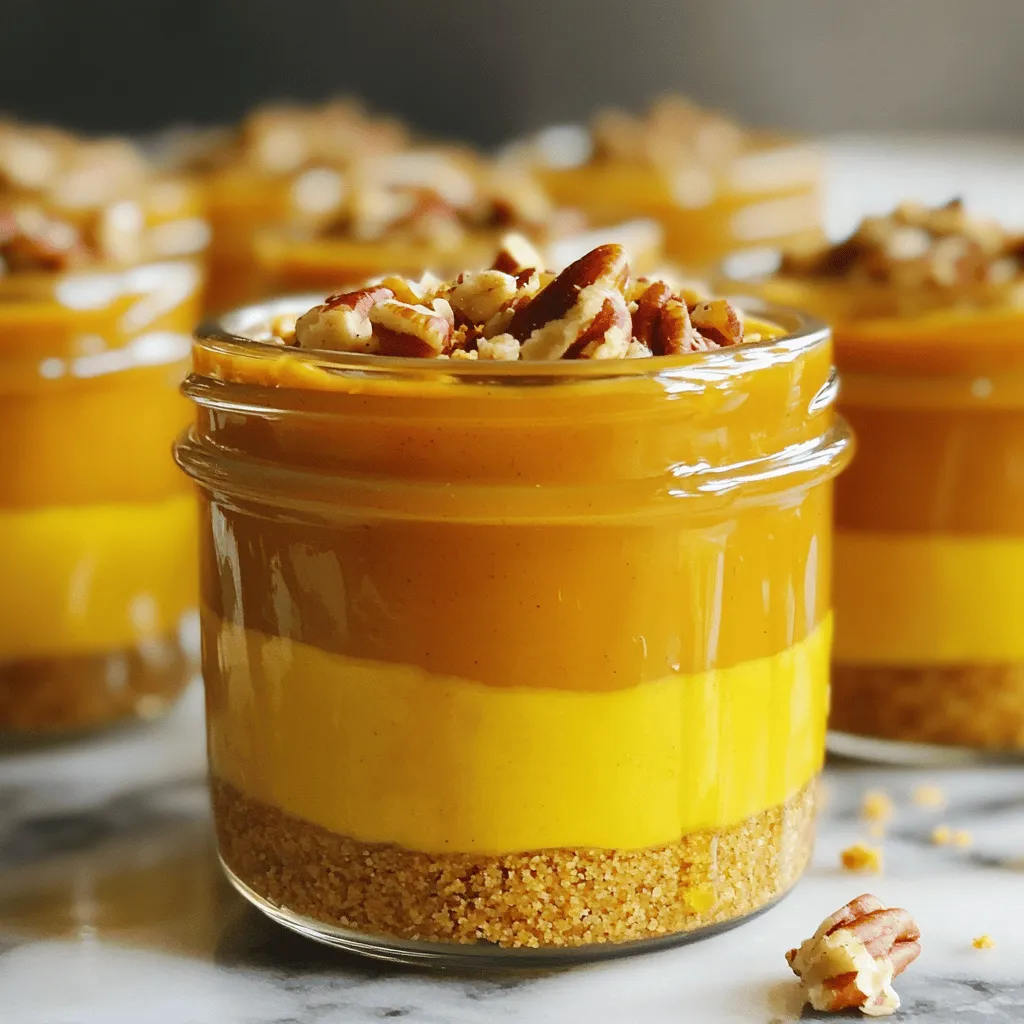
No-Bake Pumpkin Pie Cups Creamy Fall Delight
Are you ready to enjoy a creamy and delicious treat this fall? These No-Bake Pumpkin Pie Cups are simple, fun, and full of flavors that
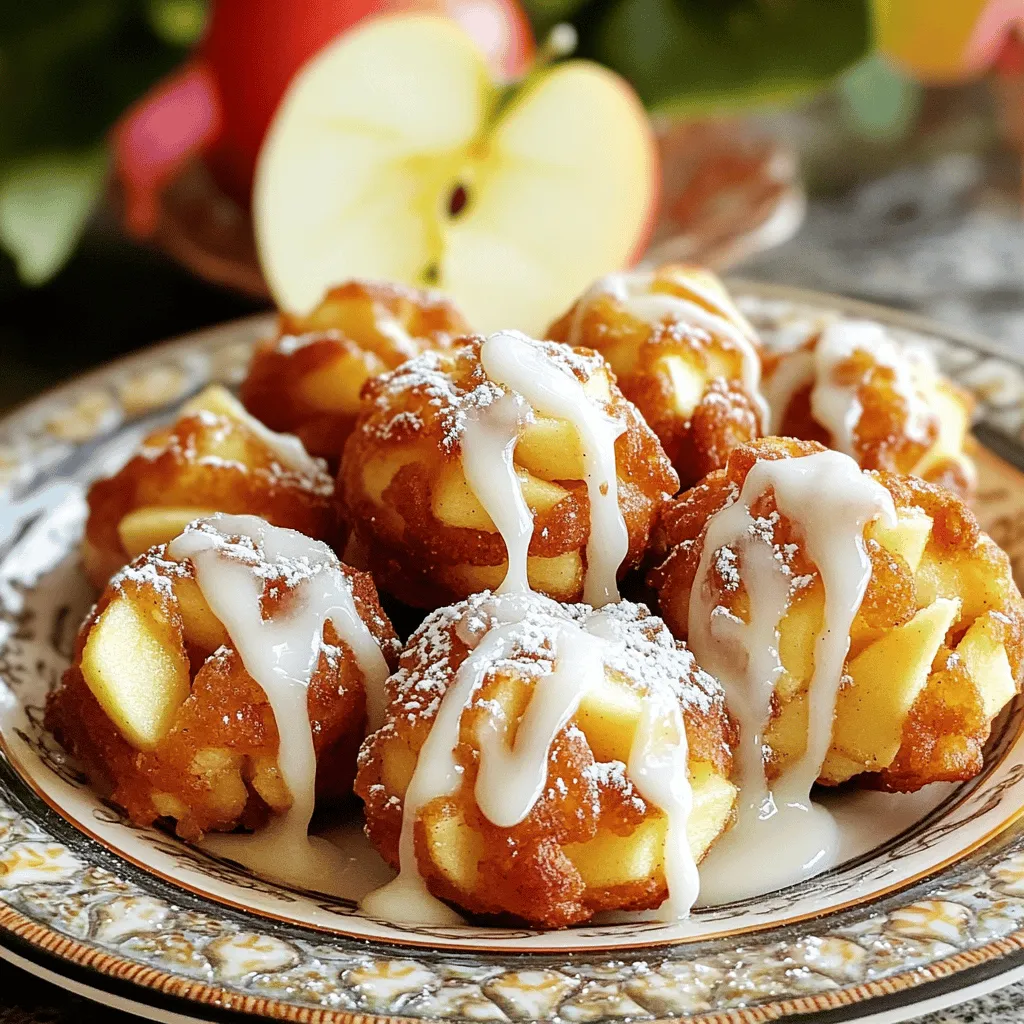
Irresistible Air Fryer Apple Fritter Bites Recipe
Get ready to savor the best Air Fryer Apple Fritter Bites you’ve ever tasted! This simple recipe combines tender apples, warm spices, and a crispy
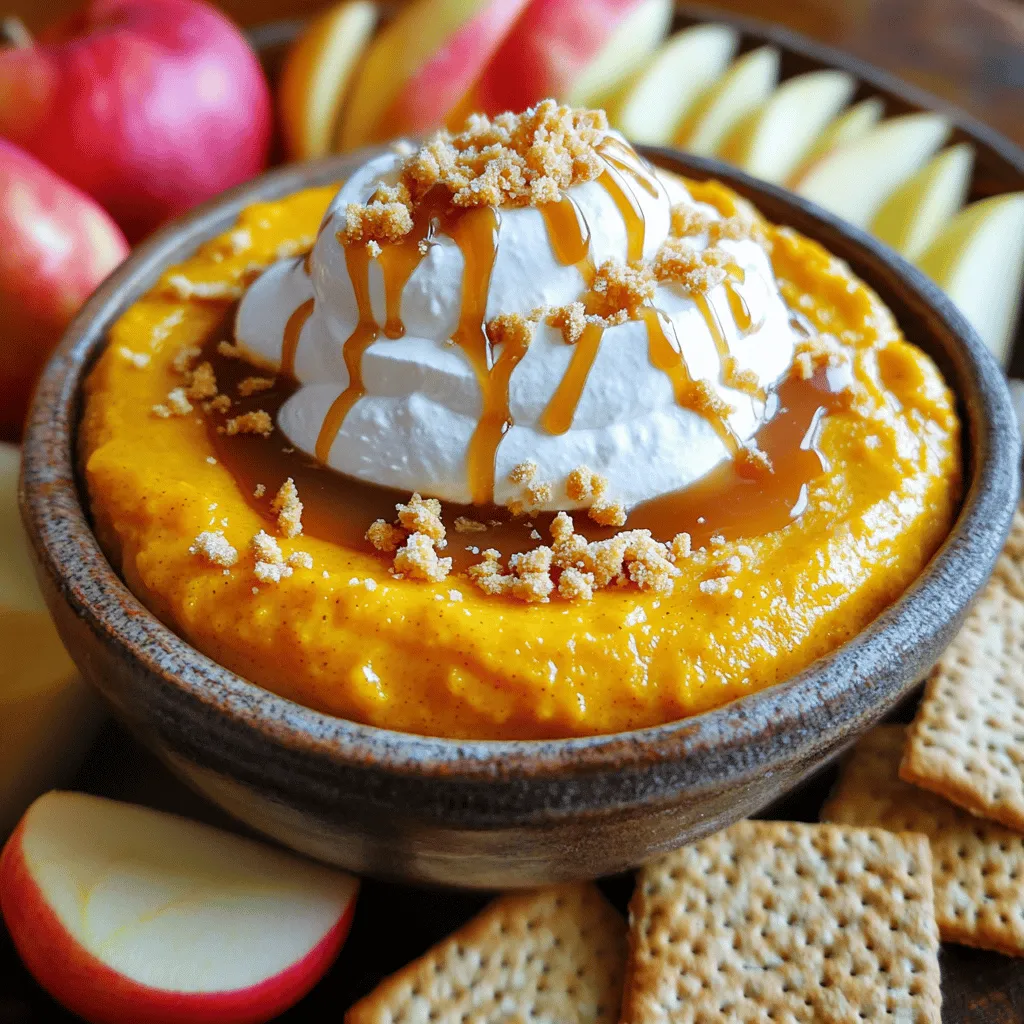
Salted Caramel Pumpkin Cheesecake Dip Delightful Treat
Get ready to indulge in the ultimate fall treat: Salted Caramel Pumpkin Cheesecake Dip! This creamy, sweet dip combines rich pumpkin, smooth cream cheese, and

Banana Pumpkin Chocolate Chip Bread Delightful Treat
If you’re craving a warm and cozy treat, look no further! Banana Pumpkin Chocolate Chip Bread is the perfect blend of flavors. With ripe bananas,
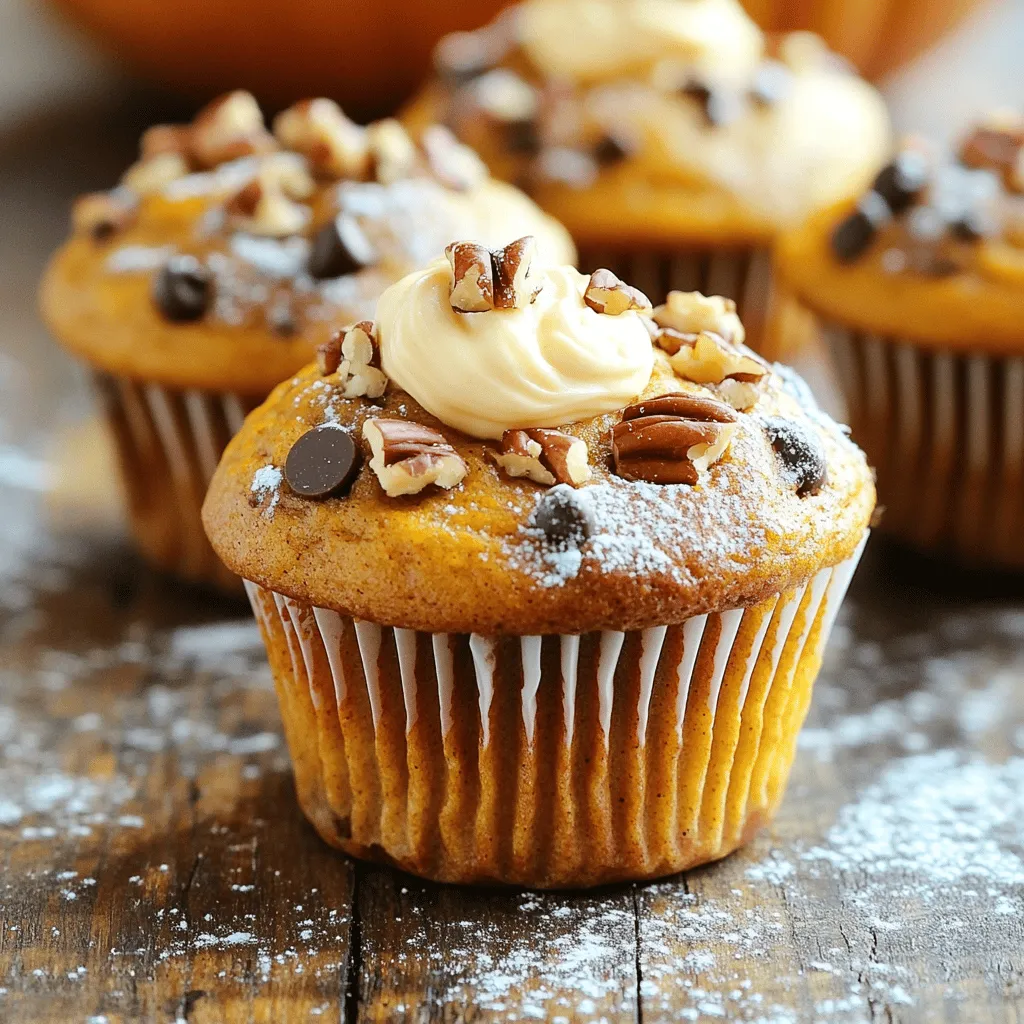
Loaded Pumpkin Cream Cheese Muffins Deliciously Easy
Ready to make a fall favorite? Loaded Pumpkin Cream Cheese Muffins are easy, tasty, and perfect for any occasion. With warm spices and a creamy
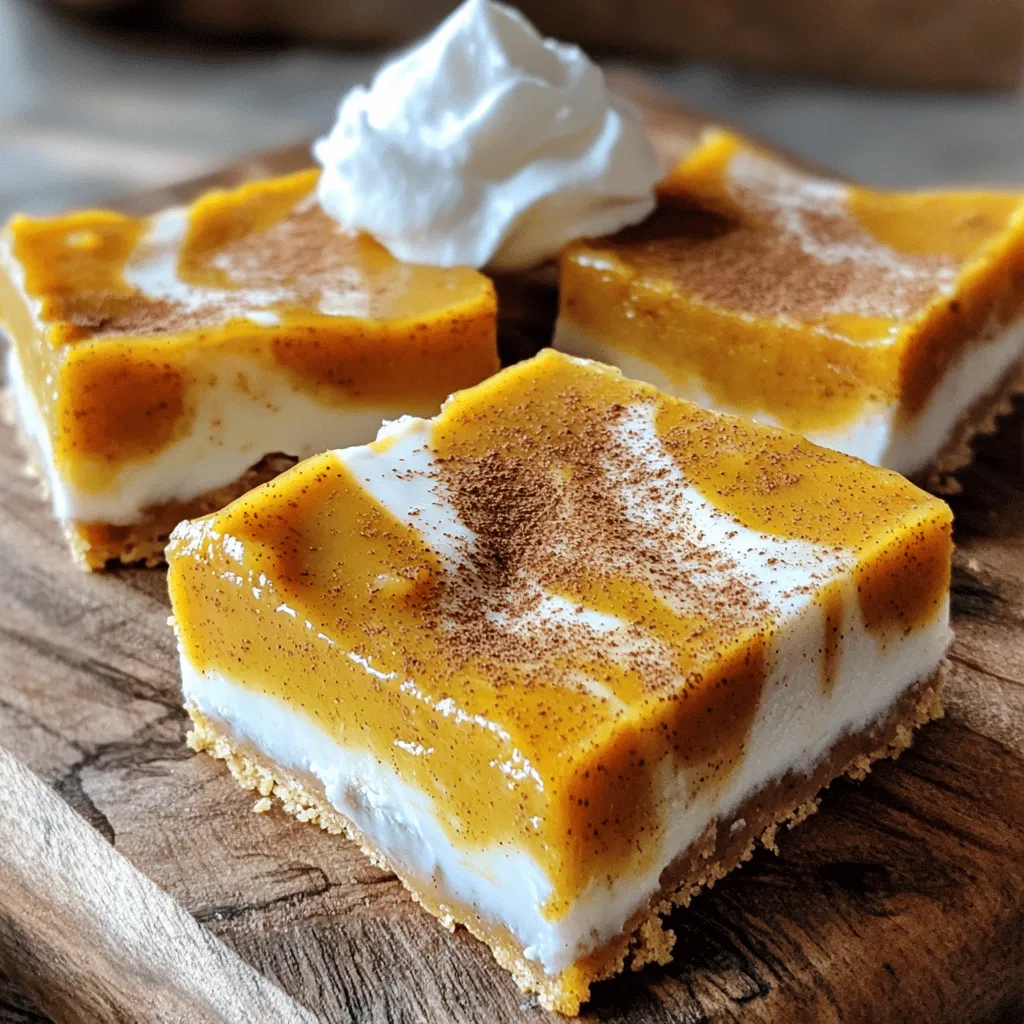
Pumpkin Pie Bars Tasty and Simple Fall Treat
Fall is here, and that means pumpkin pie season! If you’re looking for a simple, tasty treat to enjoy, look no further than these Pumpkin
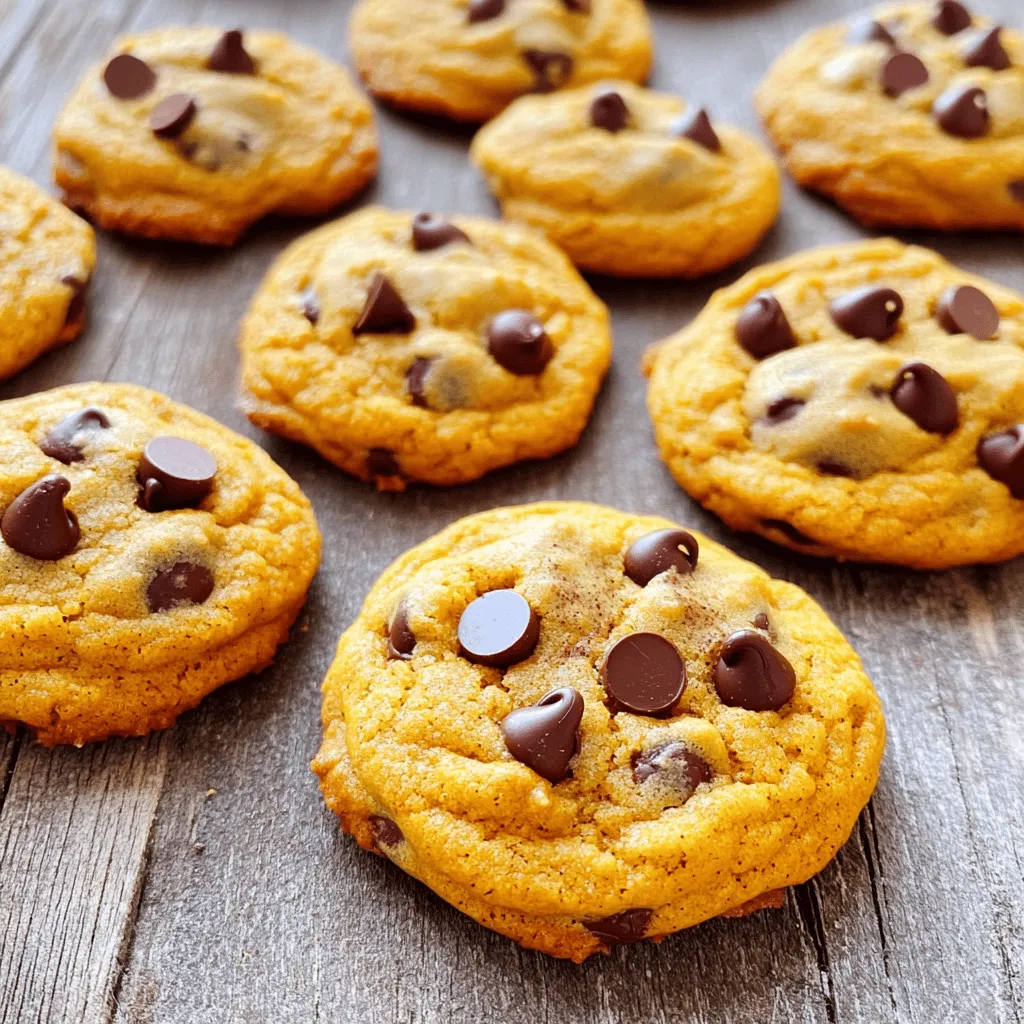
Soft Pumpkin Chocolate Chip Cookies Simple Treat Recipe
Craving a warm, soft treat? Let’s make Soft Pumpkin Chocolate Chip Cookies together! This simple recipe will fill your home with cozy smells and delight