Desserts
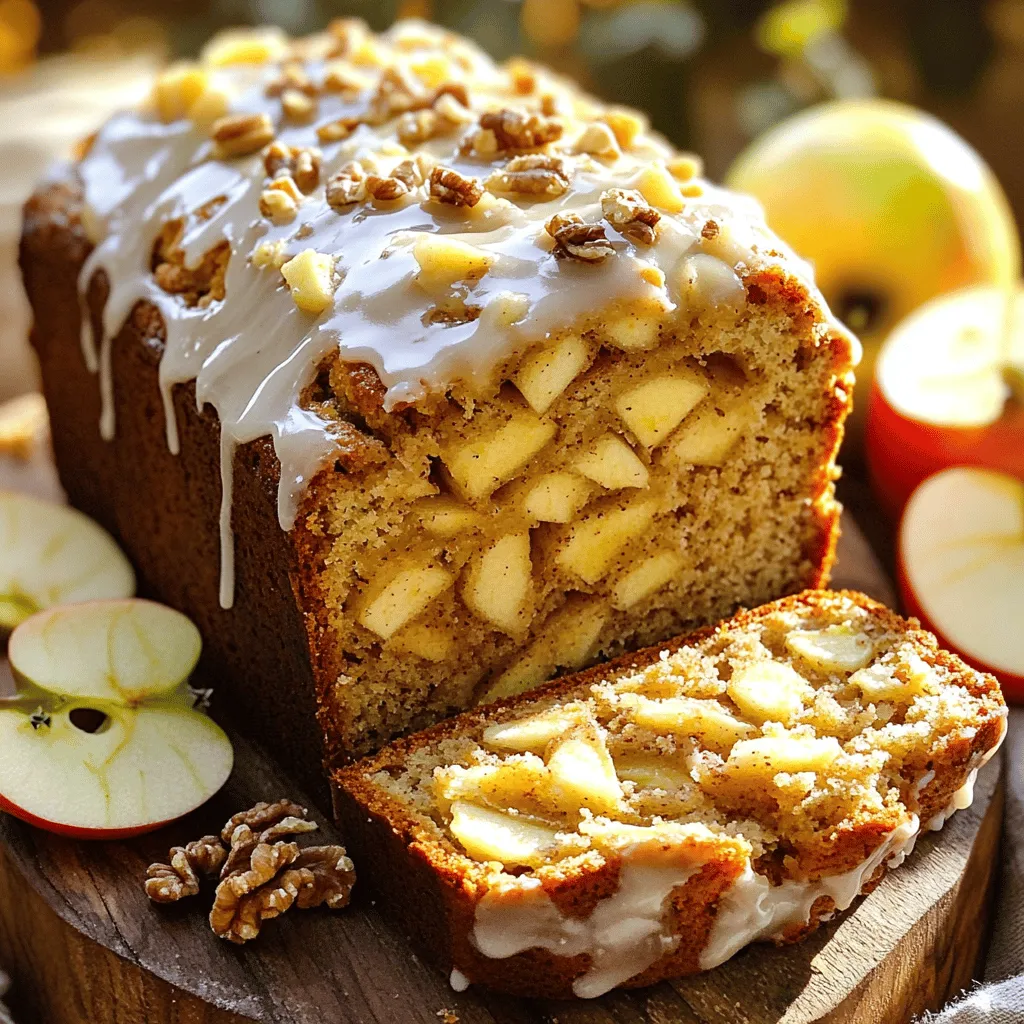
Glazed Apple Fritter Bread Simple and Tasty Recipe
Are you ready to try something delicious? Today, we’re diving into a simple and tasty treat: Glazed Apple Fritter Bread! This warm bread mixes sweet
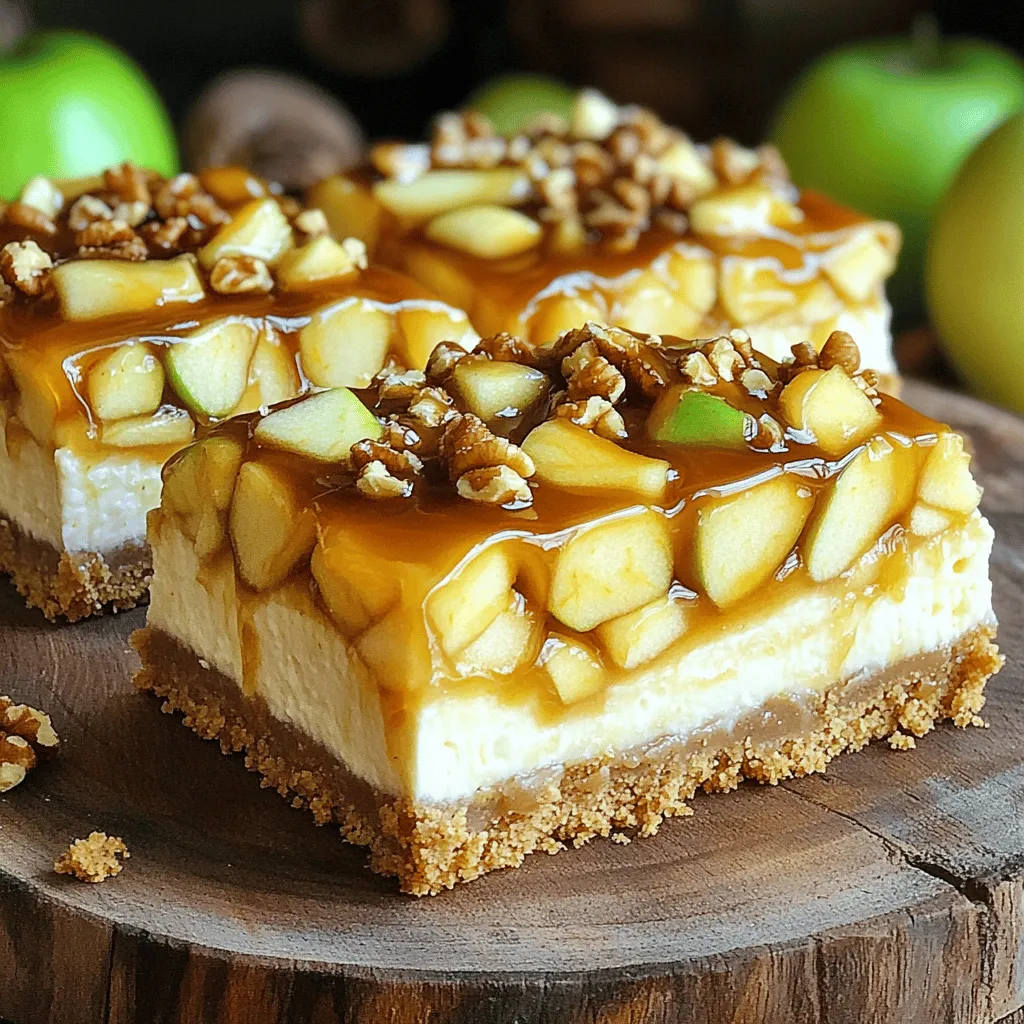
Caramel Apple Cheesecake Bars Delightful Dessert Treat
Get ready to indulge in a sweet treat that combines the best of fall flavors! In this blog post, I’ll guide you through the delights
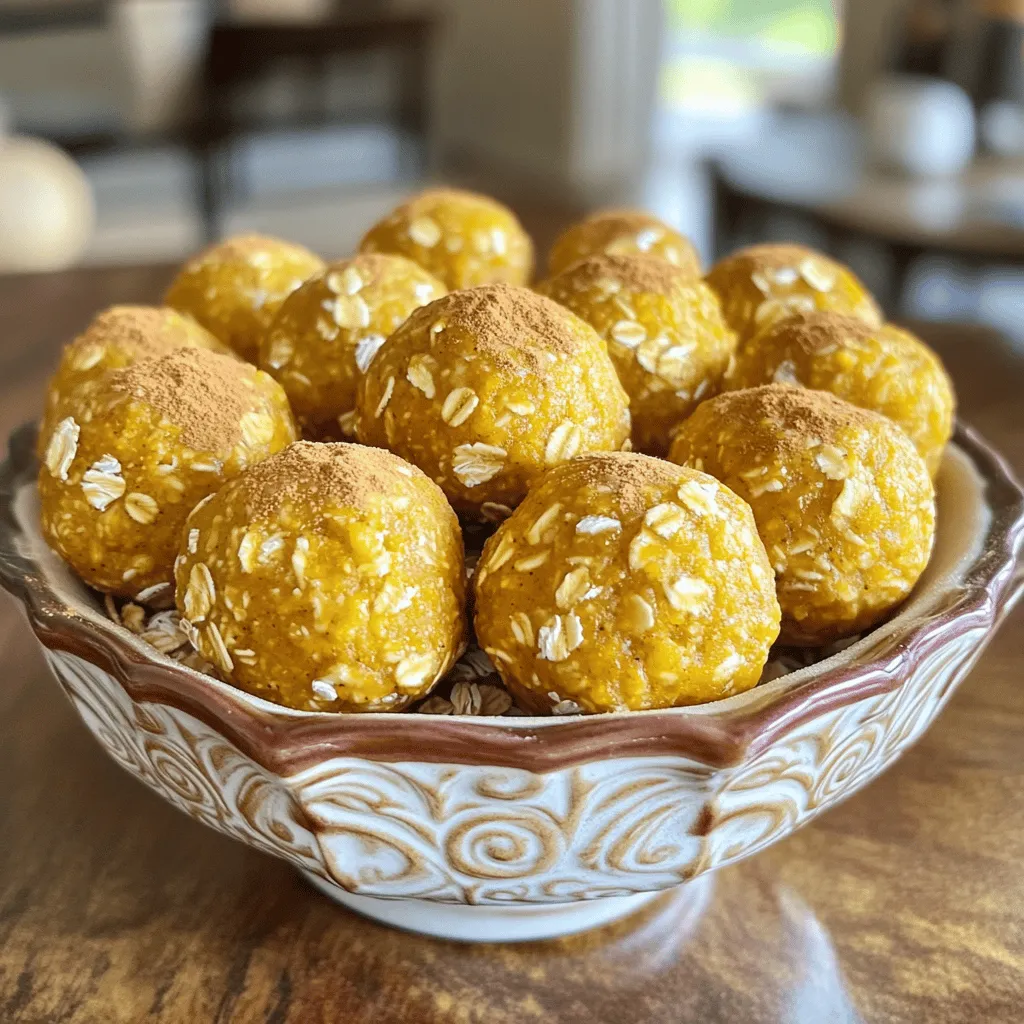
Pumpkin Spice Energy Bites Tasty and Easy Snack
Craving a tasty and healthy snack? Look no further! These Pumpkin Spice Energy Bites are easy to make, packed with wholesome ingredients, and perfect for
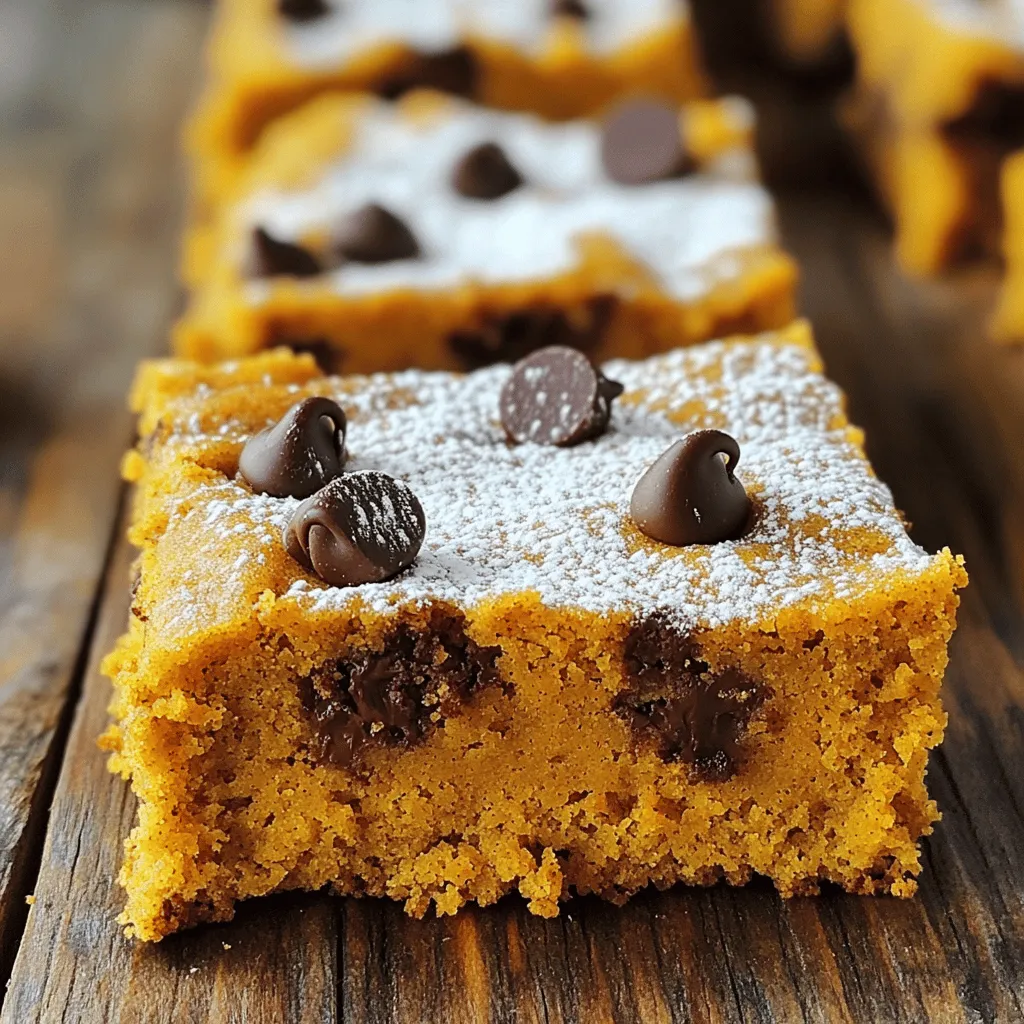
Pumpkin Bars with Cake Mix Easy and Delicious Recipe
If you love fall flavors but want a quick and easy treat, this Pumpkin Bars with Cake Mix recipe is for you. With just a
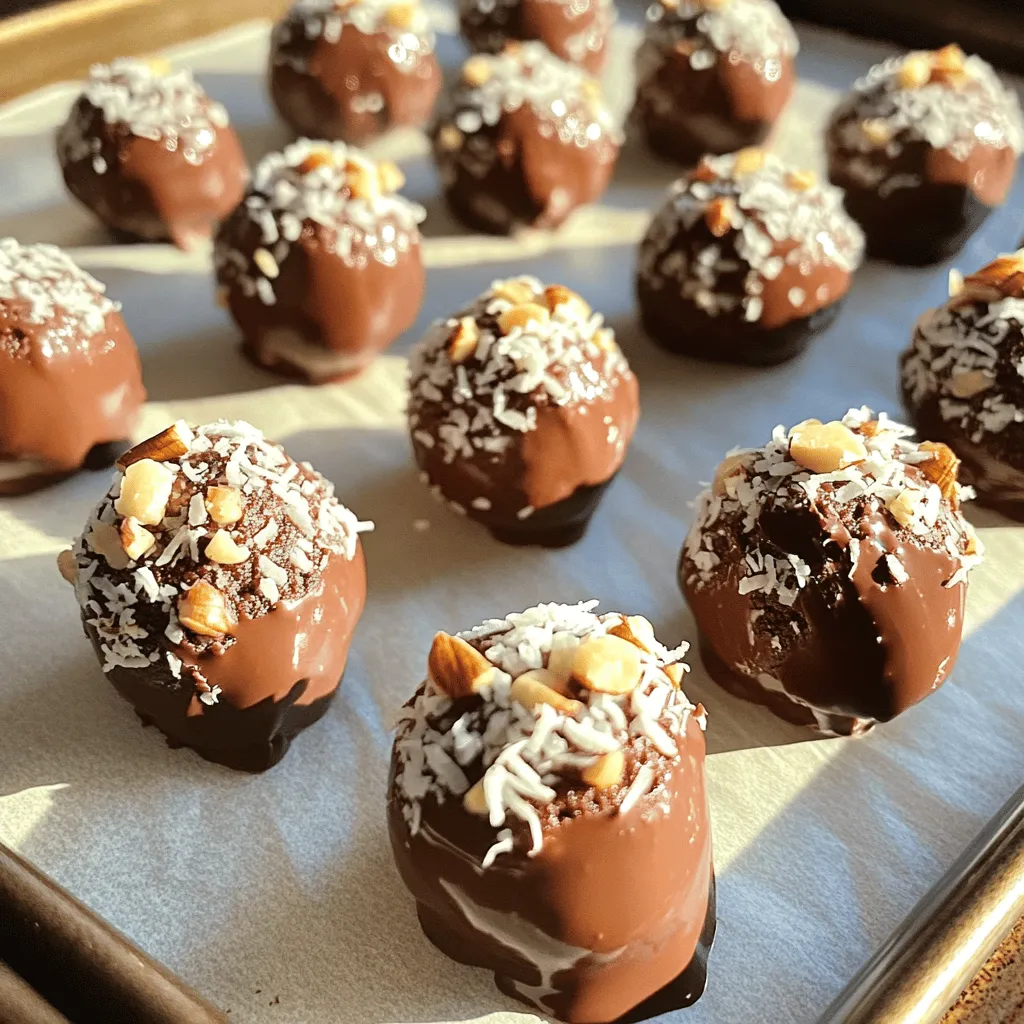
No Bake Brownie Bites Healthy Dessert Recipe
Looking for a quick and healthy treat? These No Bake Brownie Bites are your answer! Packed with wholesome ingredients like walnuts, Medjool dates, and cocoa
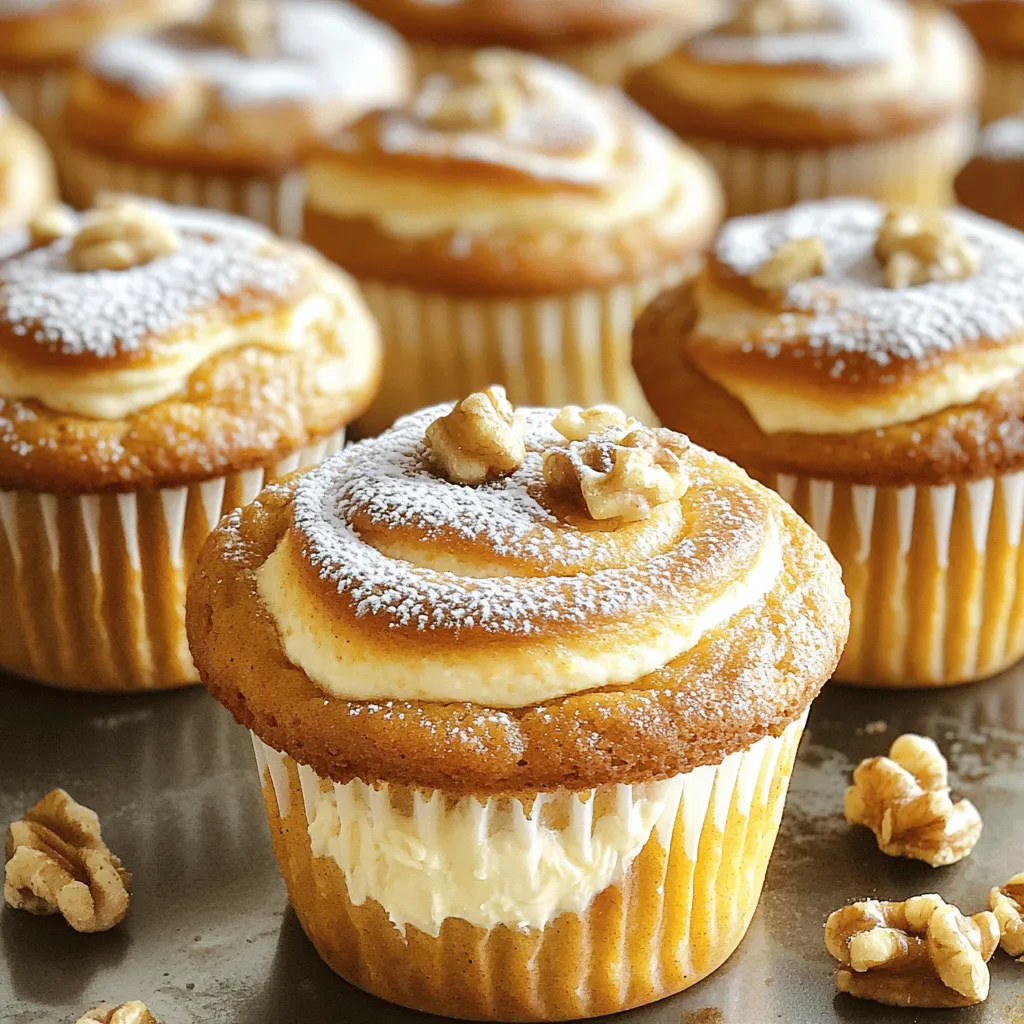
Pumpkin Cream Cheese Muffins Delightful and Easy Snack
Are you ready for a tasty treat that’s both easy to make and delightfully scrumptious? These Pumpkin Cream Cheese Muffins offer the perfect blend of
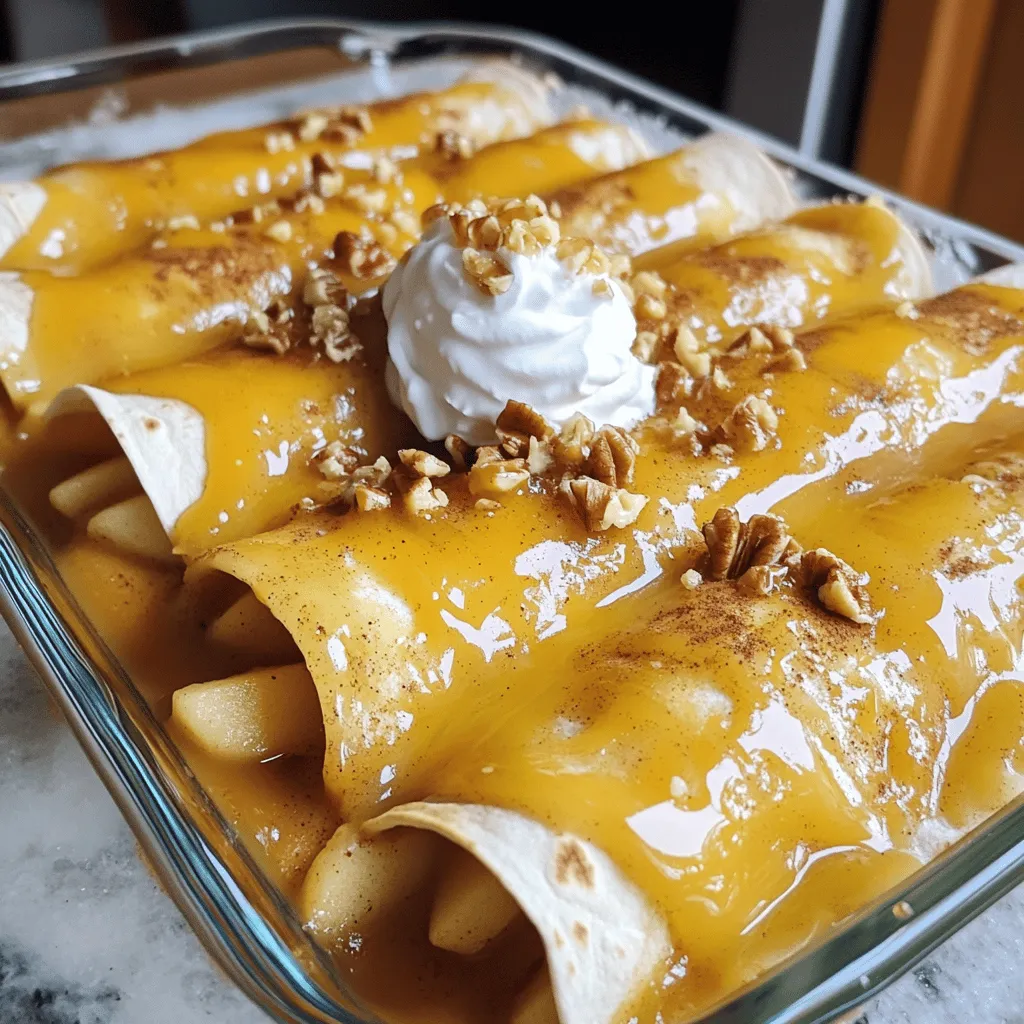
Apple Pie Enchiladas Tasty Dessert Made Easy
Craving a fun twist on classic dessert? Let me introduce you to Apple Pie Enchiladas! This tasty treat combines sweet apples with warm spices, all
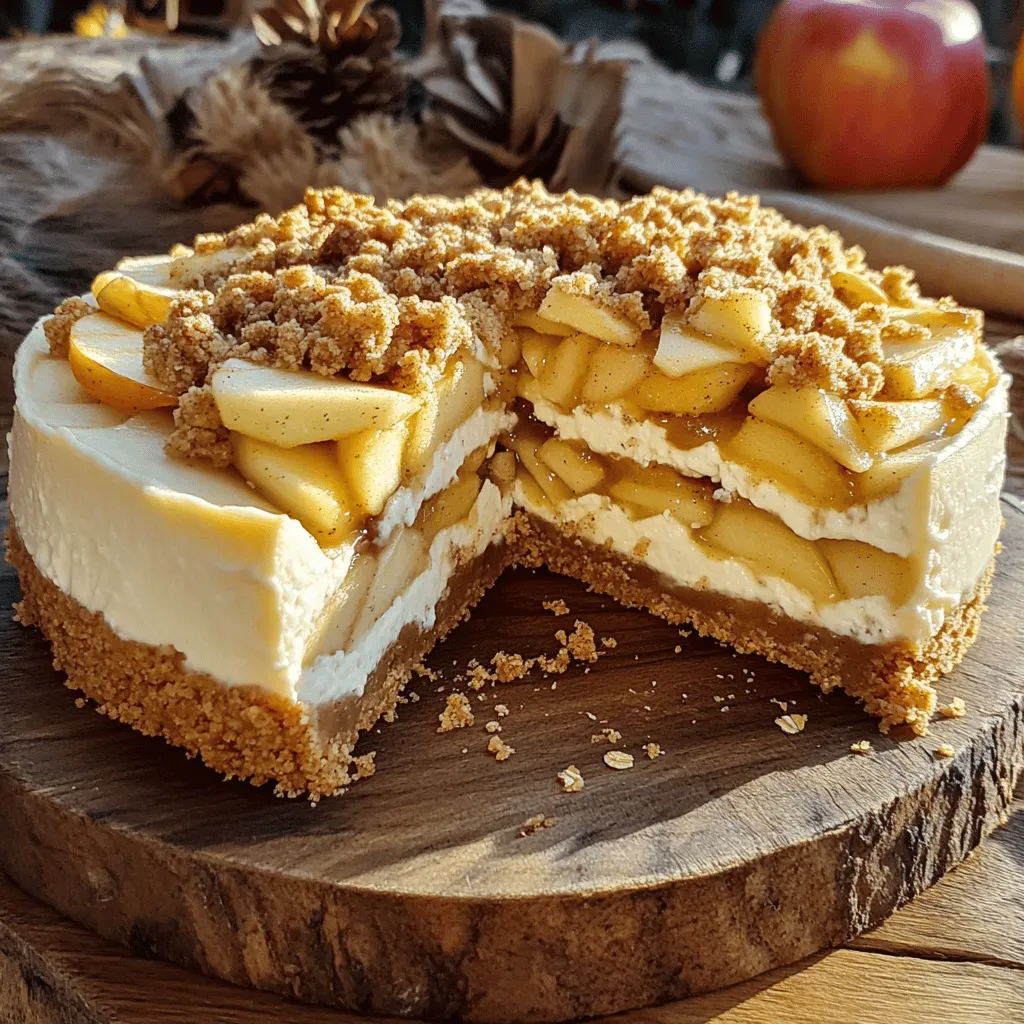
Apple Crumble Cheesecake Delightful and Easy Recipe
Are you ready to impress your family and friends with a delightful dessert? This Apple Crumble Cheesecake is the perfect blend of creamy cheesecake and
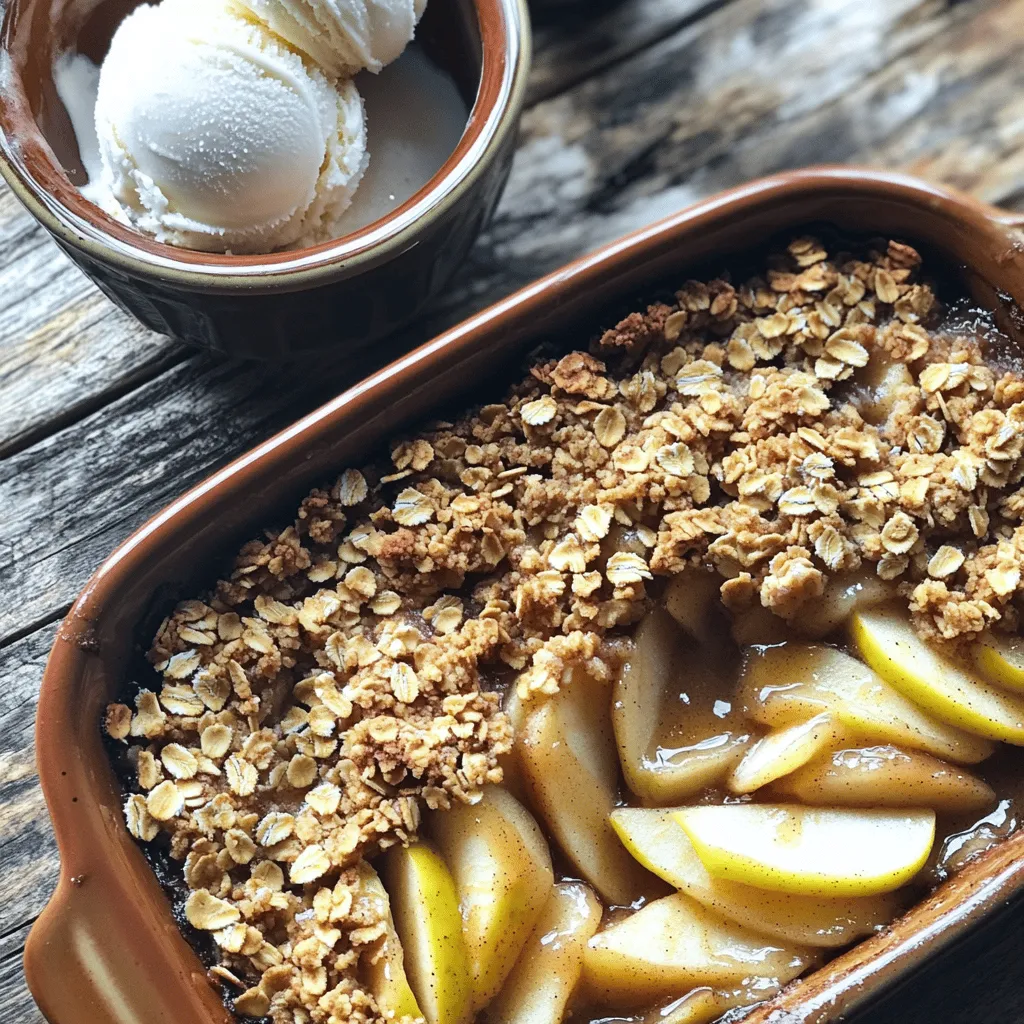
Easy Apple Crisp Family-Friendly and Simple Dessert
Craving a warm, delicious dessert that’s easy to make? Look no further! My Easy Apple Crisp recipe is the perfect family-friendly treat that everyone will
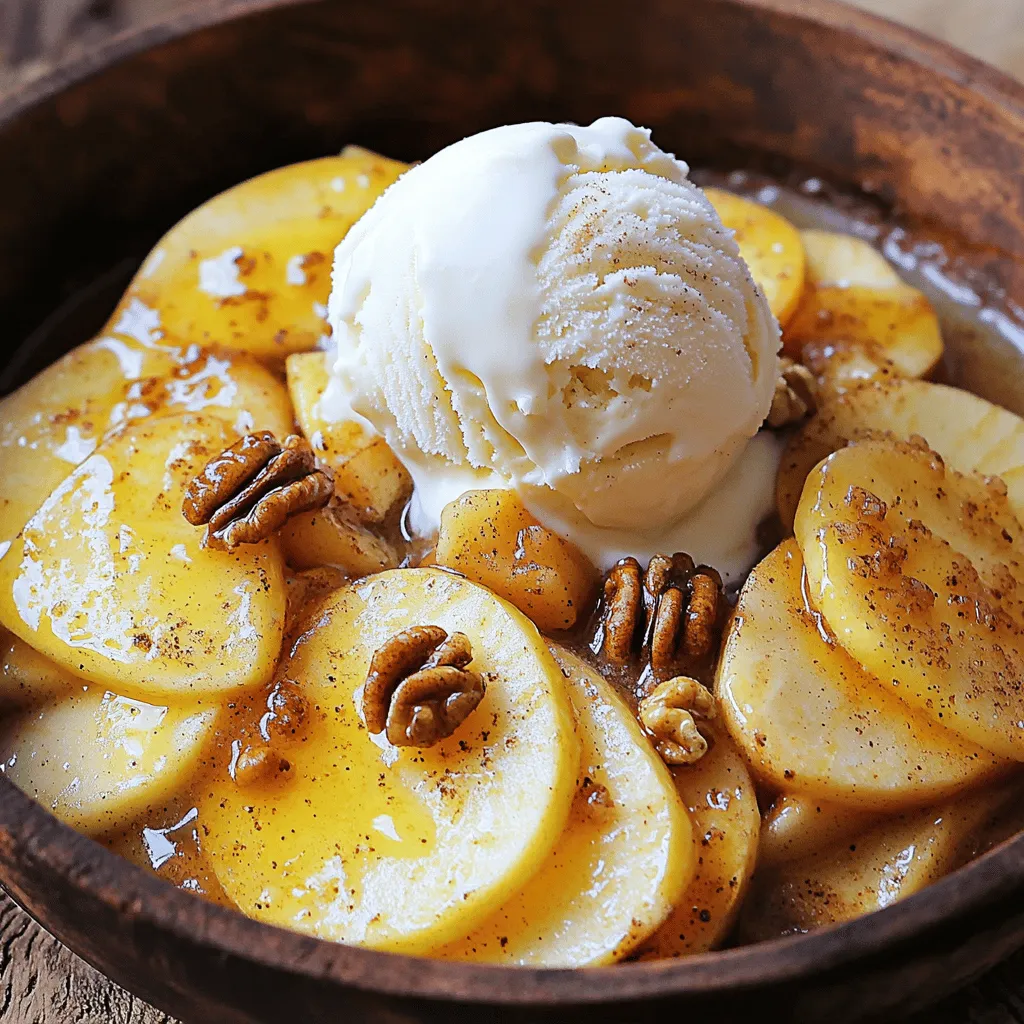
Savory Skillet Fried Apples Simple and Delicious Treat
Are you ready to enjoy a sweet treat that’s easy and fun to make? My Savory Skillet Fried Apples recipe is just what you need!