Desserts

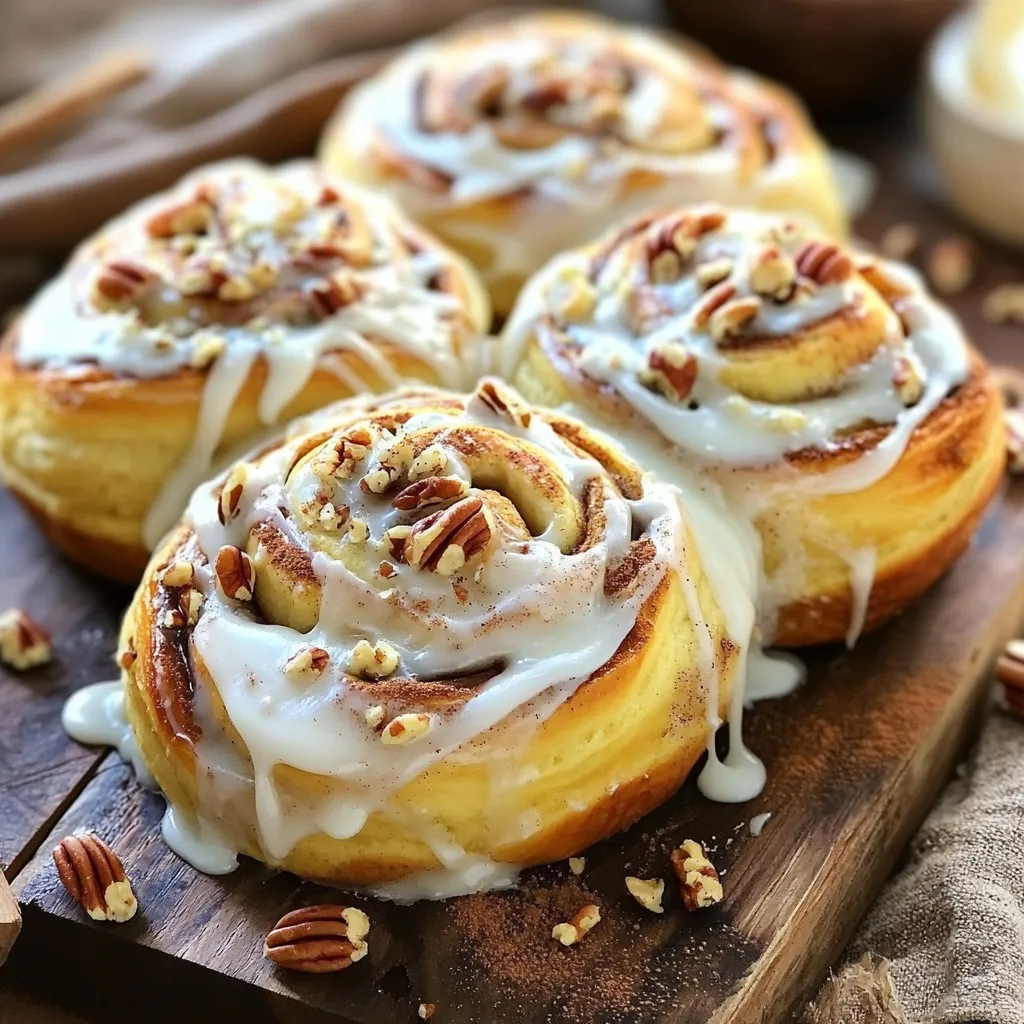
Homemade Cinnamon Rolls Flavorful and Soft Treats
Are you ready to fill your home with the inviting aroma of homemade cinnamon rolls? These flavorful and soft treats are easier to make than

Cinnamon Apple Fritters Tasty and Crunchy Treat
If you’re craving a sweet and crunchy snack, you’ll love these Cinnamon Apple Fritters! Imagine biting into a warm fritter, bursting with tender apple pieces
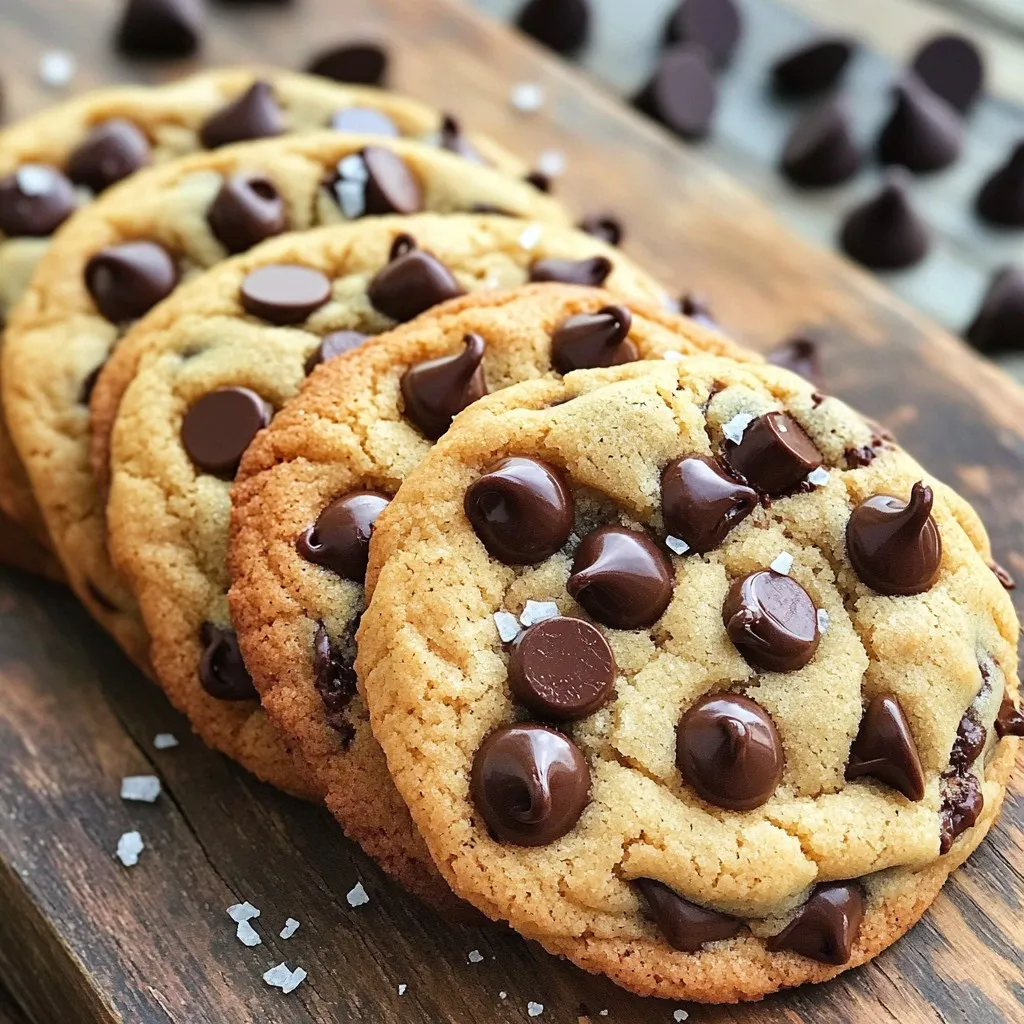
Bakery Style Thick Chocolate Chip Cookies Recipe
If you crave the thick, gooey chocolate chip cookies from your favorite bakery, you’re in the right place! In this recipe, I will show you
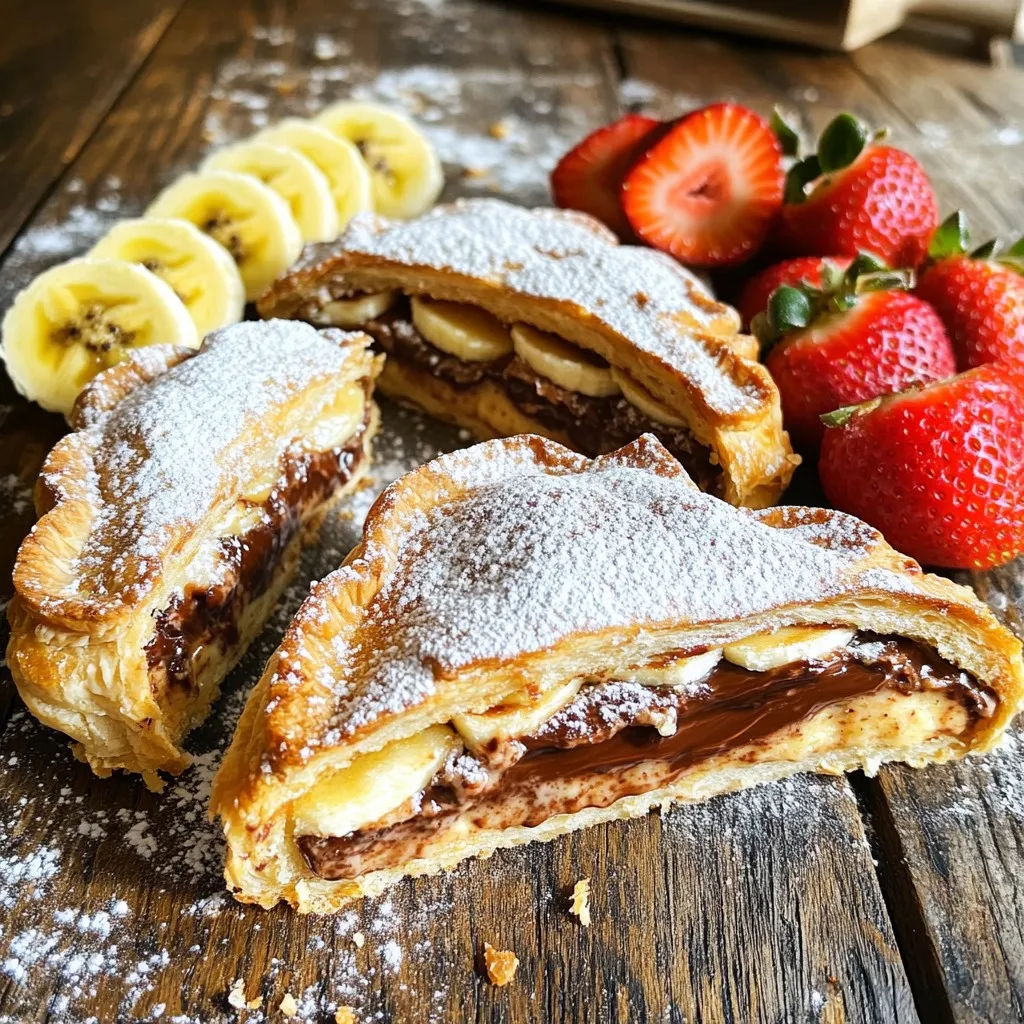
Air Fryer Nutella Toast Pies Quick and Tasty Treat
Craving a delicious, quick treat? You’ll love these Air Fryer Nutella Toast Pies! With just a few simple ingredients, including thick bread, creamy Nutella, and
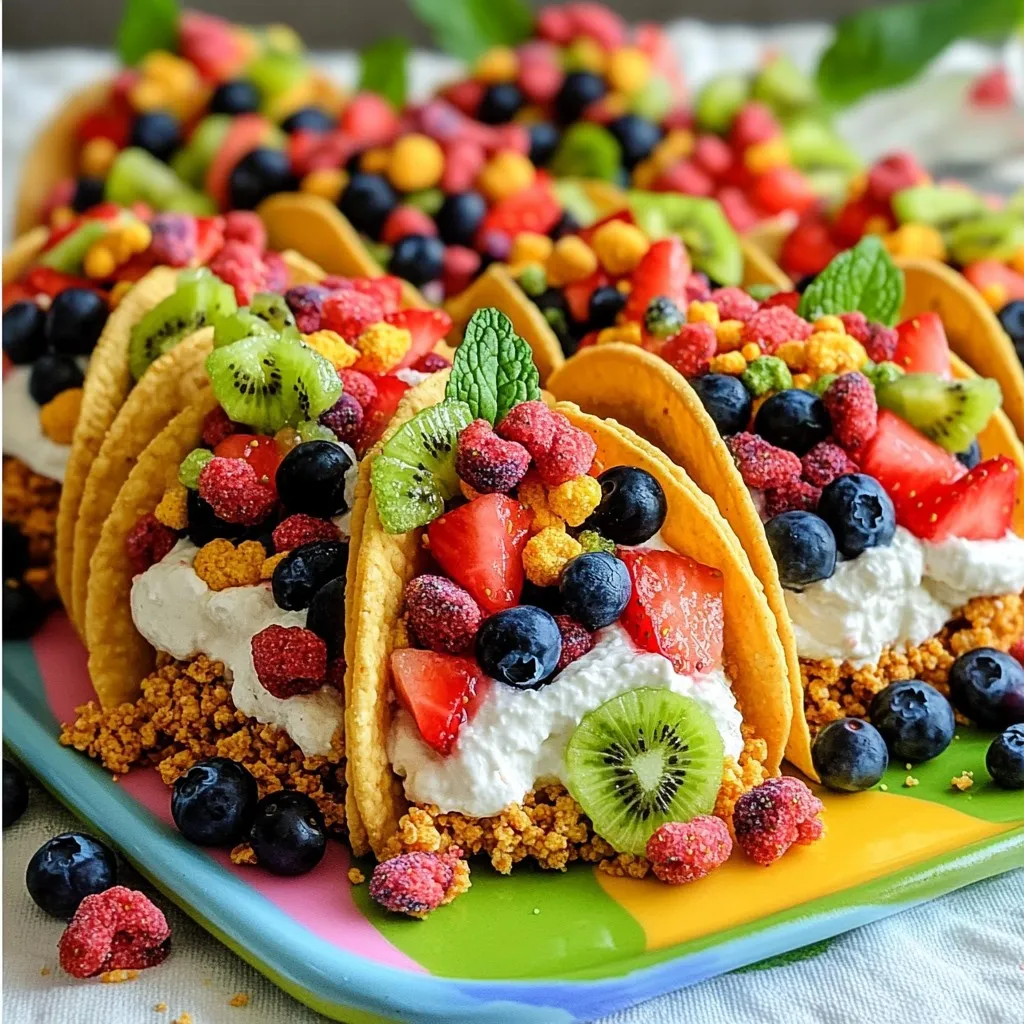
Fruity Pebbles Cheesecake Tacos Simple Dessert Delight
Craving a fun dessert that brings together the best of both worlds? Look no further! Fruity Pebbles Cheesecake Tacos are a tasty twist on classic
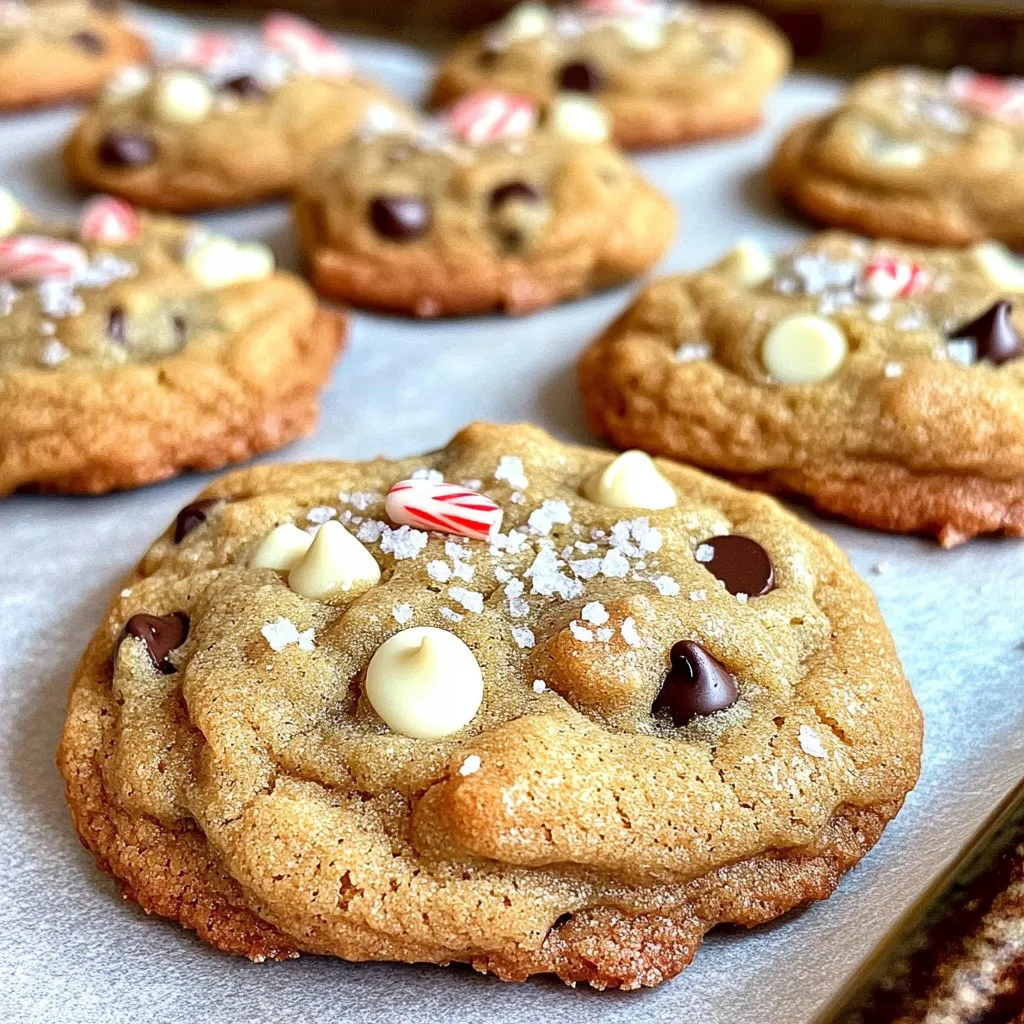
Winter Wonderland Chocolate Chip Cookies Delight
Get ready to indulge in the ultimate winter treat: Winter Wonderland Chocolate Chip Cookies! These cookies blend rich chocolate with sweet peppermint for a delightful
Ultimate Cinnamon Rolls Irresistible and Soft Treat
If you crave warm, soft cinnamon rolls, you’re in the right place! In this guide, I’ll show you how to make the ultimate cinnamon rolls
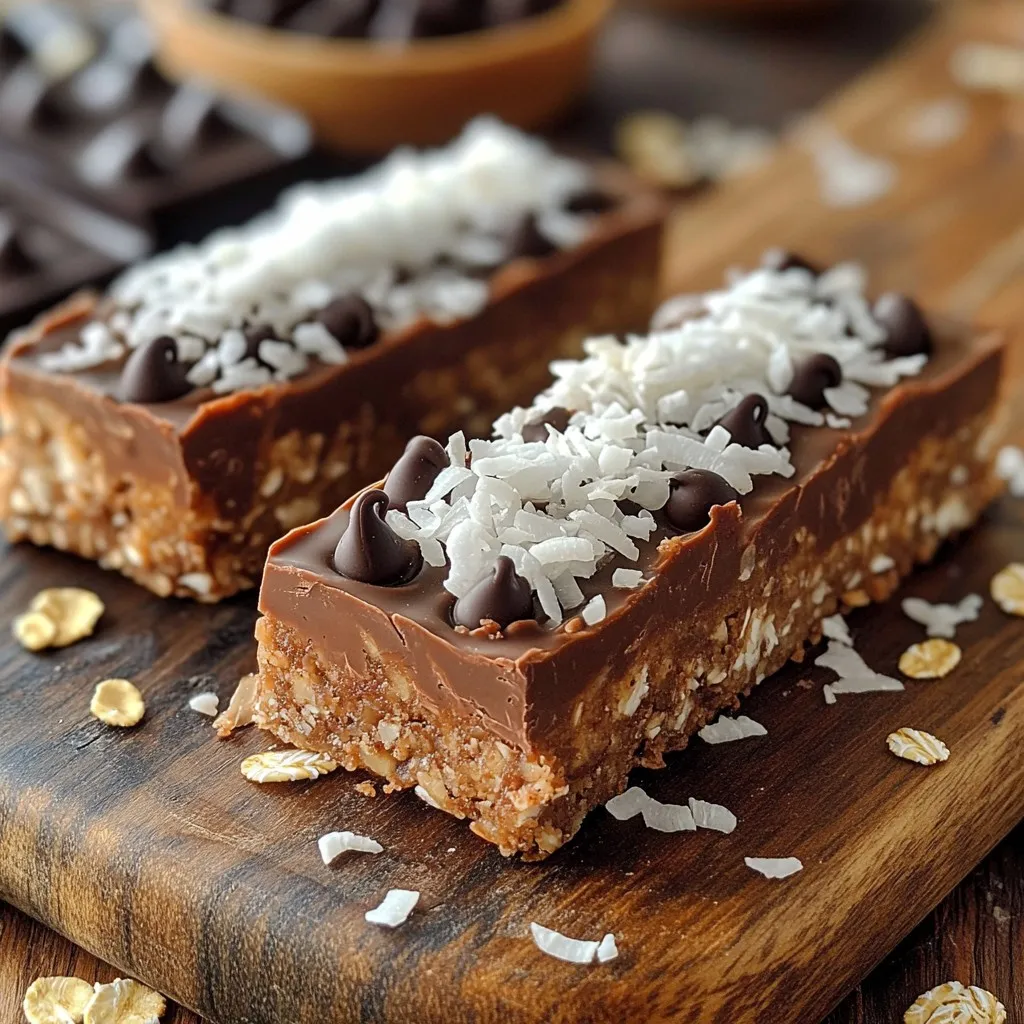
No-Bake Chocolate Coconut Energy Bars Easy Recipe
Looking for a quick and healthy snack? These No-Bake Chocolate Coconut Energy Bars are just what you need! They’re simple to make and pack a
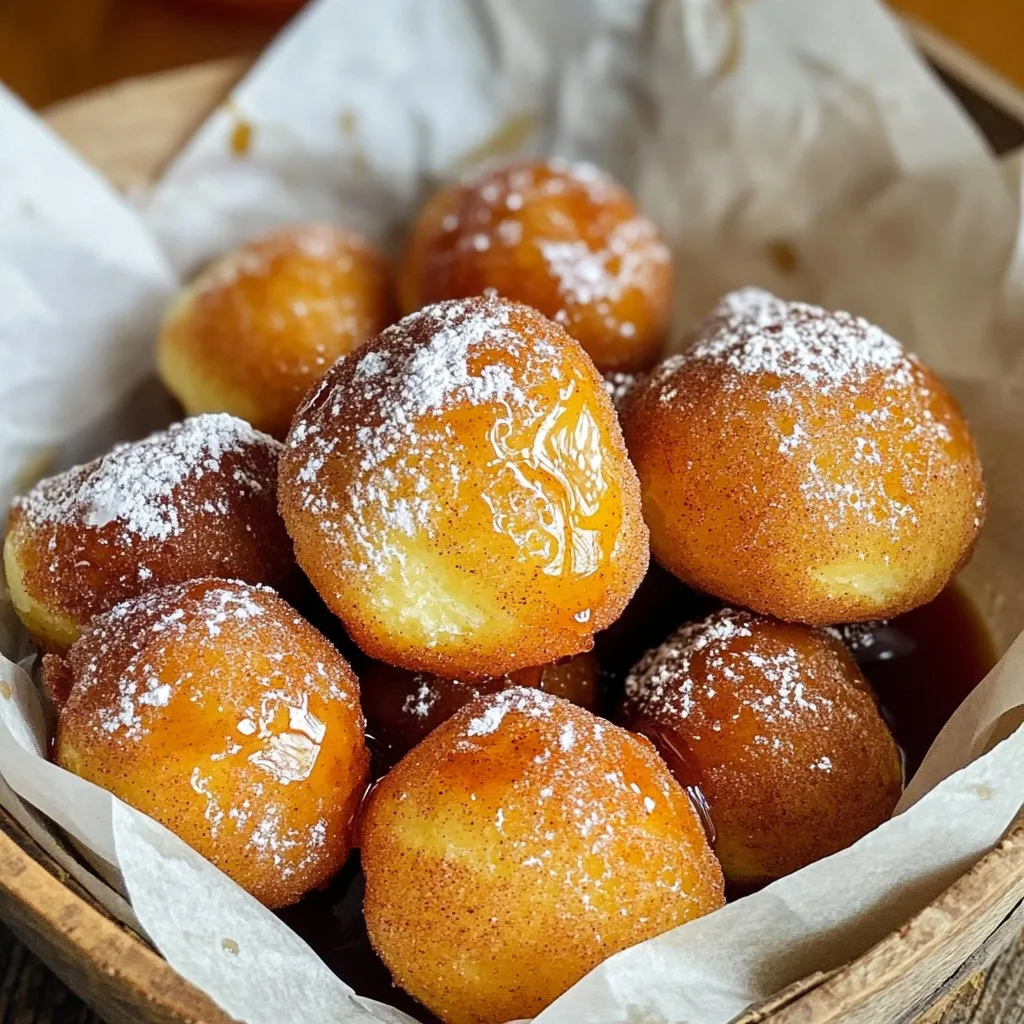
Air Fryer Maple Cinnamon Donut Holes Delight
Love donut holes but want a healthier twist? You’re in for a treat with my Air Fryer Maple Cinnamon Donut Holes! These bite-sized wonders are
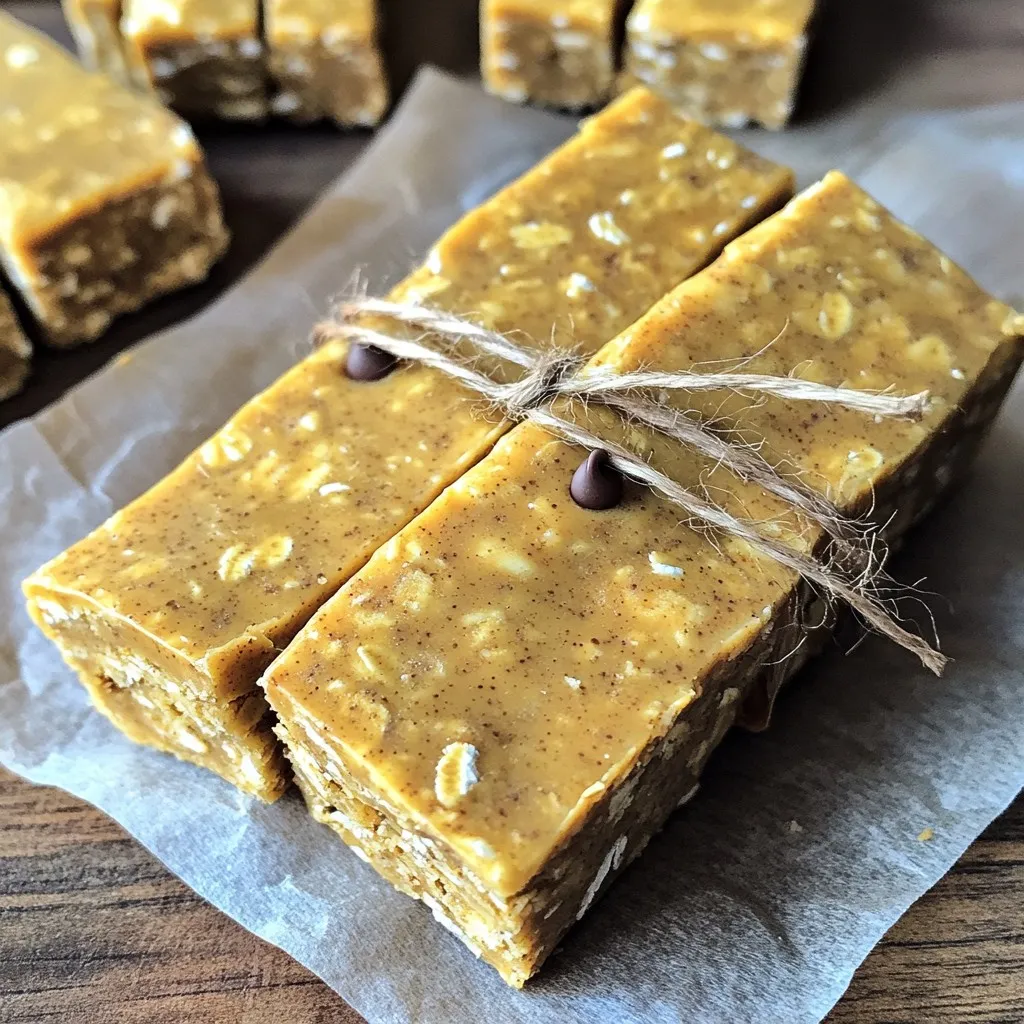
No-Bake Peanut Butter Oat Protein Bars Easy Recipe
Looking for a quick and healthy snack? I’ve got just the thing for you: No-Bake Peanut Butter Oat Protein Bars! This easy recipe combines simple,