Breakfast
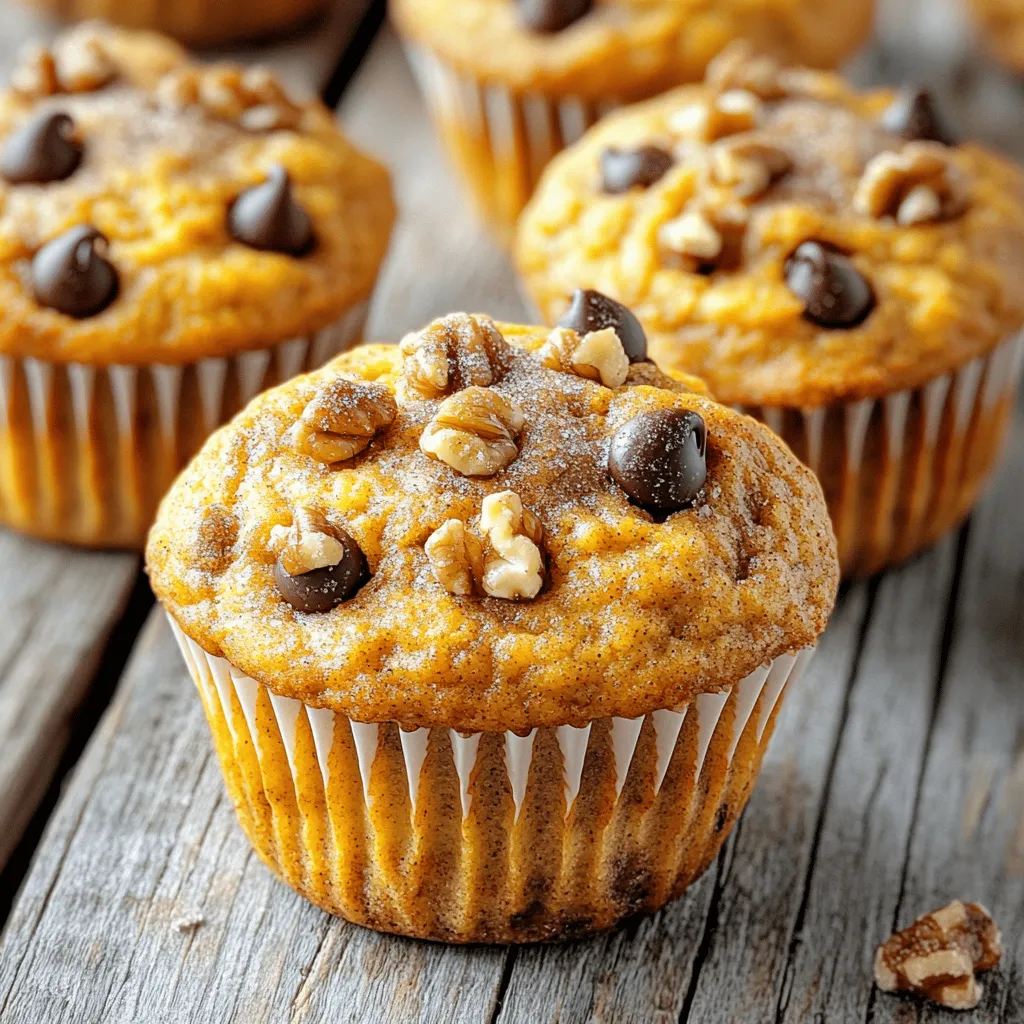
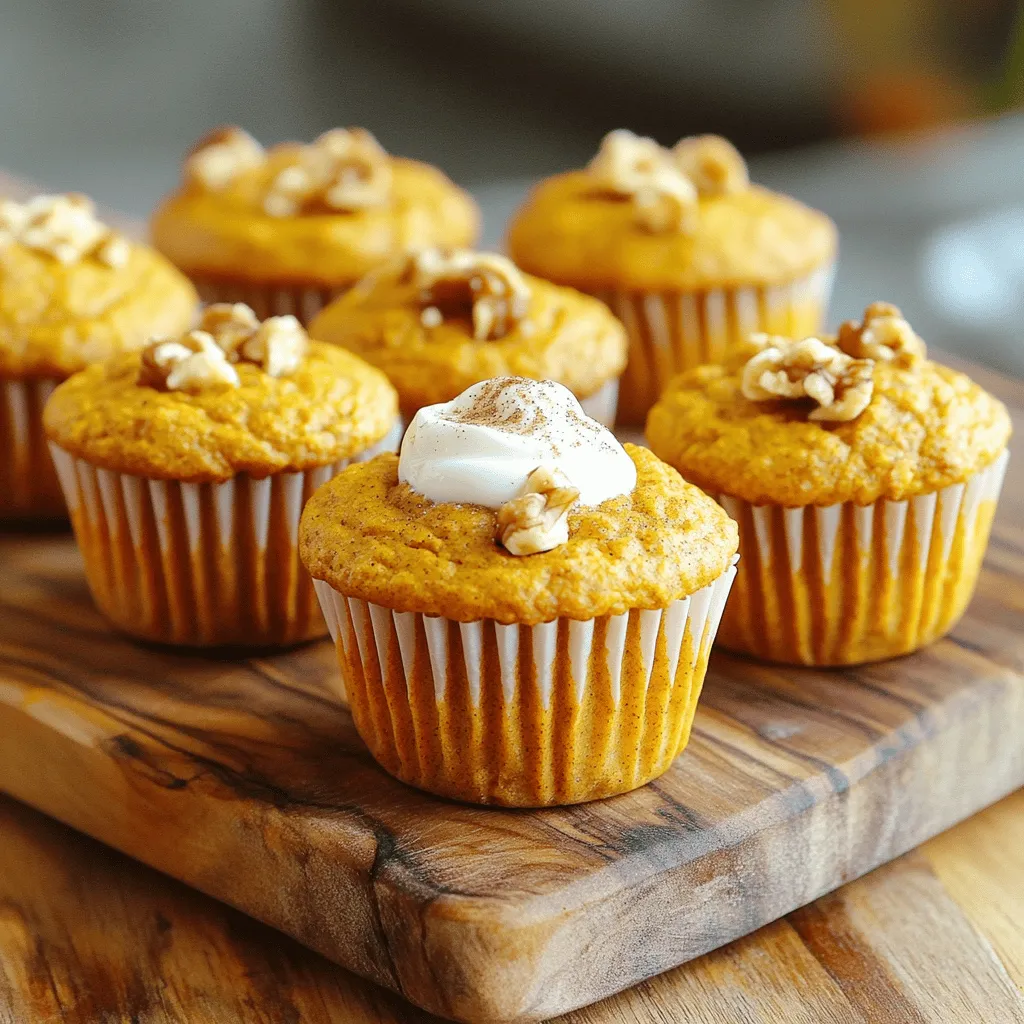
Pumpkin Spice Cottage Cheese Muffins Easy Recipe
If you love fall flavors, you’ll adore these Pumpkin Spice Cottage Cheese Muffins. This easy recipe blends creamy cottage cheese with pumpkin puree for moisture
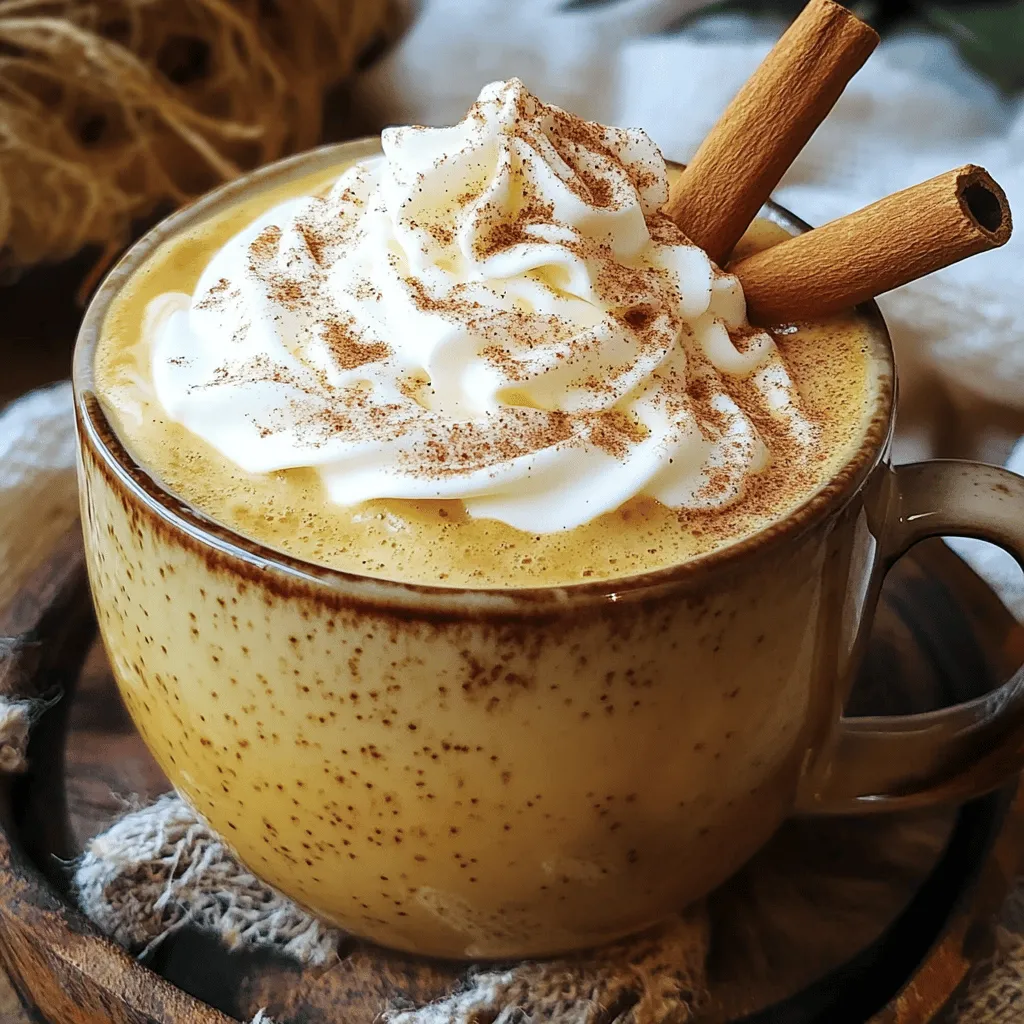
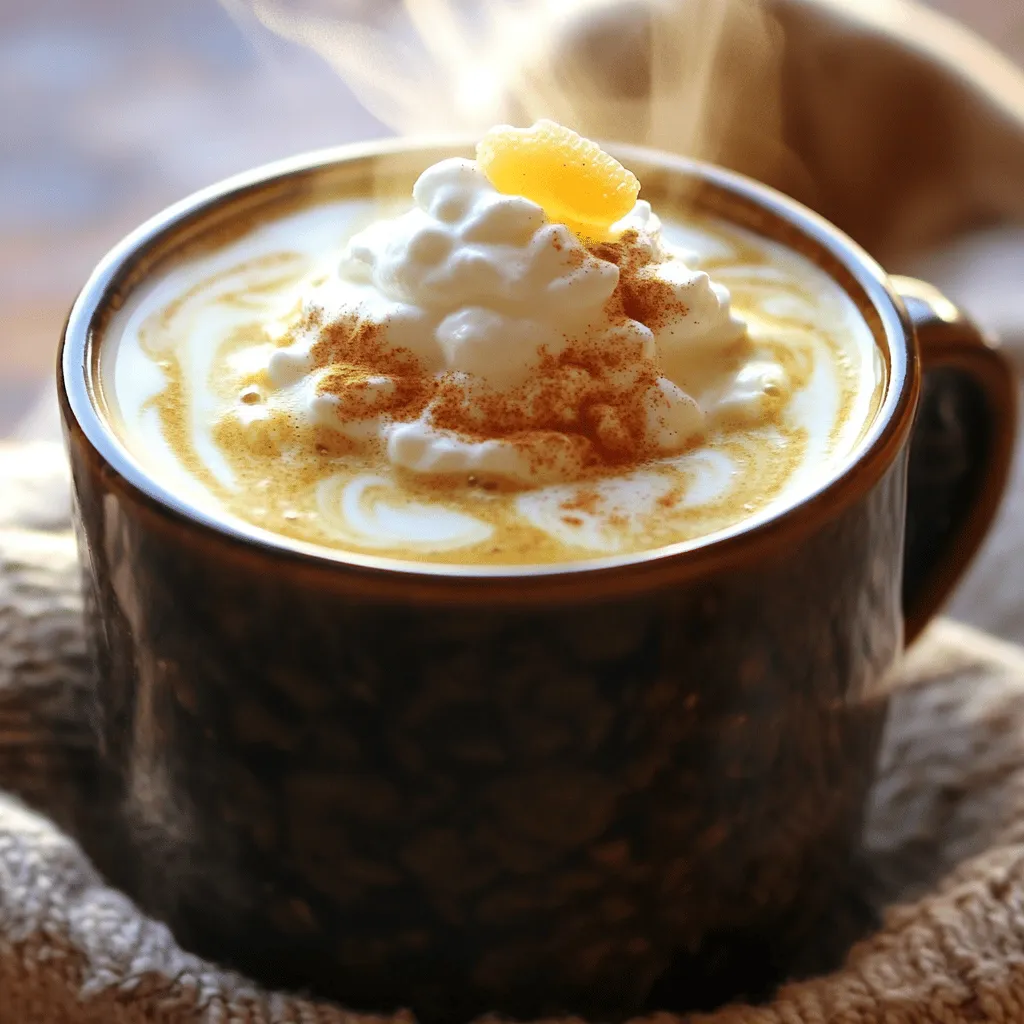
Homemade Cinnamon Dolce Latte Delightful Coffee Treat
Are you ready to savor a delicious Homemade Cinnamon Dolce Latte? This delightful coffee treat warms your soul and fills your home with cozy scents.
Iced Pumpkin Cream Chai Latte Flavorful Autumn Sip
Autumn is here, and so is the time for cozy drinks! The Iced Pumpkin Cream Chai Latte blends warming spices with smooth pumpkin cream for
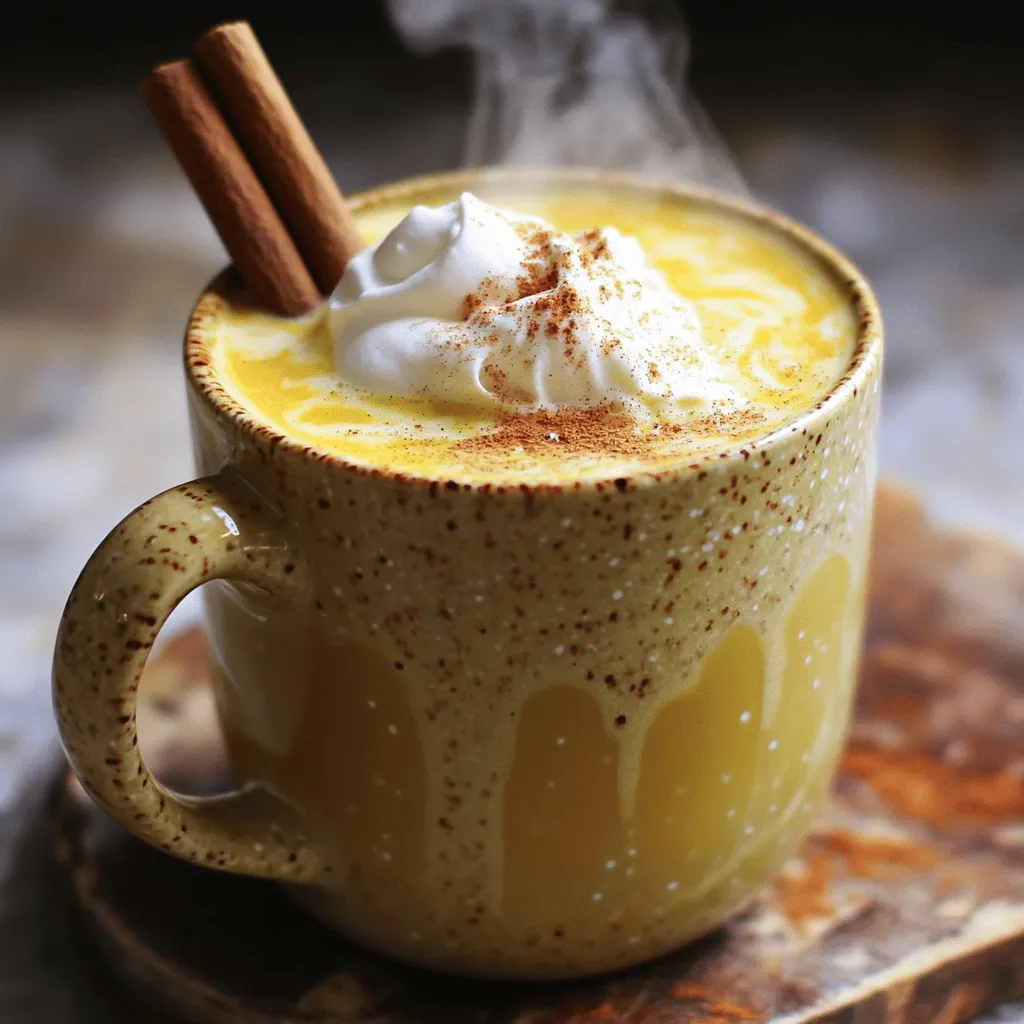
Pumpkin Spice Milk Creamy and Cozy Fall Delight
Fall is here, and that means it’s time for cozy treats! If you’re craving something warm and comforting, Pumpkin Spice Milk is your answer. This
Pumpkin Protein Muffins Healthy and Simple Snack
Looking for a healthy snack that fills you up and tastes great? Try my Pumpkin Protein Muffins! They’re not just super easy to make, but
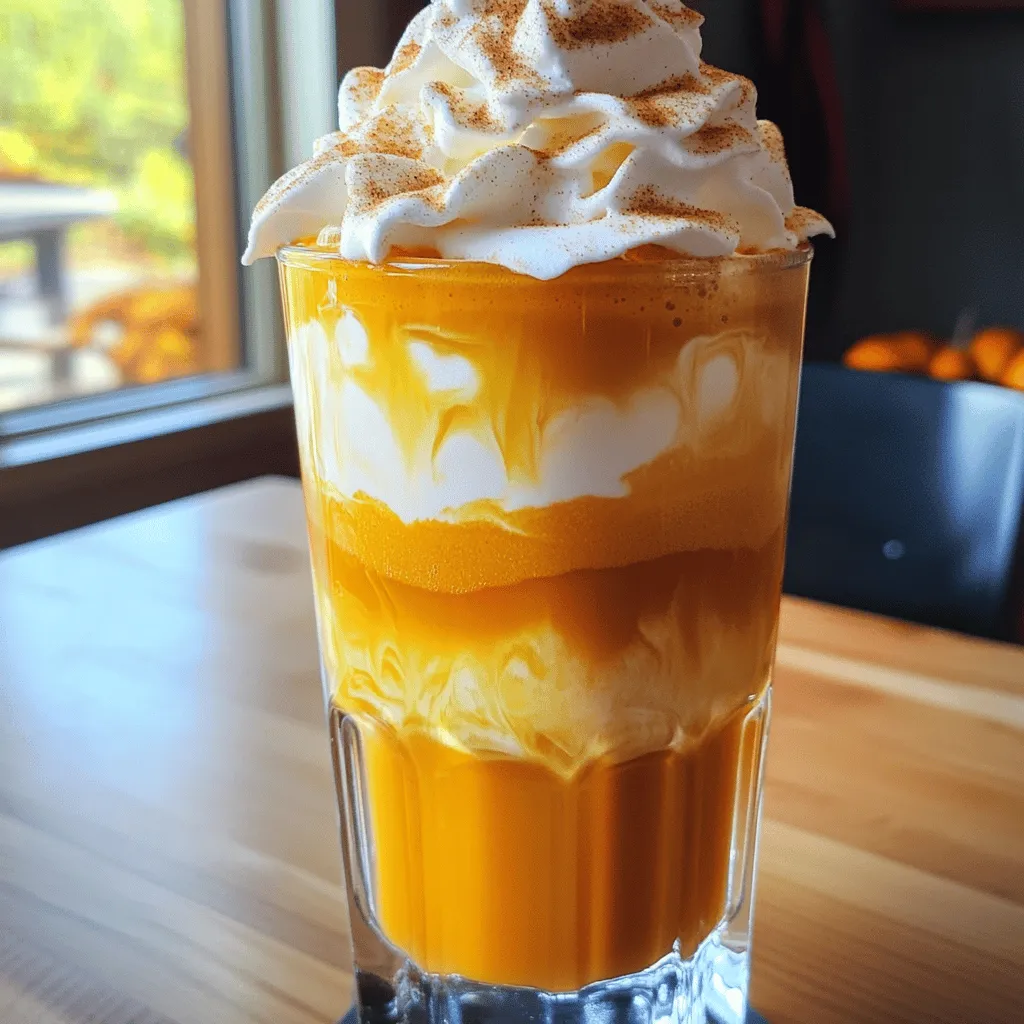
![To make a delightful Iced Pumpkin Cream Chai Tea, you will need: - 2 chai tea bags - 2 cups boiling water - 1 cup pumpkin puree - 1 cup milk (dairy or non-dairy) - 1/4 cup maple syrup (adjust to taste) - 1 tsp vanilla extract - 1/2 tsp pumpkin spice mix - Ice cubes - Whipped cream (for topping) - Cinnamon stick (for garnish, optional) These ingredients blend together to create a creamy, spiced drink that captures the essence of fall. You can elevate your drink with some tasty extras. Consider these options: - A sprinkle of nutmeg for more spice - A drizzle of caramel sauce for sweetness - Chocolate shavings for a rich twist - A dash of cayenne for heat These add-ins can personalize your chai tea, making it uniquely yours. Using high-quality ingredients makes a big difference. Here are some brands I trust: - Chai Tea: Look for brands like Tazo or Stash for robust flavors. - Pumpkin Puree: Libby’s is a classic choice for rich pumpkin taste. - Maple Syrup: Try Grade A maple syrup from Maple Grove Farms for a pure touch. - Milk: For dairy-free, choose Silk or Almond Breeze for creamy options. These brands ensure your iced pumpkin cream chai tea tastes great and feels special. For the full recipe, check [Full Recipe]. To start, you need to brew the chai tea. Boil 2 cups of water. Once it’s boiling, add 2 chai tea bags. Let them steep for about 5 minutes. This allows the tea to become strong and flavorful. After brewing, remove the tea bags. Set the tea aside to cool completely. Cooling is important to avoid melting the ice too quickly later. Next, we’ll blend the pumpkin cream mixture. In a bowl, add 1 cup of pumpkin puree. Pour in 1 cup of milk, which can be dairy or non-dairy. Then, add 1/4 cup of maple syrup. You can adjust this amount based on your taste. Also, include 1 tsp of vanilla extract and 1/2 tsp of pumpkin spice mix. Use a whisk to mix everything until it’s smooth. This blend will give your drink a rich and creamy texture. Now, it’s time to put the drink together. Grab a tall glass and fill it with ice cubes. Pour the cooled chai tea over the ice, filling the glass halfway. Next, gently pour the pumpkin cream mixture on top. This will create a beautiful layered look. For the finishing touch, add whipped cream on top and sprinkle with a pinch of cinnamon. If you like, you can also add a cinnamon stick for garnish. Stir gently before drinking to mix the flavors. Enjoy your Iced Pumpkin Cream Chai Tea! If you want to see the full recipe, check the section above. To get that smooth and creamy texture, whisk the pumpkin puree and milk well. This helps blend the flavors nicely. If you want it even creamier, try using full-fat coconut milk or heavy cream. These options add richness to your drink. Always mix until there are no lumps. This will ensure a delightful sip every time. Sweetness is key in this drink. Start with the 1/4 cup of maple syrup. Then, taste it. If you like it sweeter, add more syrup little by little. You can also swap maple syrup for honey or agave. These sweeteners can change the flavor a bit, so have fun experimenting. Just remember, you want the pumpkin and spices to shine through. Chilling your chai tea is important for the best flavor. After brewing the tea, let it cool at room temperature. Then, place it in the fridge for about 30 minutes. This will enhance the taste and keep your drink cold. For the best experience, serve it over fresh ice cubes. The cold temperature makes every sip refreshing and perfect for fall. Explore the [Full Recipe] for more details on making this tasty drink! {{image_2}} You can easily make this drink dairy-free. Just swap regular milk for almond, soy, or oat milk. Each option adds its own twist. Almond milk gives a nutty taste, while oat milk is creamier. For a vegan version, use maple syrup instead of honey. This way, everyone can enjoy this fall treat! Want to spice things up? Add a splash of caramel syrup for sweetness. You can also mix in a little nutmeg or ginger. These flavors pair well with pumpkin. Try using flavored chai tea, like vanilla or spiced chai. This will make your drink unique and tasty. If you prefer a warm drink, you can make a hot version. Just skip the ice and use hot chai tea. Mix your pumpkin cream as usual but heat it gently. Pour it into your favorite mug. Top with whipped cream and a sprinkle of cinnamon for that cozy feel. This hot drink is perfect for chilly days. For the full recipe, check out the section above! To store any leftover pumpkin cream, put it in an airtight container. This keeps it fresh. Place it in the fridge. Use it within three days for the best taste. If you want to save it longer, freeze it in small portions. Thaw it in the fridge when you want to use it again. If you have leftover chai tea, you can reheat it easily. Pour the tea into a small pot. Heat it on low until warm. Stir it gently to keep it smooth. You can also use the microwave. Heat it in short bursts of 30 seconds. Check it often to avoid burning. The shelf life of your pumpkin cream is about three to five days in the fridge. Always check for any off smells or changes in color. The chai tea can last up to a week if stored well. Keep it in a sealed container. For the best flavor, enjoy your iced pumpkin cream chai tea fresh. For full details on making this drink, check the full recipe. Yes, you can use different types of tea. While chai tea gives a warm spice, other teas work too. You might try black tea for a bold taste or green tea for a lighter flavor. Each tea adds its own twist to the drink. Experiment with herbal teas for a caffeine-free option. Just remember, the taste will change based on your choice. Yes, you can make this recipe sugar-free. Instead of maple syrup, use a sugar substitute like stevia or monk fruit. These options add sweetness without extra calories. Just be careful with the amounts, as some are sweeter than sugar. Taste as you mix until you find your perfect balance. The ingredients in iced pumpkin cream chai tea offer many health benefits. - Chai tea contains antioxidants that can help with digestion and boost immunity. - Pumpkin puree is full of vitamins A and C, which are good for your skin and eyes. - Maple syrup has minerals like zinc and manganese and can provide energy. - Milk adds calcium for strong bones and teeth, whether dairy or non-dairy. Each sip not only tastes great but also supports your health. Enjoy this drink knowing it’s both tasty and nutritious! In this post, we explored how to make delicious Iced Pumpkin Cream Chai Tea. We covered essential ingredients and optional add-ins to suit your taste. You learned step-by-step instructions for brewing the chai and blending the cream mixture. Tips helped you achieve the perfect texture and sweetness. You also discovered variations, storage tips, and answers to common questions. By following these steps, you can enjoy this delightful drink anytime. Enjoy experimenting with flavors and making it your own.](https://therecipehatch.com/wp-content/uploads/2025/07/792728b2-ea99-4f1f-bf9a-7ae782650262.webp)
Iced Pumpkin Cream Chai Tea Delicious Fall Beverage
Fall is here, and it’s time to enjoy a refreshing Iced Pumpkin Cream Chai Tea! This drink combines warm spices and pumpkin goodness, creating the

Iced Pumpkin Spice Latte Creamy and Flavorful Drink
Are you ready to enjoy a delicious Iced Pumpkin Spice Latte? This creamy drink offers all the flavors of fall. I’ll guide you through the
Ginger Coffee Boost Your Morning Energy Drink
Looking for a boost to start your day? Ginger coffee combines the rich taste of coffee with the powerful benefits of ginger. Not only does
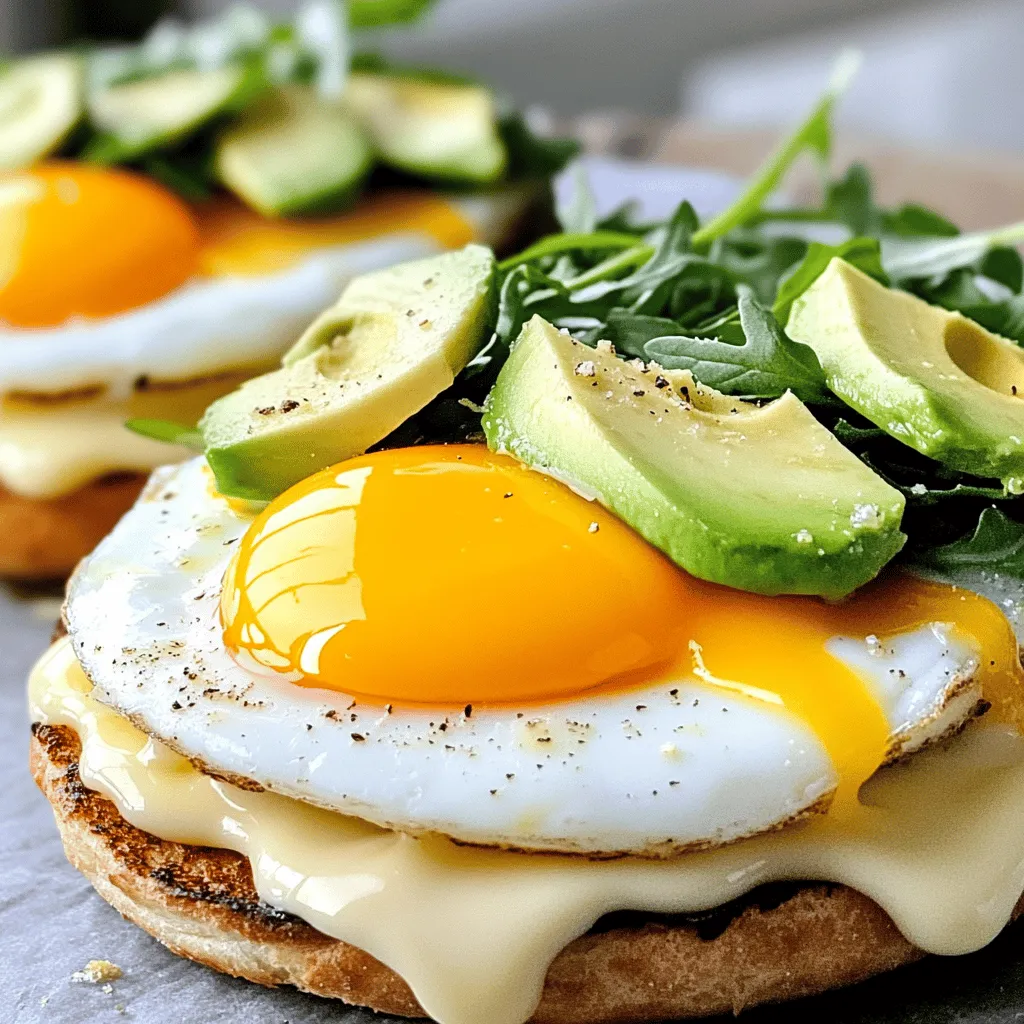
Egg and Cheese Breakfast Sandwich Easy and Tasty Meal
If you’re looking for a quick and tasty breakfast, the Egg and Cheese Breakfast Sandwich is your go-to! In this post, I’ll show you how
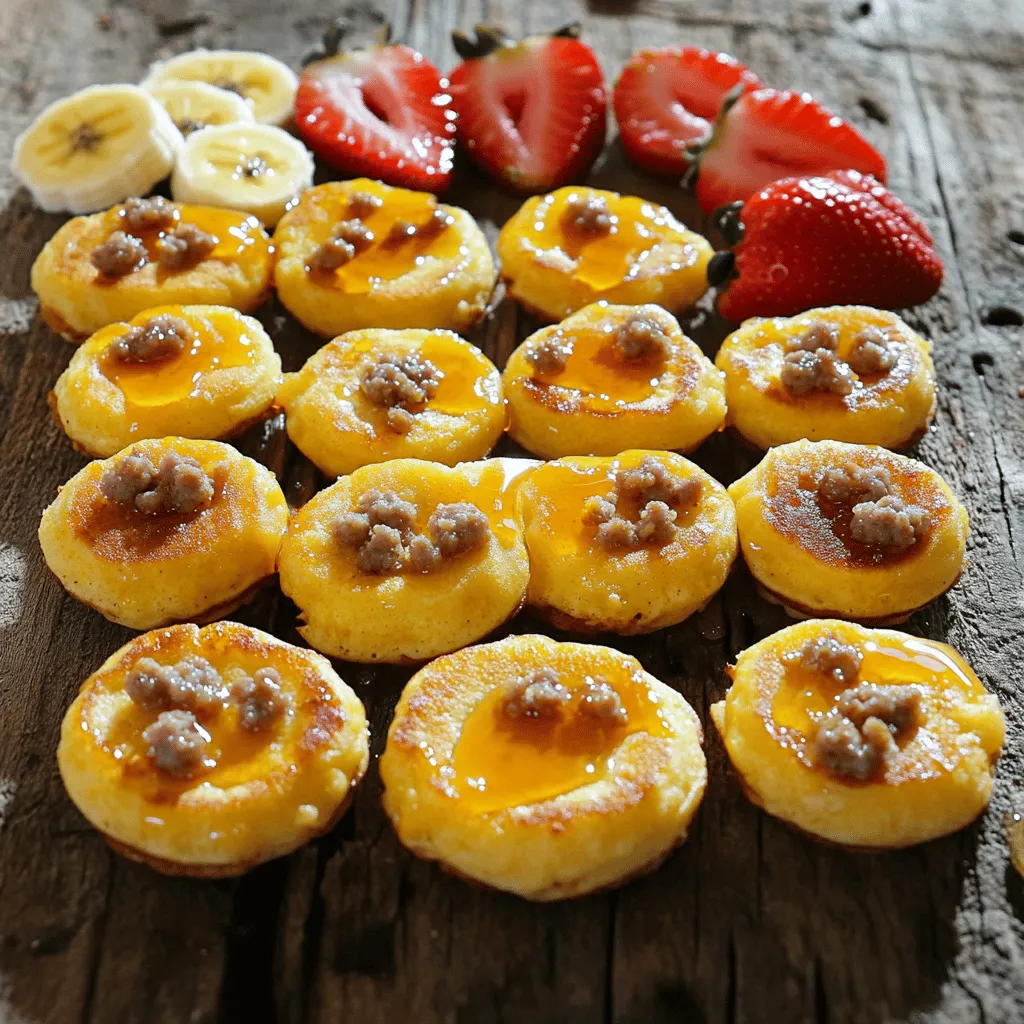
McGriddle Bites Flavorful Breakfast Delight Recipe
Are you ready to transform your breakfast game? McGriddle Bites are a tasty twist on the classic McDonald’s favorite. In this post, I’ll share a