Breakfast
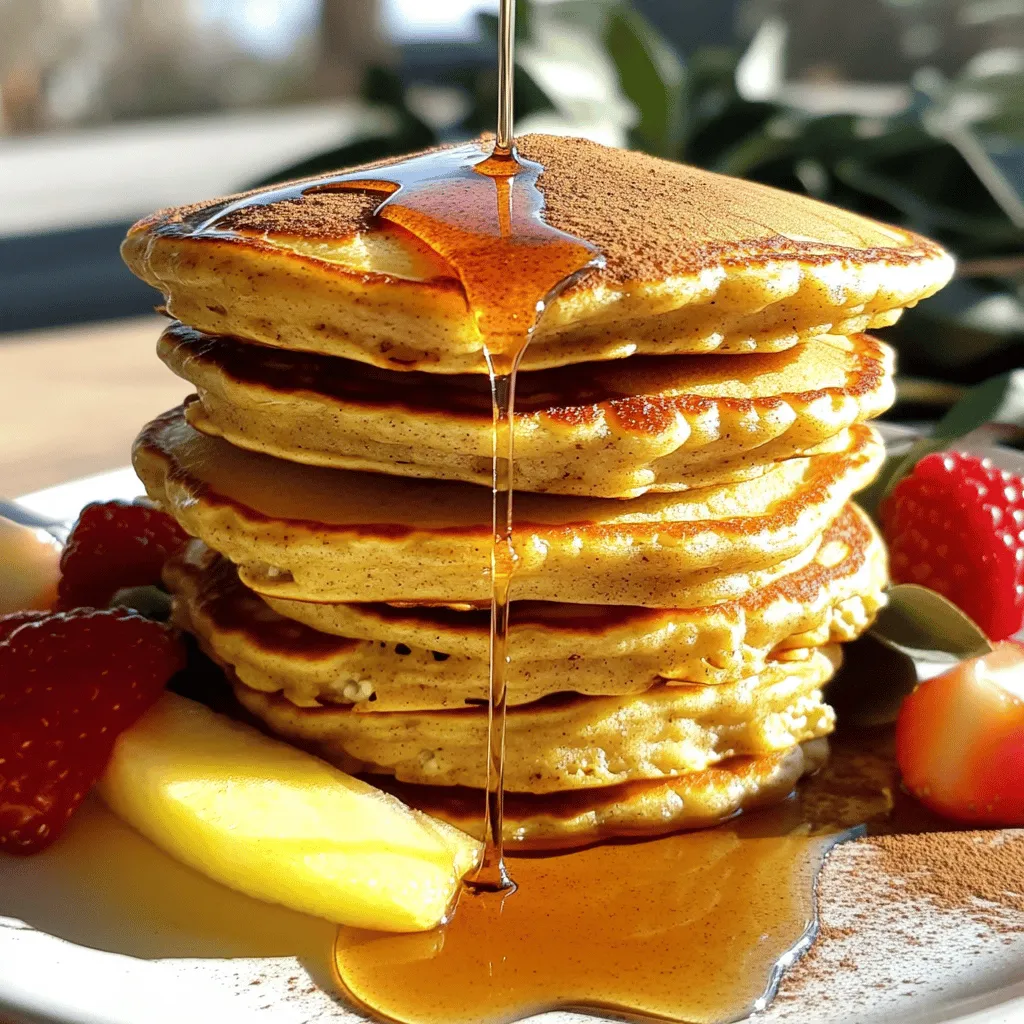
High-Protein Eggnog Cottage Cheese Pancakes Delight
Looking for a tasty way to enjoy your favorite holiday flavors? Try my High-Protein Eggnog Cottage Cheese Pancakes! Packed with protein and bursting with festive
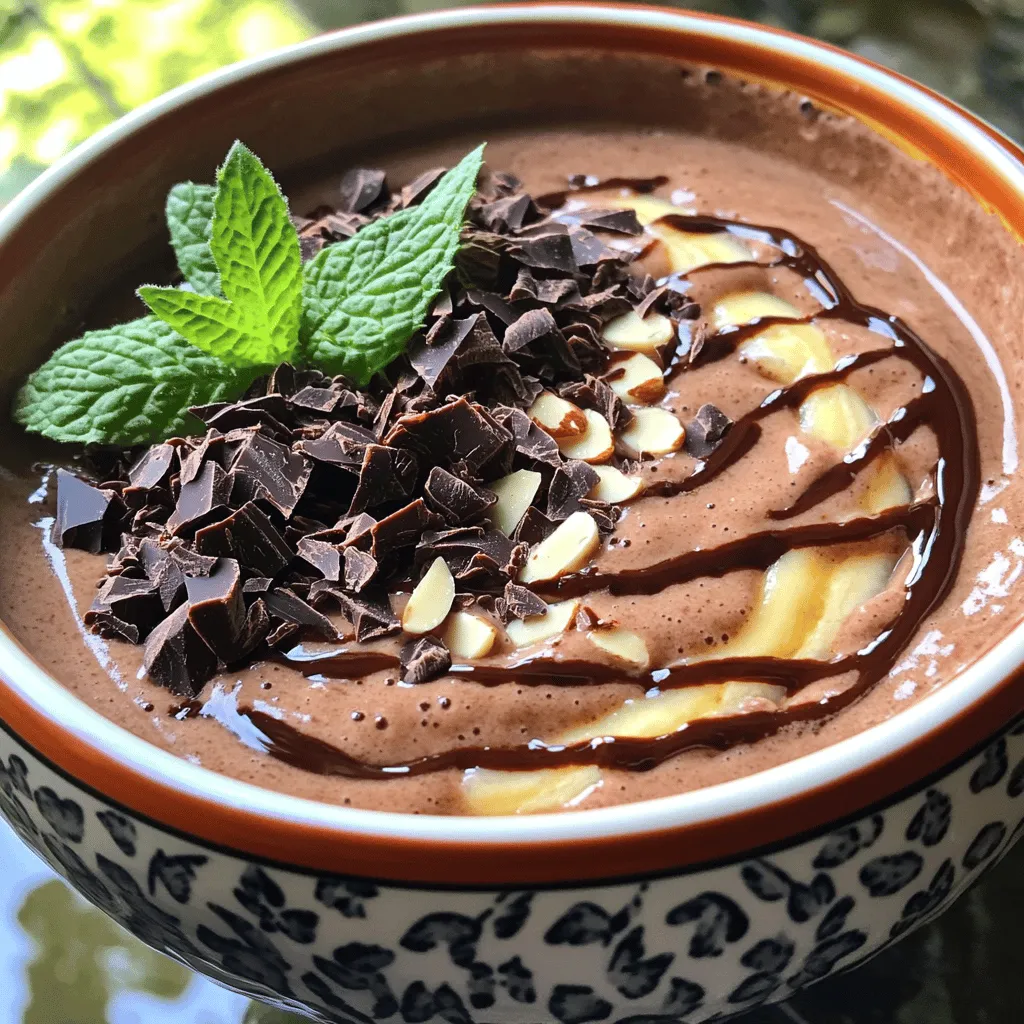
High-Protein Chocolate Peppermint Smoothie Bowl Recipe
Looking for a tasty way to boost your protein intake? Try my High-Protein Chocolate Peppermint Smoothie Bowl! It’s rich, creamy, and perfect for breakfast or
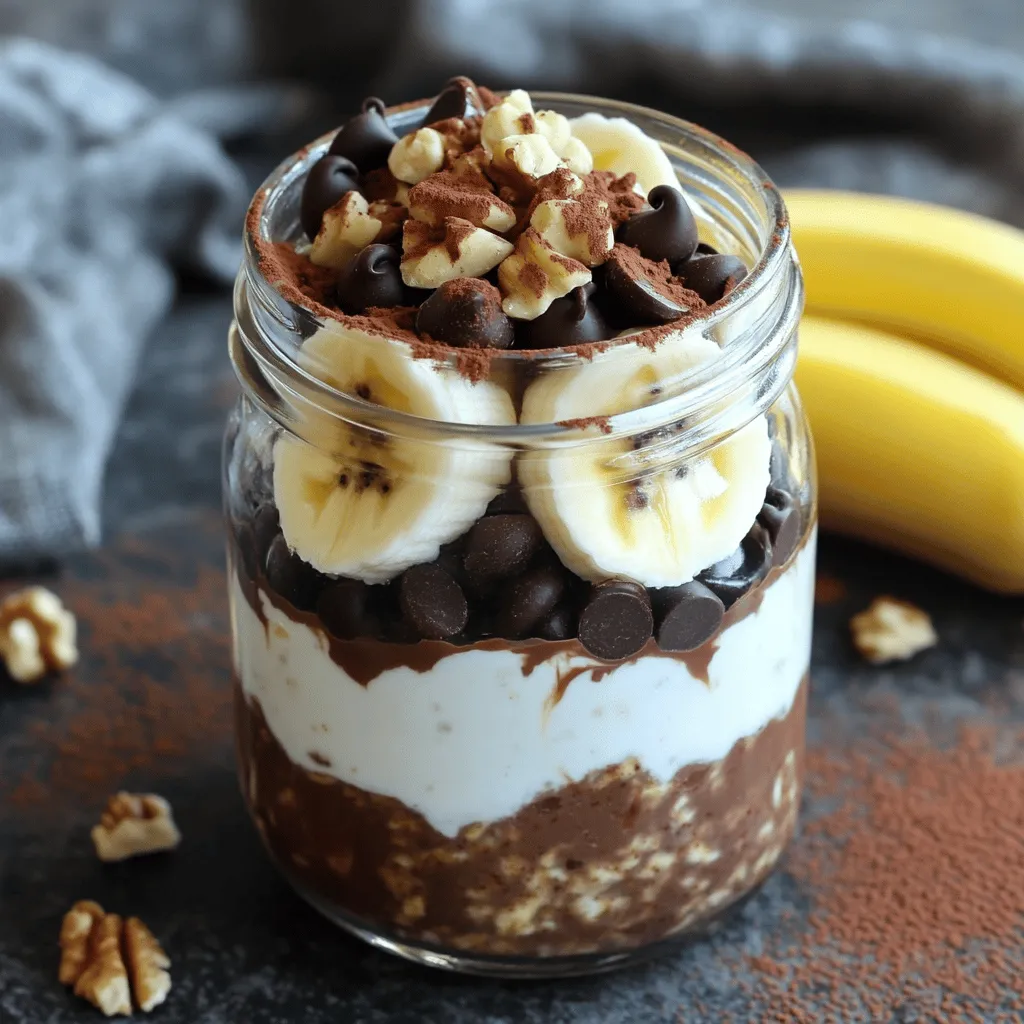
Protein Mocha Brownie Overnight Oats Delight
Start your day with a delicious twist on breakfast! These Protein Mocha Brownie Overnight Oats are not just tasty; they pack a protein punch too.
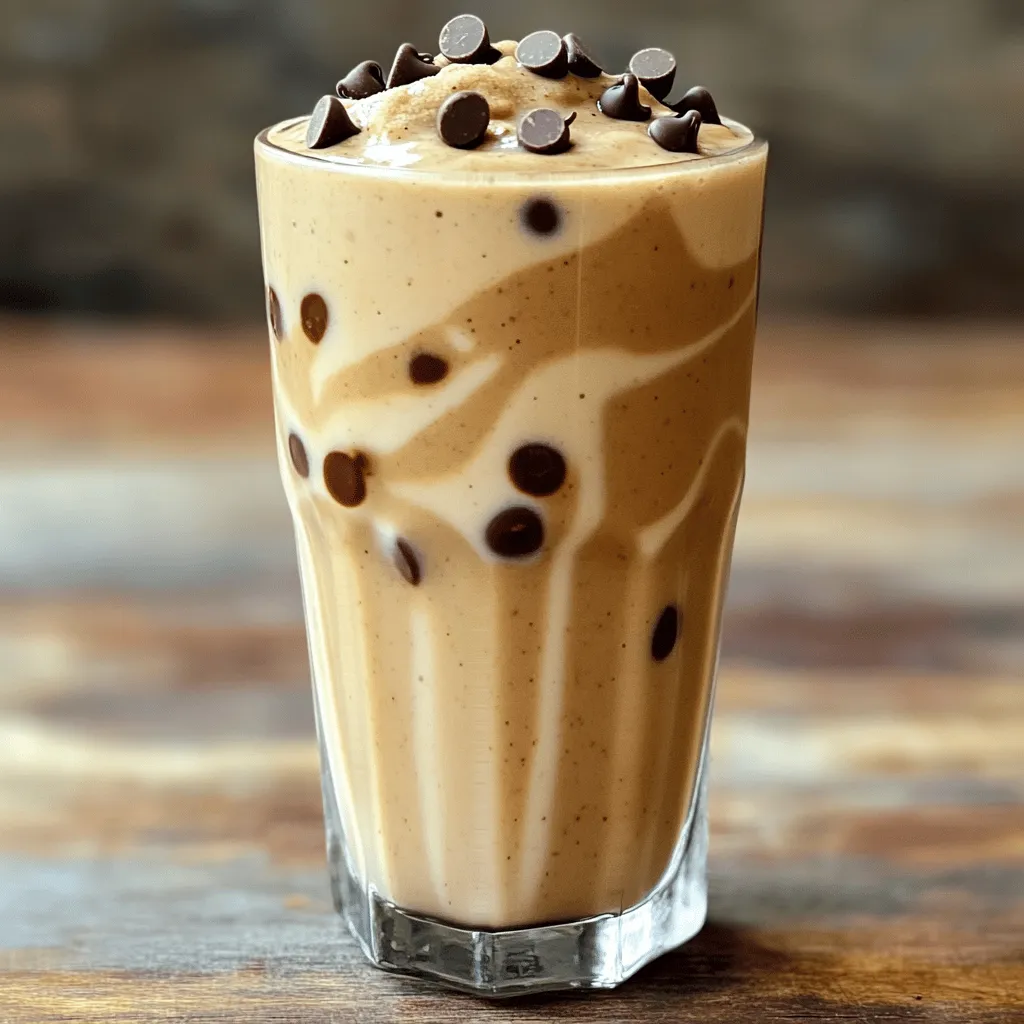
Chocolate Chip Cookie Dough Protein Smoothie Delight
Are you ready to treat yourself to a delicious and healthy smoothie? My Chocolate Chip Cookie Dough Protein Smoothie will satisfy your sweet tooth while
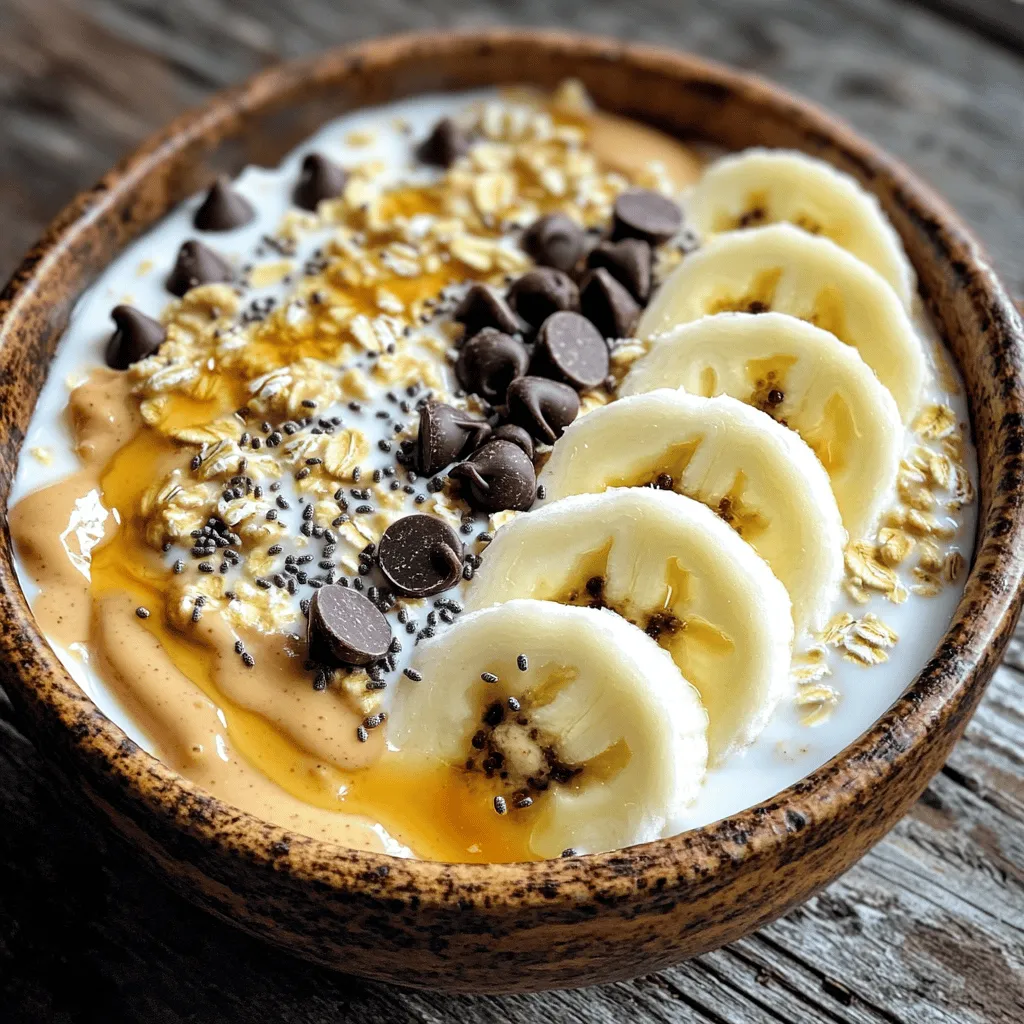
Protein Cookie Dough Yogurt Bowl with Rich Flavor
Craving a sweet treat that fuels your body? The Protein Cookie Dough Yogurt Bowl is your answer. Packed with creamy Greek yogurt, protein powder, and
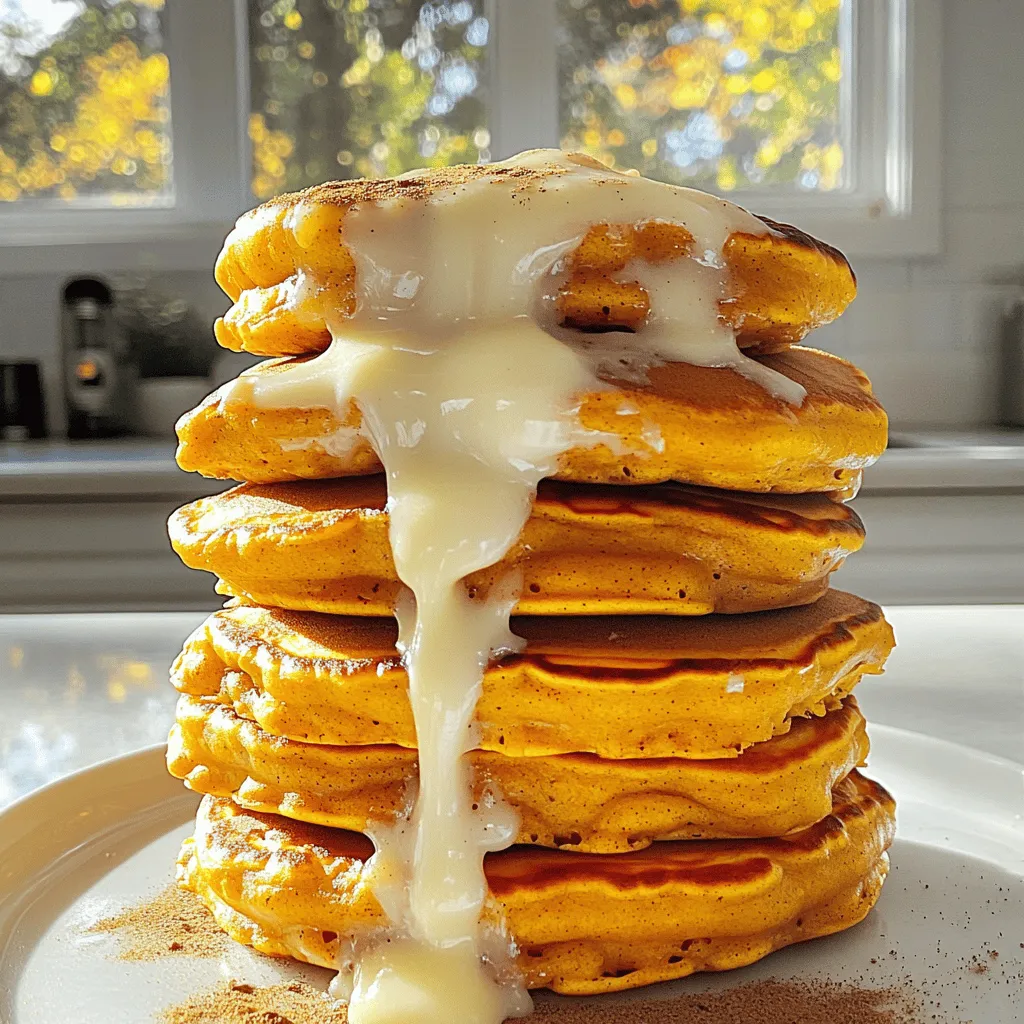
Pumpkin Cinnamon Roll Pancakes with Cream Cheese Drizzle
Get ready to elevate your breakfast game with my Pumpkin Cinnamon Roll Pancakes with Cream Cheese Drizzle! These pancakes combine warm spices and pumpkin goodness
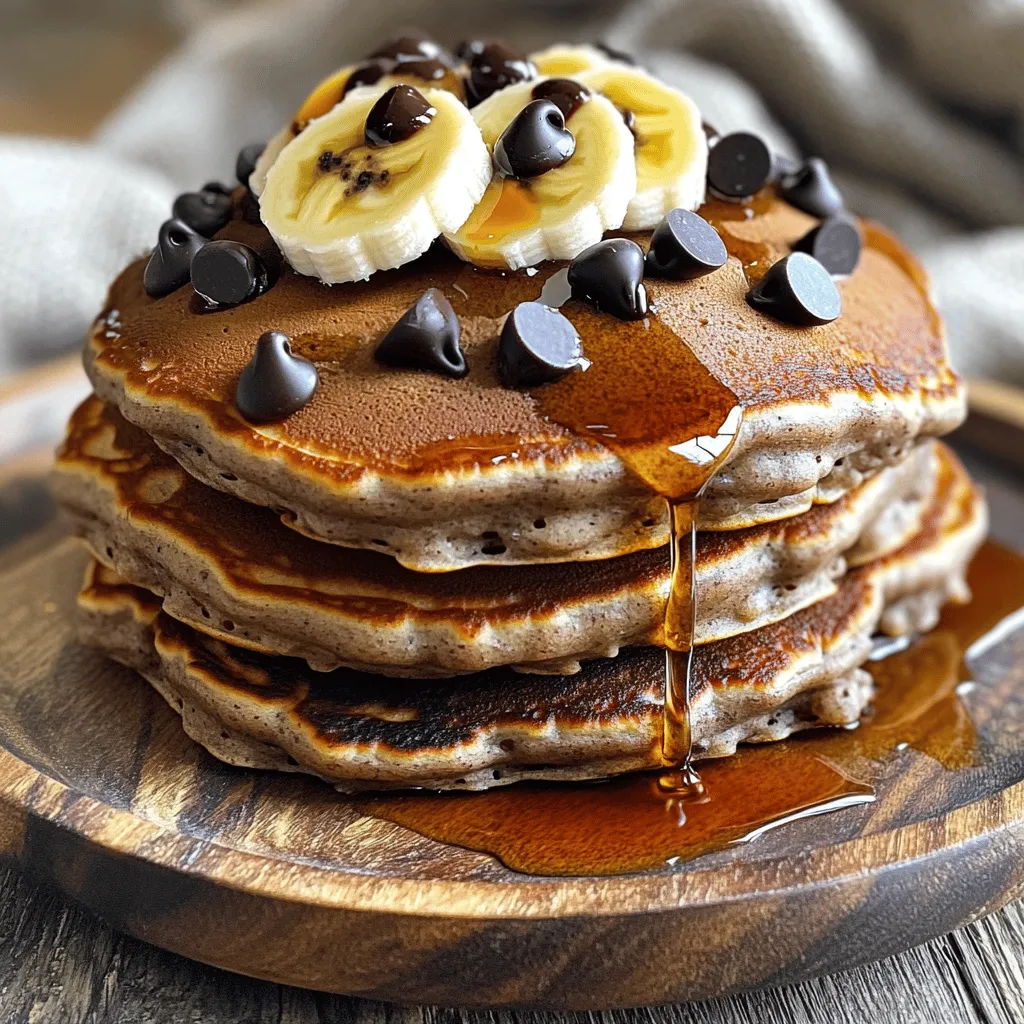
Chocolate Chip Protein Pancakes Simple and Tasty Recipe
Looking for a tasty breakfast that packs a nutritional punch? You’ve come to the right place! In this article, I’ll show you how to make
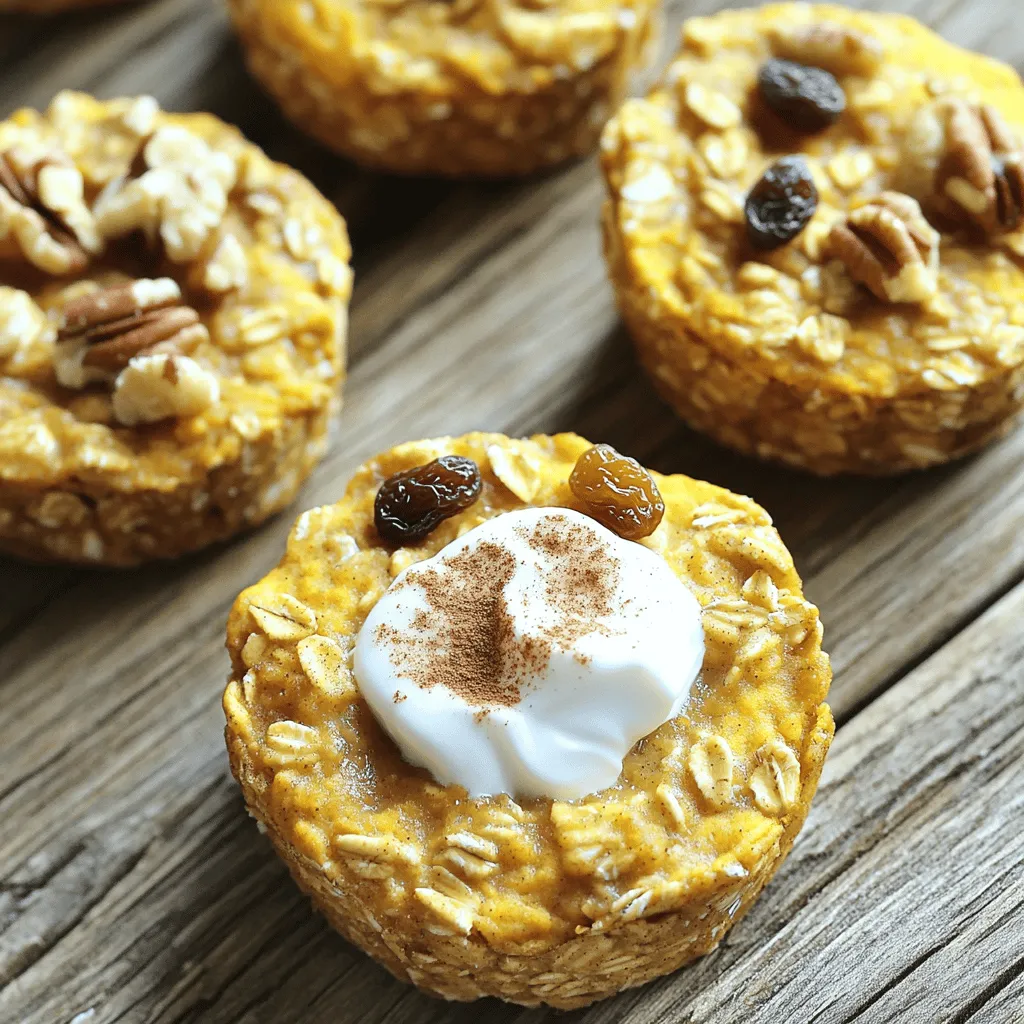
Pumpkin Spice Baked Oatmeal Cups Tasty and Simple Treat
Get ready for a cozy treat with these Pumpkin Spice Baked Oatmeal Cups! They are easy to make and packed with warm fall flavors. Imagine

Sourdough Pumpkin Chocolate Chip Muffins Delight
Craving a sweet treat that’s both cozy and unique? You’ll love these Sourdough Pumpkin Chocolate Chip Muffins! They blend the rich taste of pumpkin with
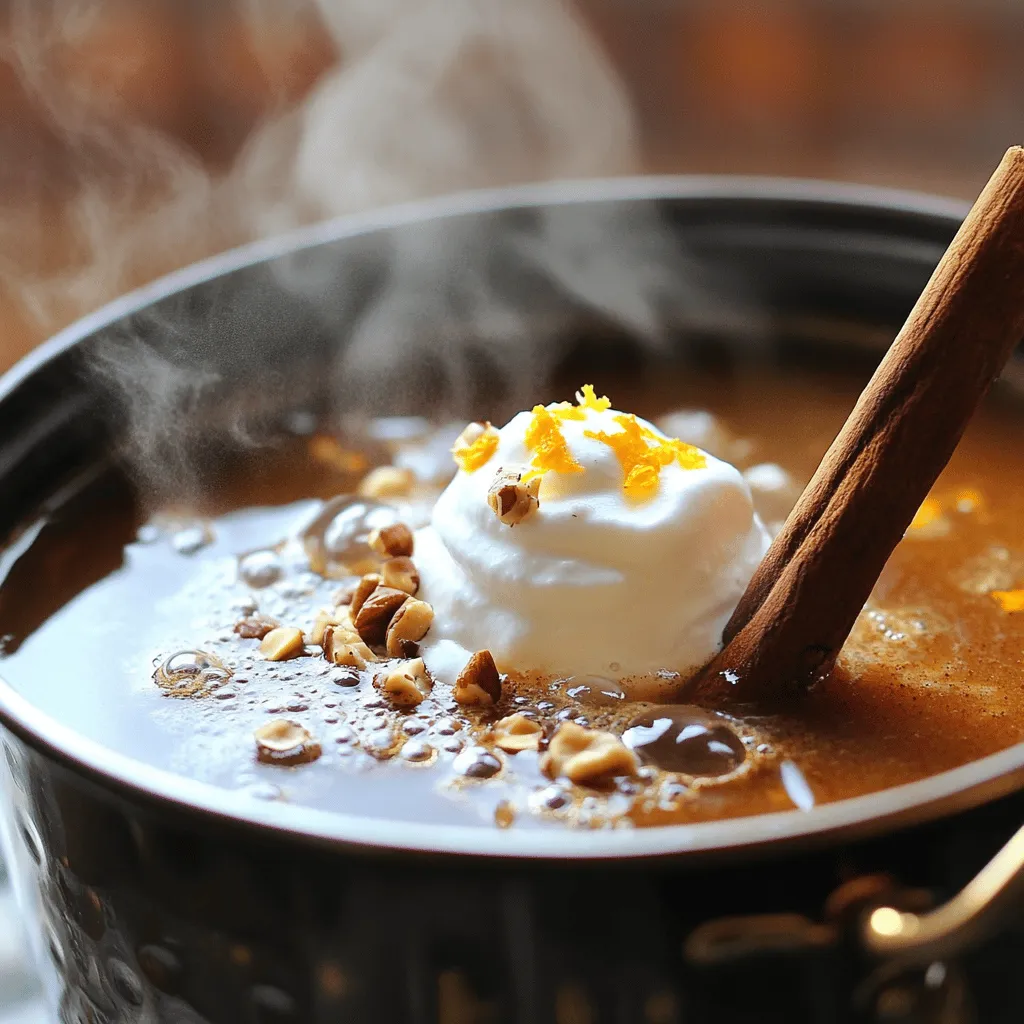
Cinnamon Hazelnut Coffee Simmer Pot Warm and Inviting
Imagine walking into your home, greeted by the warm, inviting scent of cinnamon and hazelnut coffee. It’s simple to create this cozy atmosphere with a