Breakfast
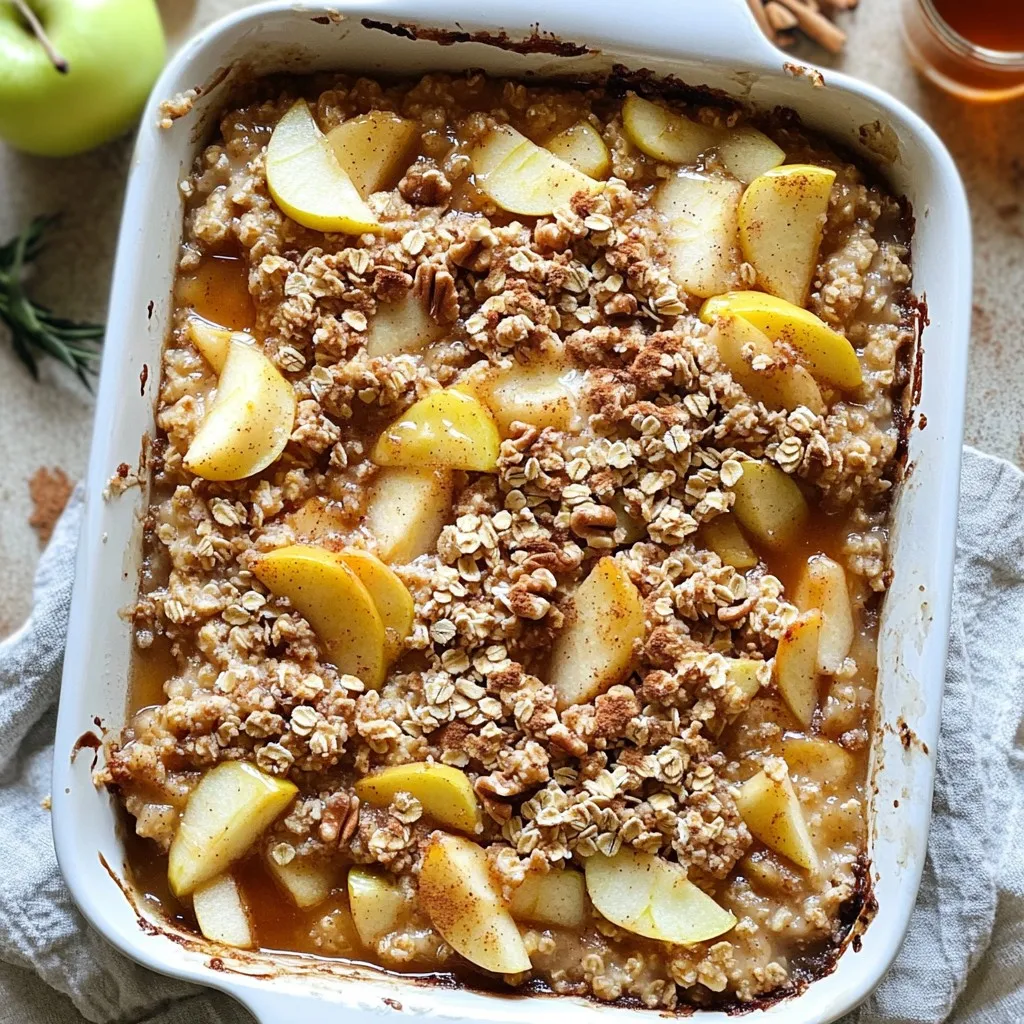
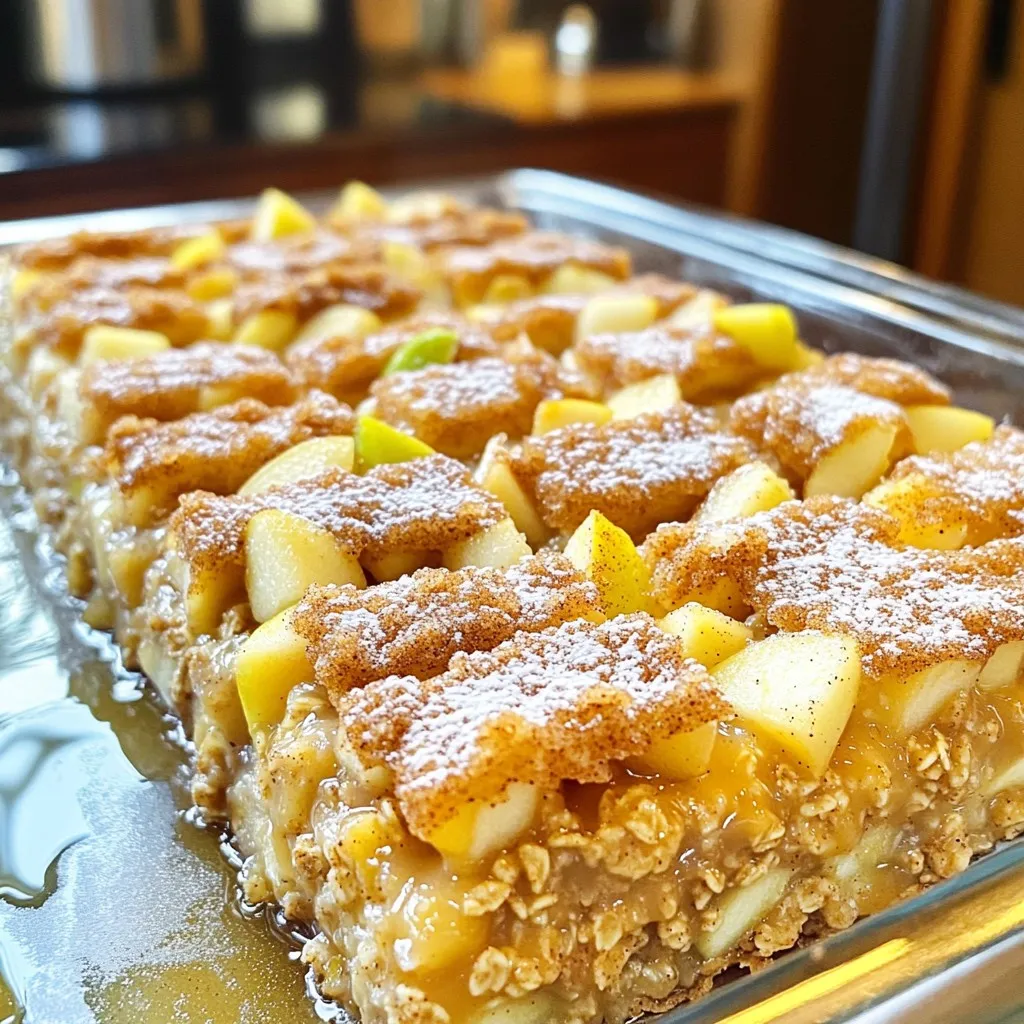
Apple Crisp Oatmeal Bake Easy and Healthy Recipe
Are you ready for a warm, tasty breakfast that’s both easy and healthy? My Apple Crisp Oatmeal Bake is a perfect dish to start your
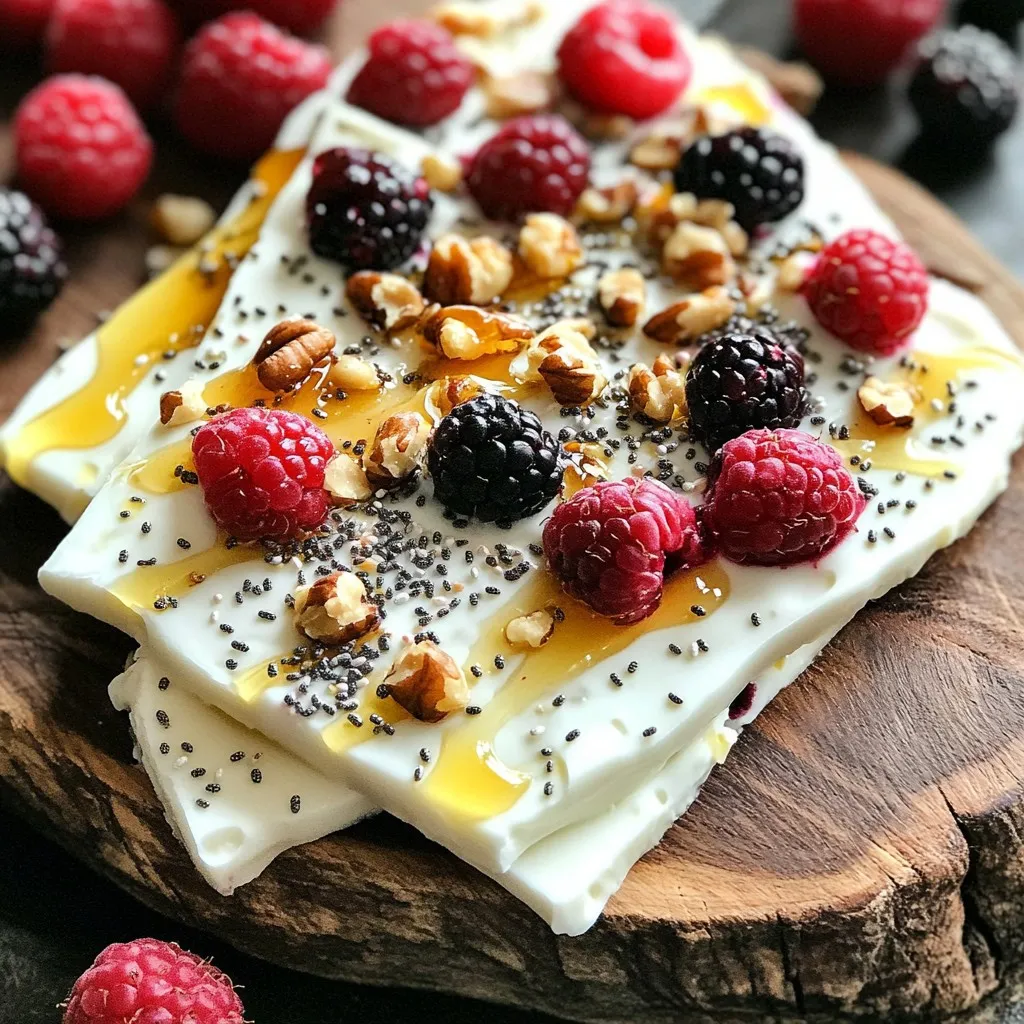
High-Protein Greek Yogurt Breakfast Bark Recipe Guide
Start your day with a bite of creativity! My High-Protein Greek Yogurt Breakfast Bark is not just delicious — it’s a game changer for morning

Minute Egg White Scramble Bowl Healthy and Simple Meal
Are you looking for a quick, healthy meal that packs a punch? The Minute Egg White Scramble Bowl is your perfect solution. This simple dish
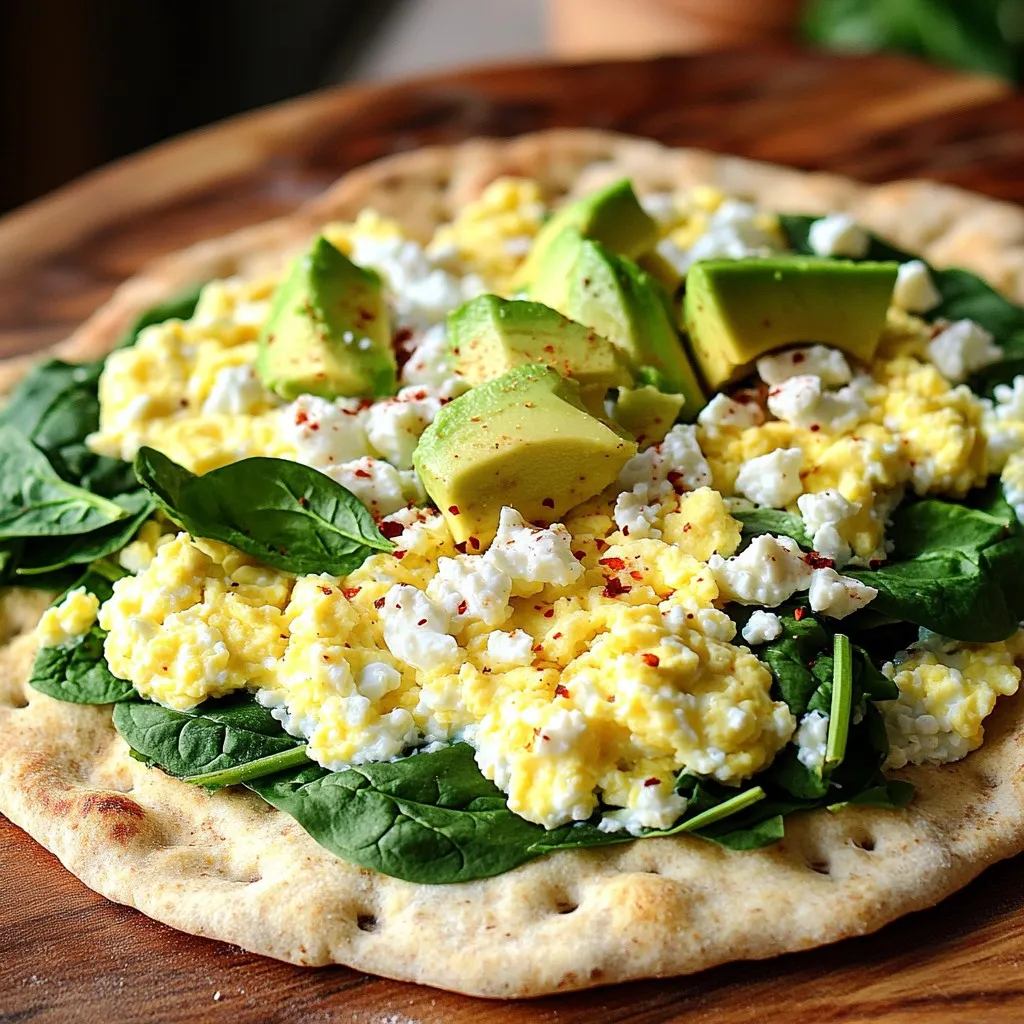
Minute Breakfast Protein Flatbread Deliciously Easy
Are you tired of the same boring breakfasts? The Minute Breakfast Protein Flatbread is here to save your mornings! Packed with protein and fresh flavors,
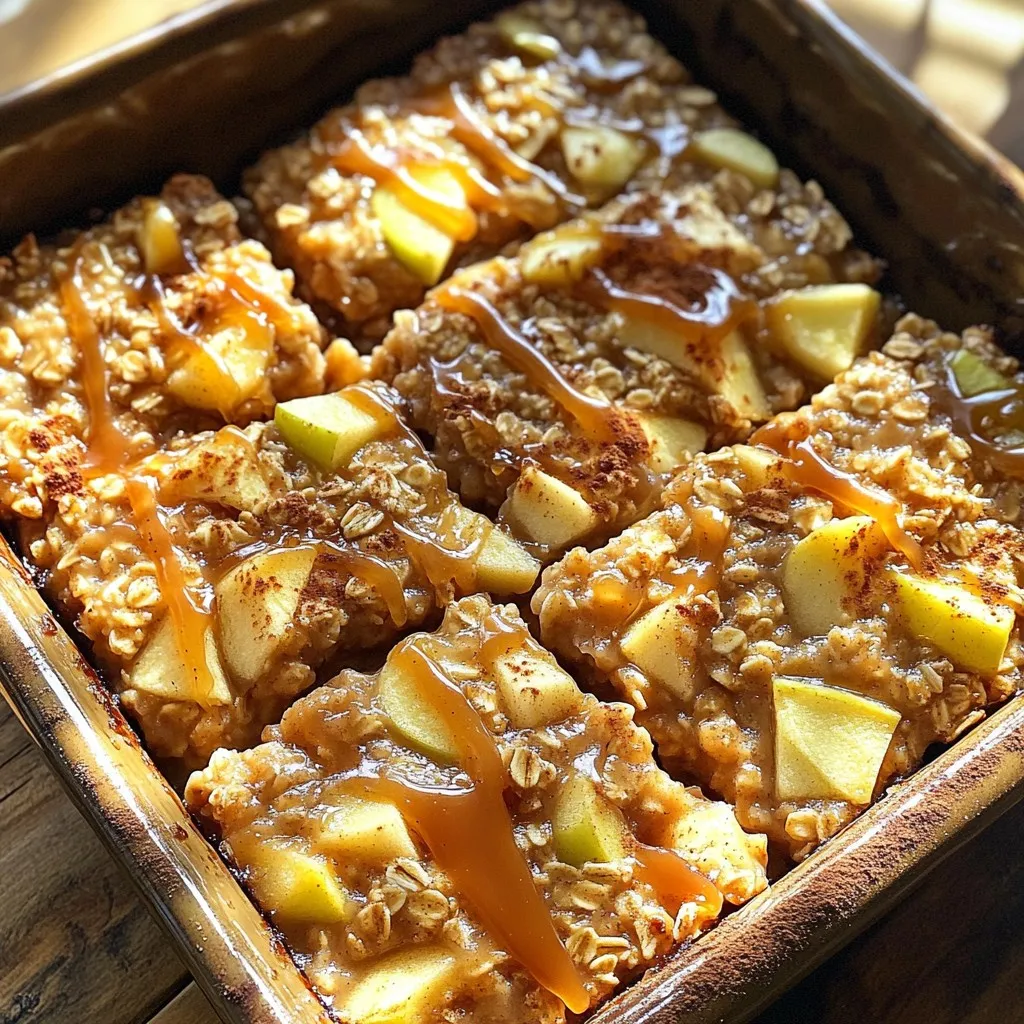
Caramel Apple Oatmeal Bake Tasty and Simple Recipe
If you love warm, sweet treats, you’re in for a delight! My Caramel Apple Oatmeal Bake is both tasty and simple, perfect for cozy mornings
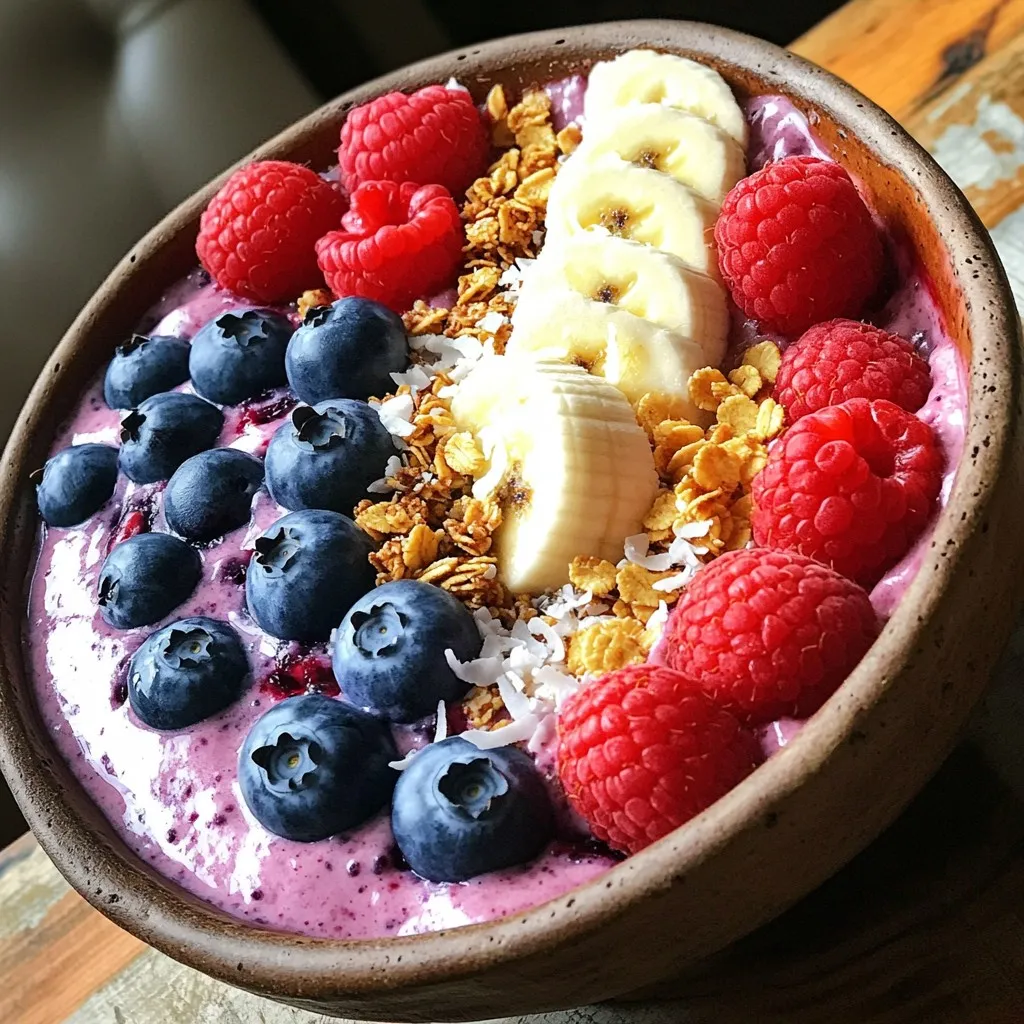
Protein Cottage Cheese Smoothie Bowl Recipe Delight
Are you ready to savor a delicious Protein Cottage Cheese Smoothie Bowl that fuels your day? Made with creamy cottage cheese, ripe bananas, and vibrant
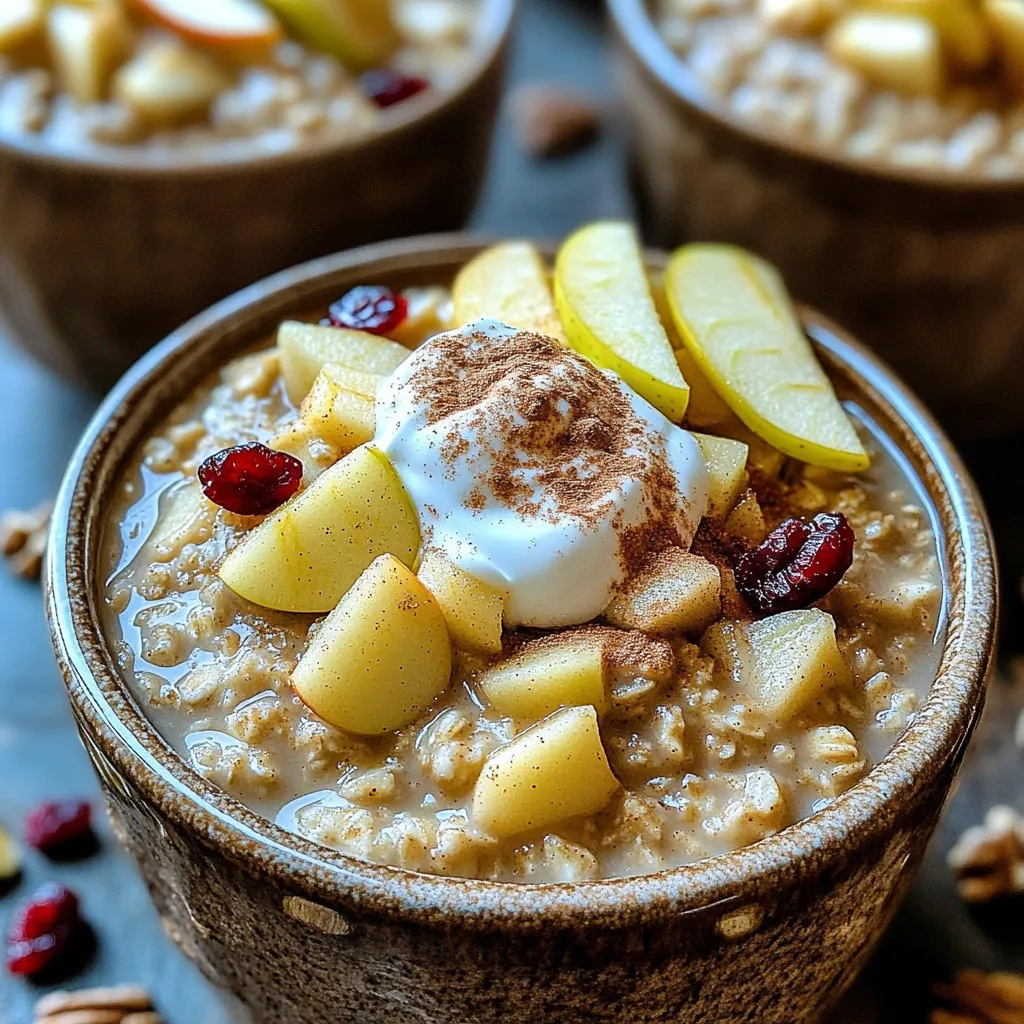
Slow Cooker Apple Cinnamon Steel Cut Oats Delight
Start your mornings off right with my Slow Cooker Apple Cinnamon Steel Cut Oats Delight! This warm, hearty dish combines the goodness of steel cut
Apple Cider Doughnut Baked Oatmeal Flavorful Delight
If you’re craving a warm, cozy breakfast that tastes like a fall fair treat, you’ve got to try Apple Cider Doughnut Baked Oatmeal. This dish

Lemon Poppy Seed Greek Yogurt Muffins Easy Recipe
Craving a light and fluffy treat? You’ll love these Lemon Poppy Seed Greek Yogurt Muffins! This easy recipe brings together tangy lemon and nutty poppy
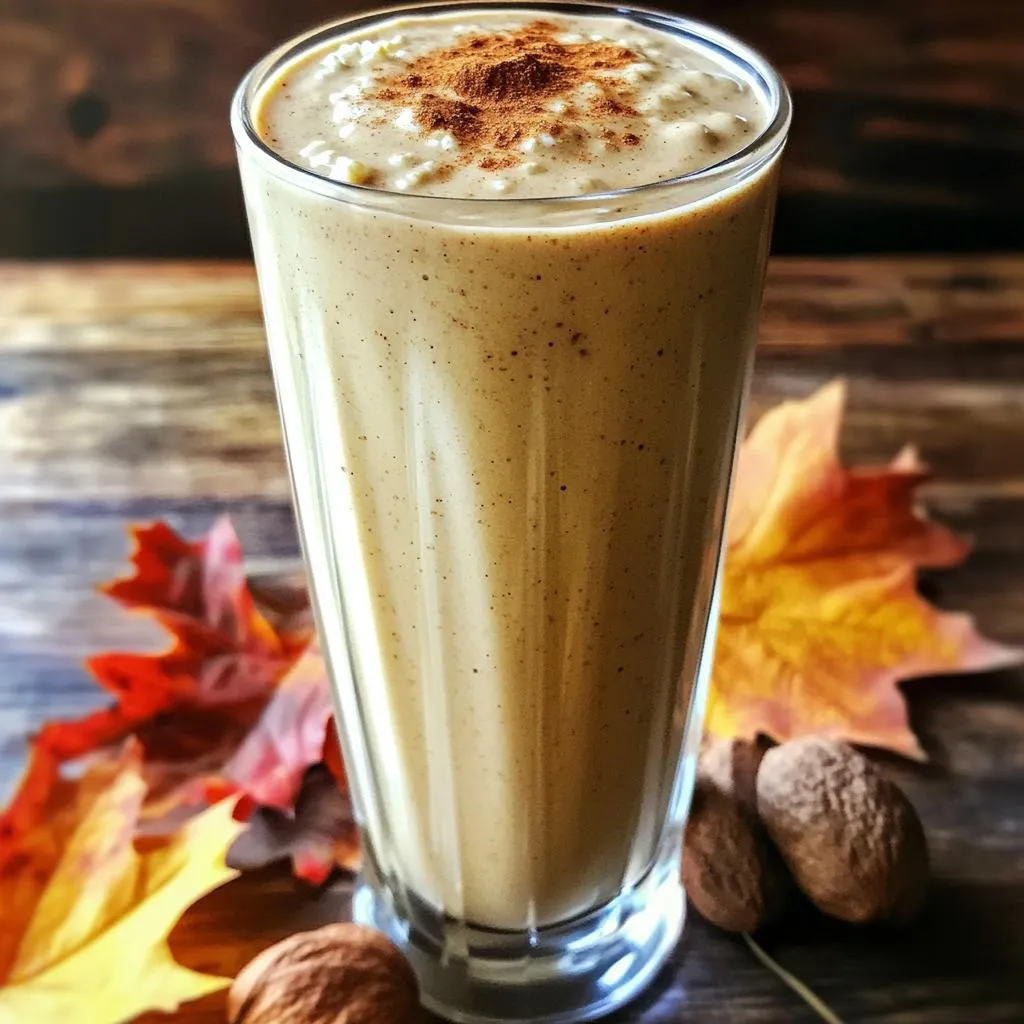
Protein-Packed Gingerbread Cottage Cheese Smoothie Delights
Looking for a tasty way to boost your protein intake? Try my Protein-Packed Gingerbread Cottage Cheese Smoothie! This delightful drink is not only rich in