Breakfast
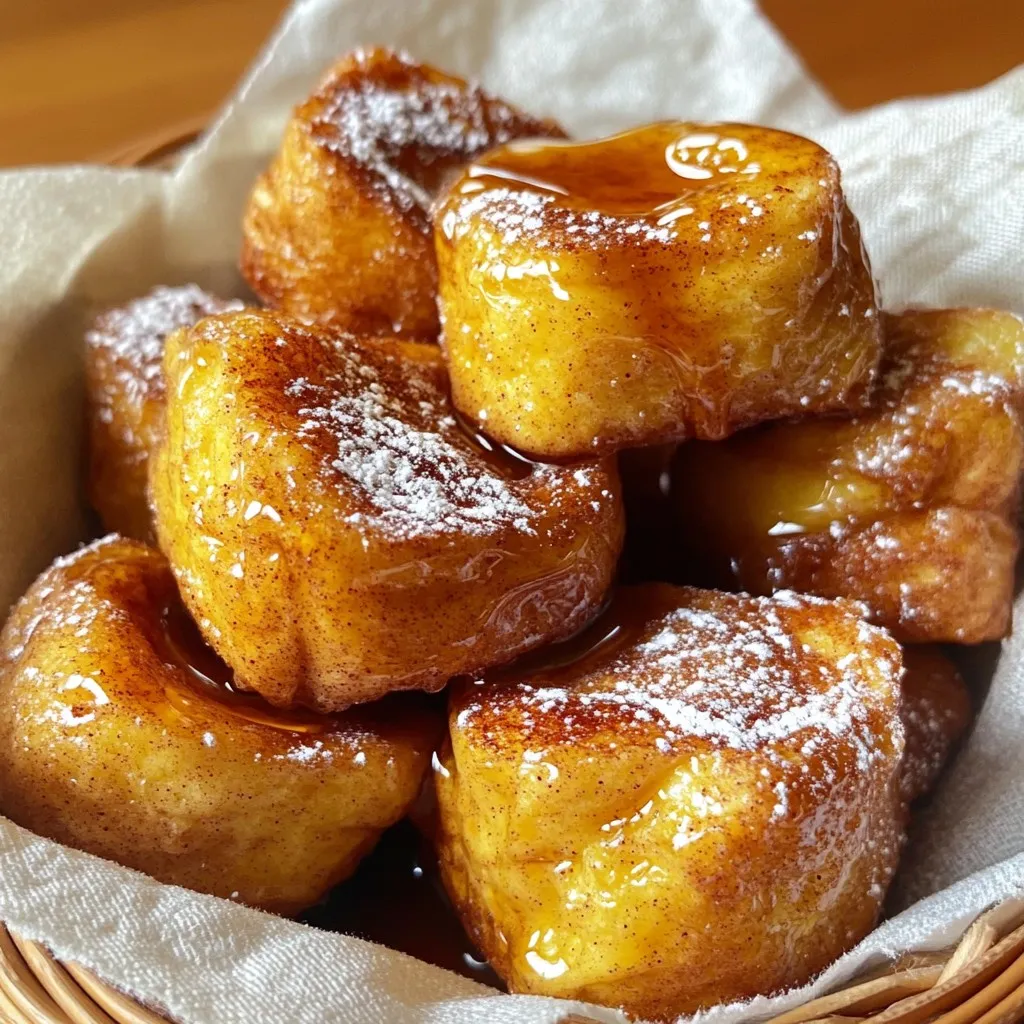
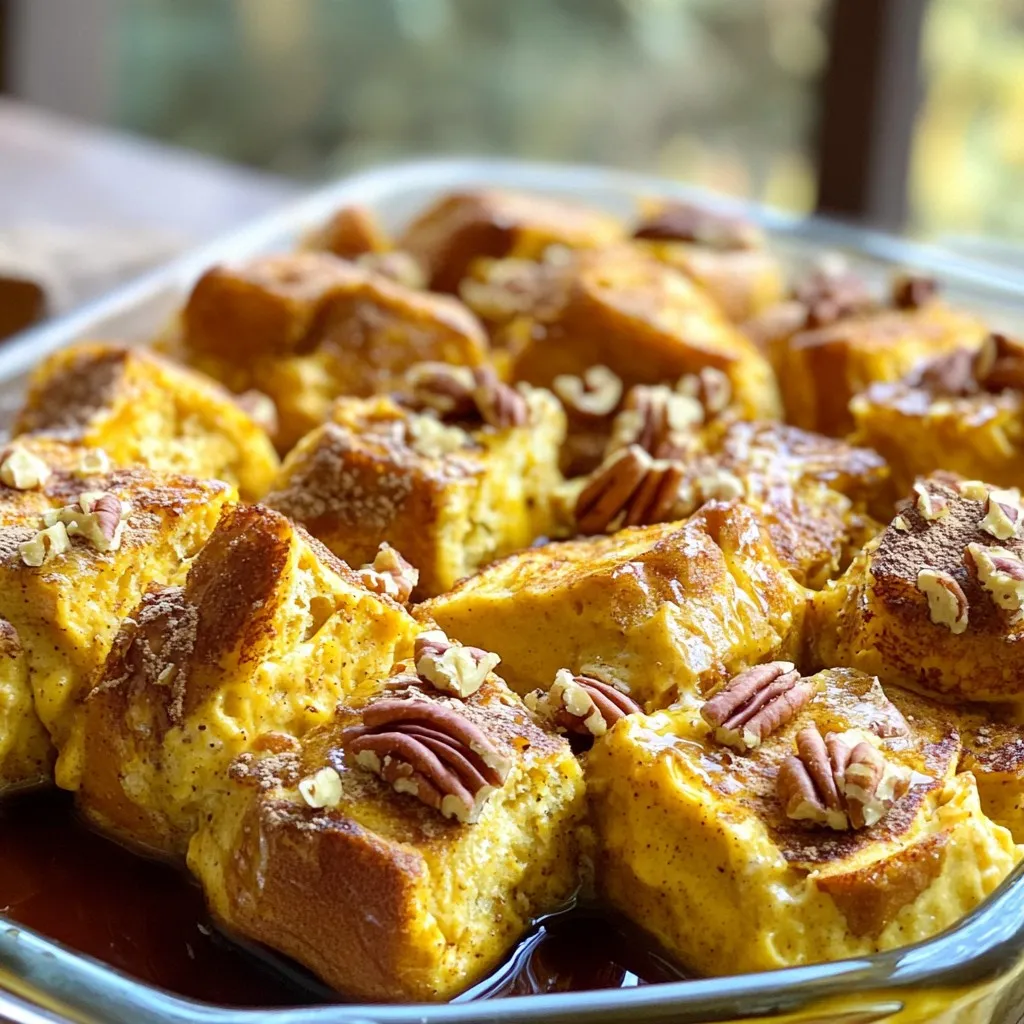
Cinnamon Roll French Toast Bites Quick and Easy Treat
If you love cinnamon rolls and French toast, you’ll adore my quick and easy Cinnamon Roll French Toast Bites! This tasty treat combines your favorite
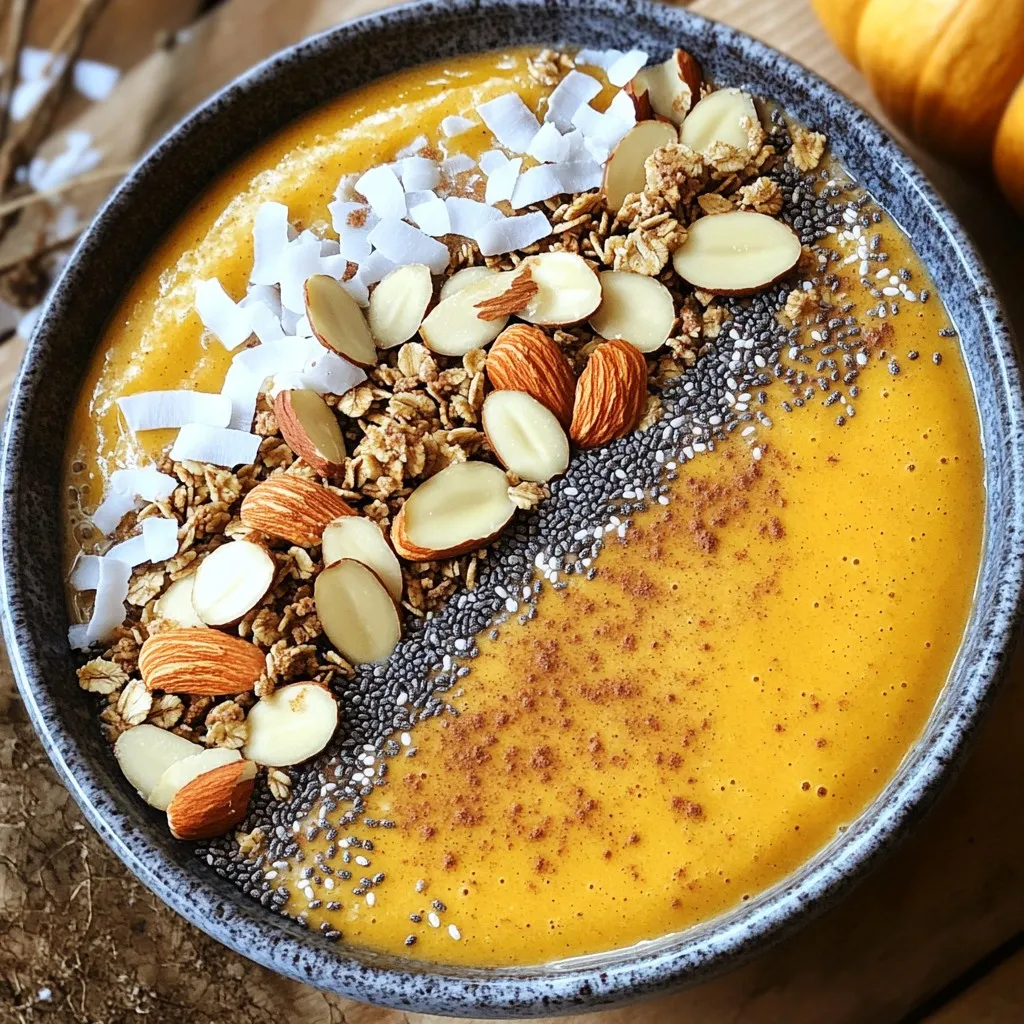
Pumpkin Spice Smoothie Bowl with Extra Protein Boost
Fall is here, and it’s time to indulge in the creamy warmth of a Pumpkin Spice Smoothie Bowl. Not only is it delicious, but I’ve
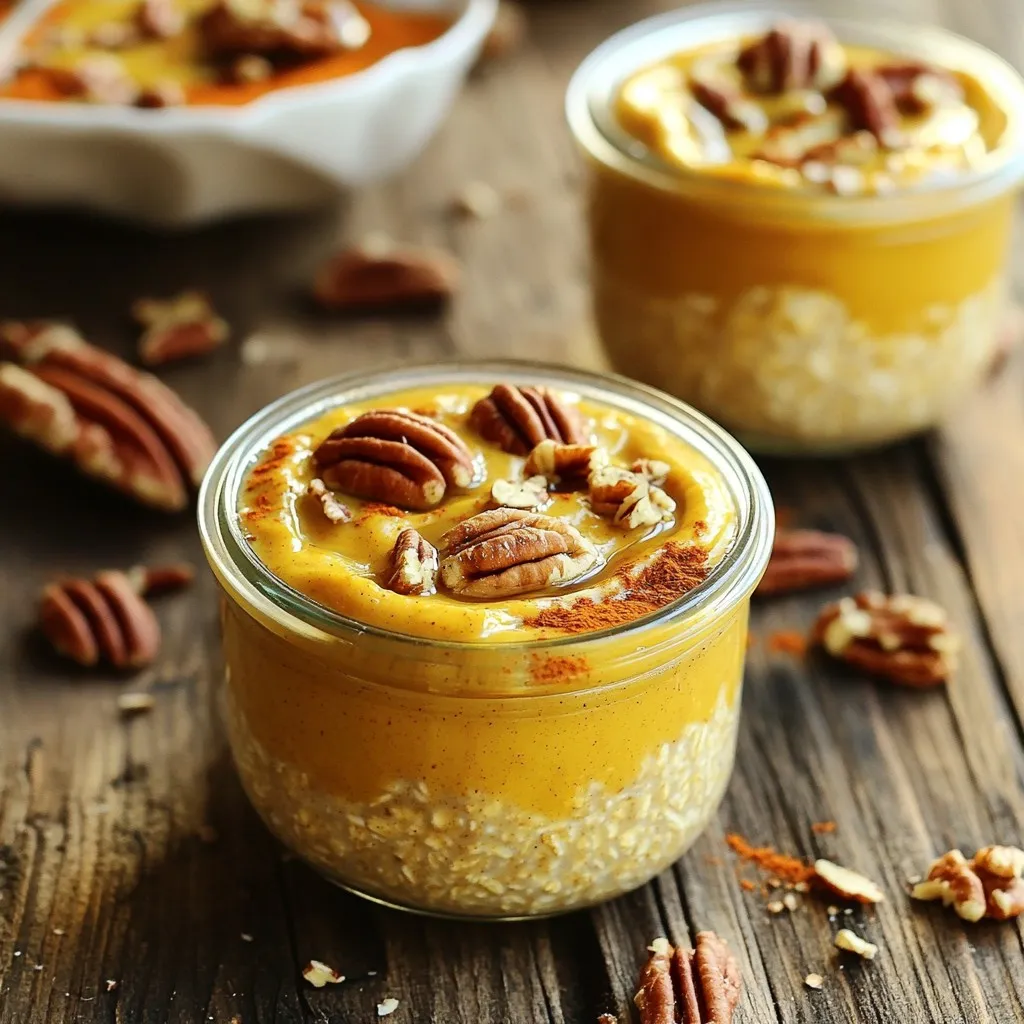
Protein Pumpkin Pie Overnight Oats Flavorful Delight
Are you ready to enjoy a tasty twist on your breakfast routine? Protein Pumpkin Pie Overnight Oats are the perfect blend of good-for-you ingredients and
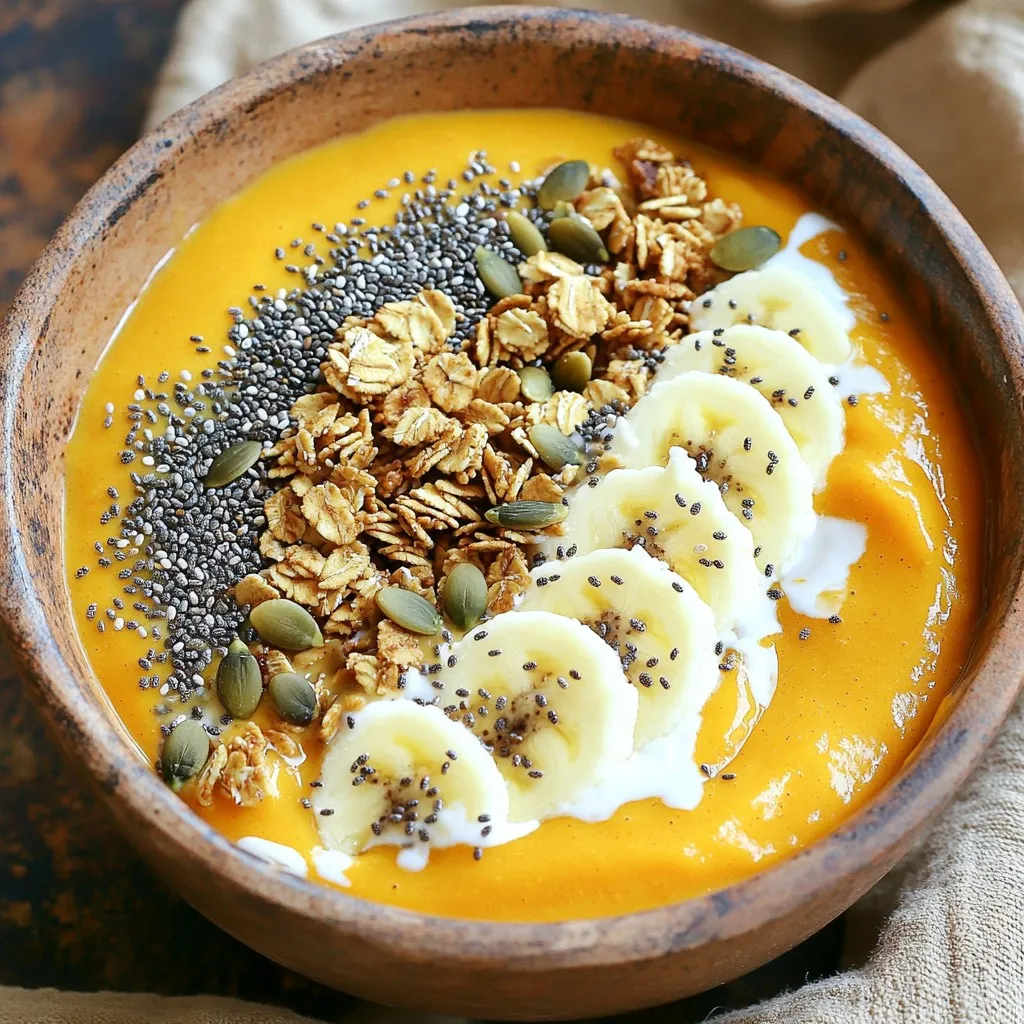
High-Protein Pumpkin Pie Smoothie Bowl Delight
Looking for a tasty treat that’s packed with protein? Try my High-Protein Pumpkin Pie Smoothie Bowl Delight! This simple recipe blends the rich flavors of
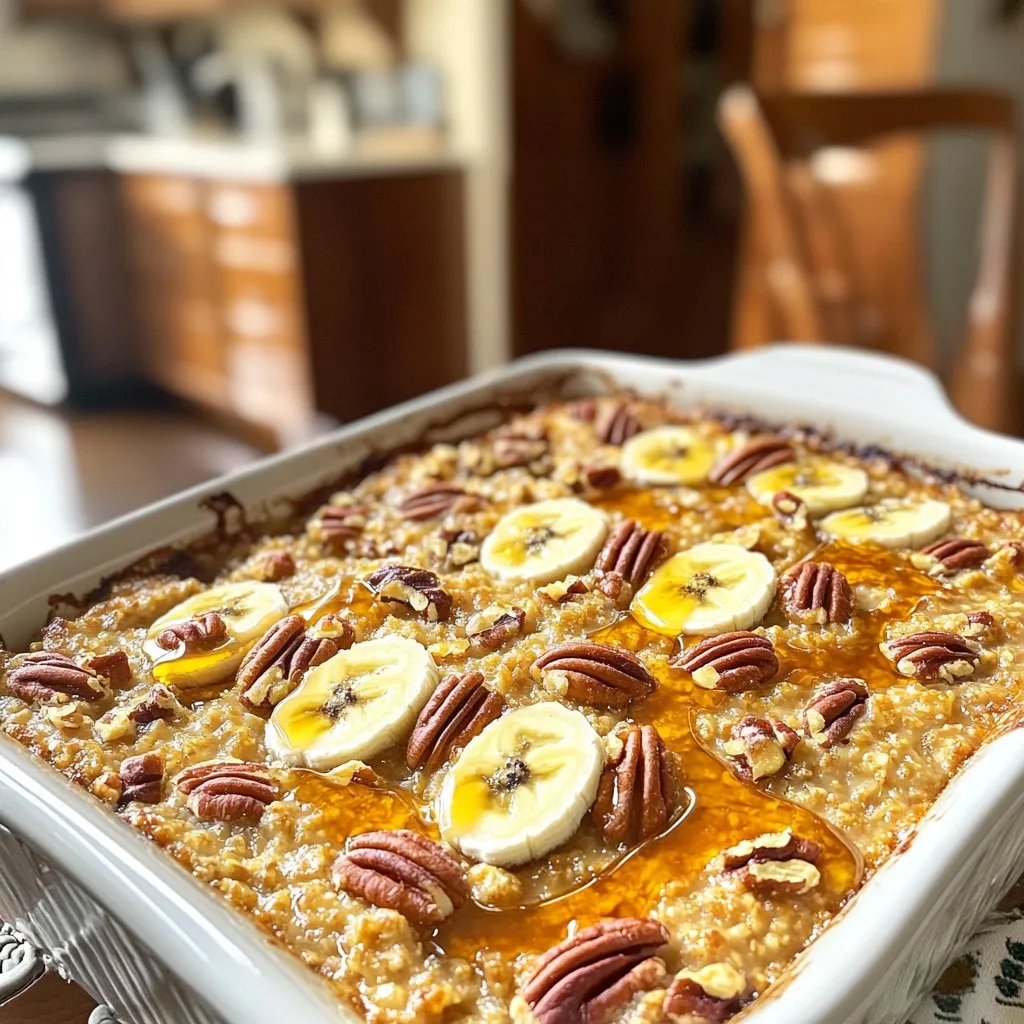
Warm Maple Pecan Baked Oatmeal Comforting Delight
If you’re craving a warm, cozy start to your day, look no further. My Warm Maple Pecan Baked Oatmeal is a delicious treat that combines
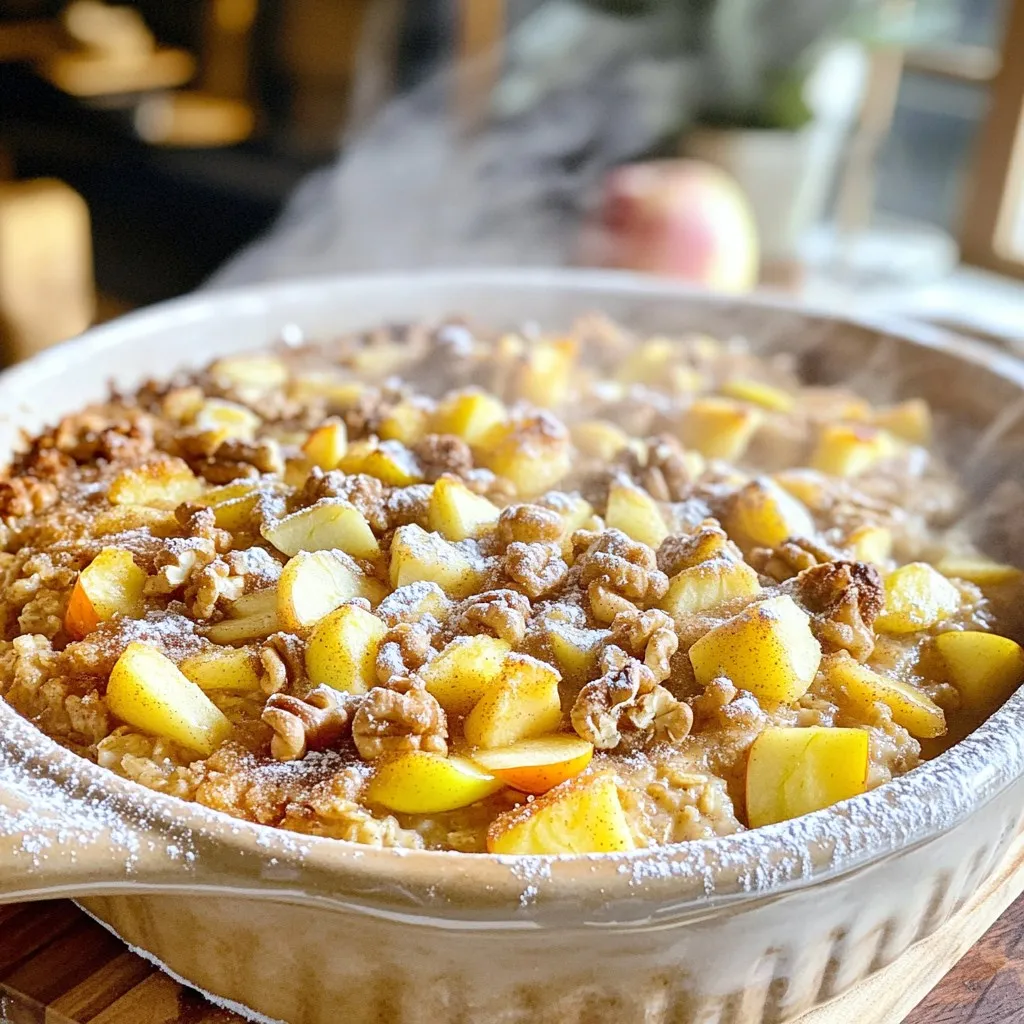
Apple Cider Donut Baked Oatmeal Delightful Recipe
Craving a warm, cozy treat that combines the flavors of fall? You’re in for a treat with my Apple Cider Donut Baked Oatmeal! This delightful
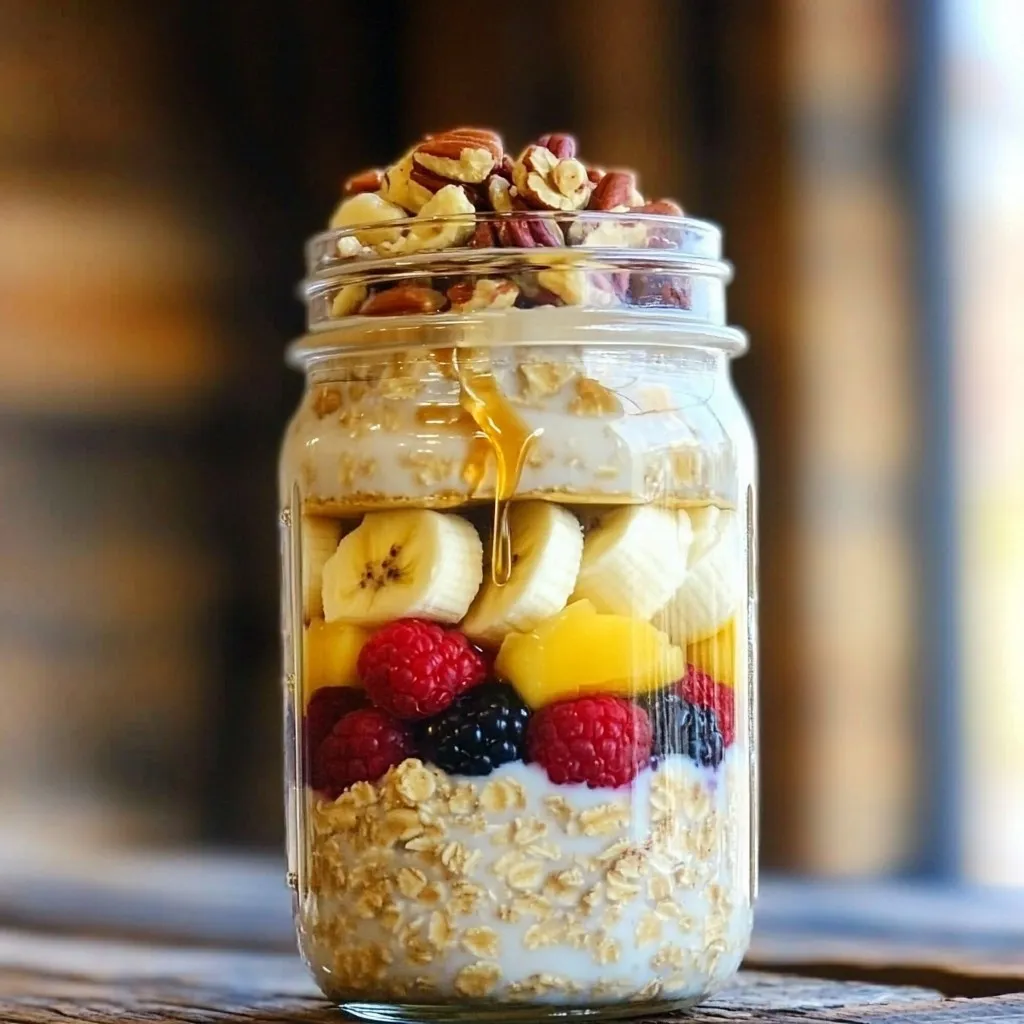
Maple Brown Sugar Overnight Oats Easy Breakfast Delight
Looking for an easy and delicious breakfast? Maple Brown Sugar Overnight Oats are the perfect solution! This simple recipe combines rich maple syrup and sweet
Pumpkin Cream Cheese French Toast Bake Delightful Recipe
Do you love the cozy flavors of fall? Then you need to try my Pumpkin Cream Cheese French Toast Bake! This delightful recipe combines rich
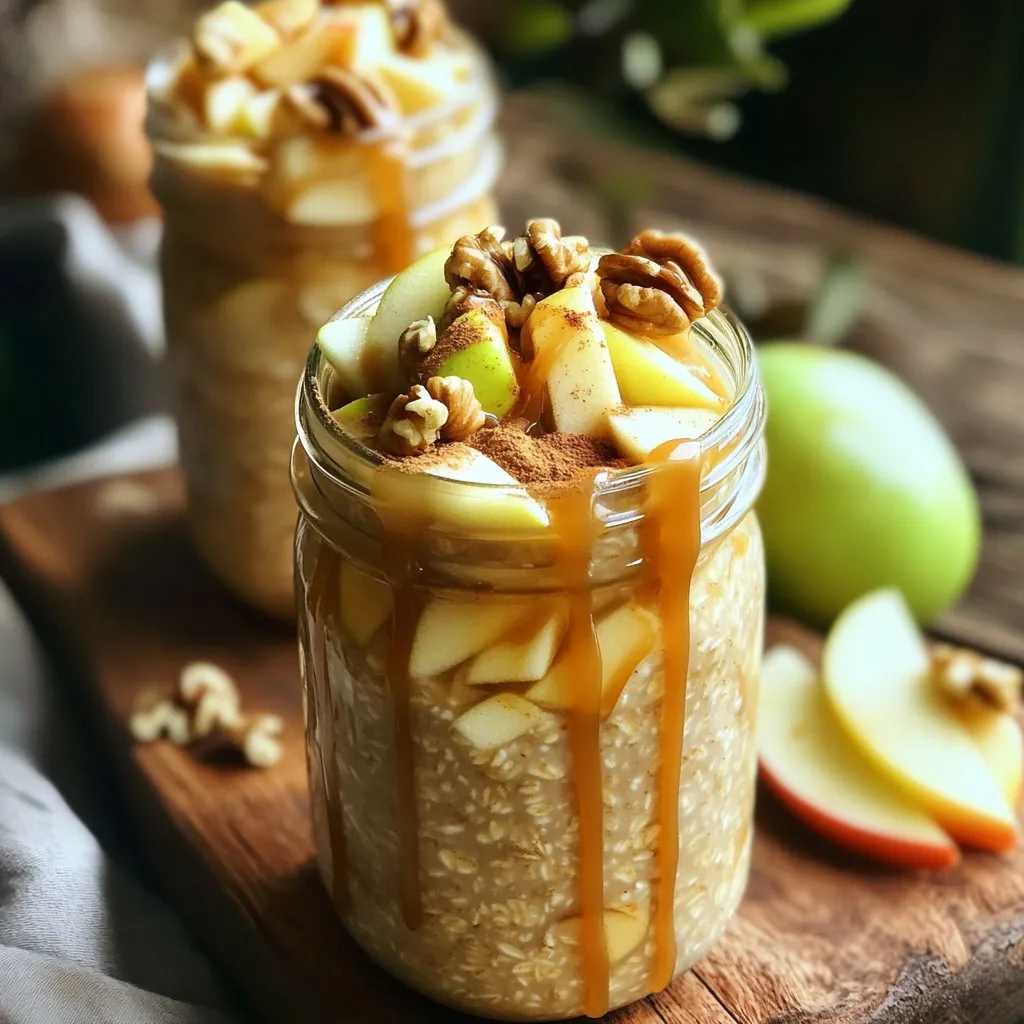
Caramel Apple Overnight Oats Tasty Breakfast Delight
Start your day right with my Caramel Apple Overnight Oats! This sweet breakfast treat combines delicious flavors and healthy ingredients, making it the perfect morning
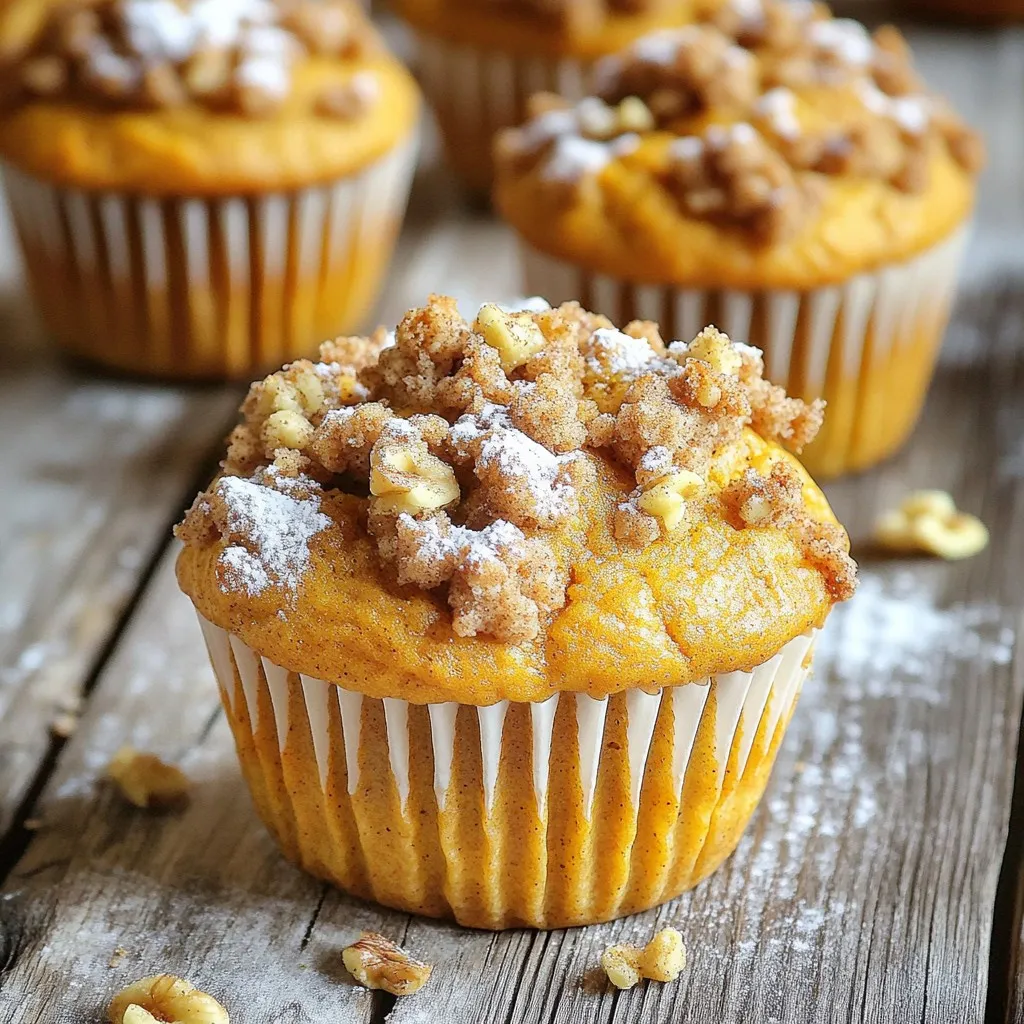
Pumpkin Spice Streusel Muffins Irresistible Treat
Fall is here, and that means it’s time for Pumpkin Spice Streusel Muffins! This delicious treat blends the warm flavors of pumpkin and spices with