Appetizers
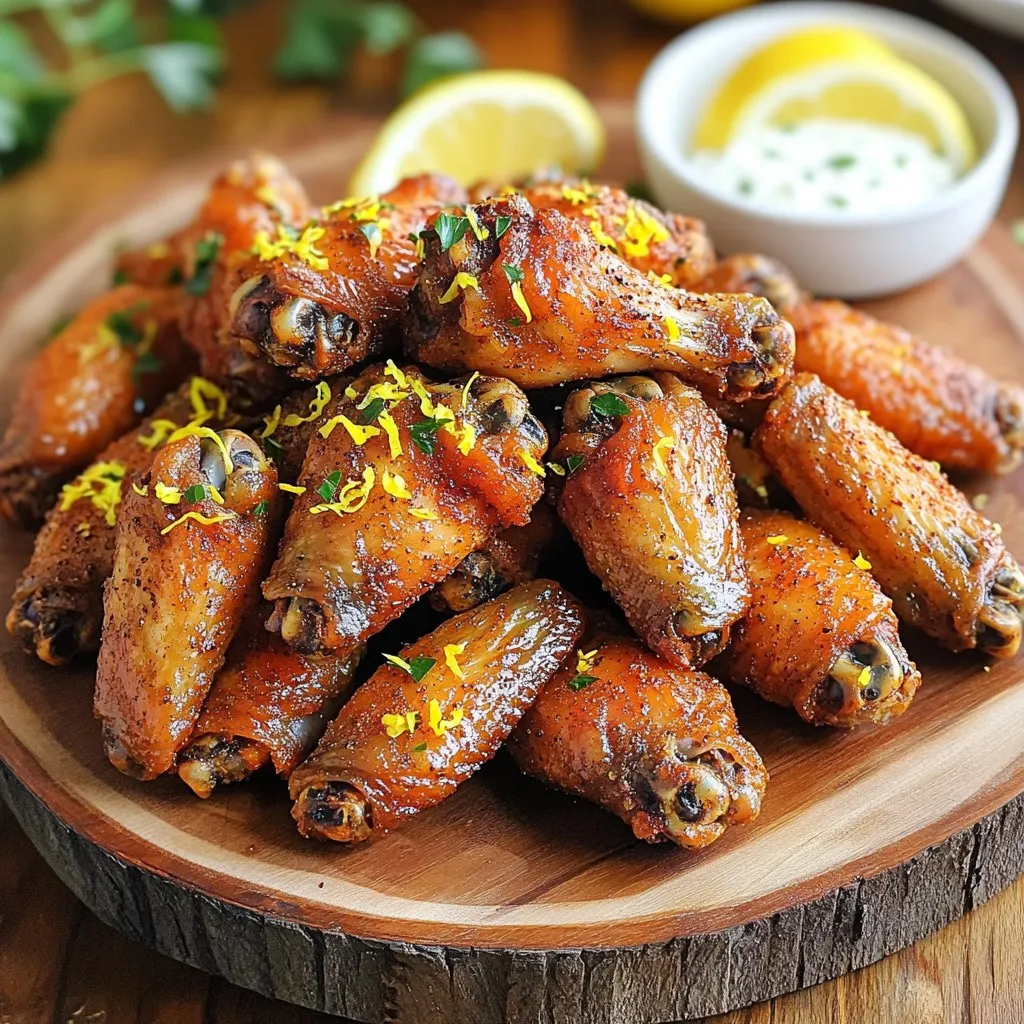
Air Fryer Lemon Pepper Crispy Wings Delight Recipe
Get ready to elevate your wing game with my Air Fryer Lemon Pepper Crispy Wings Delight Recipe! If you love tasty, crunchy wings that make
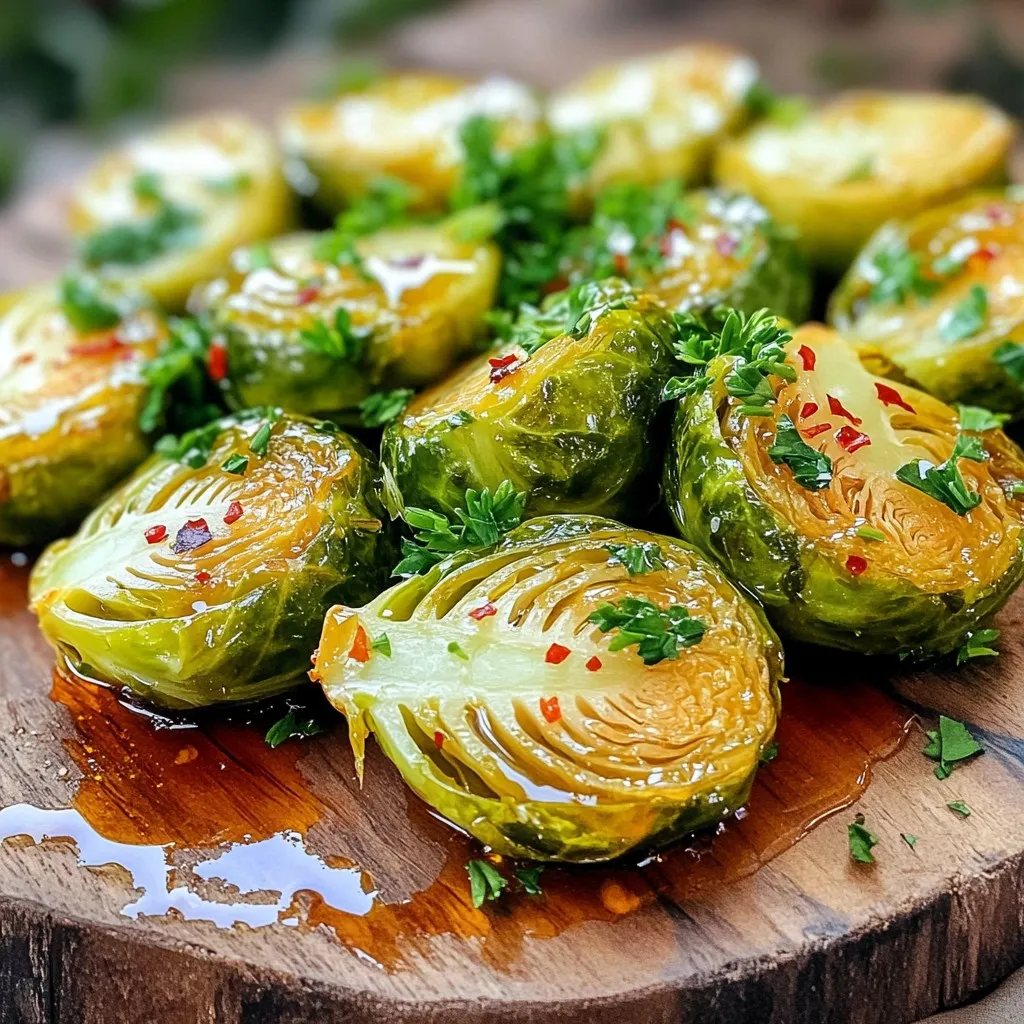
Hot Honey Brussels Sprouts Crispy and Flavorful Treat
Are you ready to transform your side dish game? Hot Honey Brussels Sprouts are crispy, sweet, and spicy, making them a must-try. In this post,
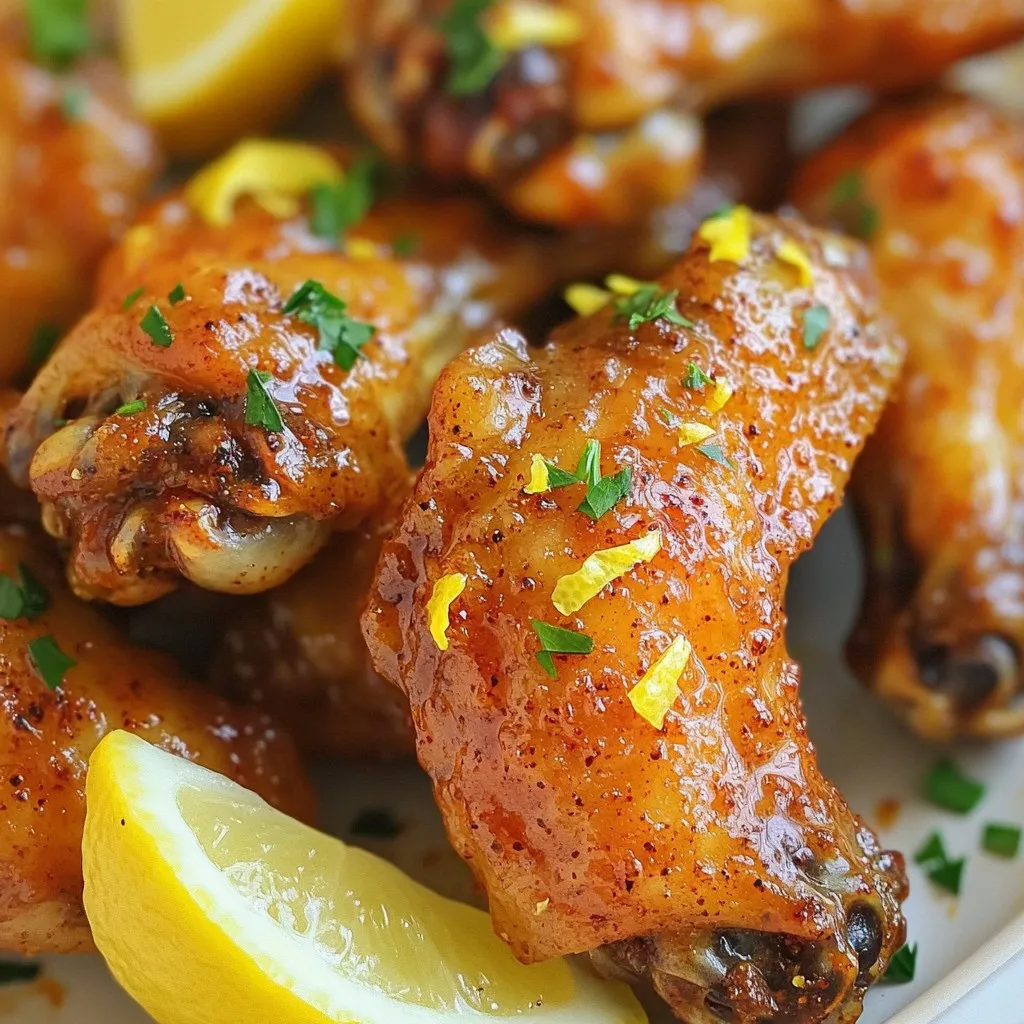
Air Fryer Lemon Pepper Wings Crispy and Flavorful Snack
Looking for a crispy, tasty snack? Try my Air Fryer Lemon Pepper Wings! With just a few simple ingredients, you can whip up a dish

Savory Pepperoni Pizzadillas Simple and Tasty Treat
Are you ready to spice up snack time? Try my Savory Pepperoni Pizzadillas! This fun twist on pizza combines all your favorite flavors in a
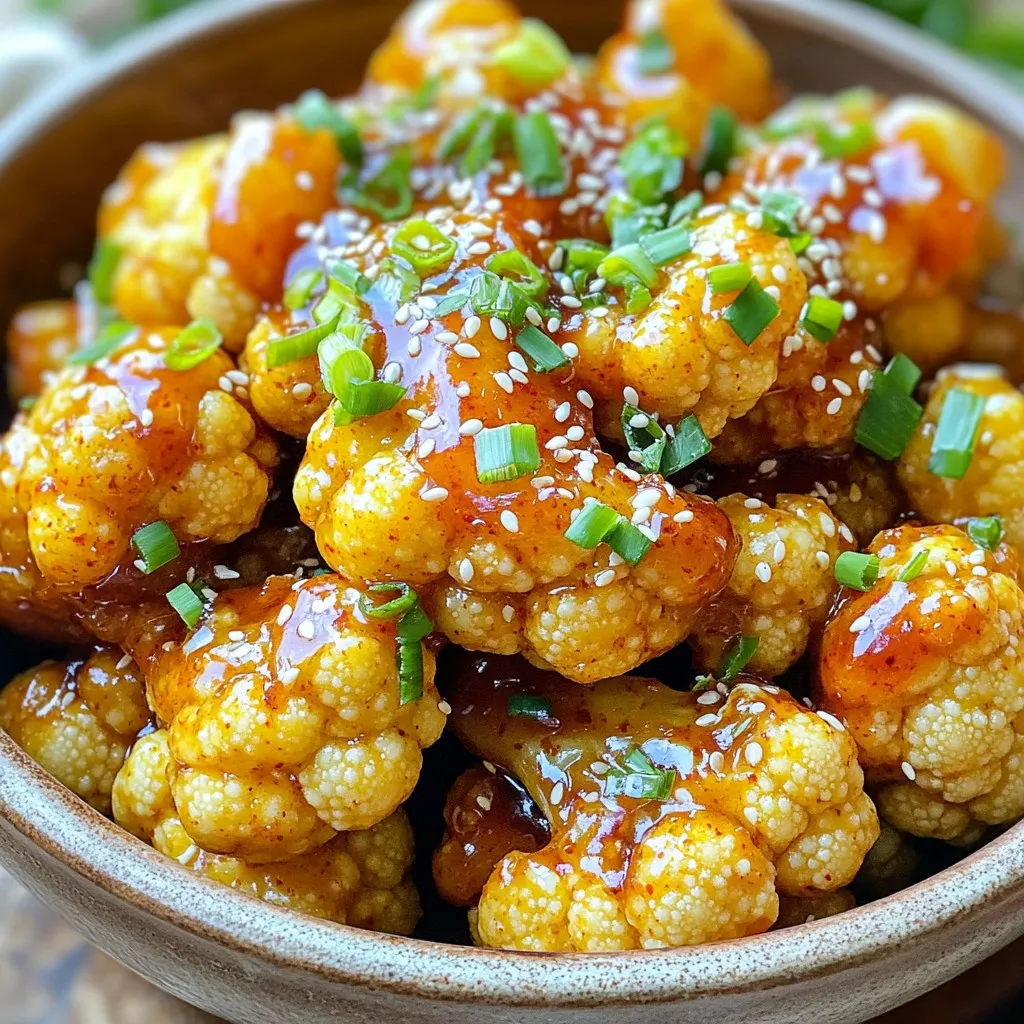
Air Fryer Sweet Chili Cauliflower Crispy Delight
Craving a tasty snack that’s easy to make? Look no further! My Air Fryer Sweet Chili Cauliflower recipe delivers a crispy, flavorful dish in no

Caramelized Onion Gruyère Flatbread Rich and Tasty Recipe
If you’re craving something rich and tasty, you’ve come to the right place! This Caramelized Onion Gruyère Flatbread bursts with flavor and is easy to
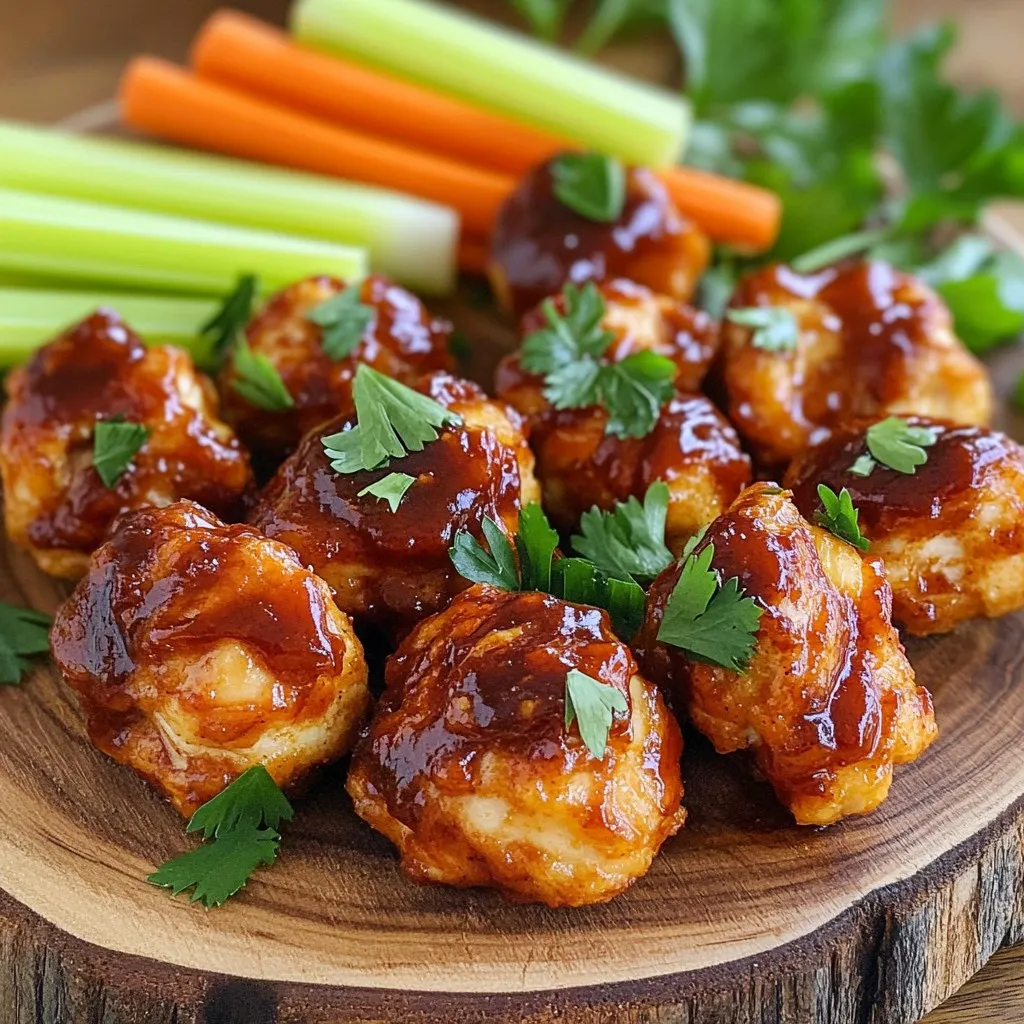
Air Fryer BBQ Chicken Bites Crispy and Tasty Snack
Craving a snack that’s both crispy and packed with flavor? Look no further! I’m thrilled to share my easy recipe for Air Fryer BBQ Chicken
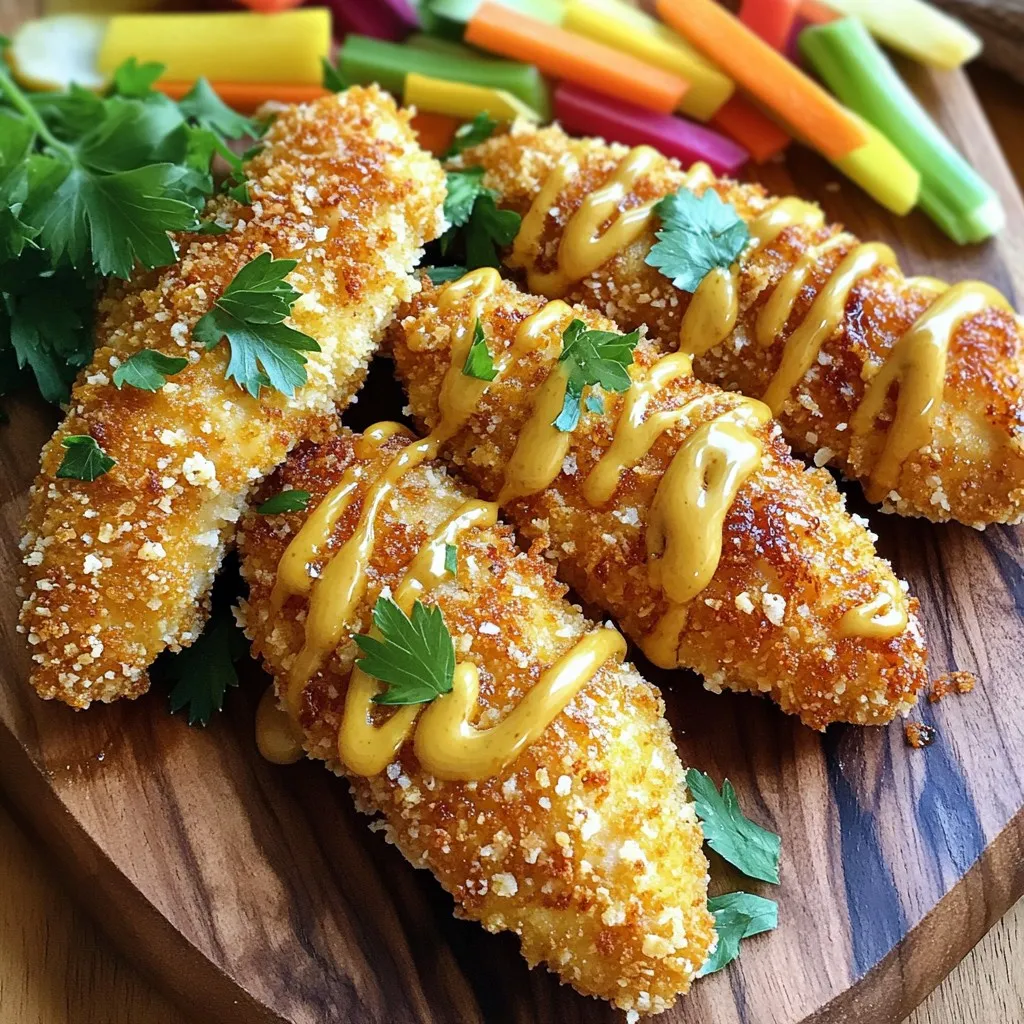
Honey Mustard Chicken Tenders Air Fryer Crispy Dish
Looking to elevate your meal prep? Try these Honey Mustard Chicken Tenders in the air fryer! You’re in for a treat with perfectly crispy chicken
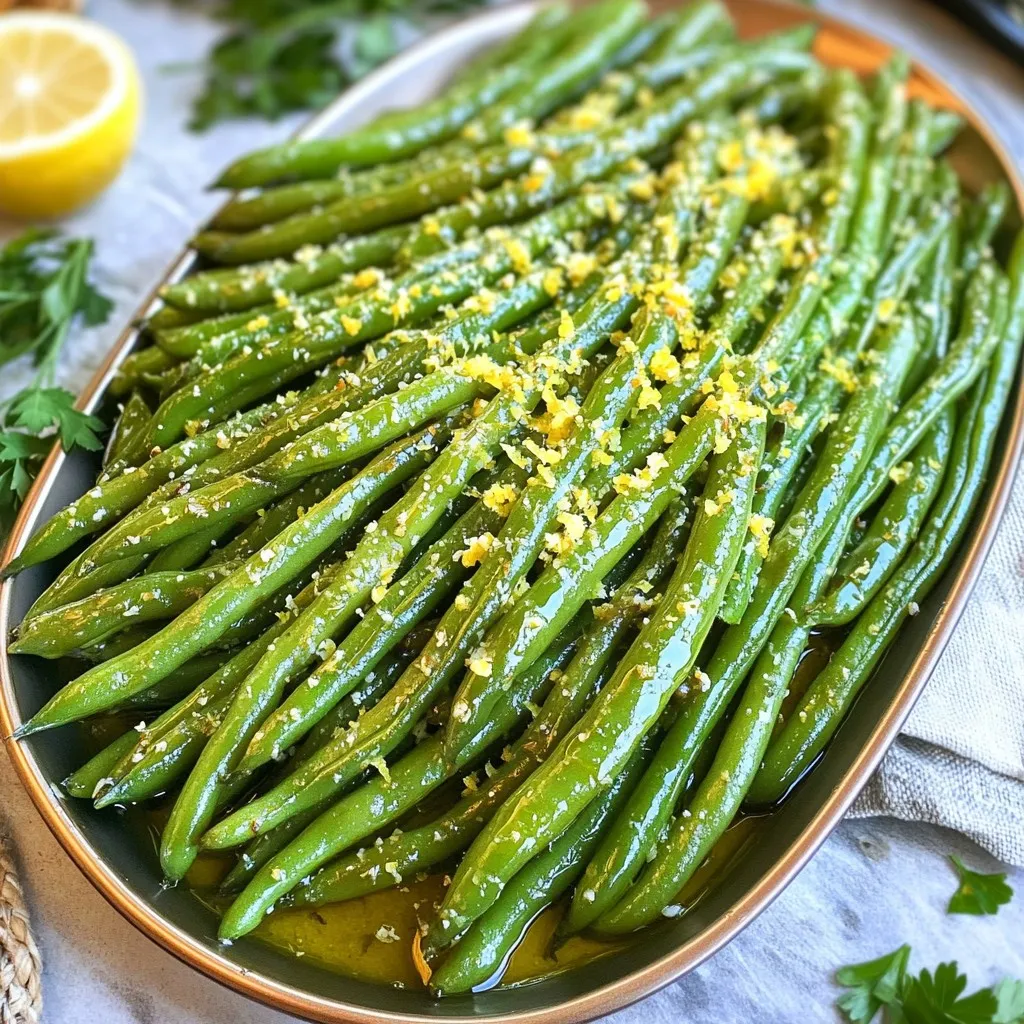
Air Fryer Parmesan Green Beans Crispy and Simple Recipe
Looking for a tasty side dish that’s quick and easy? You’ve found it! In this post, I’ll show you how to make crispy Air Fryer
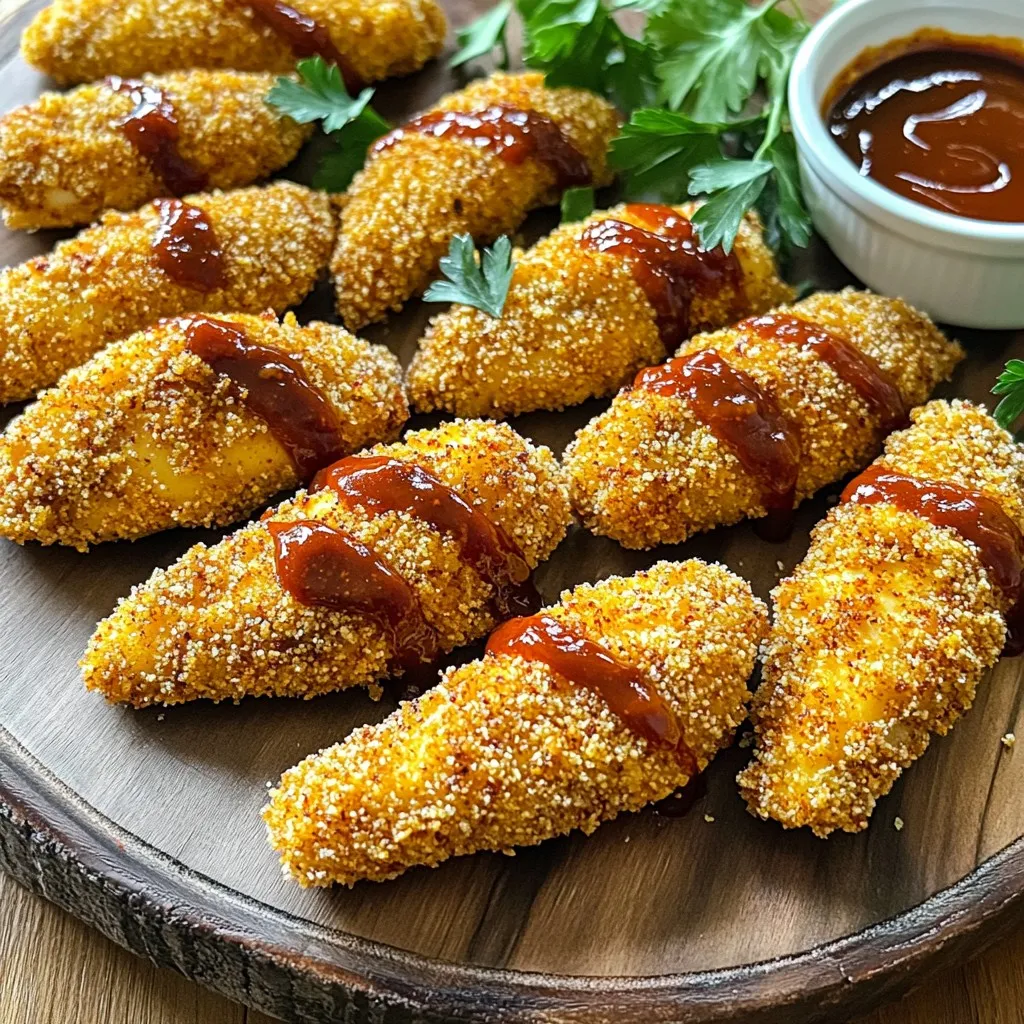
Air Fryer BBQ Chicken Tenders Crispy and Tasty Meal
Looking for a delicious and easy dinner? Try my Air Fryer BBQ Chicken Tenders! These crispy, juicy tenders are coated in panko breadcrumbs and slathered